![]()
Here is the Story of my 1954 LHD Body lifted Oval Window VW Beetle
November 2008
Took the body off the pan today with a bit of help from young
mustard... ![]()
Hayden is tidying up the bodywork..
some progress...
Found a bonnet on Vzi ..
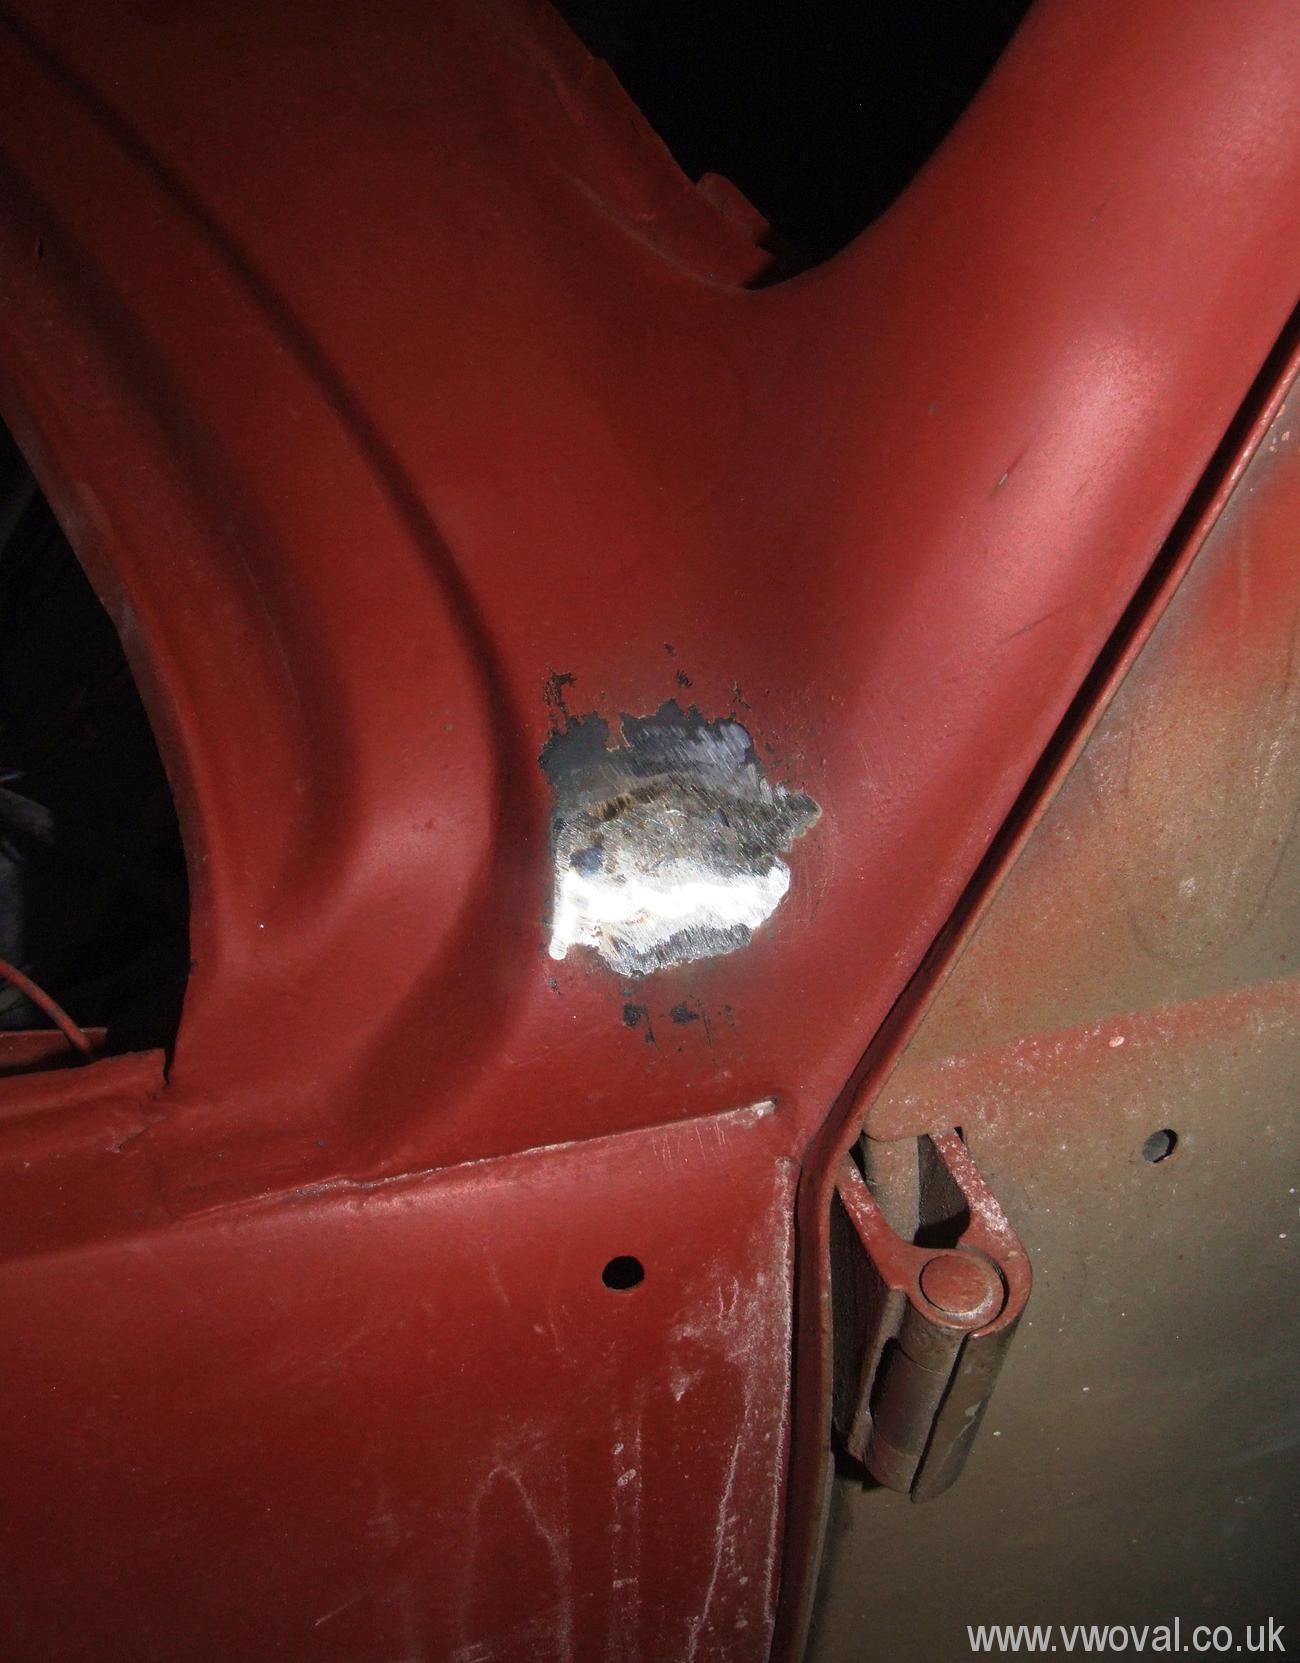
The rear quarter was in a right state... replacement would have been nice... but repair and panel beating is the way forward when you cant afford to replace it!!
Jan 2009 - found the chassis...
Starting to prepare for brakes etc...
Whilst cleaning for paint, got carried away and took the beam off ![]()
Front nearly all back together with all new brakes... but
Hayden wanted the chassis back... ![]()
hayden has repaired the rear body mount... and infact loads of other bits...
hayden is going to repair the front spare wheel well and
replace the front valance..
we have been repairing and not replacing as this is a budget "get it back
on the road" project and NOT a resto...
Jan 11th 2009 - Hayden has finished his magic .. its now
back home - thanks to Hayden for working on it most of the weekend! ![]()
I'm gonna finish the chassis now and start on the prep for drab green paint...
Feb 2009 work has come to a halt as I'm building up my chassis
for my '53
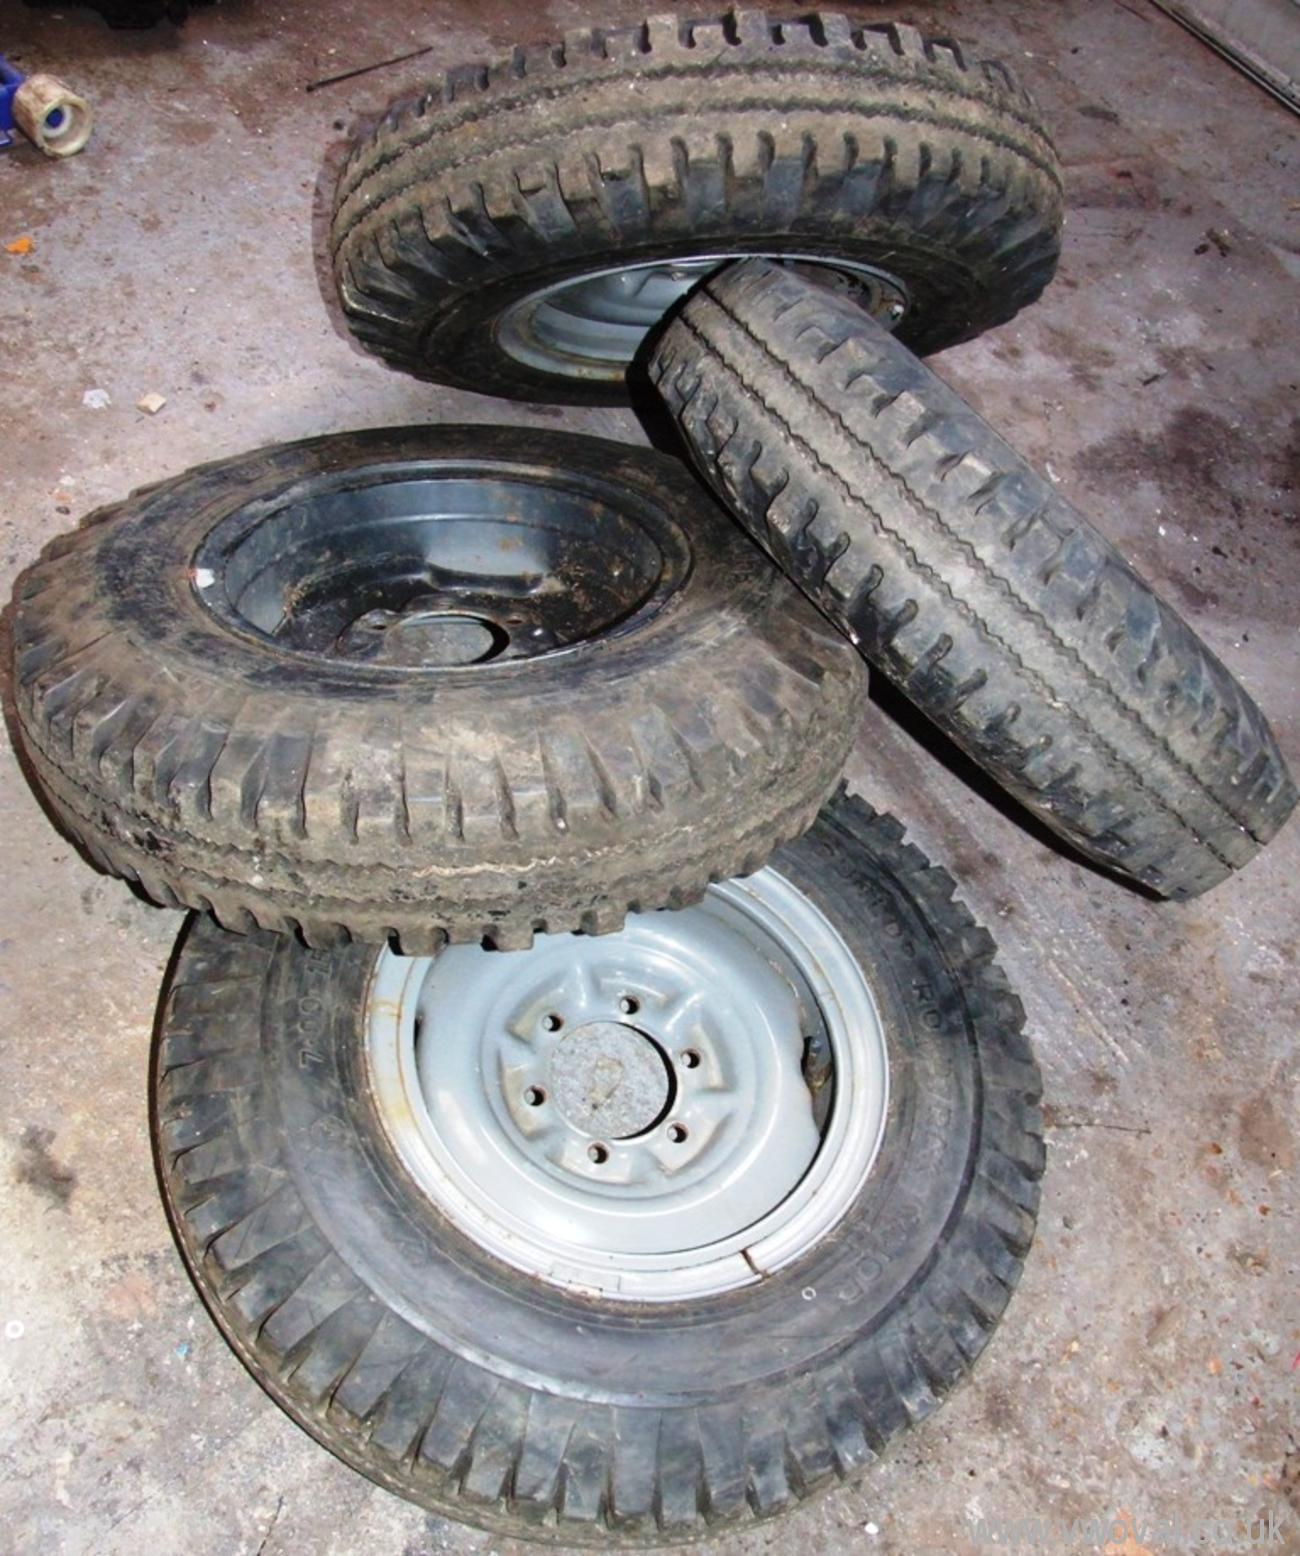
meanwhile these blasted wheels came home...
not done anything on this for a while.. and then suddenly
hayden knocks up a lift kit! ![]()
its a sturdy piece of kit! ![]()
December 2009
So, an update.. ![]()
I've pushed the car to the back of the garage and stored things on and in it for
the last couple ![]() of months
of months ![]()
I really need to do something with it.. but its cold out there!
So today I dug it out and started some more prep work... I rubbed the roof a
bit!
The lift kit is painted but no holes drilled yet and not fitted.
nothing else has been done.
Just found the old MOT - last on the Road - 12th September 1973 - Mileage was 95866 the previous september (1972)
Jan 2010
I've been rubbing and red oxide priming the whole shell - but still loads more to do!
yesterday the shell was lifted off the chassis and some prep done on the lift kit -
Got 3 or 4 hours on it today...
Managed to clearance the gearbox for 12v flywheel
Fitted 12v Starter bush
Half installed front shox
Painted axle shafts
removed rear suspension / doughnuts
Painted spring plates etc.
No real progress
Rear brakes are together - New cylinders and shoes...
There are the old suspension doughnuts -
Even though the car was only on the road for less than 20 years, it looks like
it got well worn!
Jan 5th 2010
Today I -
Decided to remove the single jacking point ... leaving a big hole - so I welded
it up... Its not up to Haydens standards so please dont look! ![]()
I've fitted the heater cables and glued down the rubber body to pan seals (one
to the pan and one to the lift kit) - I'm as high as a kite! ![]()
I've also fitted one side of rubber doughnuts and rear suspension covers...
starter motor fitted and tested ![]()
only a few more jobs and the body can go on ![]()
Jan 6th
Todays "progress"
Spent ages trying to unblock the fuel line only to be splattered in the face by
36 year olf petrol lumps!
Then to find the fuel line is leaking.
So installed a new fuel line in the passenger foot well.
Finished the rear suspension.
Bolted the engine up and ensured it turned over on the starter 9clearancing the
bell housing)
Dropped the engine and gearbox oil.
replaced gearbox oil.
Removed engine to build and service it.
Made holes in the rubber body to lift kit seal and pan to lift kit seal .. for
the body bolts.
Eventually throw the body back on
heare are the pics... its not lined up or bolted down yet.
Progress is slow.
My back has decided it doesnt like the cold and is trying to kill me.. so I've
only spent an hour or so out there in the last couple of days.
I've decided that lying on the floor isnt for me, so I'm striping and servicing
the engine on the floor of the garage. i've stripped it down to the heads,
adjusting everything, new seals and cleaning everything, full service and back
together... its 1/2 done..
A small bit at a time...
This weekend the engine came mostly back together ... not finished but serviced
and on its way.. Found some genuine heat exchangers and with a quick weld and
coat of paint, they will be toasty warm. now waiting for a carb rebuild kit.
I've almost finished bolting the body down...
bought some long (90mm) M8 Bolts this morning and have managed to get them all
in bar the 2 at the rear (tomorrows job) ... the worst bolts were the 4 M10
bolts at the front... 2 were ok, then the other 2 took an hour each... the
problems are having to pass through the chassis, then a rubber seal, then box
section bottom and then top, then a rubber seal and then into the captive nut in
the heater channel. Its not easy! And the more you get in the harder it gets.
13th Jan
The body is now bolted down, along both sides and one each
side under the rear seat.
I have just made 6 body mount spacers out of the same steel tube and drilled
them, they now need fitting.
The engine bay is now painted black, along with other things that have had a
coat of hammerite too.
Slow progress.
Today i have slapped some paint around the inside and under
bonnet area to tidy it up... its rough and ready but clean.
I have also repaired the rear valance and welded up the exhaust cut outs (I'd
normally get Hayden to do this but my welding is fine for this as the valance is
the wrong one any way!)
I've also reapired the B post holes and the W shape engine lid had lots of
drilled holes...
I've repaired both of thse, and have got as far as slapping some filler on, but
have left the filler to harden before I flat it off.
Jan 15th
More tinkering this afternoon...
The engine has been in and out a couple of times! ![]()
More gearbox clearancing as it was still too tight, then I realised the reason
it wasnt turning over properly was the freshly charged year old GSF battery ![]()
Engine back in, held with one bolt.. thats all you need isnt it?
Carb rebuilt and fitted.
Had a look at some of the wires, tidied up and threw away lots of them, have
installed a non broken fuse box and started to lay in some of the wires,
unfortunatelly, many wires have been cut short, so there is lots to do. I fitted
a key switch to the dash... it now turns over and fires for a moment from fuel
in the carb (no fuel tank or fuel pump yet!)
The exhaust i was going to fit sits too low... I found another... and i still
think its too low, so may go for something stock ish?
The engine looks weird now its in...
I have got some brake fluid into the brakes for the first time.. no brakes yet,
but dribbles at the nipples... so hopefully a case of getting an assistant to
help.
gear lever is on...
seems to be lots going on, but no real progress.
Jan 16th
o today wasnt so good. ![]()
With the help of Darren we bled the brakes for the first time... so we now have
a brake pedal of sorts... the brakes are all new and will need to bed in a bit!
then i fitted the exhaust, and fired her up... KNOCK KNOCK KNOCK.... ![]()
After lots of playing, the engine is out and being pulled apart... its been
bench run on the floor to check and its coming from within...
I drove this engine from Norfolk to Home.. and it was fine... 2 years on the
garage floor and it is now broken - WHY~? ![]()
![]()
So after my last post, I went back out into the cold and tore
the engine down.
Looks like a washer got into it whilst it was standing... ![]() (and yes it did have a rag down the manifold)
(and yes it did have a rag down the manifold)
I've been out and "found" some 1641 P&Bs... and
some Push rod tubes... tomorrow I get to rebuild the top end.
I'll have a look at the head tomorrow... its got some damage, but may clean up?
another day wasted. ![]()
17th ,,,
Got out there just after mid day... and back in the house by
5pm... ![]()
The engine is a slapper..
The sort you slap together and pray! ![]()
1641 P&Ps installed on one side... lunch time.. then do the other side...
Engine in and running - 4.30pm
Standard exhaust - for ground clearance!
I've got lots of finishing to do, but it runs without banging!
pruple came round today... with a "borrowed" tyre to
try on the rear... 265/70/15 ... the same as my buggy, but its too big ![]()
Think I may have to try 235/75/15s now ... ![]()
Cant find anything taller at the moment.
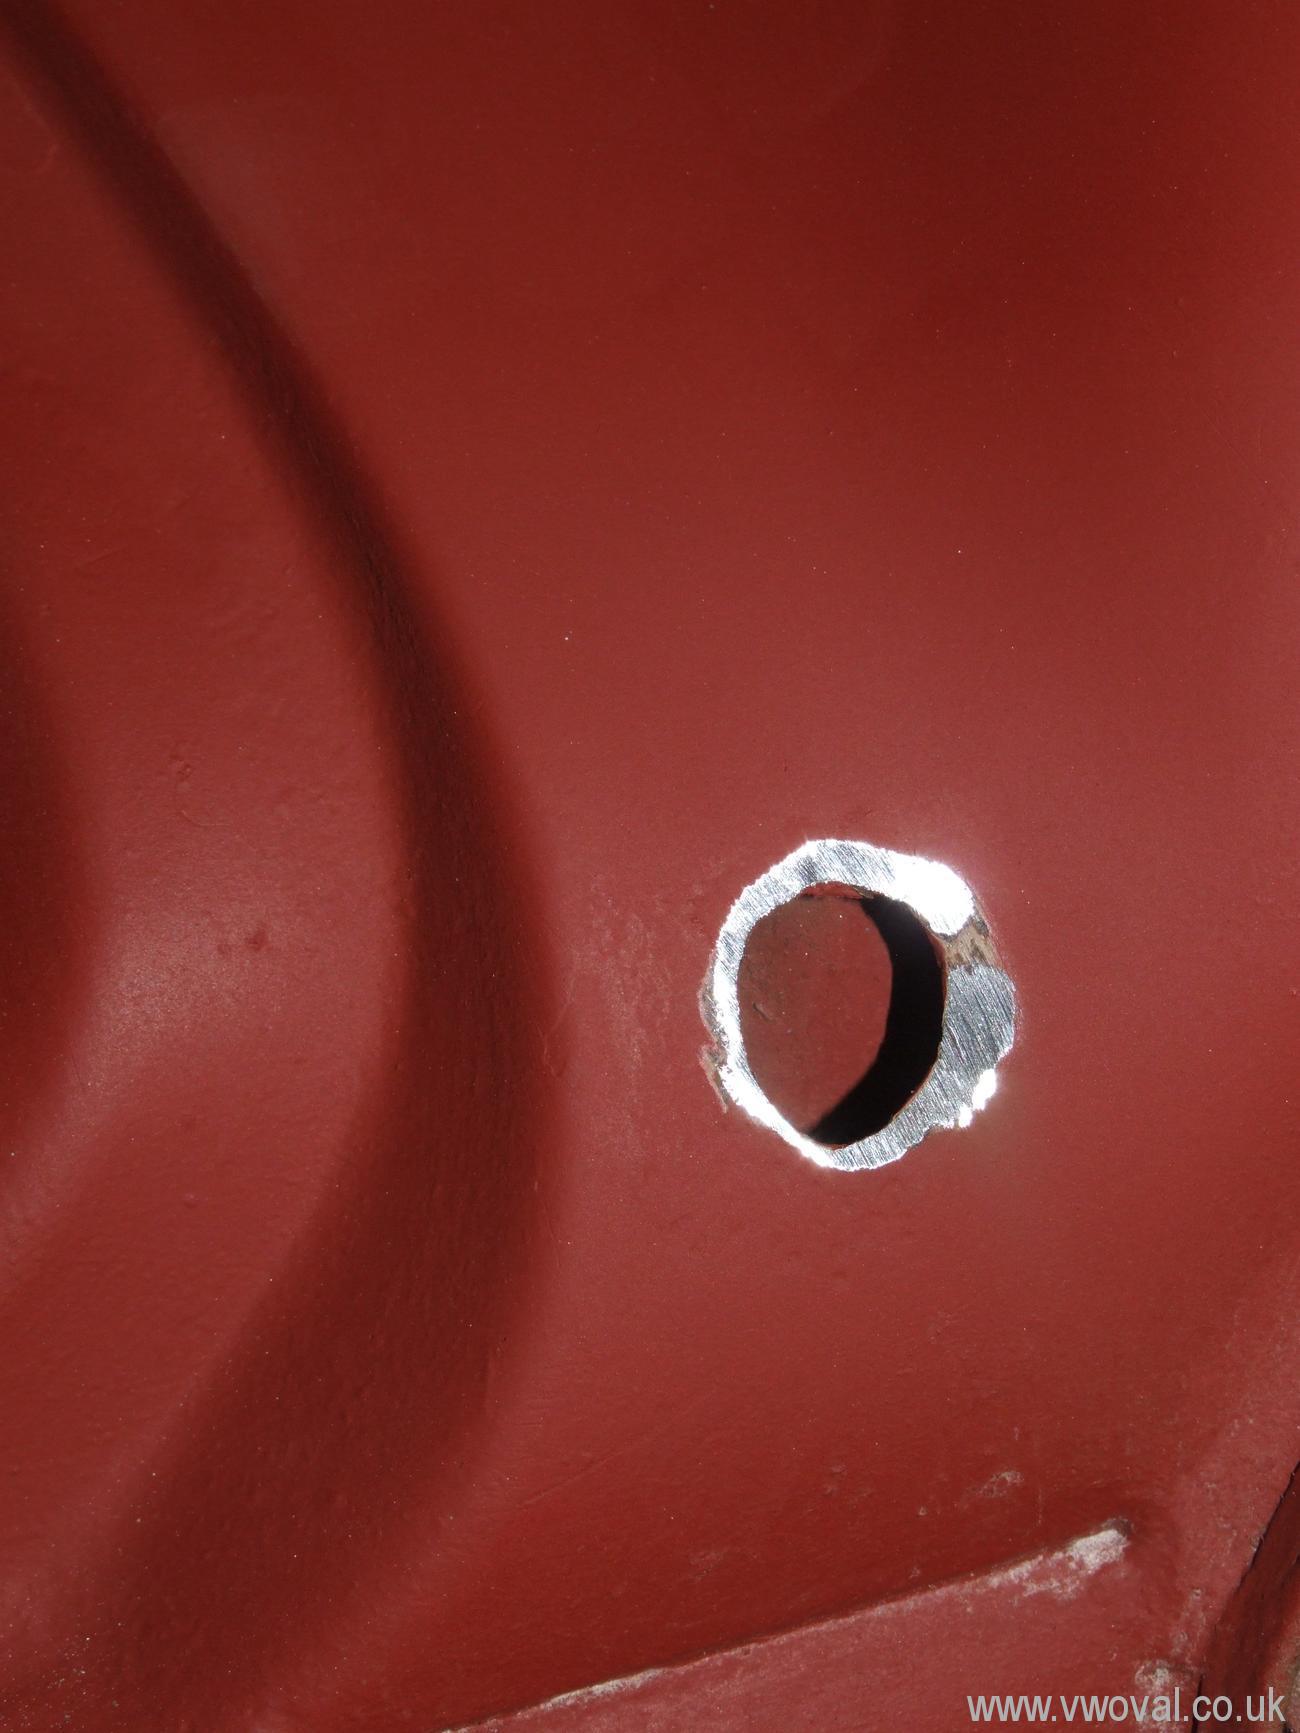
Cleaned out the fuel tank this evening... full of lumps of
rusty black tar... and it stinks! It hasnt been filled up since the early 70's!
Just washed it out now and will see how much is left inside it in the morning...
Aerial hole ---
Gone..
The passenger door doesent look original and that would match with the accident damage on the rear 1/4.
21st Jan
Dave came round tonight.. with my new tyres that pruple had
collected.. and passed to dave at the ace last night - Thanks guys!
We fitted a tyre to one of my rims and bolted it up to the rear of the car.
It rubs on the spring plate.. but only just..
so we spaced the rim out by a couple of mm and it no longer rubs... so I need to
try some spacers..
anyone got any spacers for a 5 stud car?
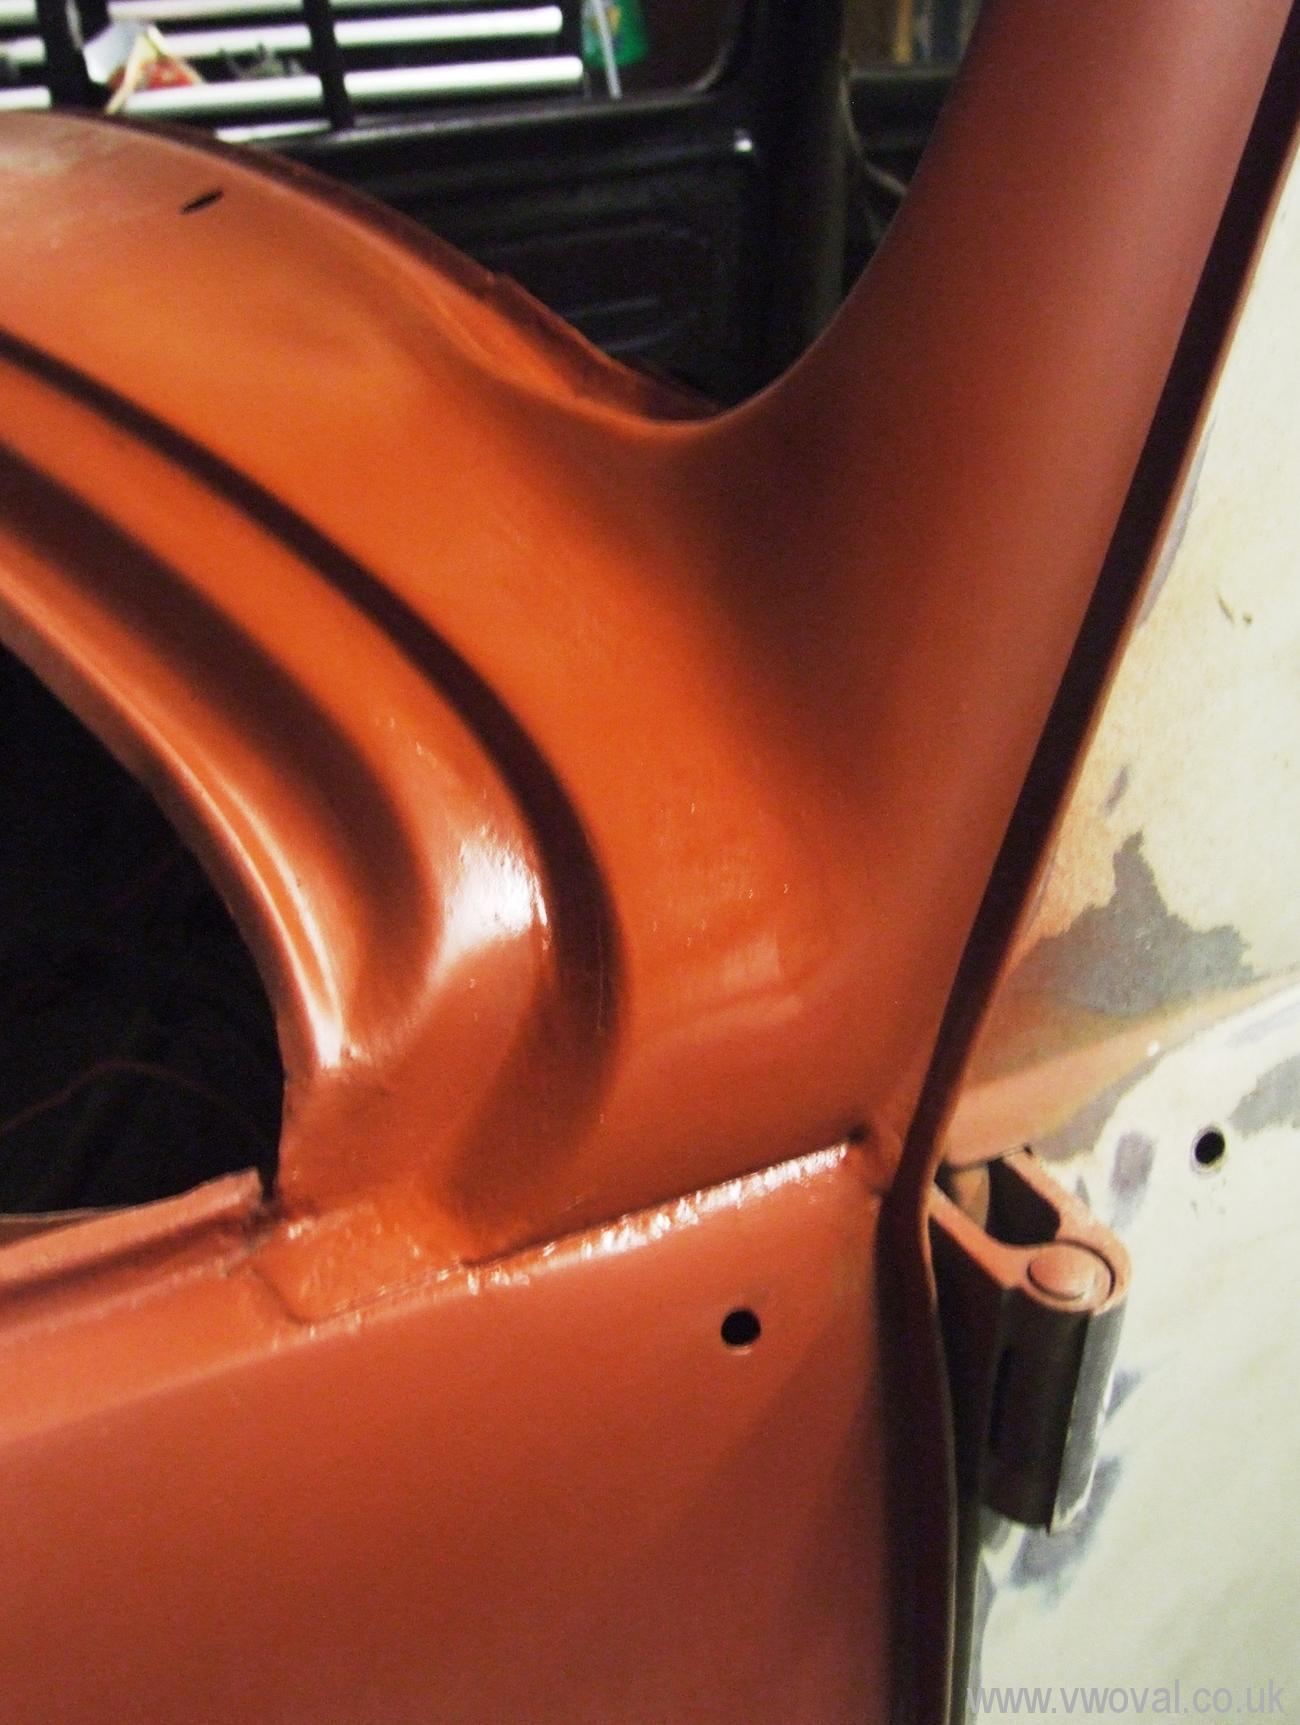
Fade To grey..
Its going grey now before I turn it green.
Here are the tyres for the rear.
Jan 31st - The oval has had a busy weekend...
It got taken by A frame to Hayden on Friday night
Dave & I went to Karmann Konnection on Saturday morning to get a small bag
of rubber seals...
Hayden played with the doors and door gaps and made everything look and fit much
better...
And he moved the hole in the bulk head that the stearing column goes through .. it needed dropping as the body is lifted 50mm
Then I fitted some new engine lid brackets and hayden helped me get the lid to fit across the top..
he only problem? The rear impact the car has had in the past
had twisted the rear end... so the valance was sitting about 1" too far to
the left...
These things dont worry Hayden... he pushed, coaxed, hammered, tickled it untill
the rear was back where it belonged...
I'm not sure what this move was?
This afternoon i have thrown the wings and bonnet at it ... in
a trial fit kind of way.
Lots more prep to do still...
The 4 wings have had a coat of hammerite underneath...
I've managed to get the whole thing including wings into some form of grey
primer...
Next is the pot of Drab green and a paint brush..
Feb 13th...
Painted!
Feb 22nd 2010
Well..
Its getting there..
Tonight was the maiden voyage..
First time out since 1973.
Only a short trip up the doad and back down, but it moved under its own power
and stopped too!
The lights worked and the steering pointed it in the right direction.
Some pics in the dark -
24th Feb 2010
26th
Today i painted and fitted some bumpers and brackets etc and
adjusted the clutch, added some waxoil to some cavities.
DVLA phoned and changed the date of the inspection. ![]()
28th
March 3rd 2010
4th March
I might have bought these tyres by mistake today -
6th
We have a Tax Disc. ![]()
Number plates ordered. ![]()
Properly insured on its new number. ![]()
Sunday 7th March - March Hare...
13th March
We now have number plates.
The speedo sciezed and snapped the speedo cable.. I've made it work again and
replaced the cable.
Darren and i spent a lot of time changing the carb 3 times and then the
distributor this afternoon (after drinking lots of tea) and it now runs quite
nicely..
Oh and Its even got a door seal on the drivers door...
one day it will be finished.
March 17th 2010
Well I made it down through Luton on the M1 to the Ace Cafe,
back across to Rickmansworth on the A40, Across to Smallford and back home oop
north againm on the A1 tonight - about 100 miles without a trouble ![]()
June 2010 -
Some updates...
The baja Oval went to Volksworld show..
We went to Big Bang for the day on the Friday - and even got our photo in
Volksworld!
Then we went to Stonor park...
June 27th 2010
today some little changes...
I changed the headlight lenses to earlier style ones... Found a pair of lights
on ebay and robbed them for the lenses...
Feb 25th 2011
Its been a year already...
Today it passed its MOT - no problems.
Just need to swap the front wheels / tyres back onto it ![]()
Sold
Website Sponsor -
