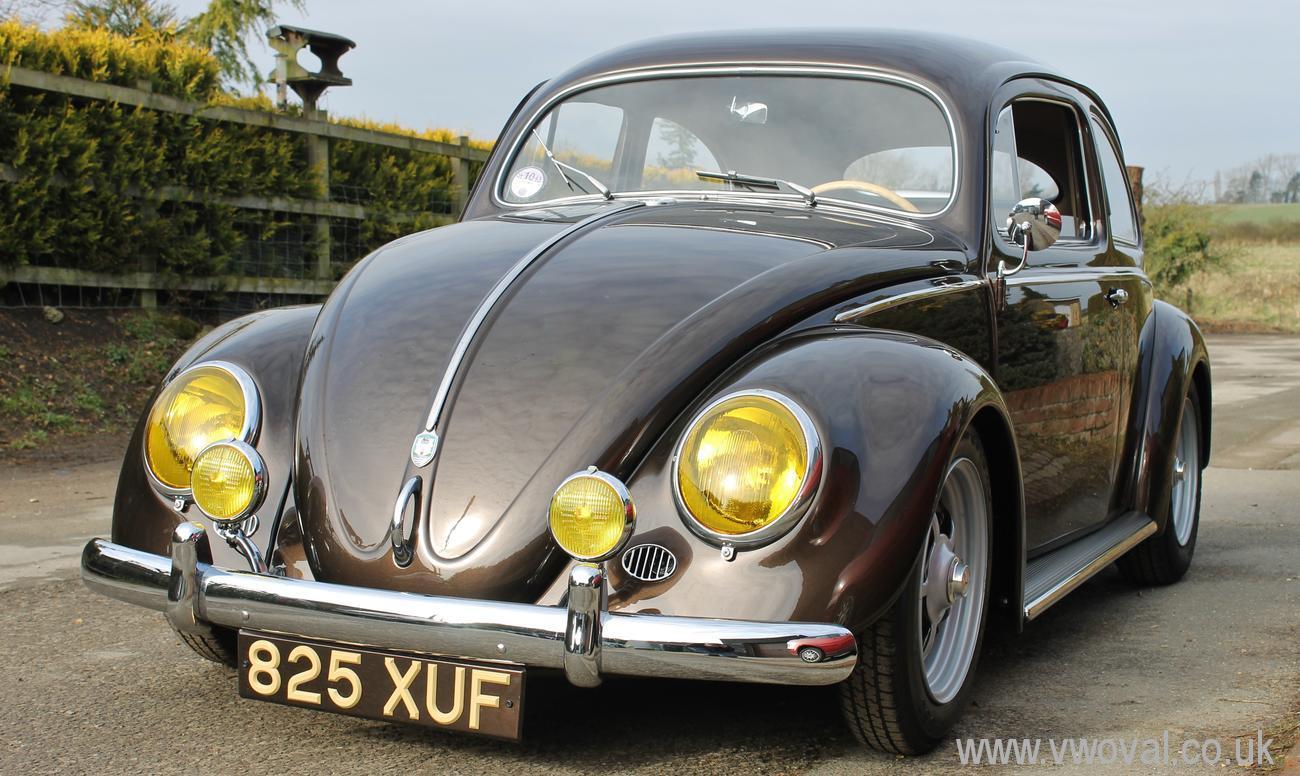
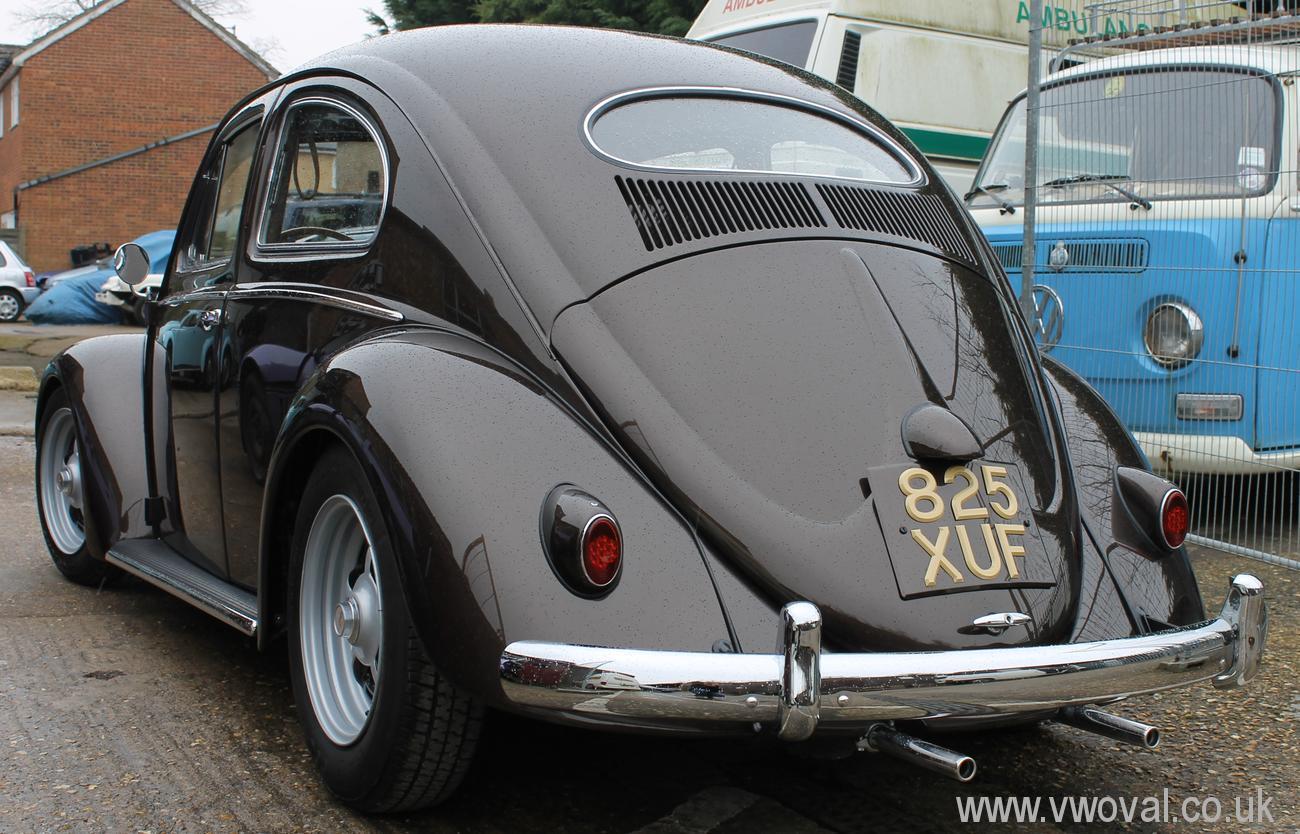
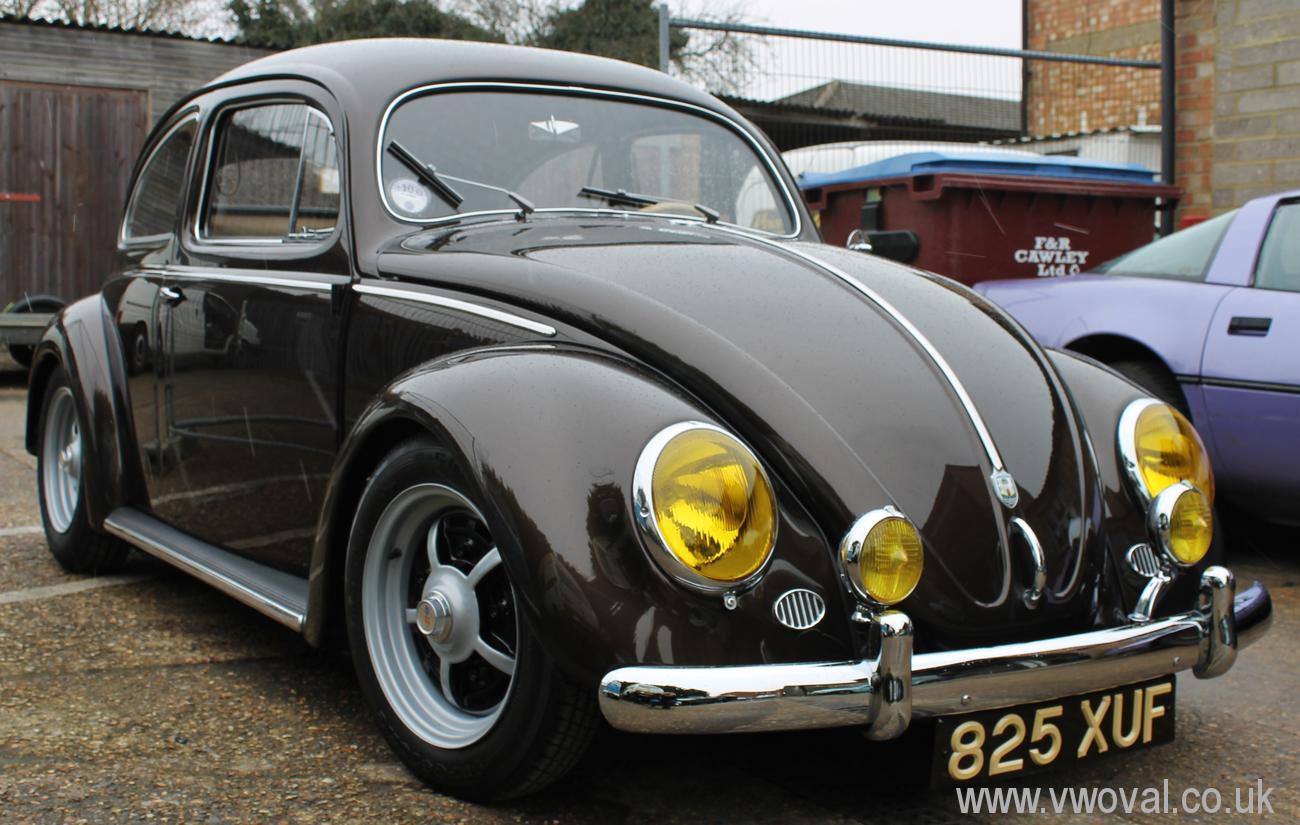
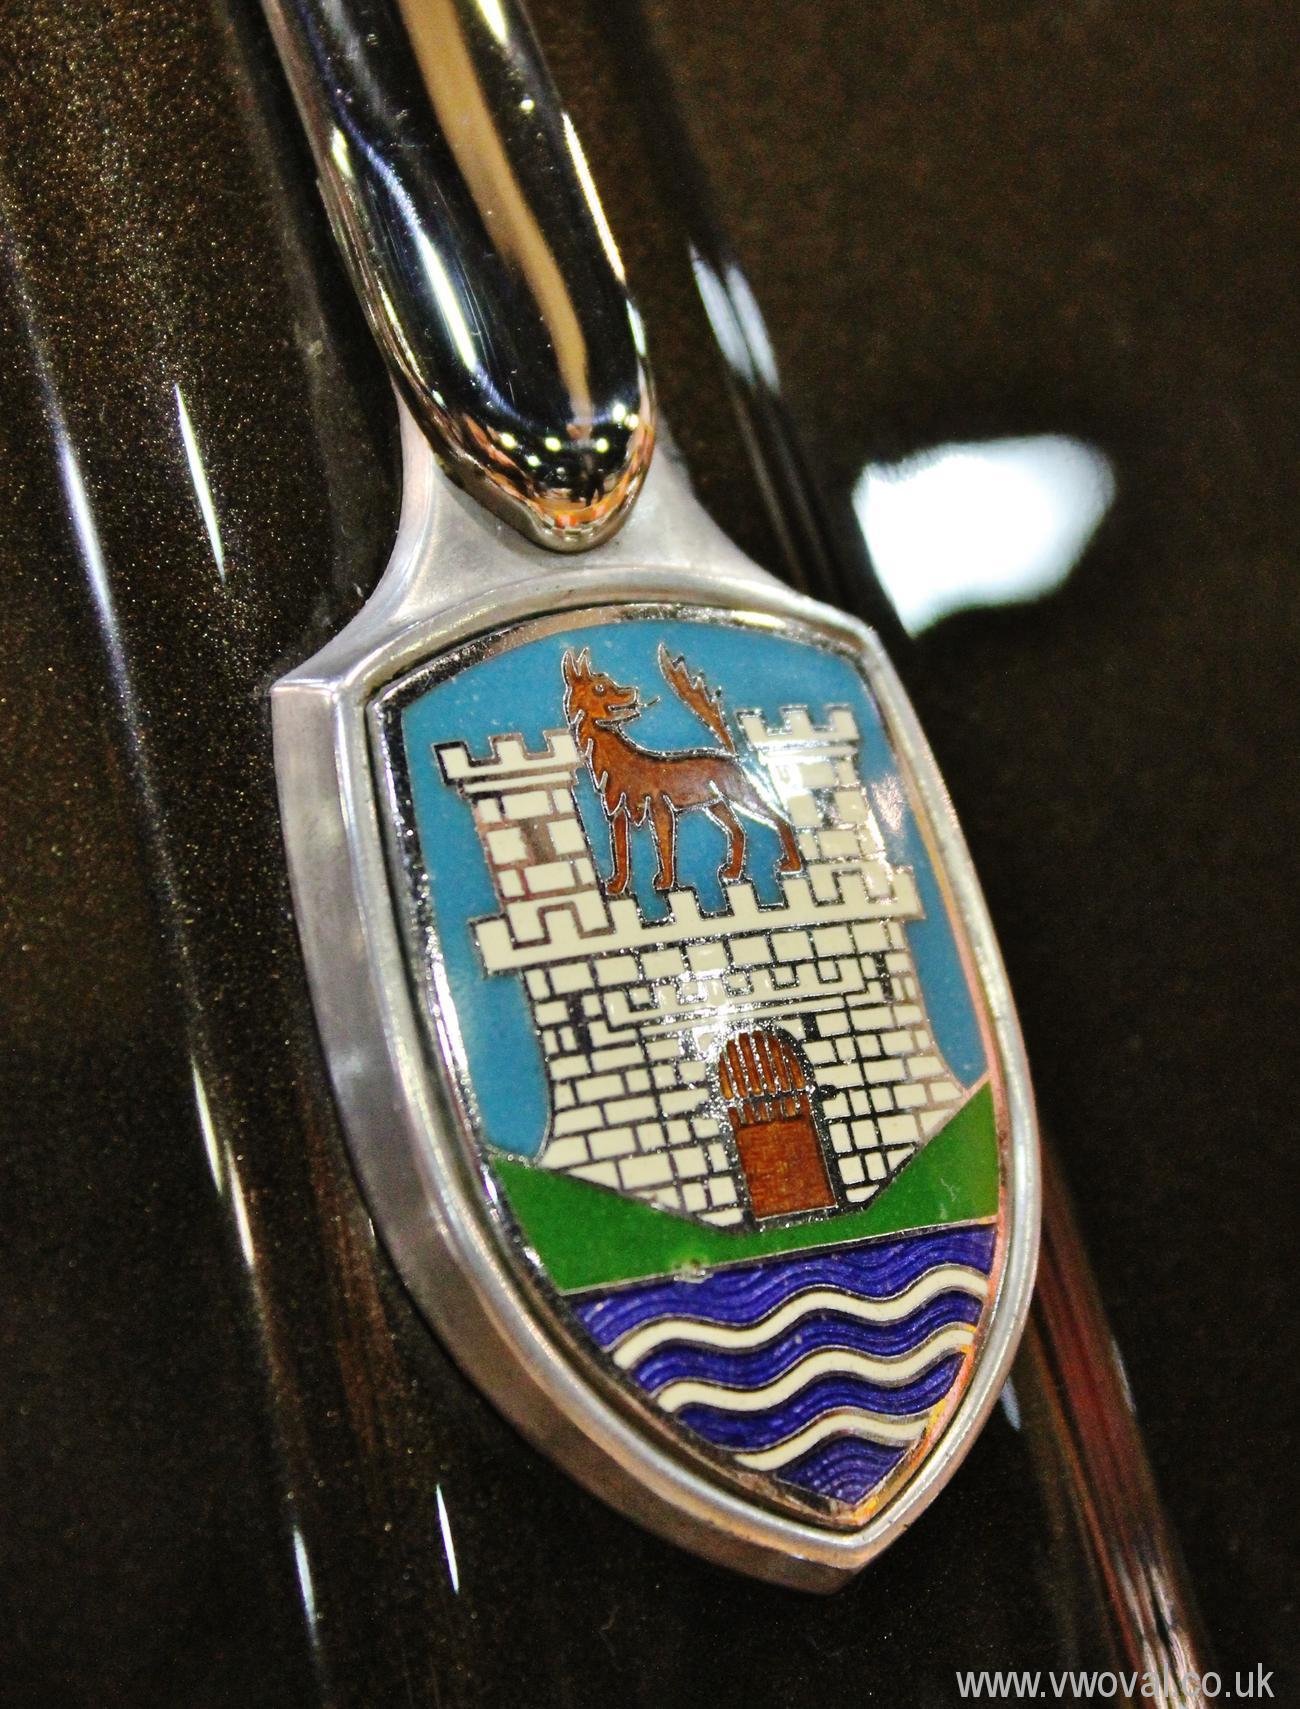
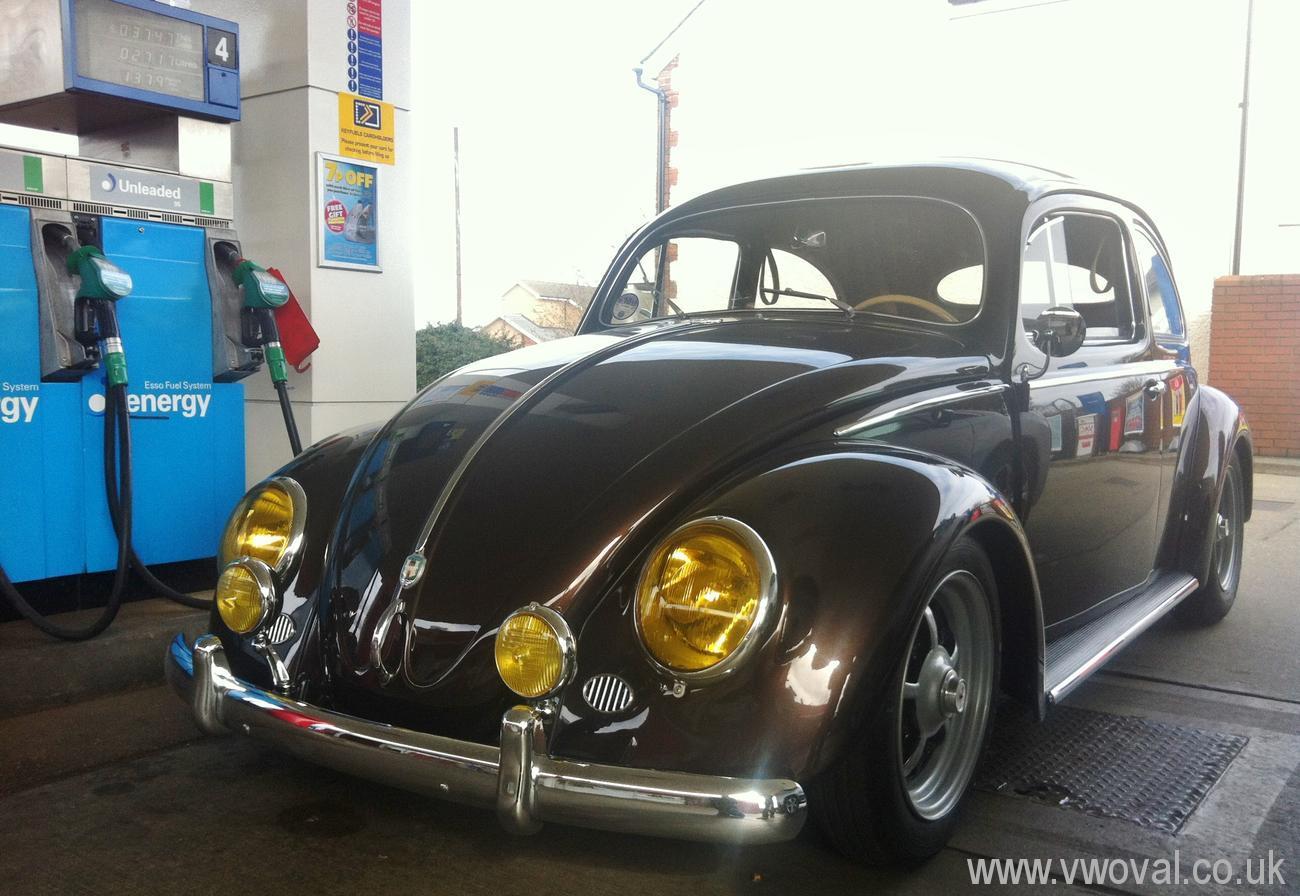
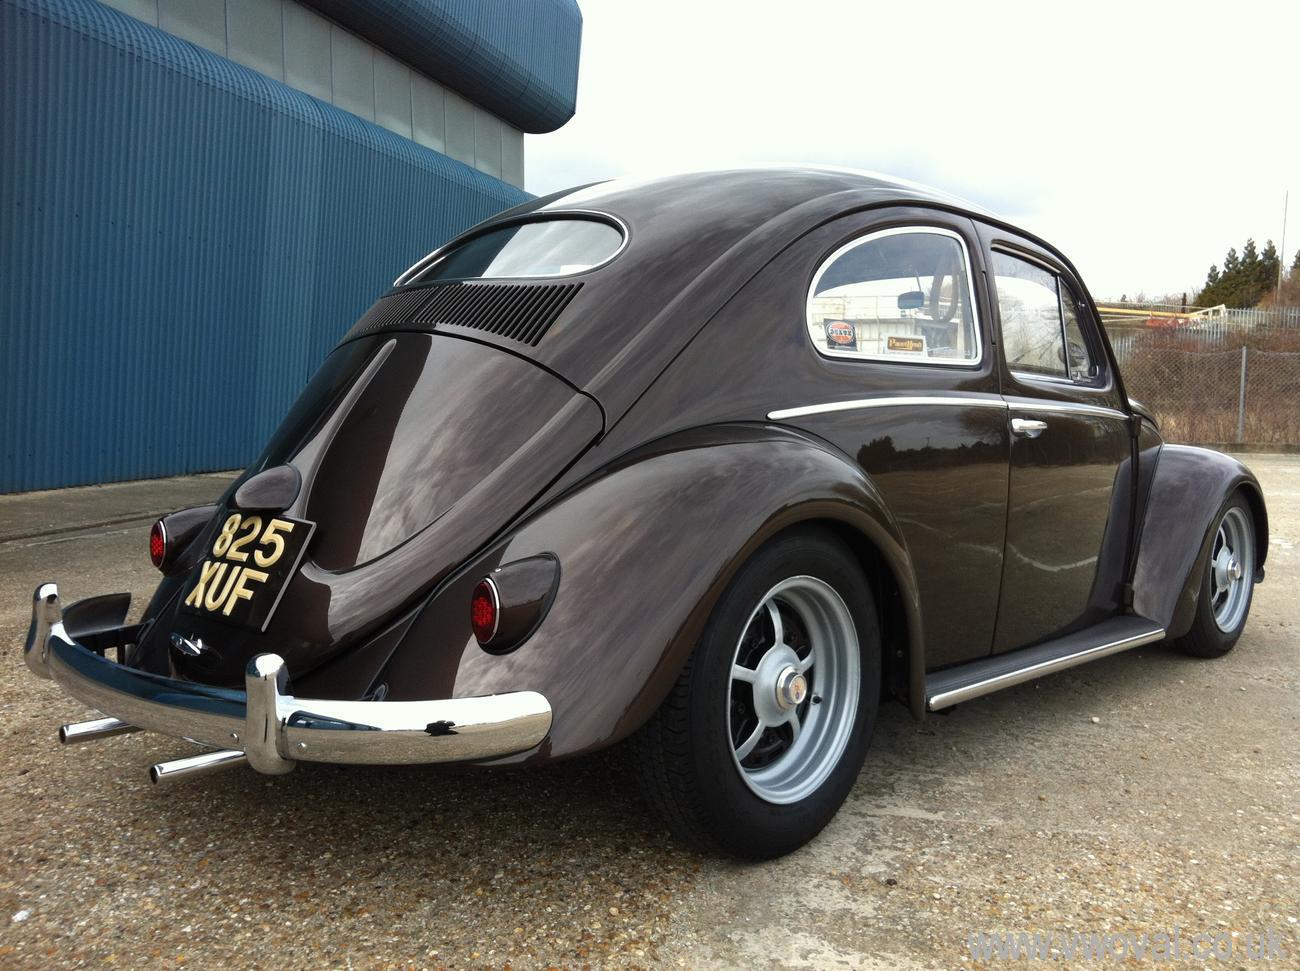
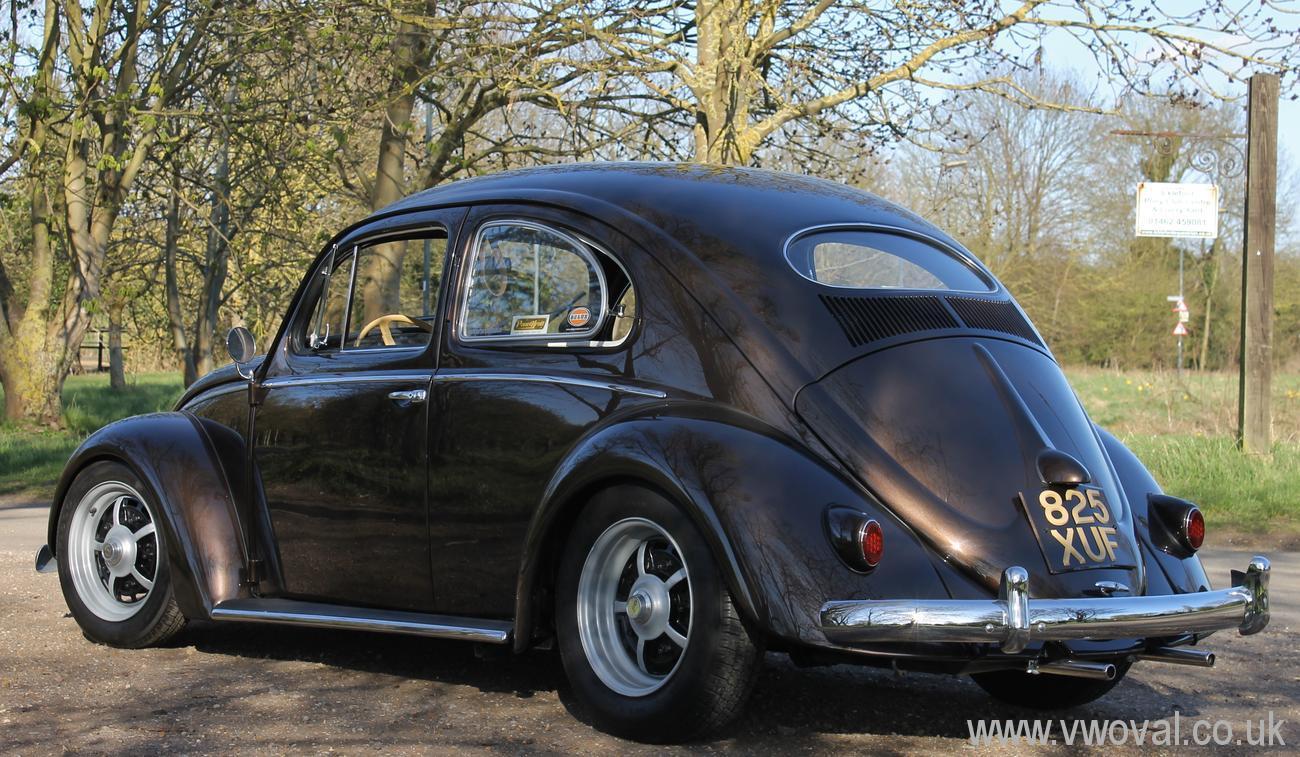
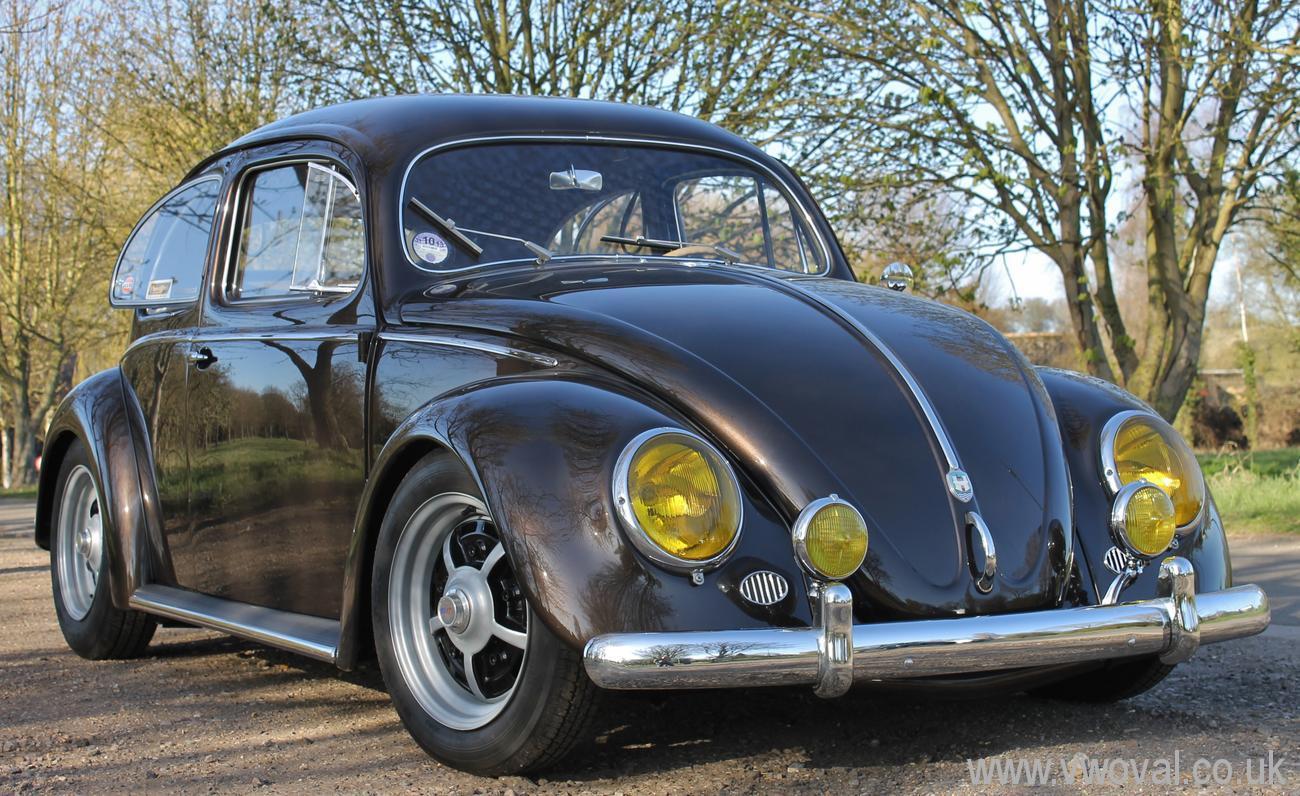
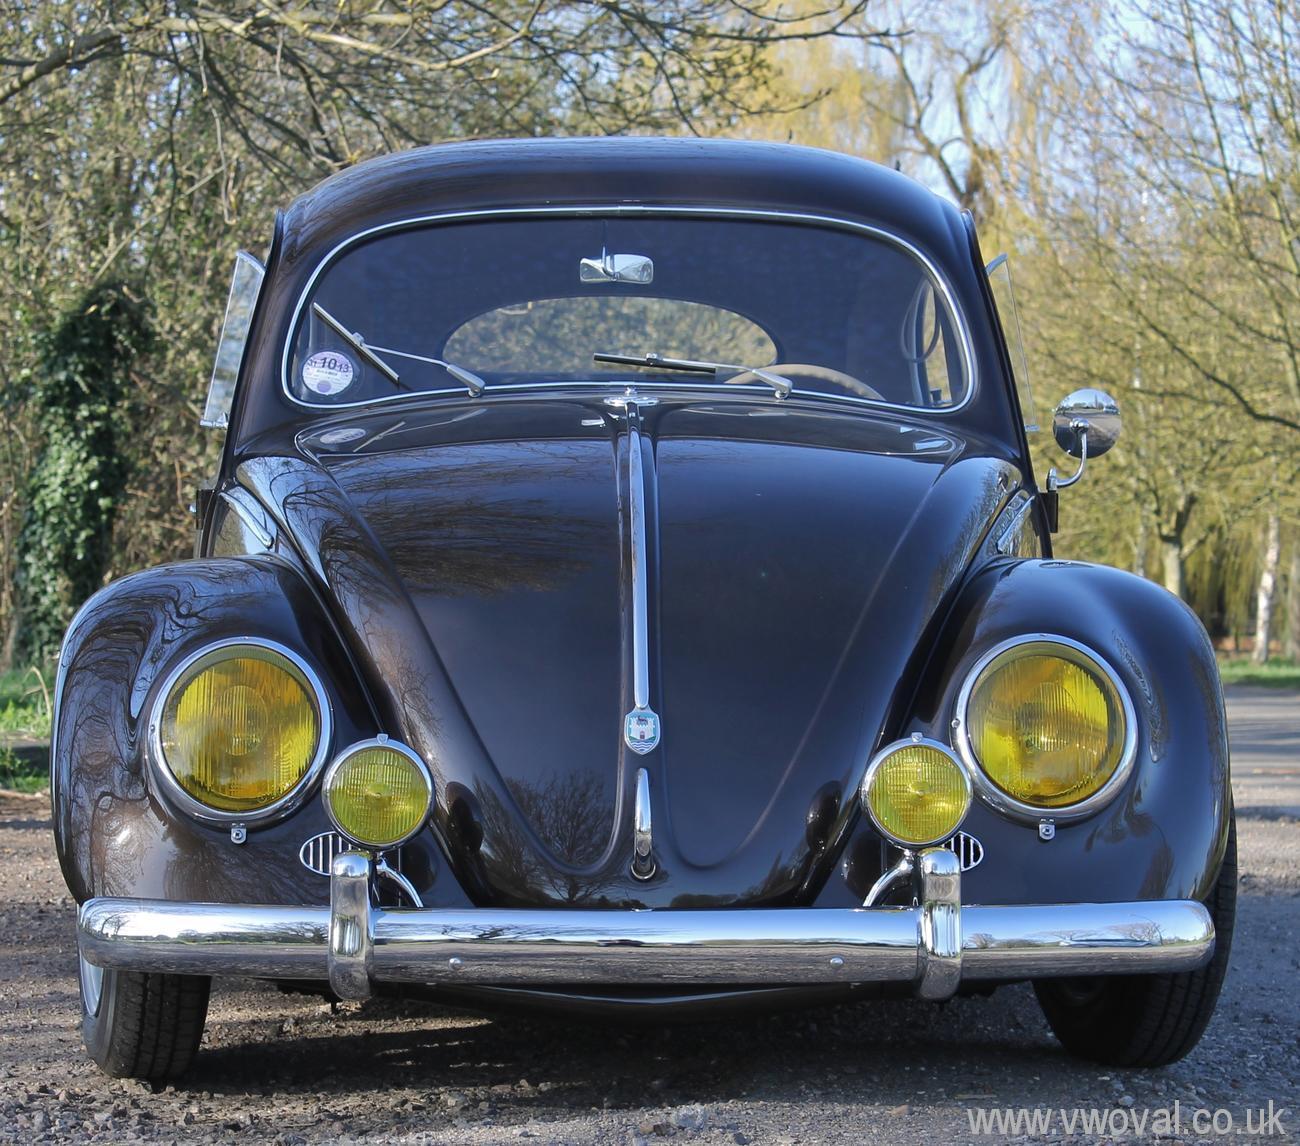
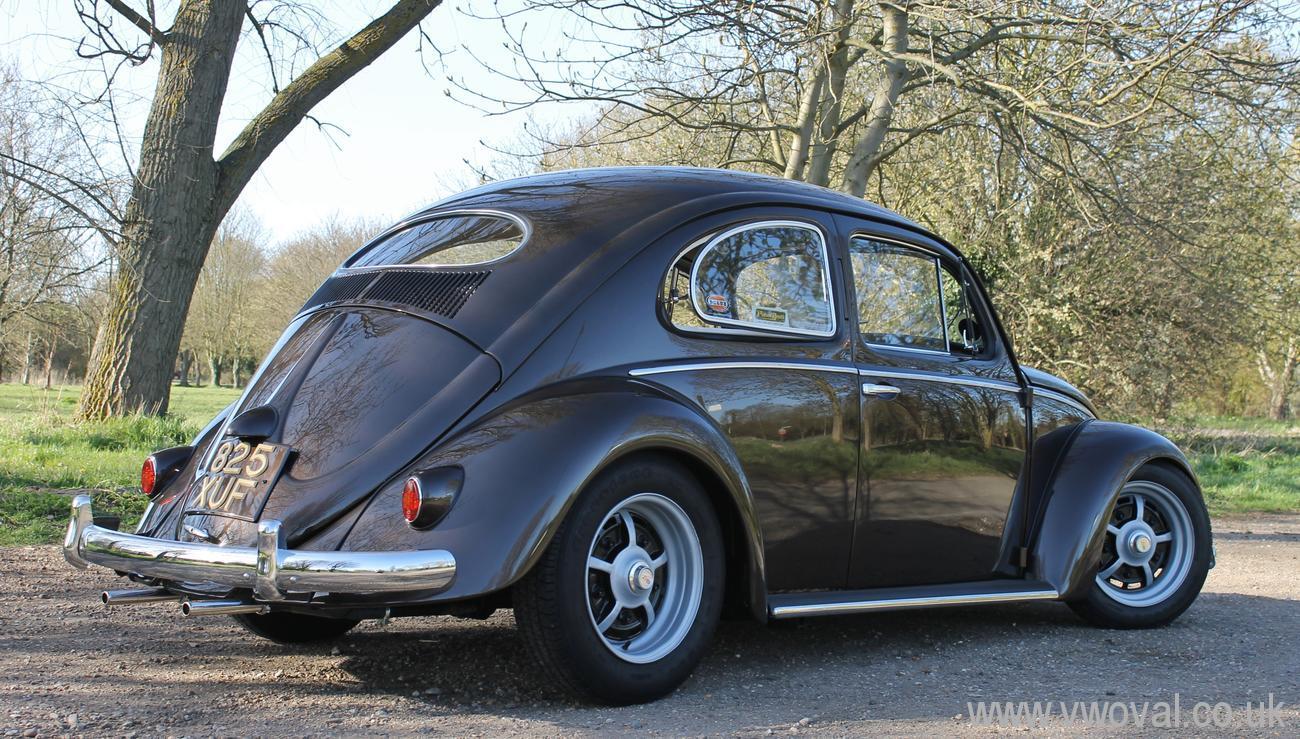
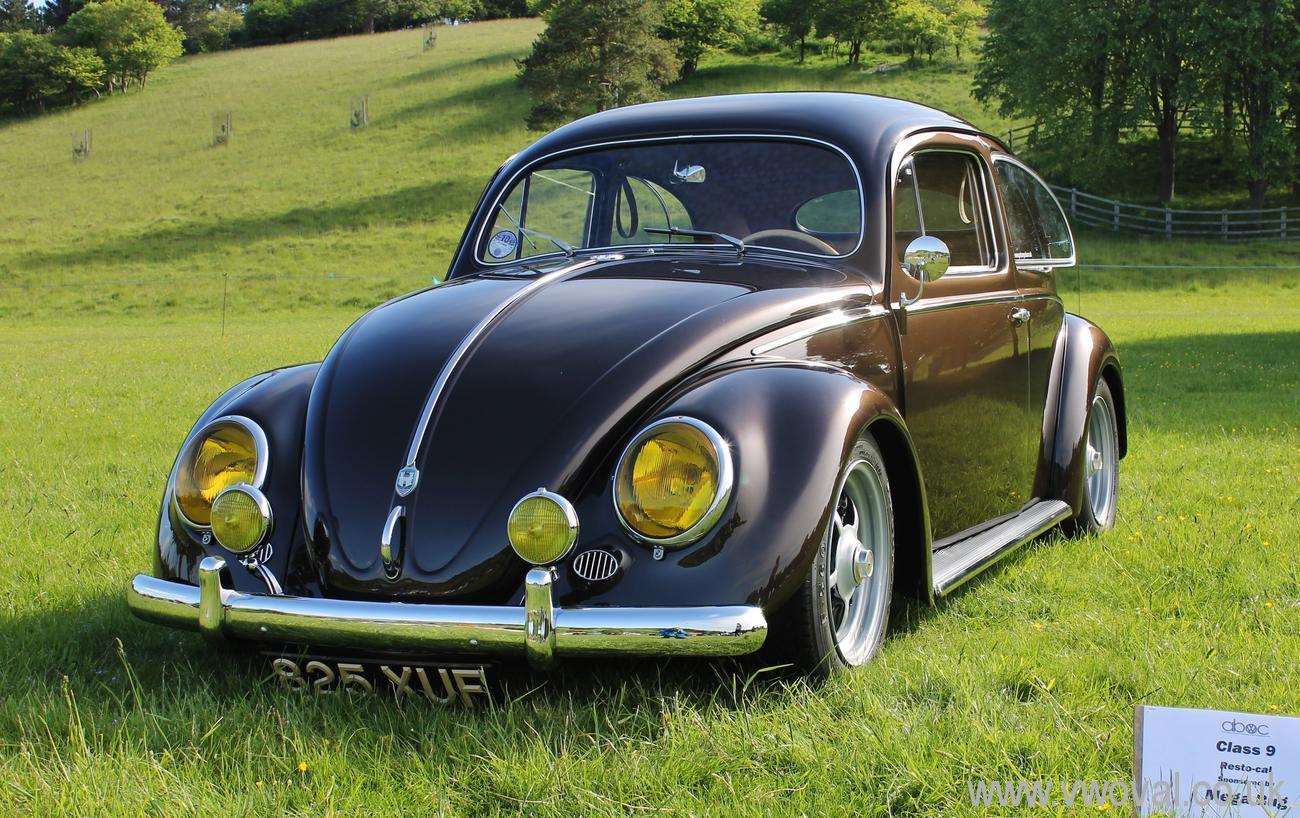
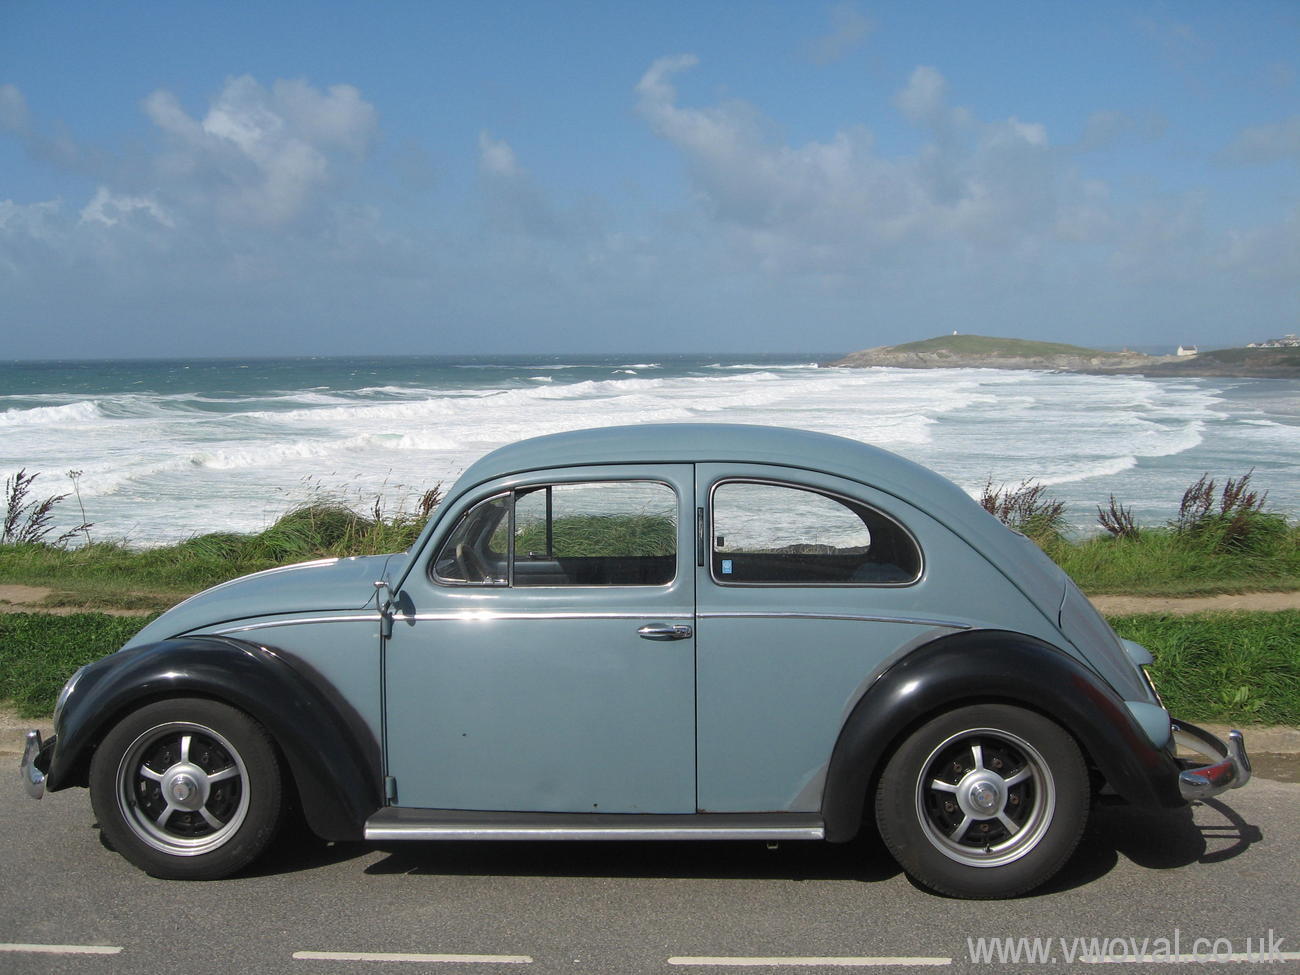
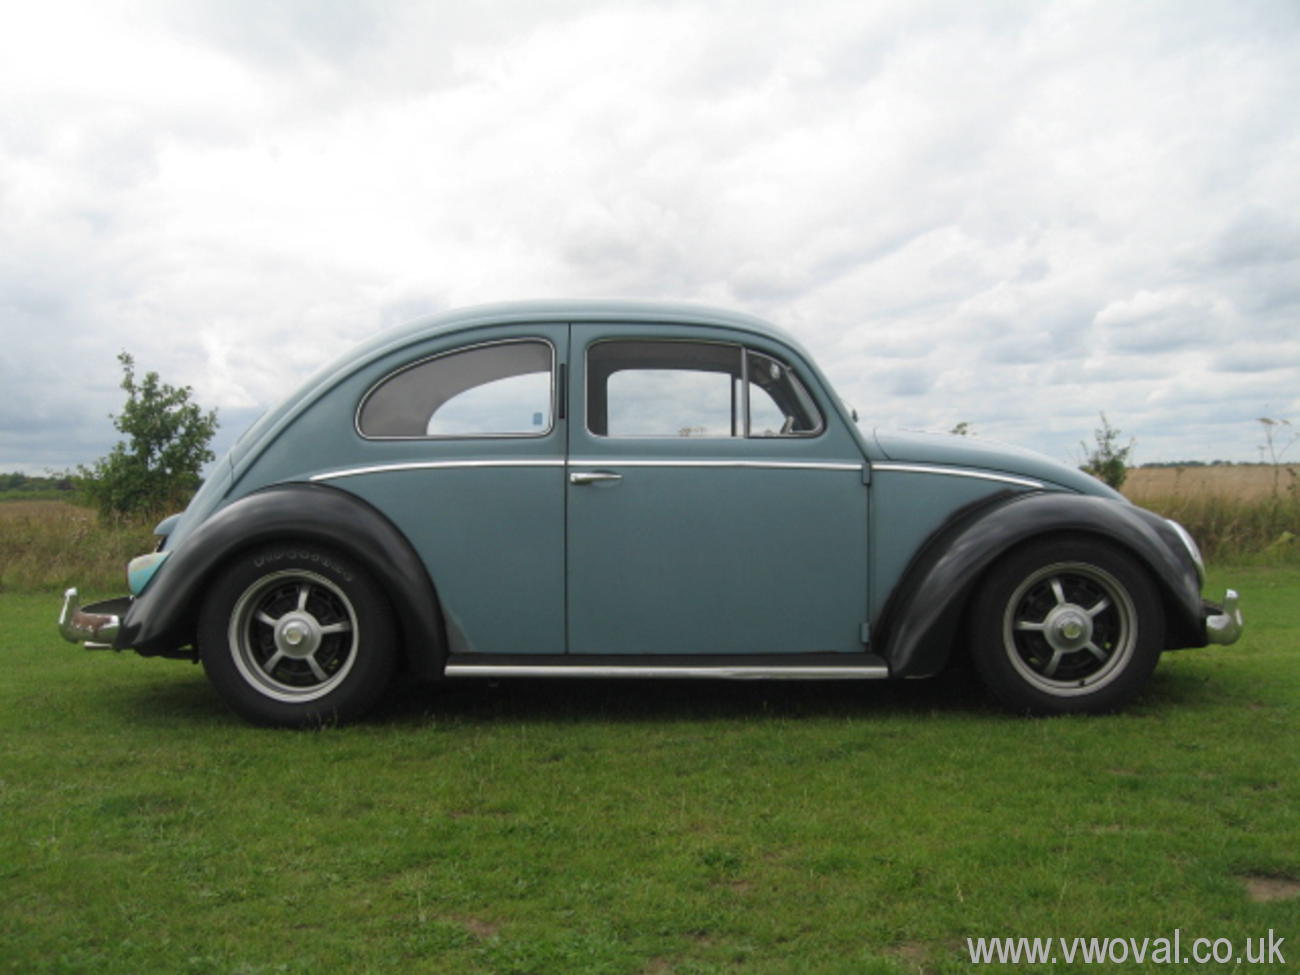
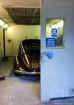
www.vwoval.co.uk

- This is the story of My 1956 Oval project -
Winter 2012 / 2013.
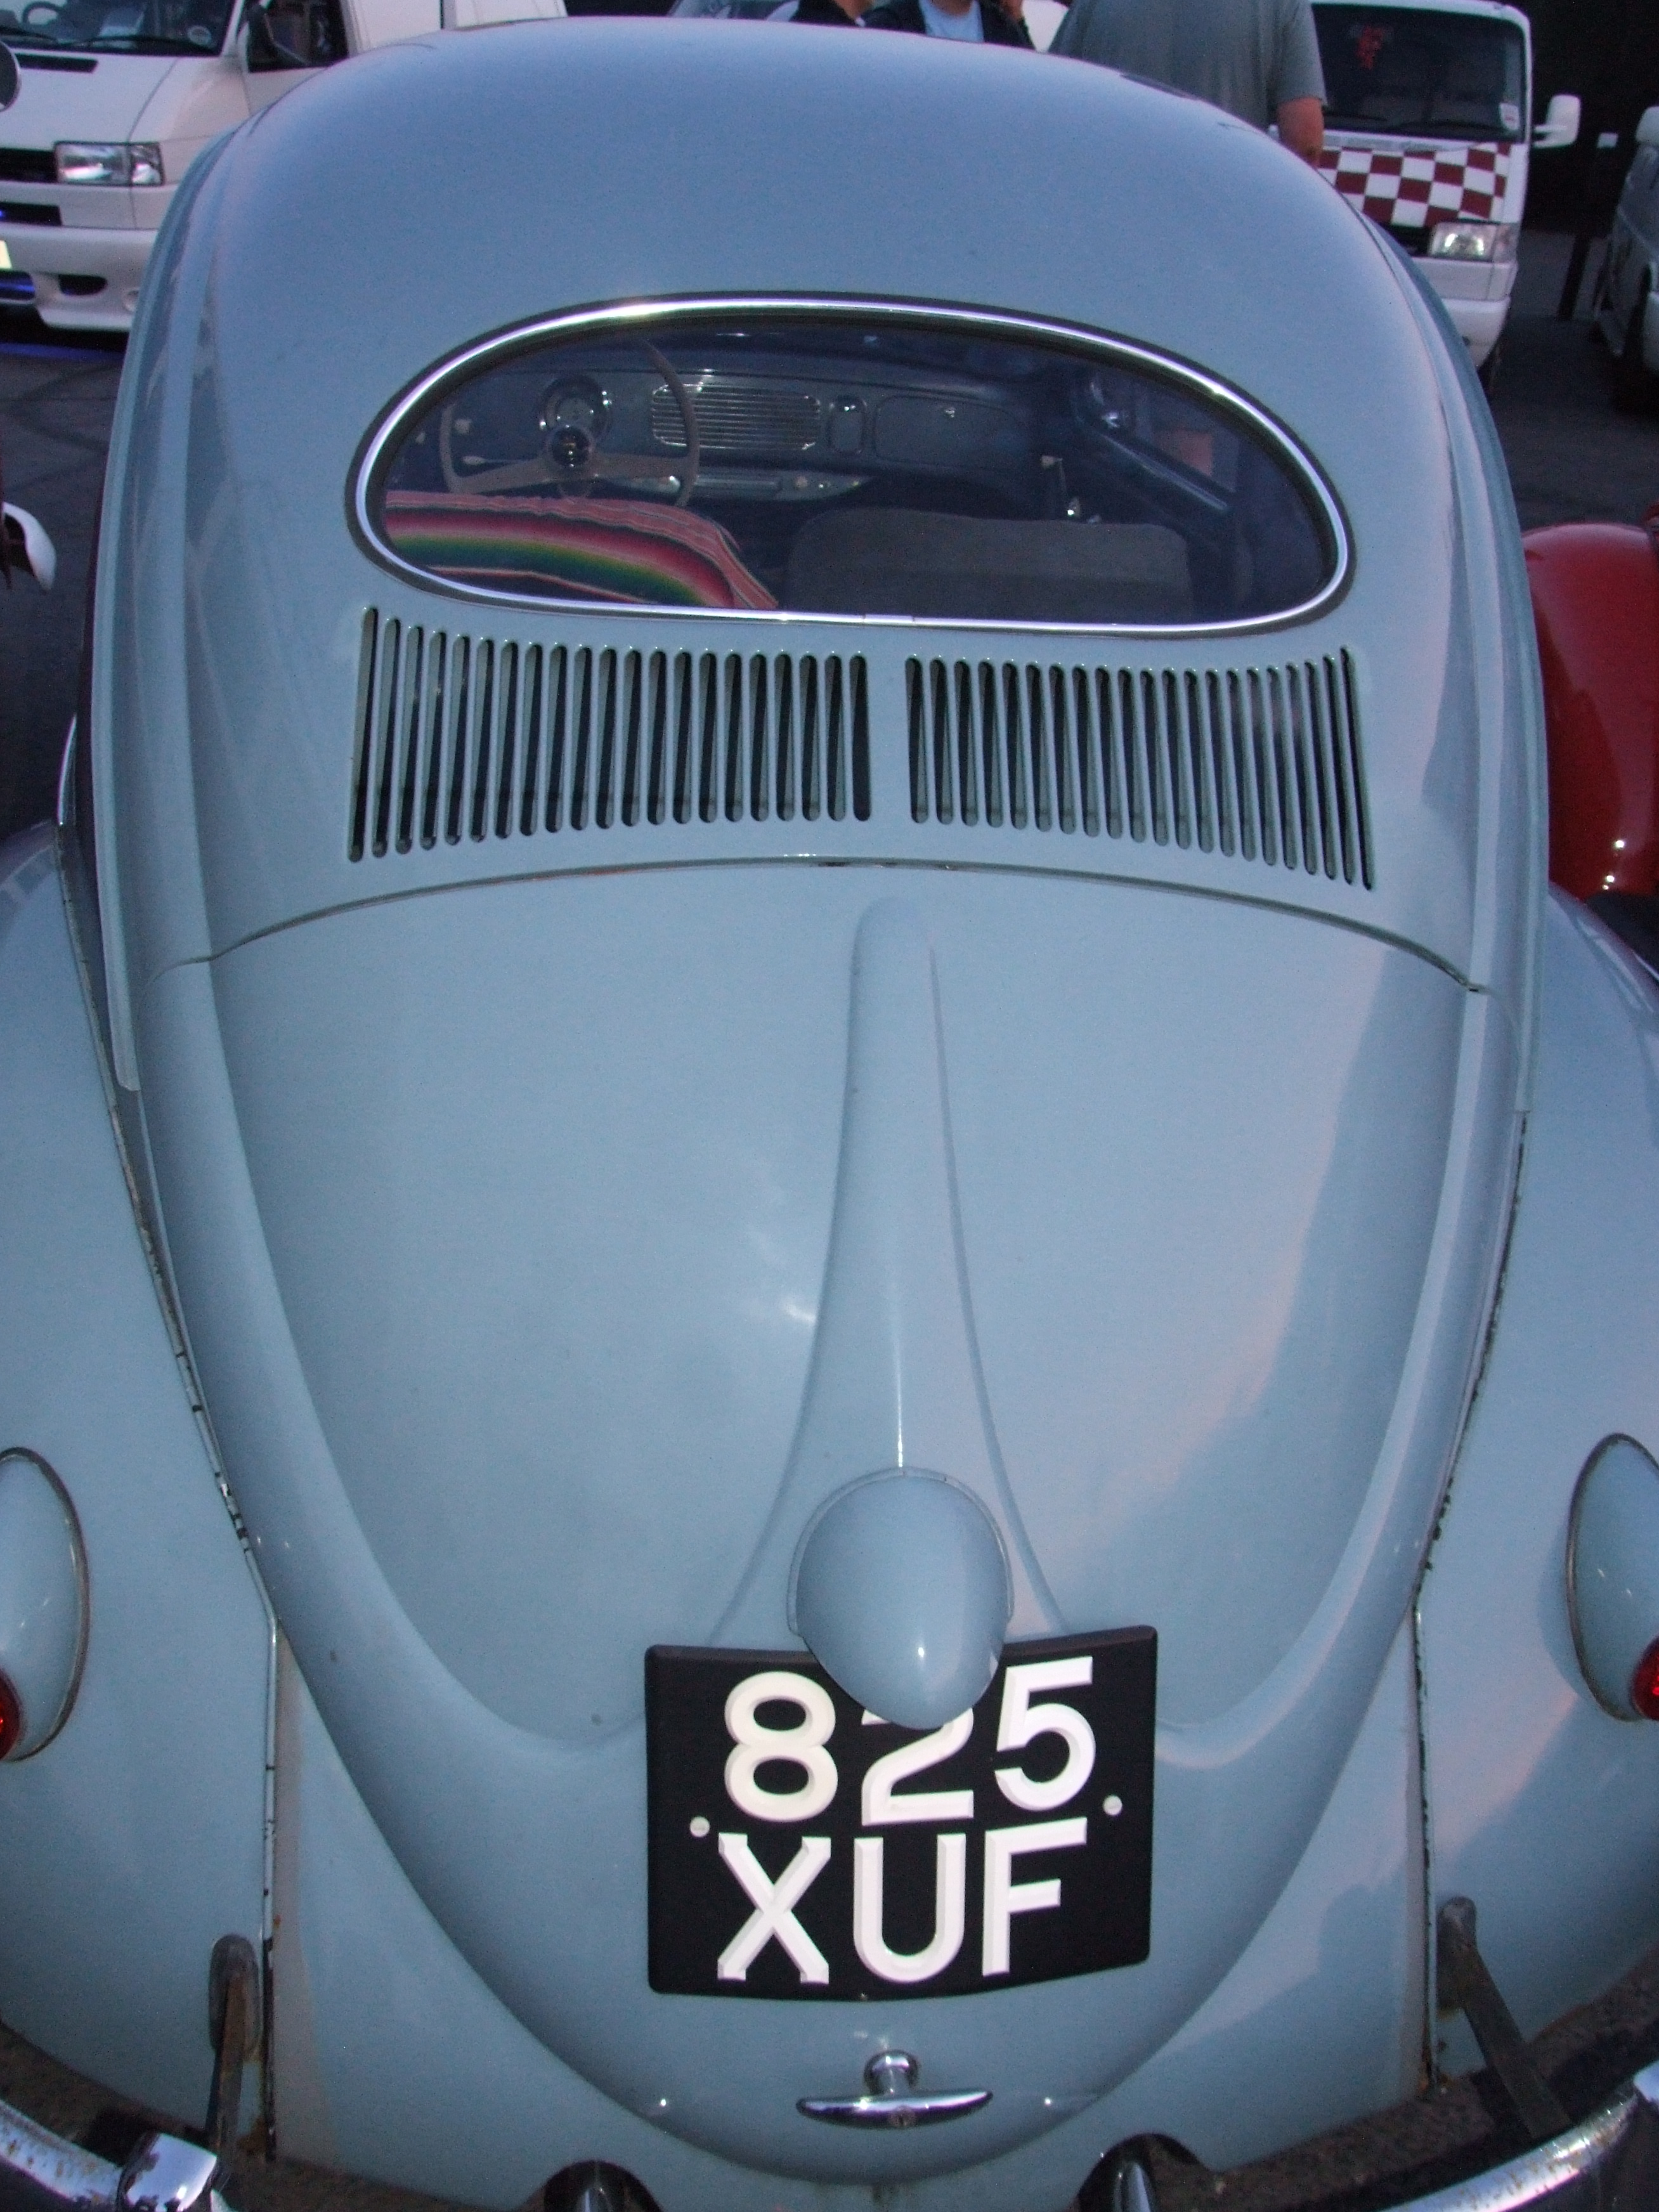
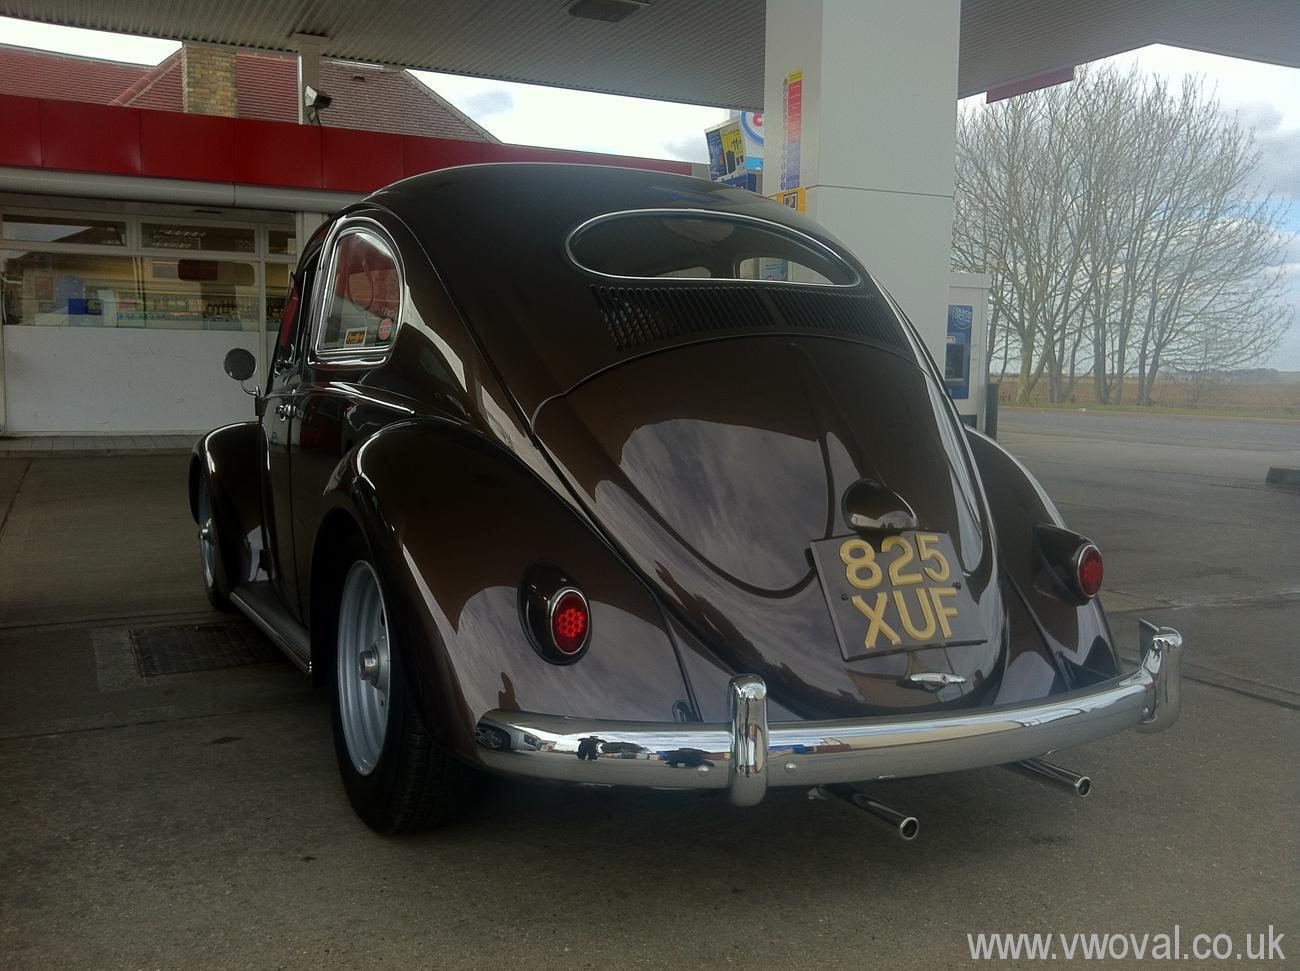
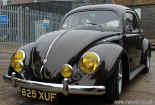
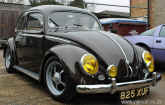
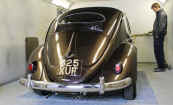
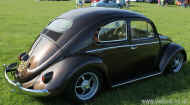
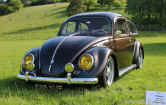
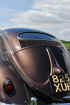
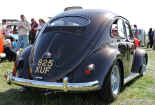
- Swedish Import.
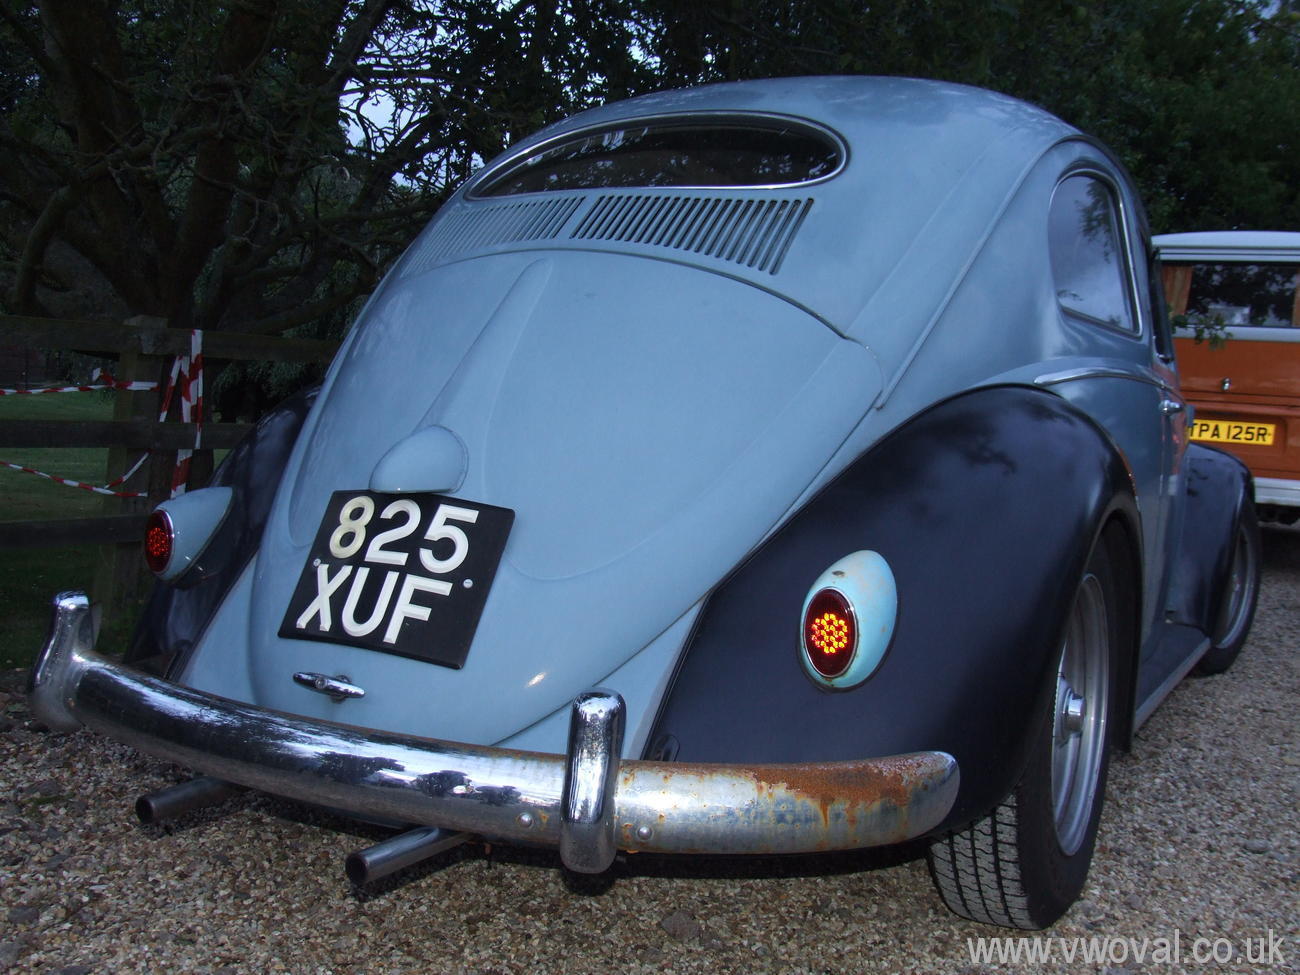
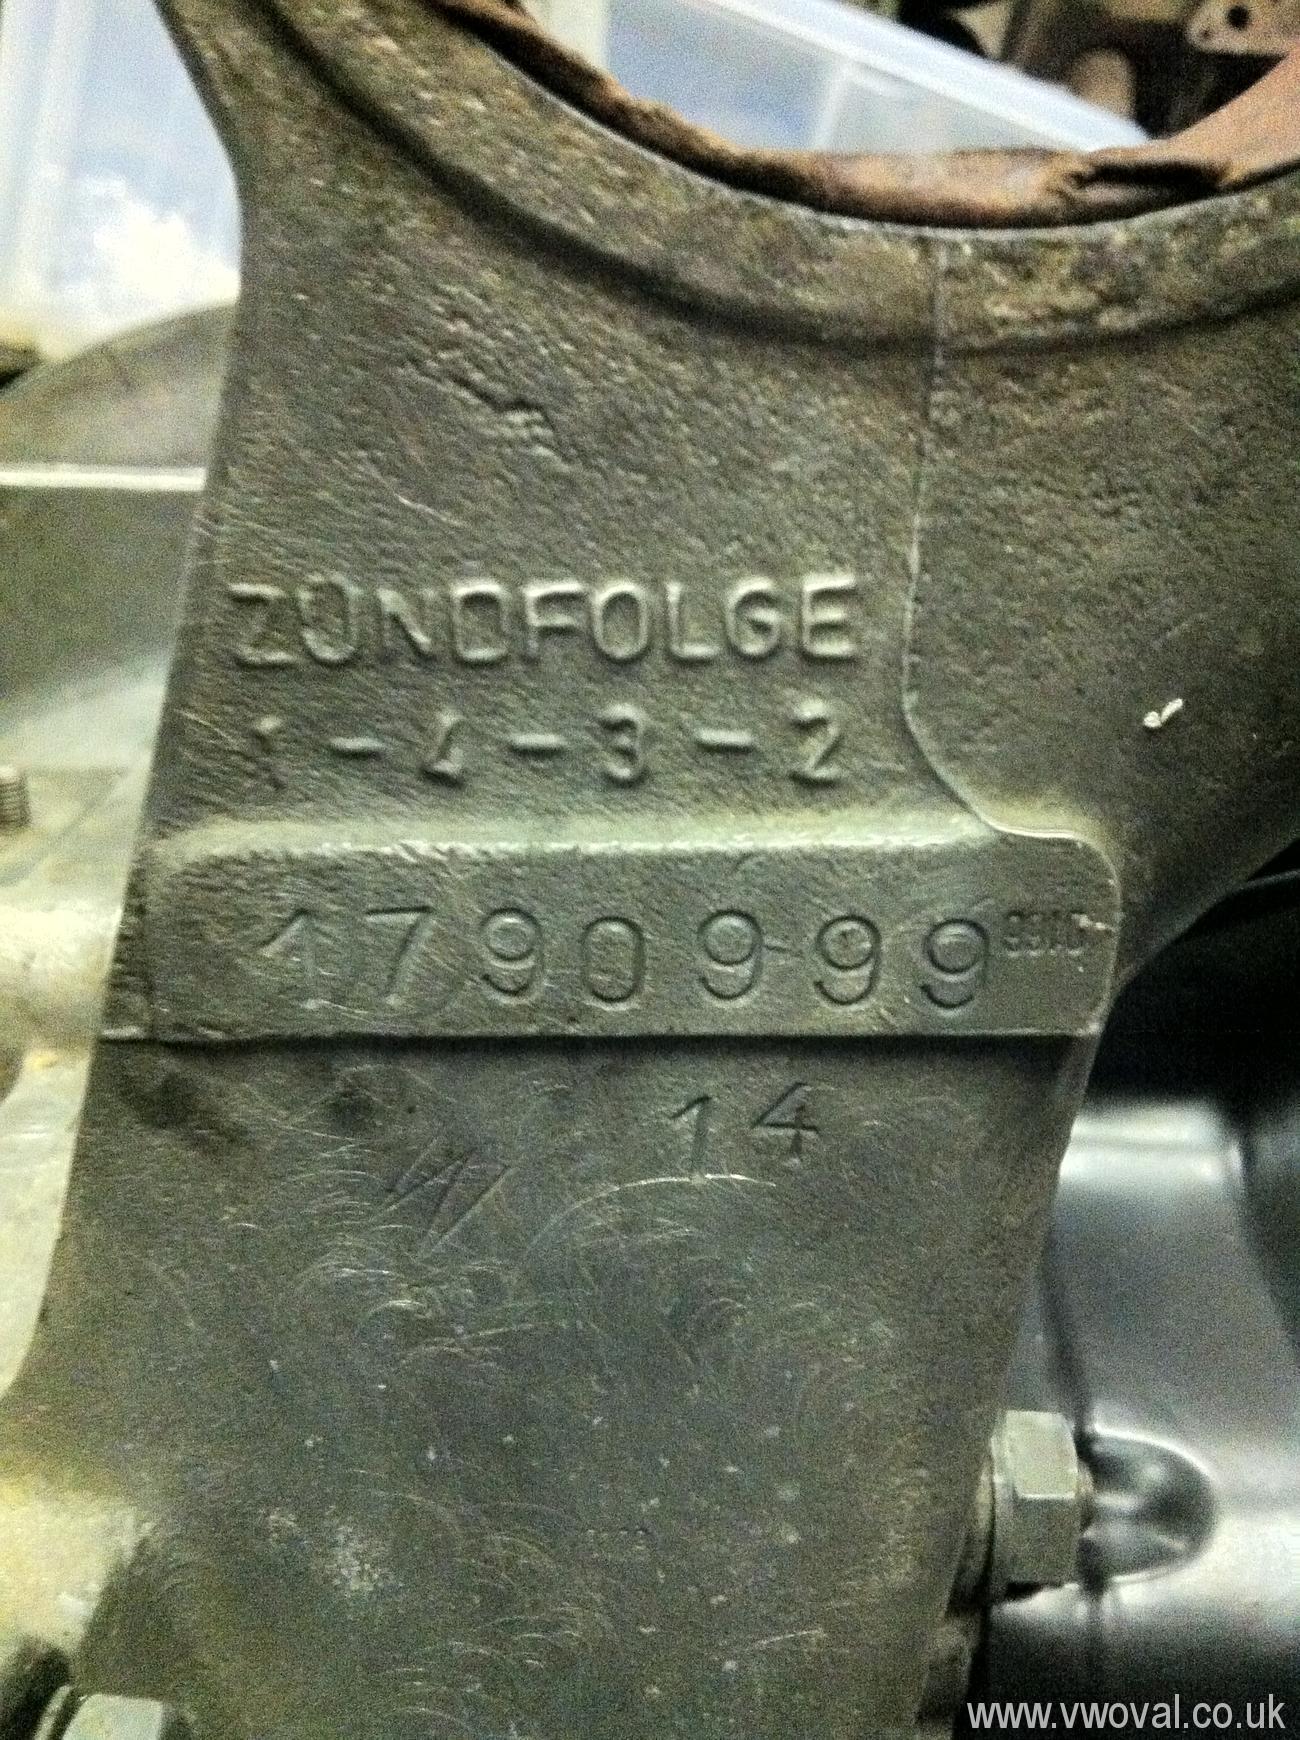
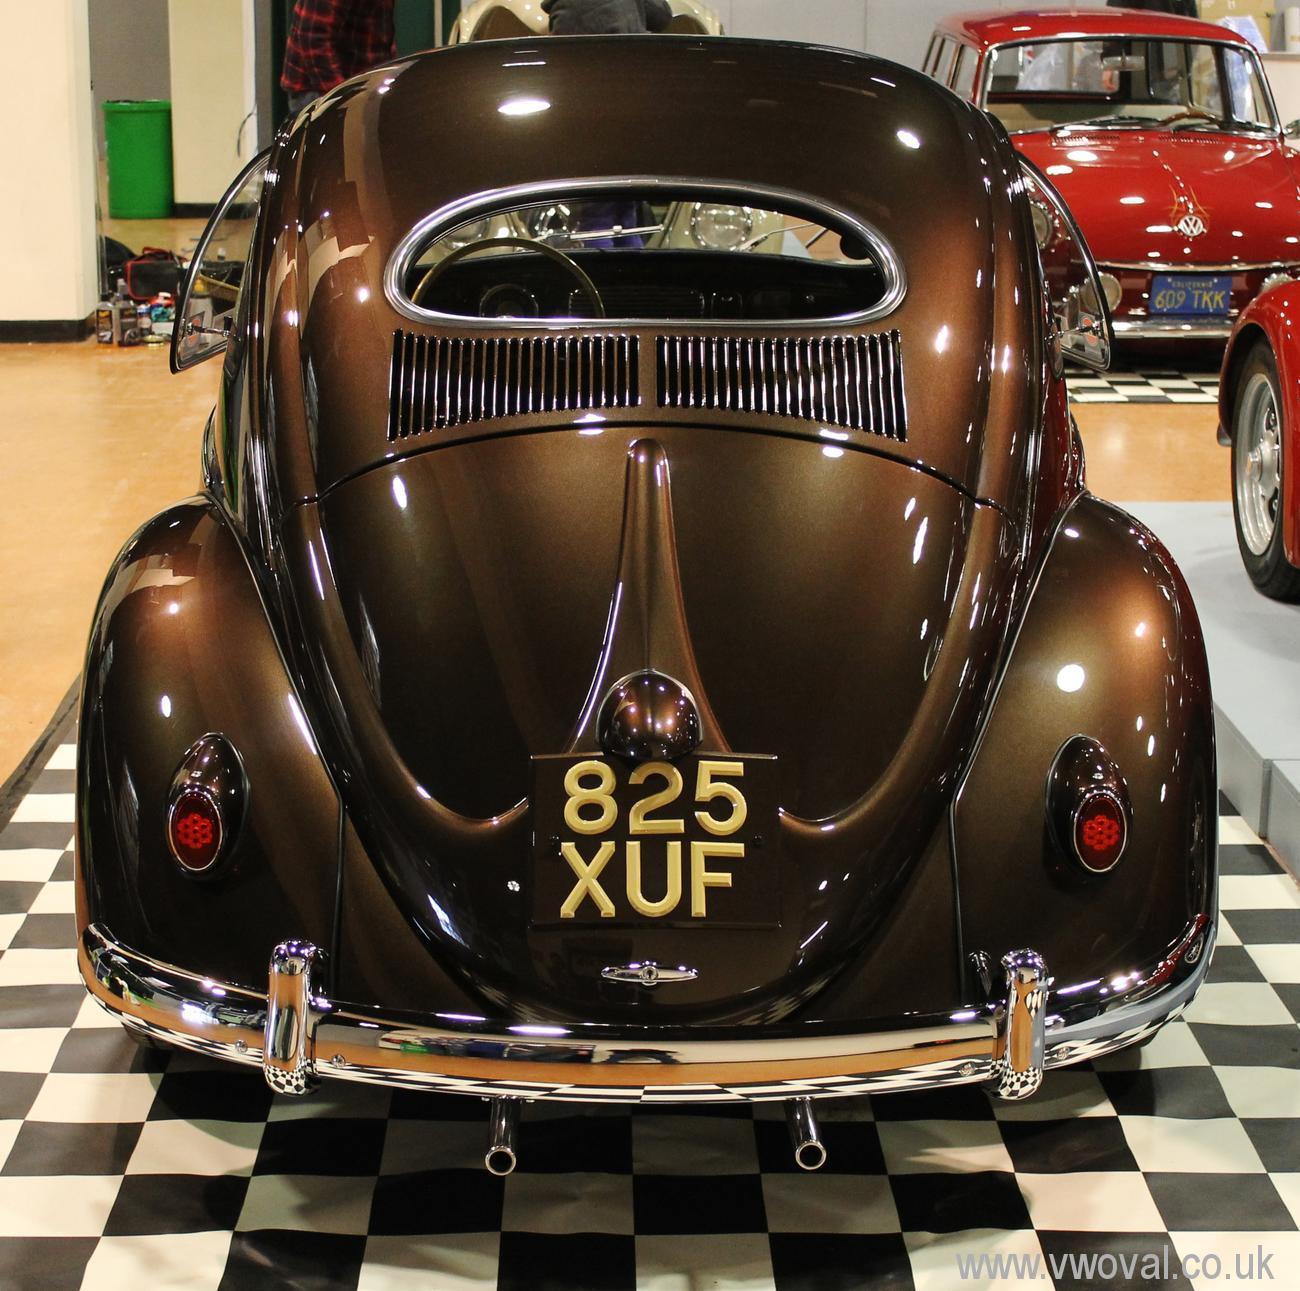
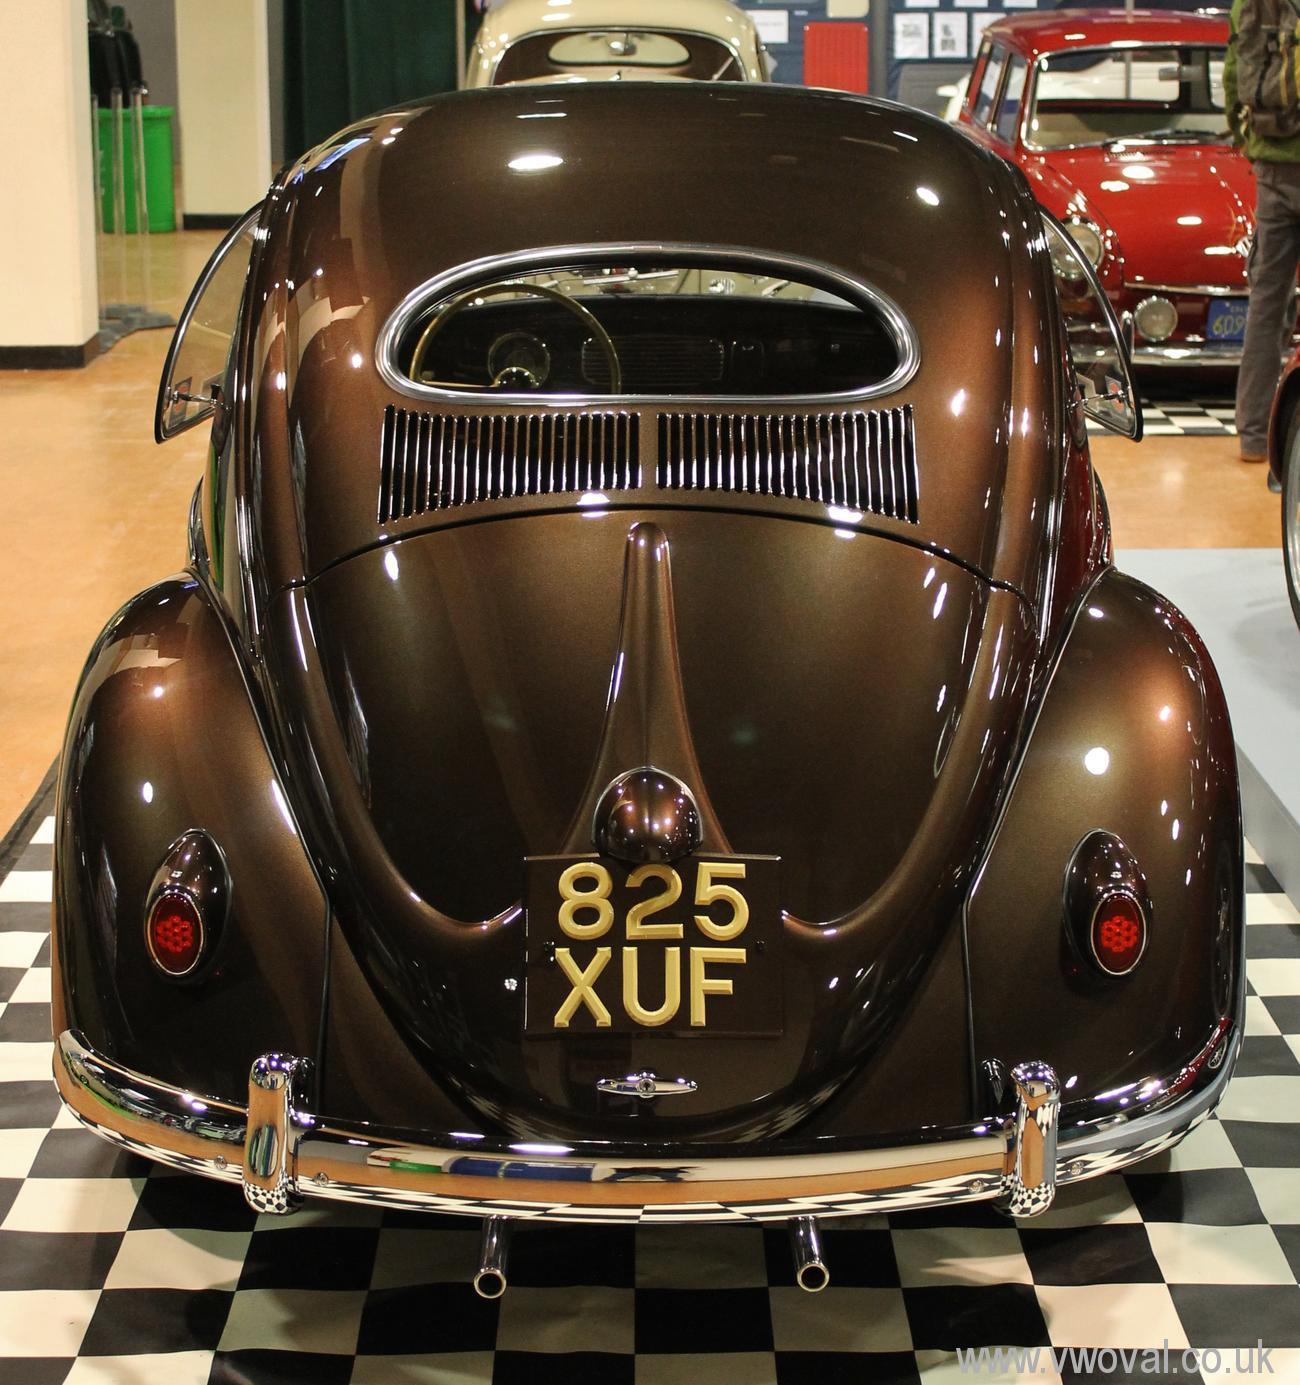
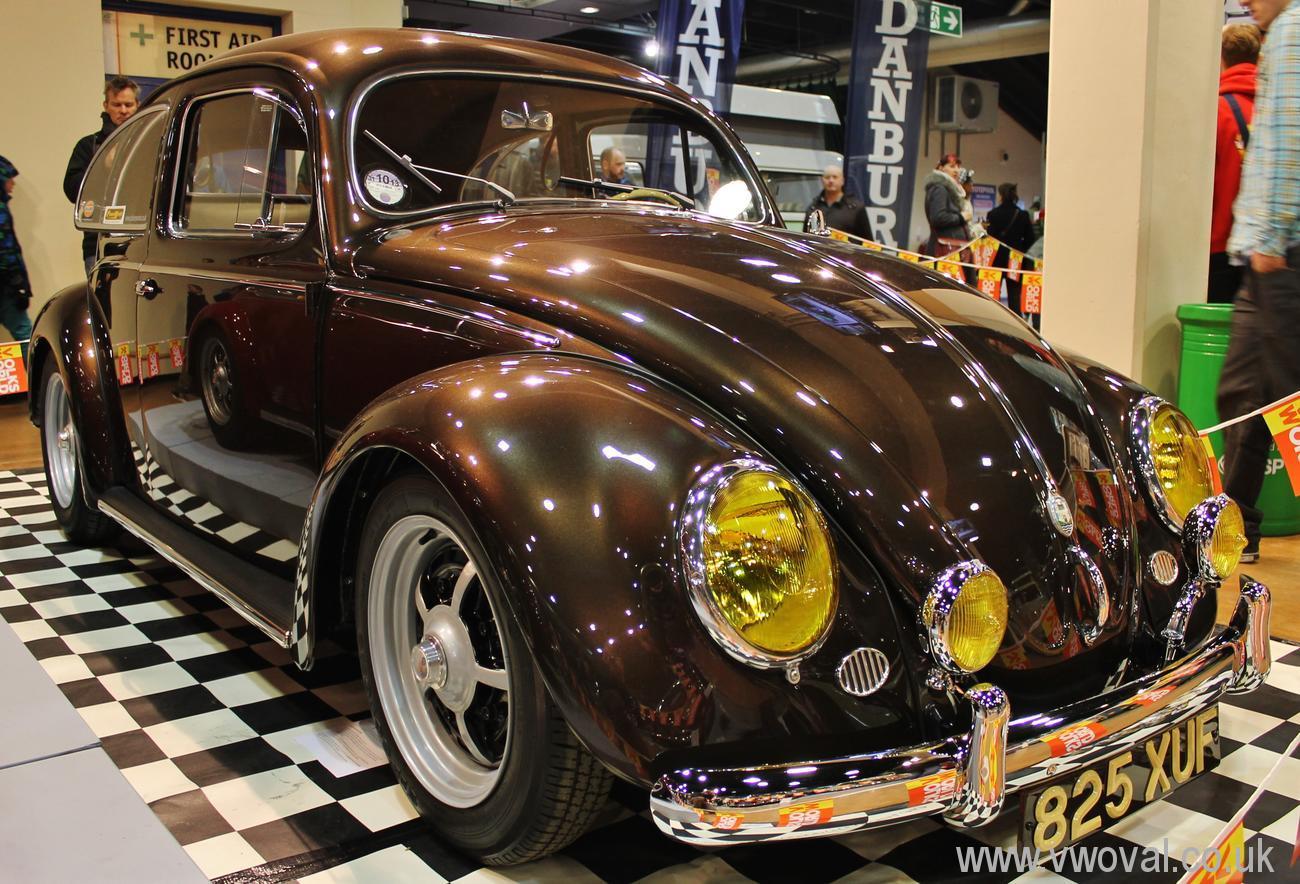
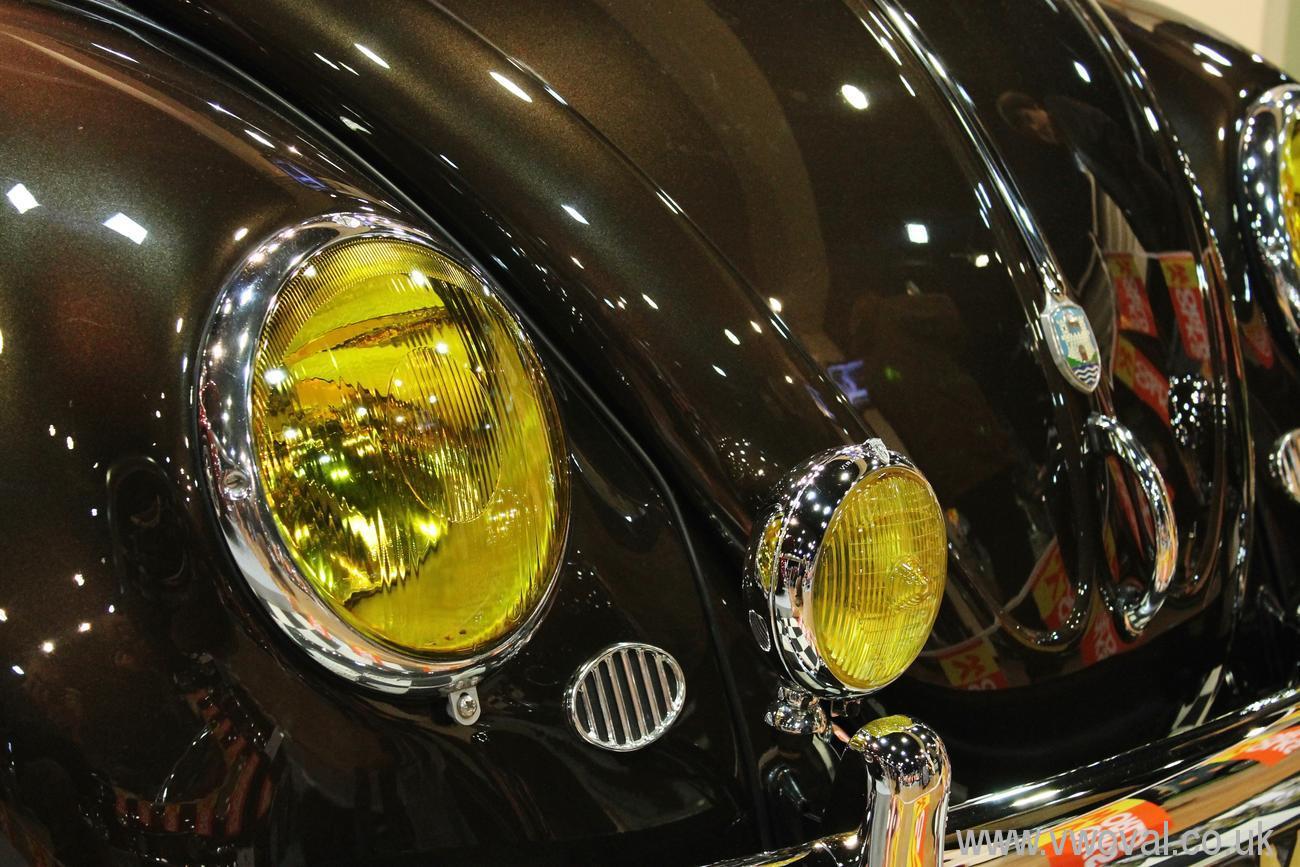
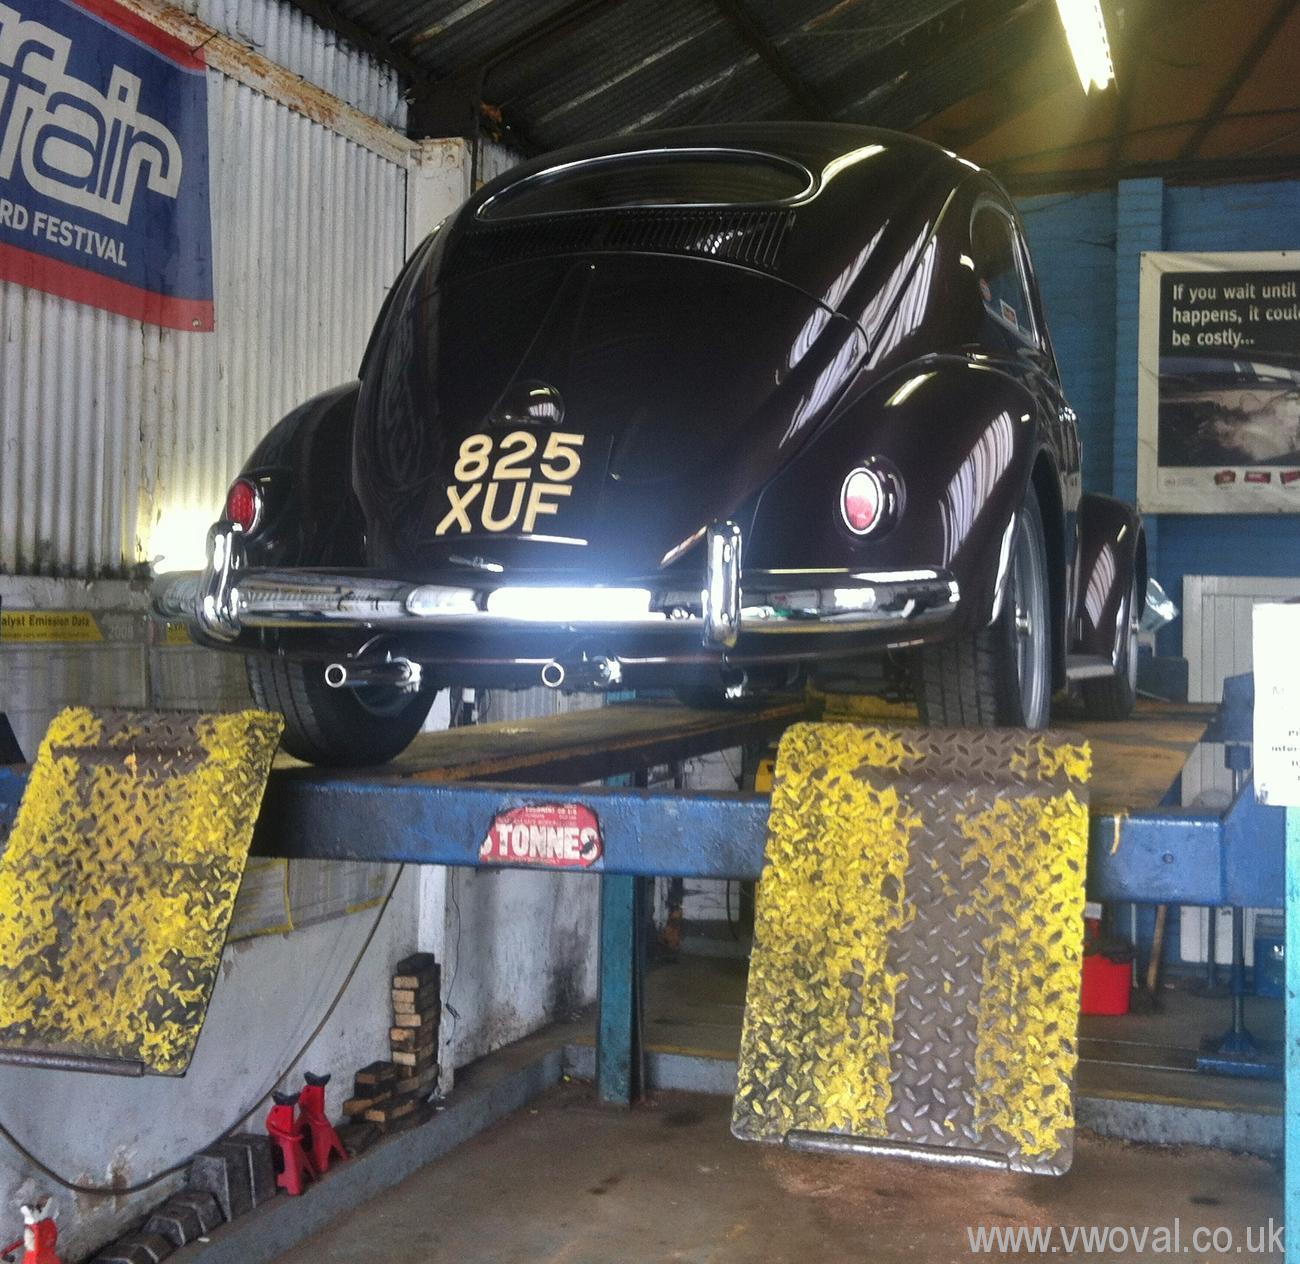
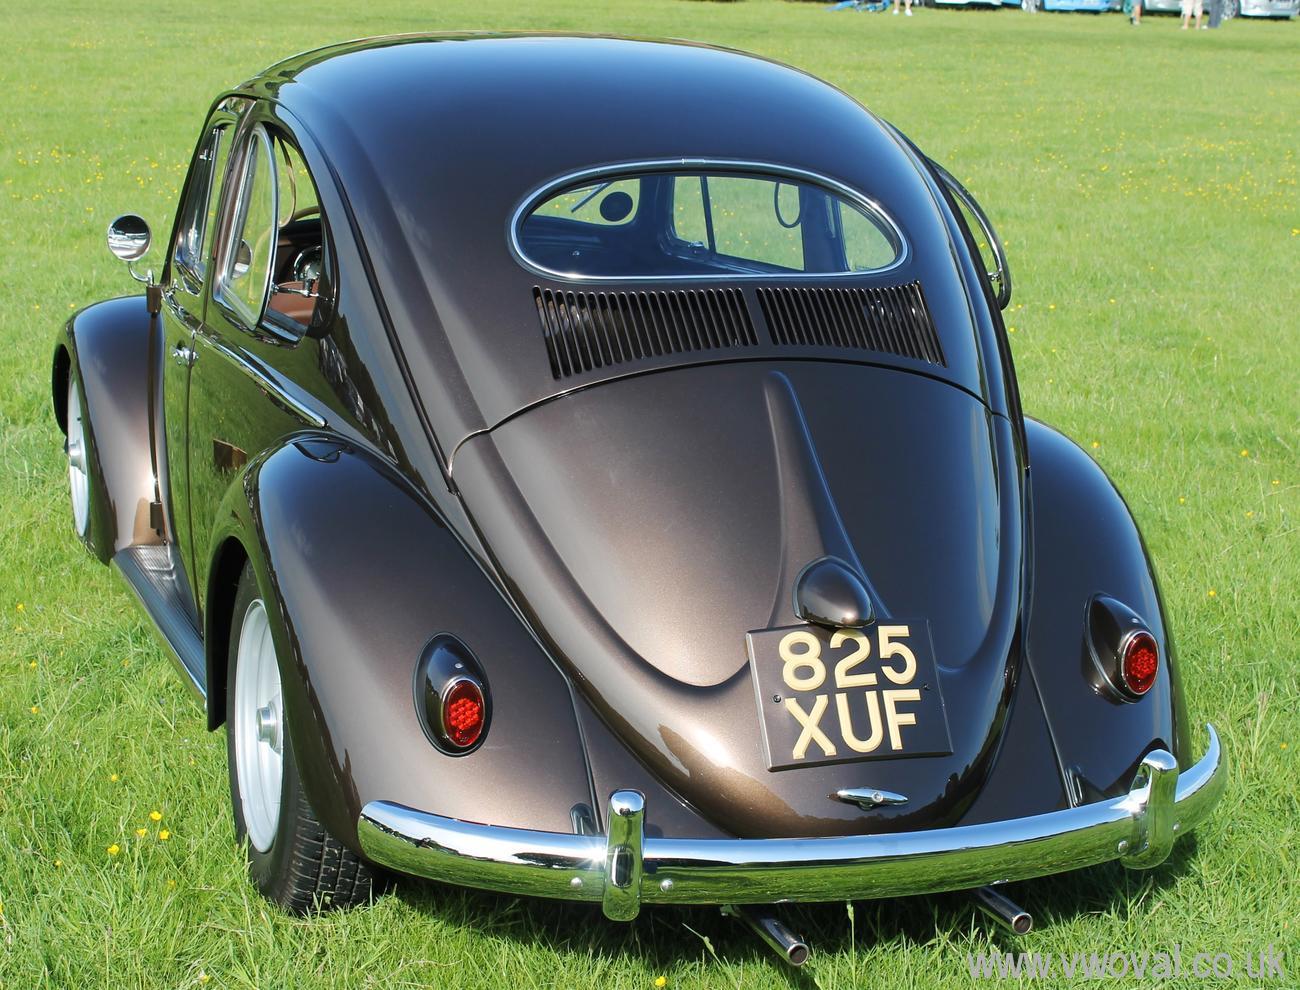
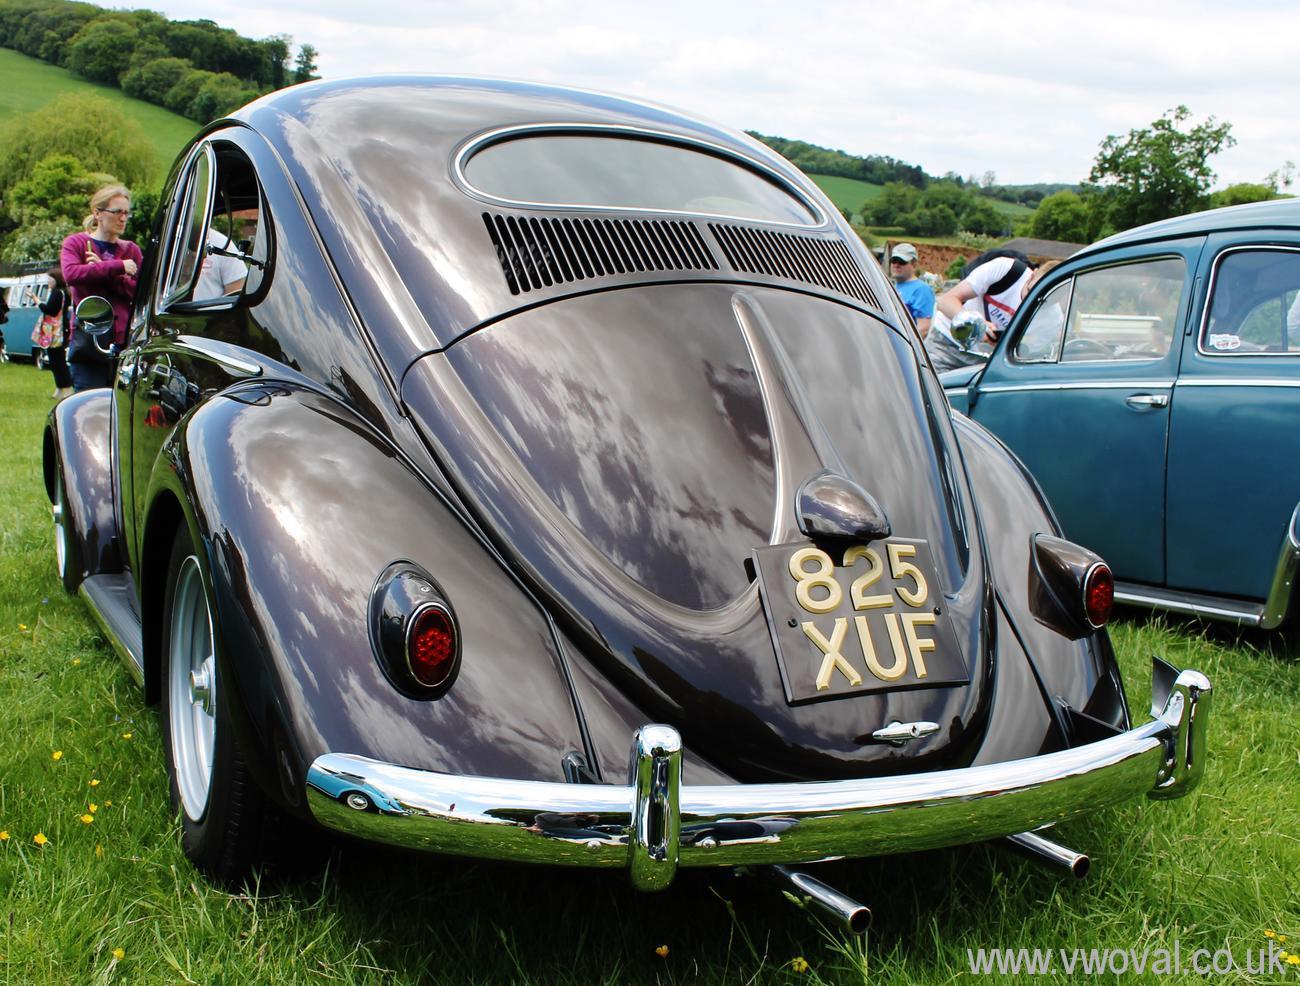
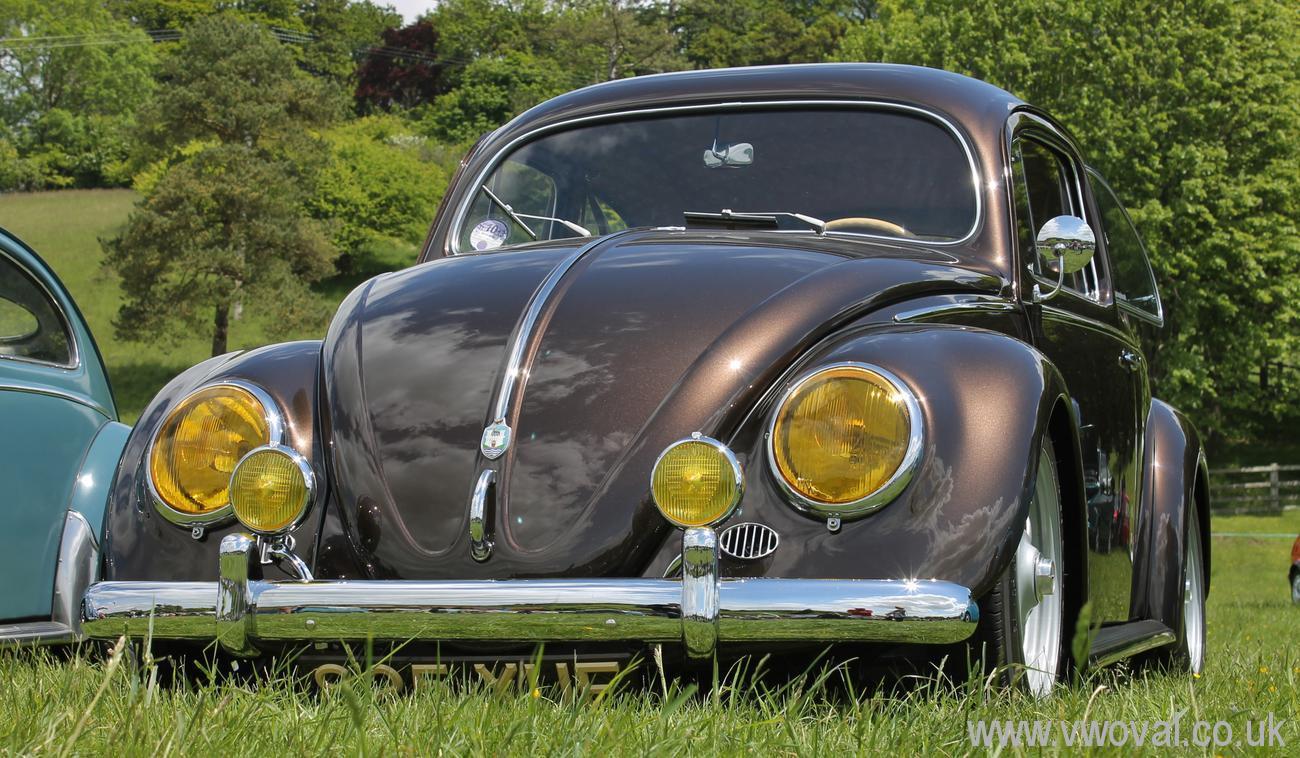
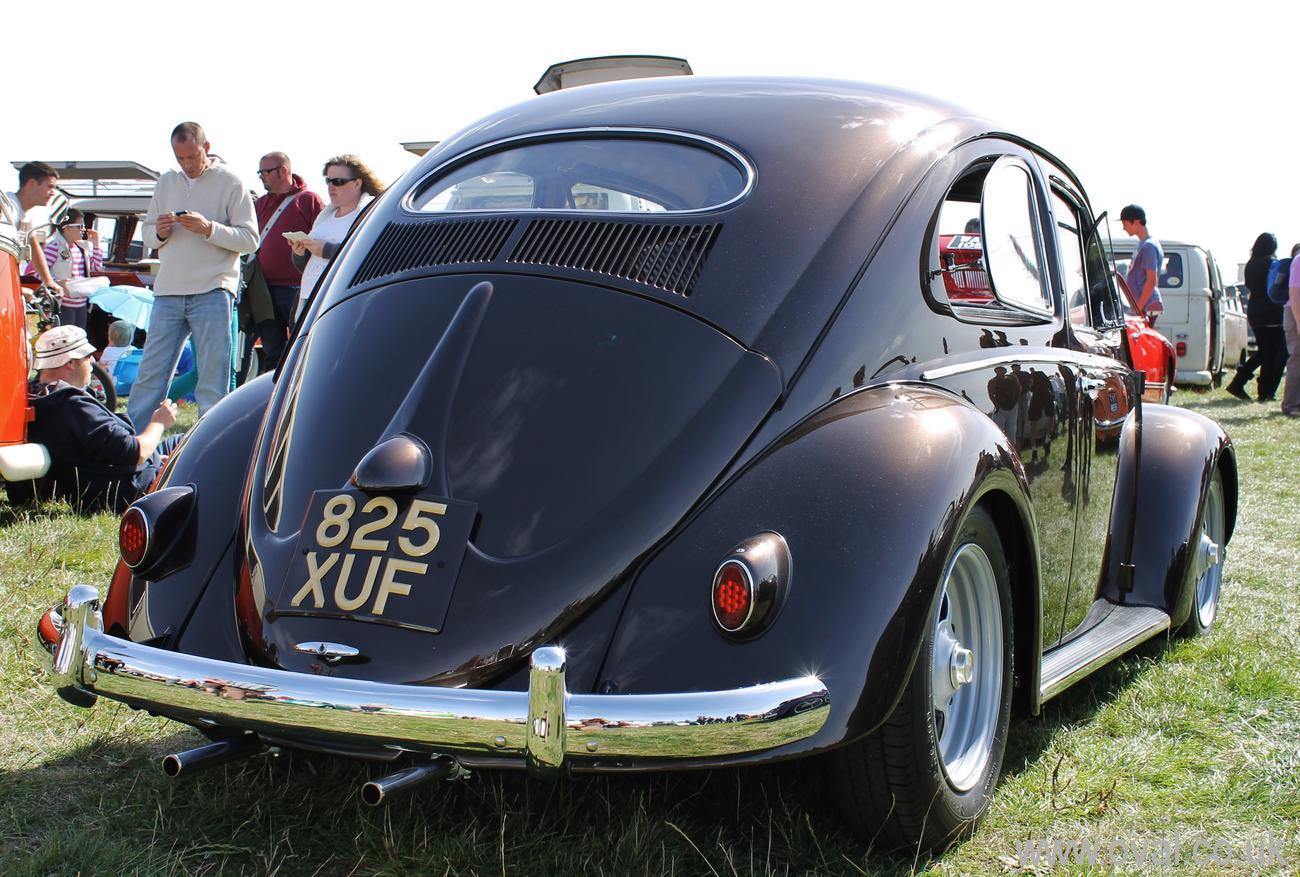
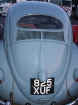
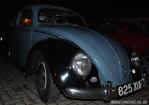
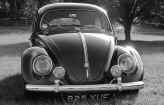
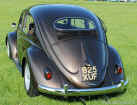
- 825XUF
- The Chassis is dated March 1956, The
Gearbox appears to be dated March 1956 and the engine appears to date from March
1957.
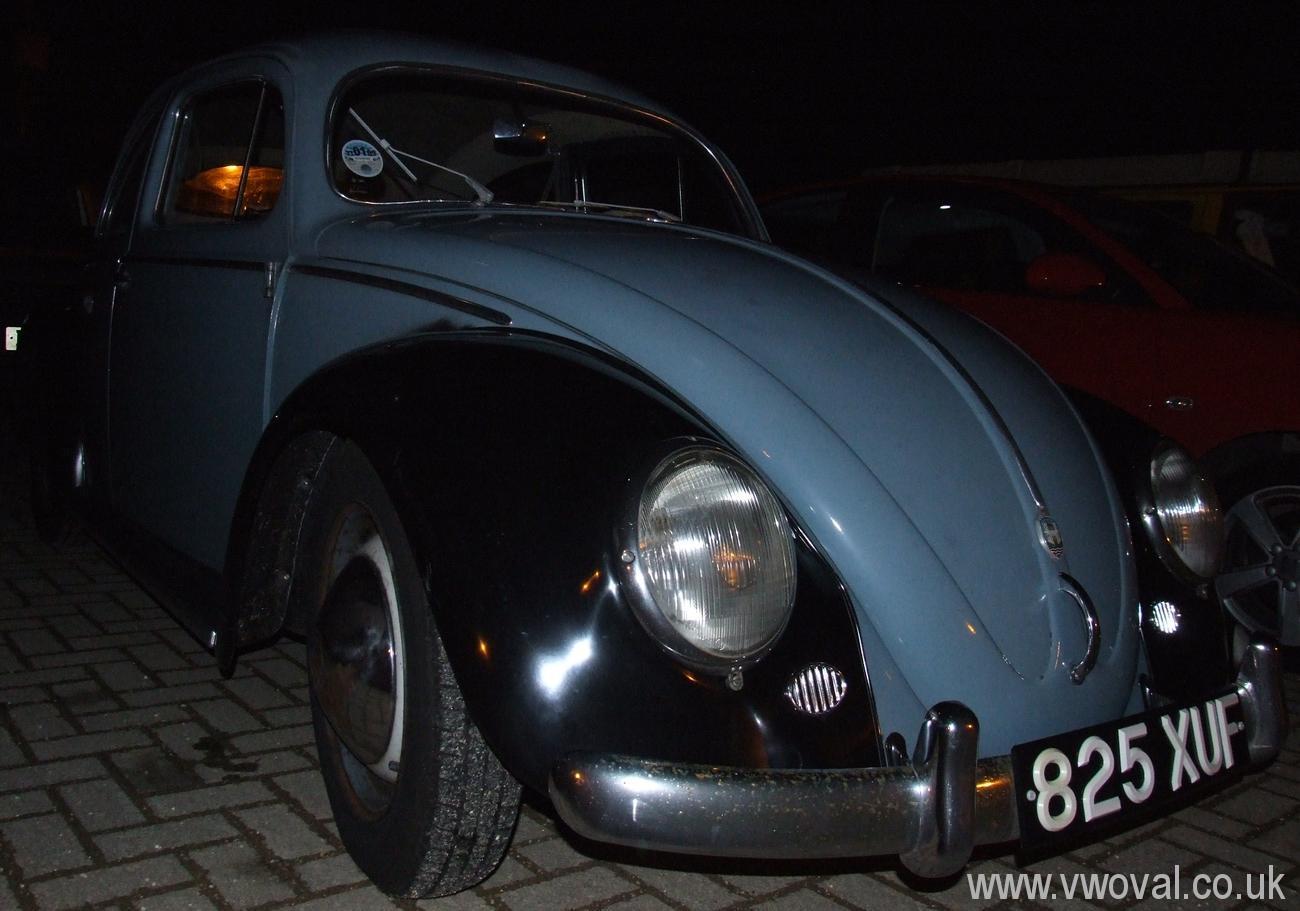
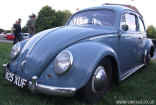
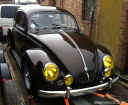
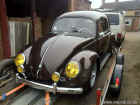
- My friend David purchased this Imported Swedish Oval
window VW Beetle in 2008. He got
it roadworthy and I helped him register it - I have good memories of the first
trip to Borehamwood DVLA to get it registered / inspected.
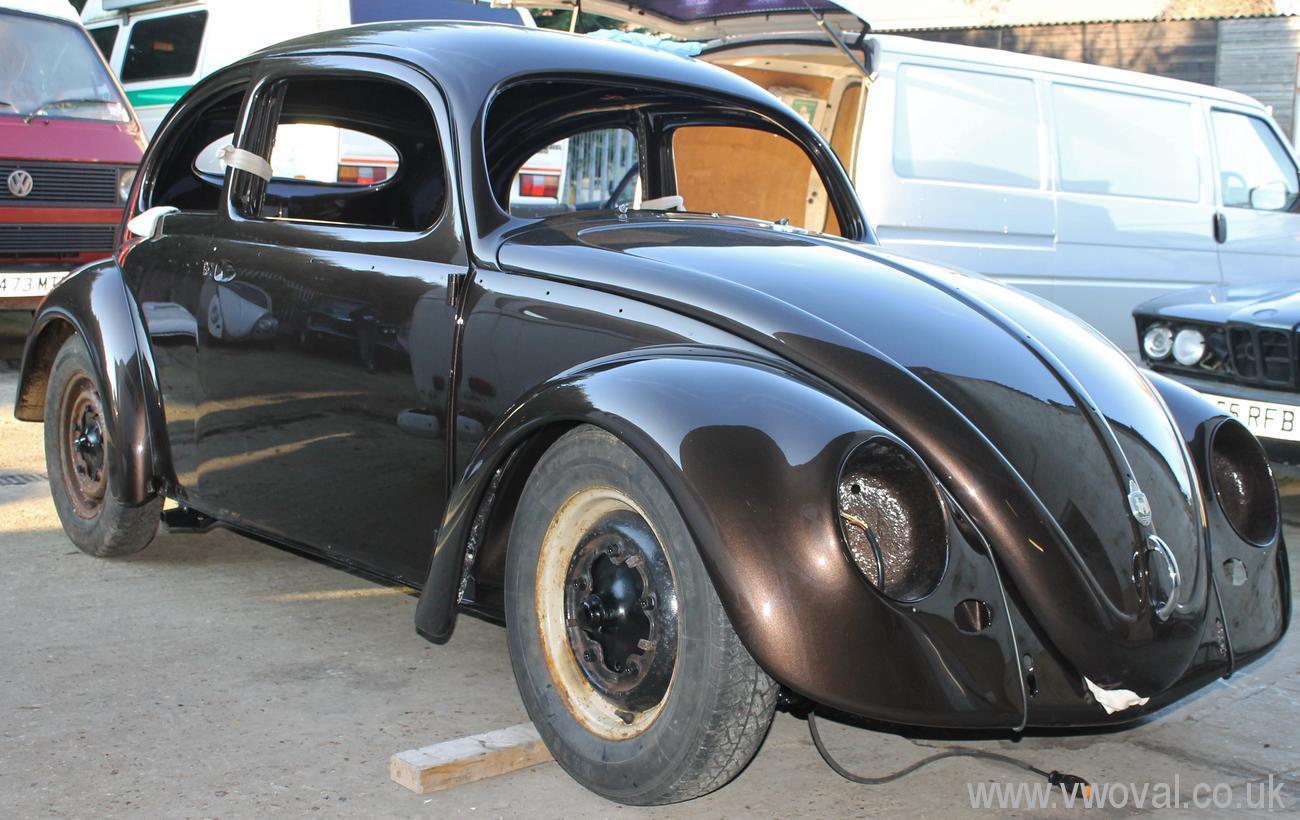
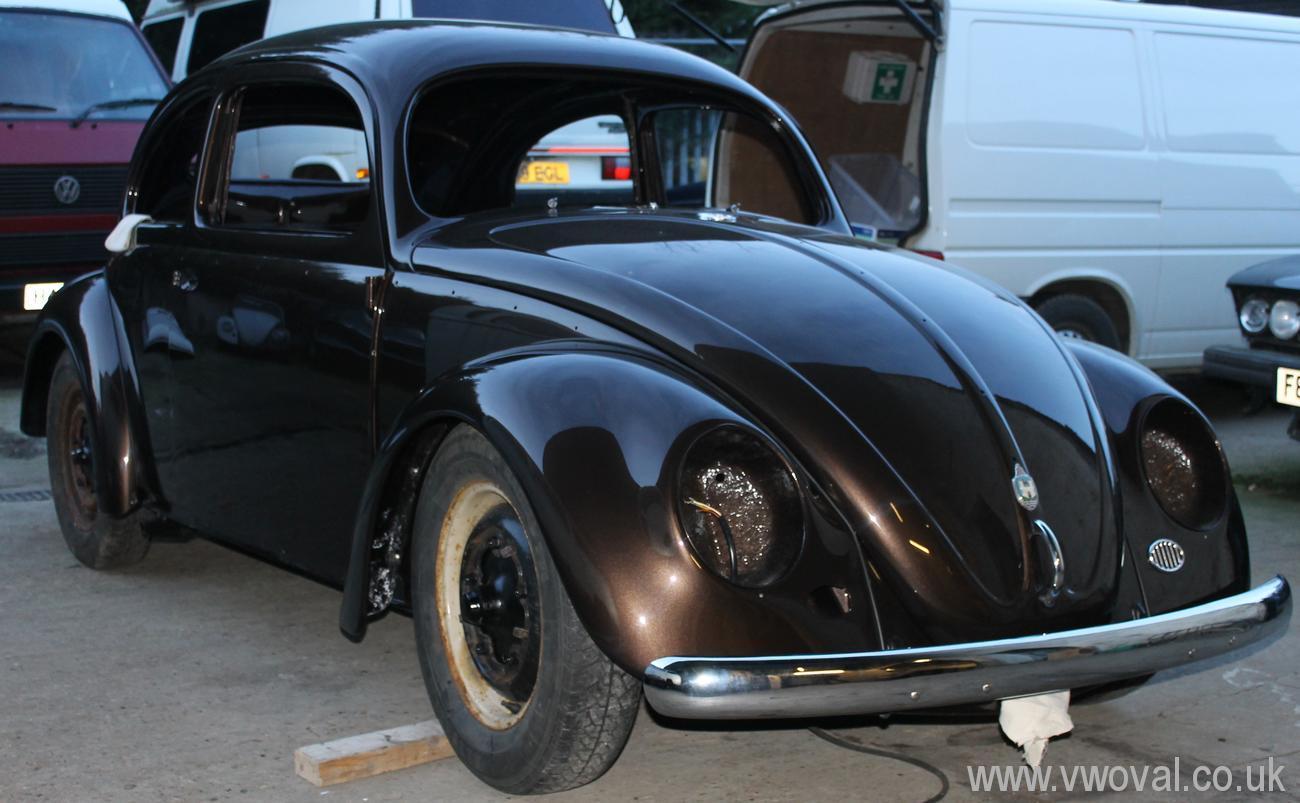
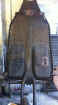
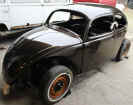
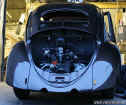
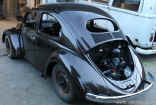
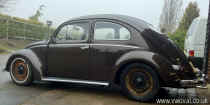
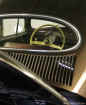
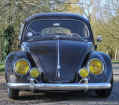
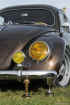
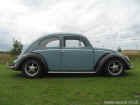
- David ran the car for a while and it looked like this..
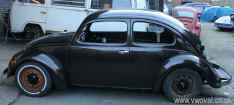
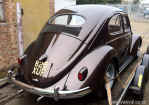
- I had introduced him to Hayden @ Panel Kraft and he had the wings changed for
Day mouldings wings and some repairs were done to where they bolt on... with the
wings off you could see it was a very solid bug... it was then run around
like this for a few years, David used it in all weathers...
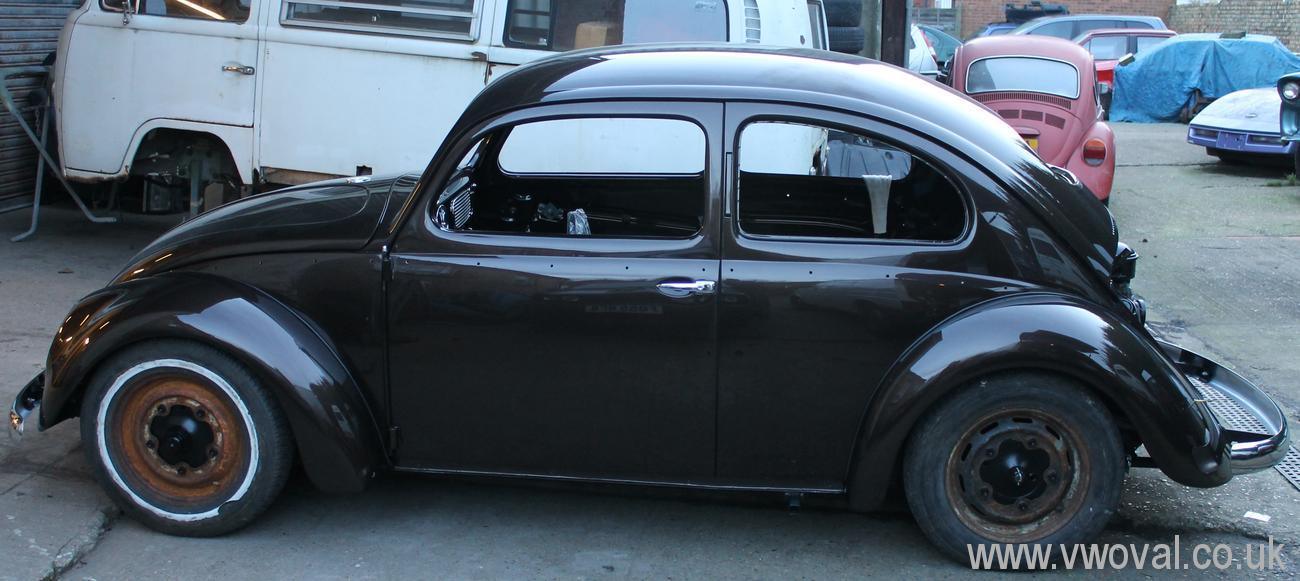
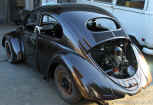
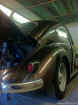
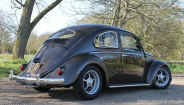
- A while later David sold the car to Hayden... Hayden used it for a
while and added some accessories..
-
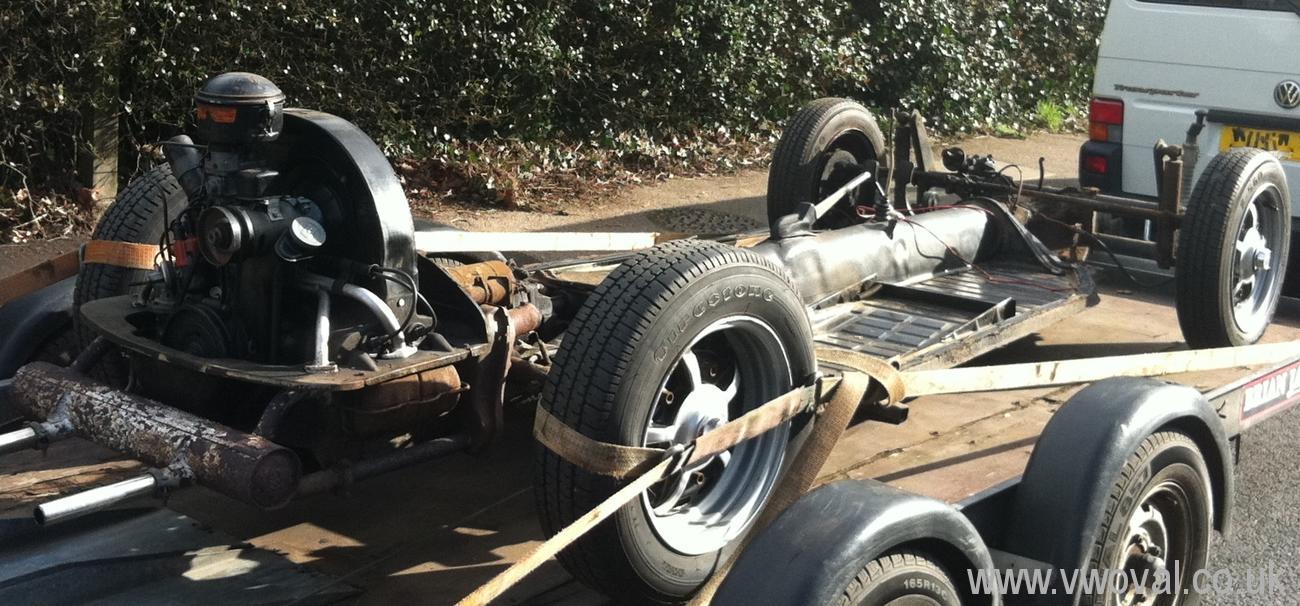
- And then stripped it in his garage at home ... I moved the bare chassis
for him... so he could work on it ..
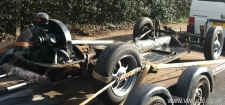
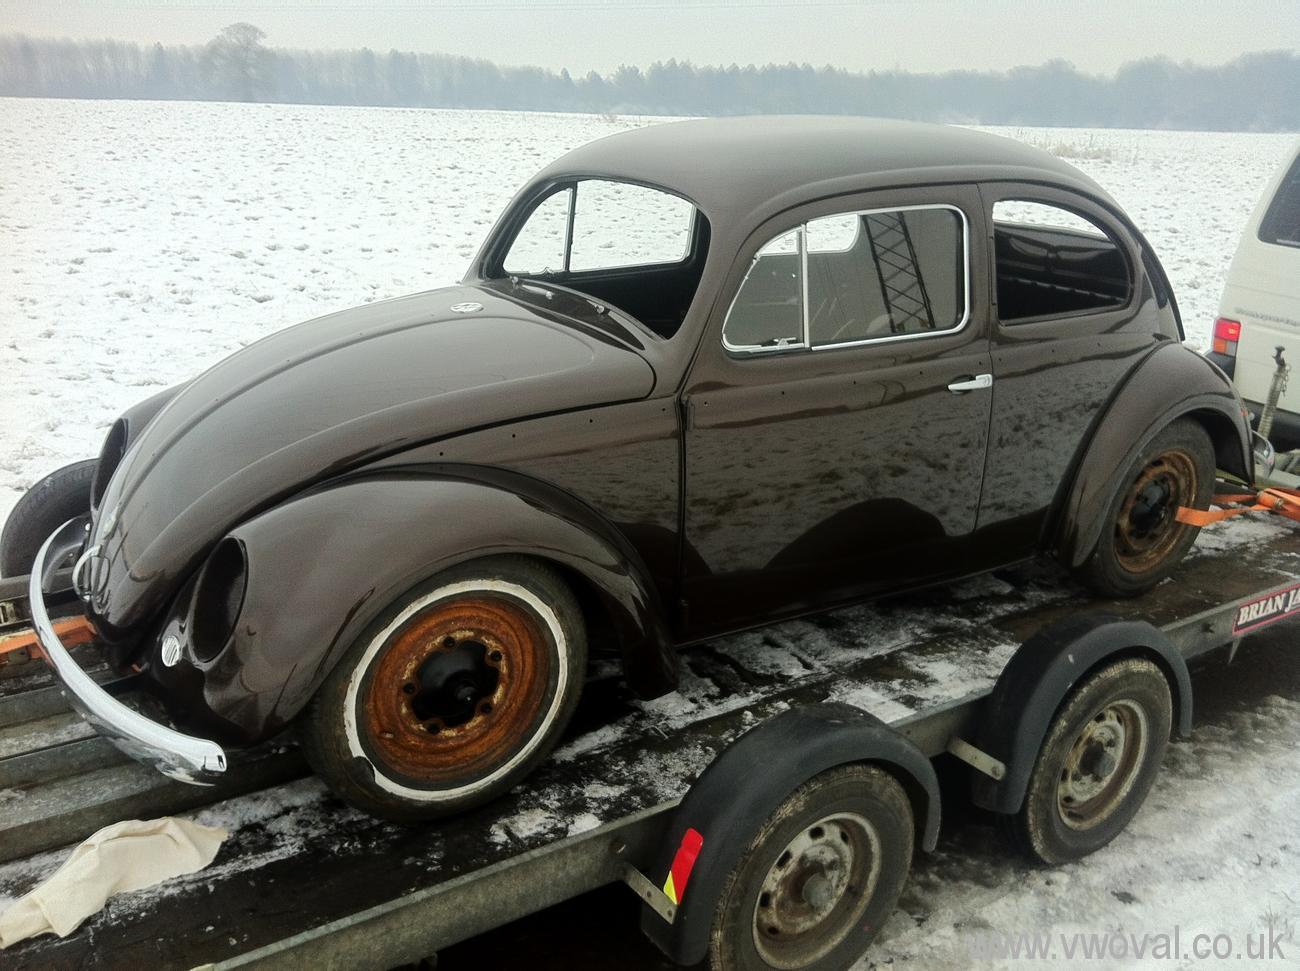
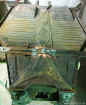
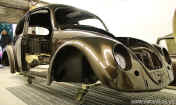
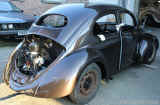
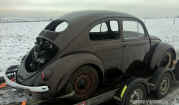
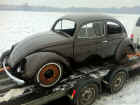
- Life moves on and the car became for sale.. but it was in lots of pieces...
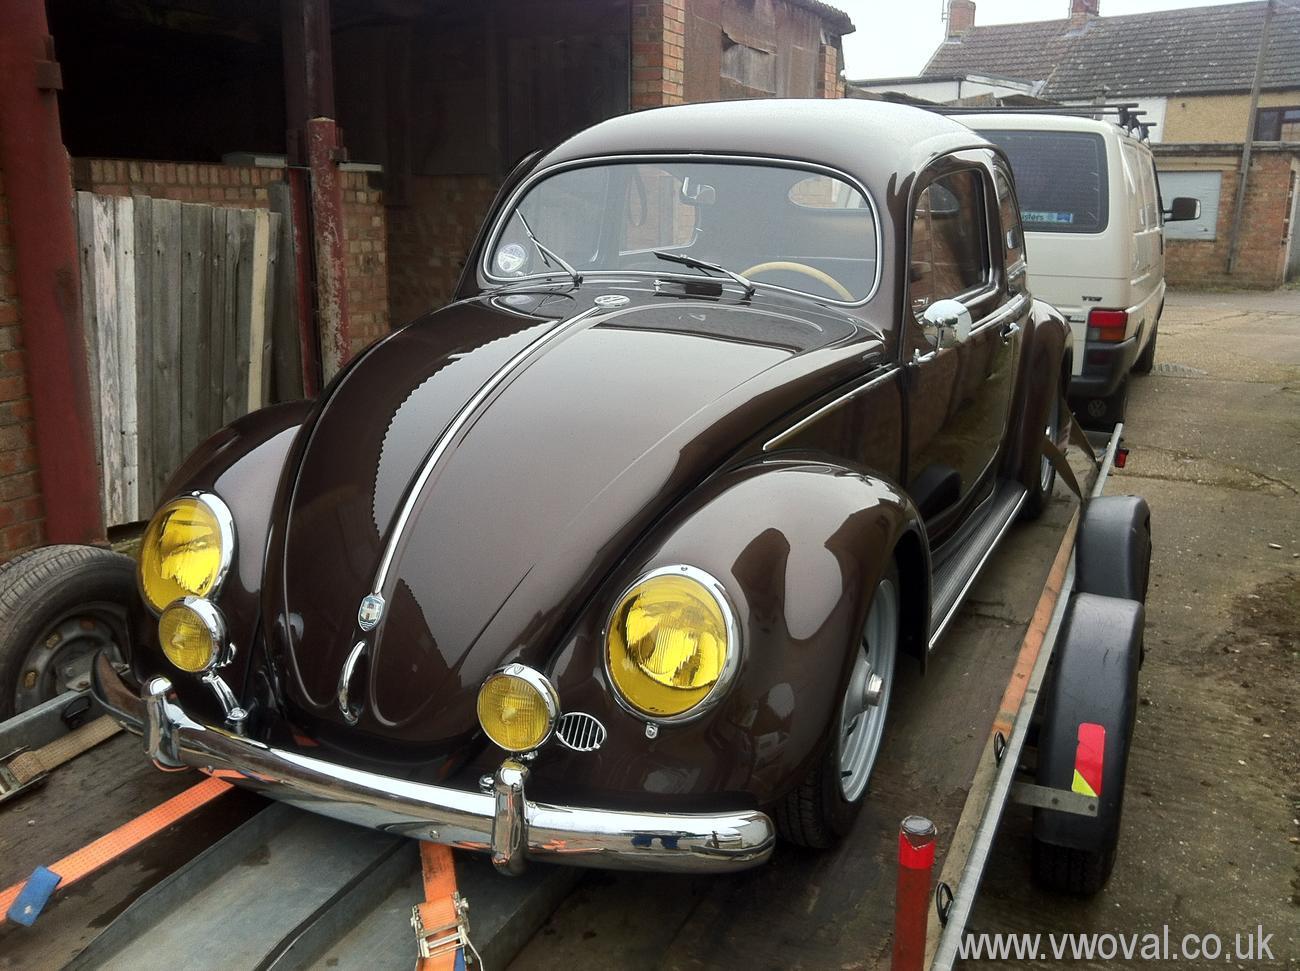
no one would commit to it and so I ended up buying it... (Beginning November 2012)
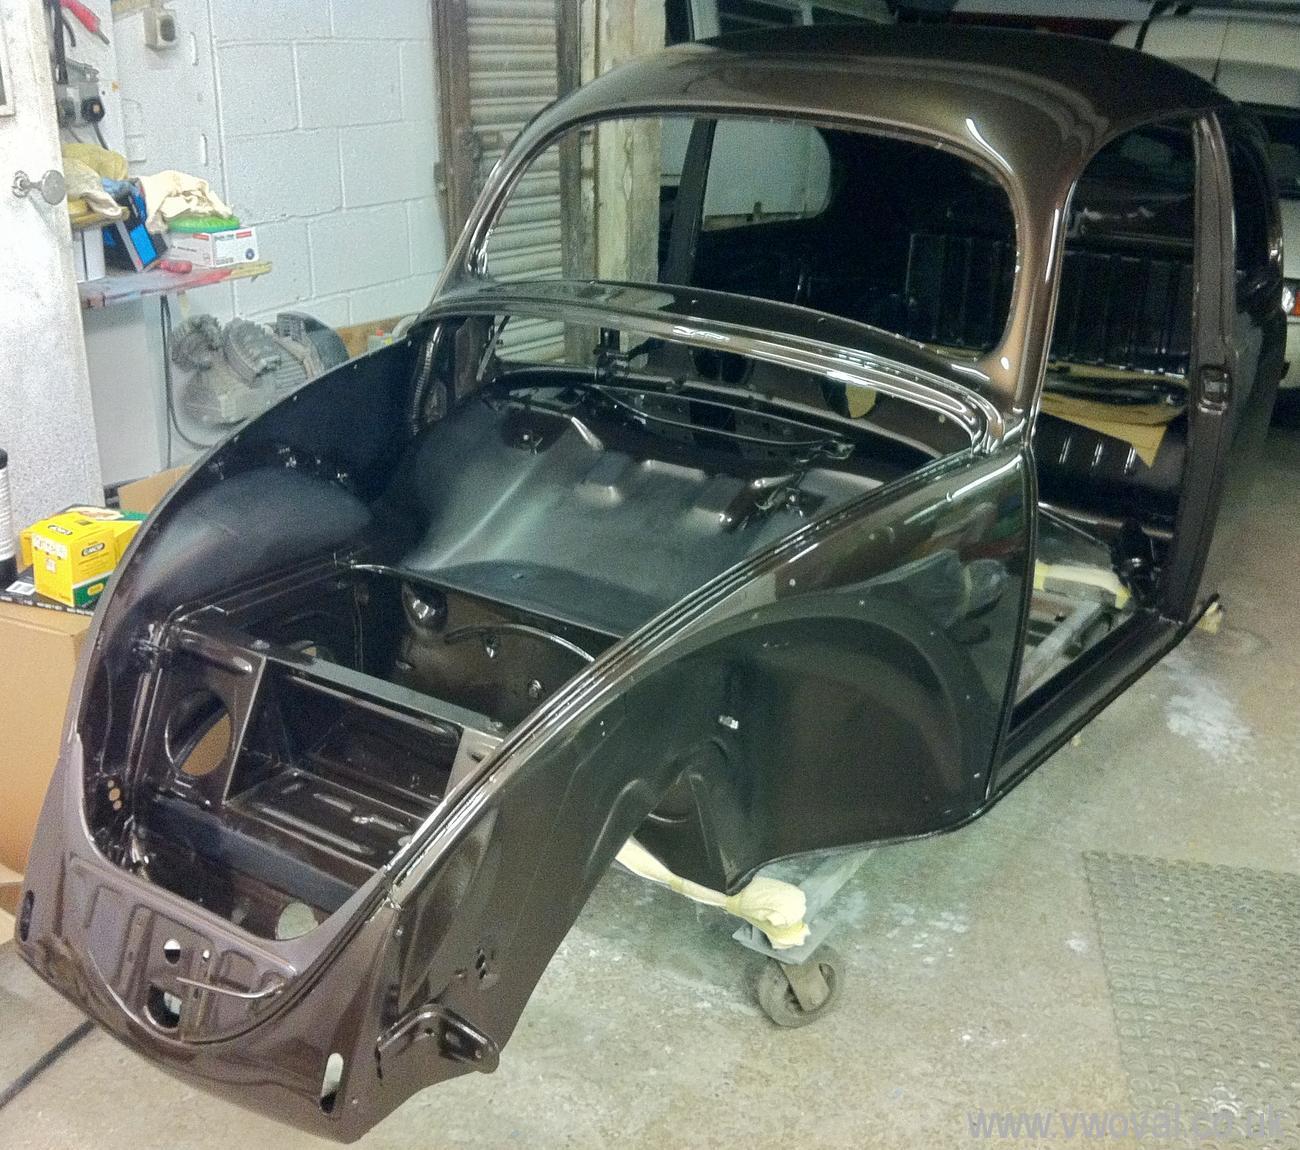
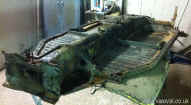
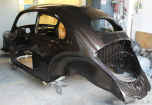
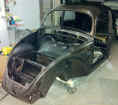
- This is how I bought it... a nice bare shell,
nearly ready to be painted, all the other parts still needing prep and
repair - boxes
of old bits scattered everywhere! ... also a list of parts to buy new to replace
tired old parts that just are not good enough to put back on it. A bit
of a daunting task... I didn't take it apart... so will I ever get it back
together? - No one else wanted it.. so I thought I'd give it a go...

- December 2012 is all starts to happen quite quickly...
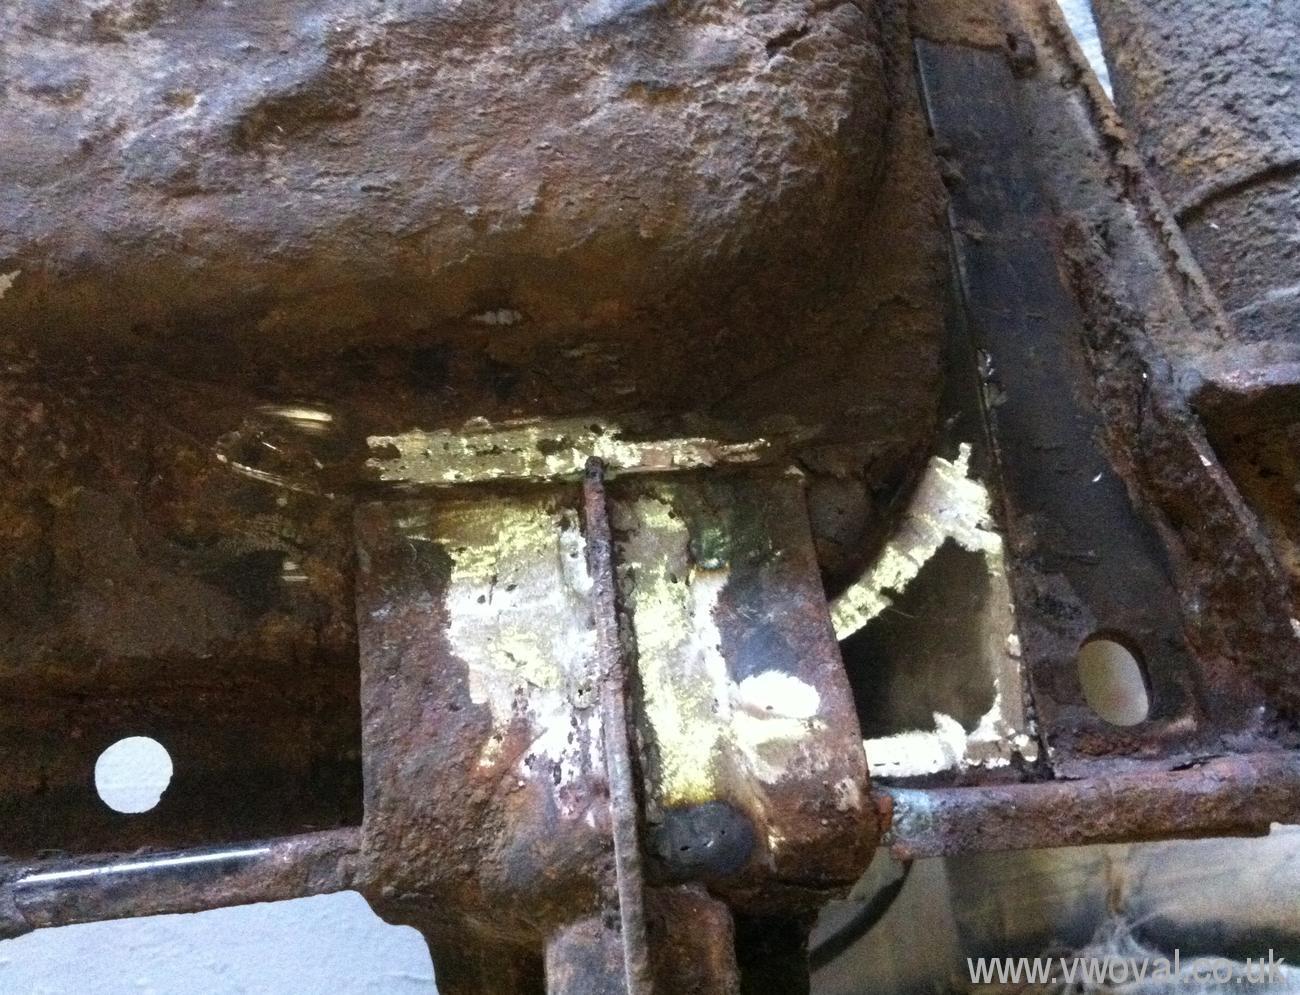
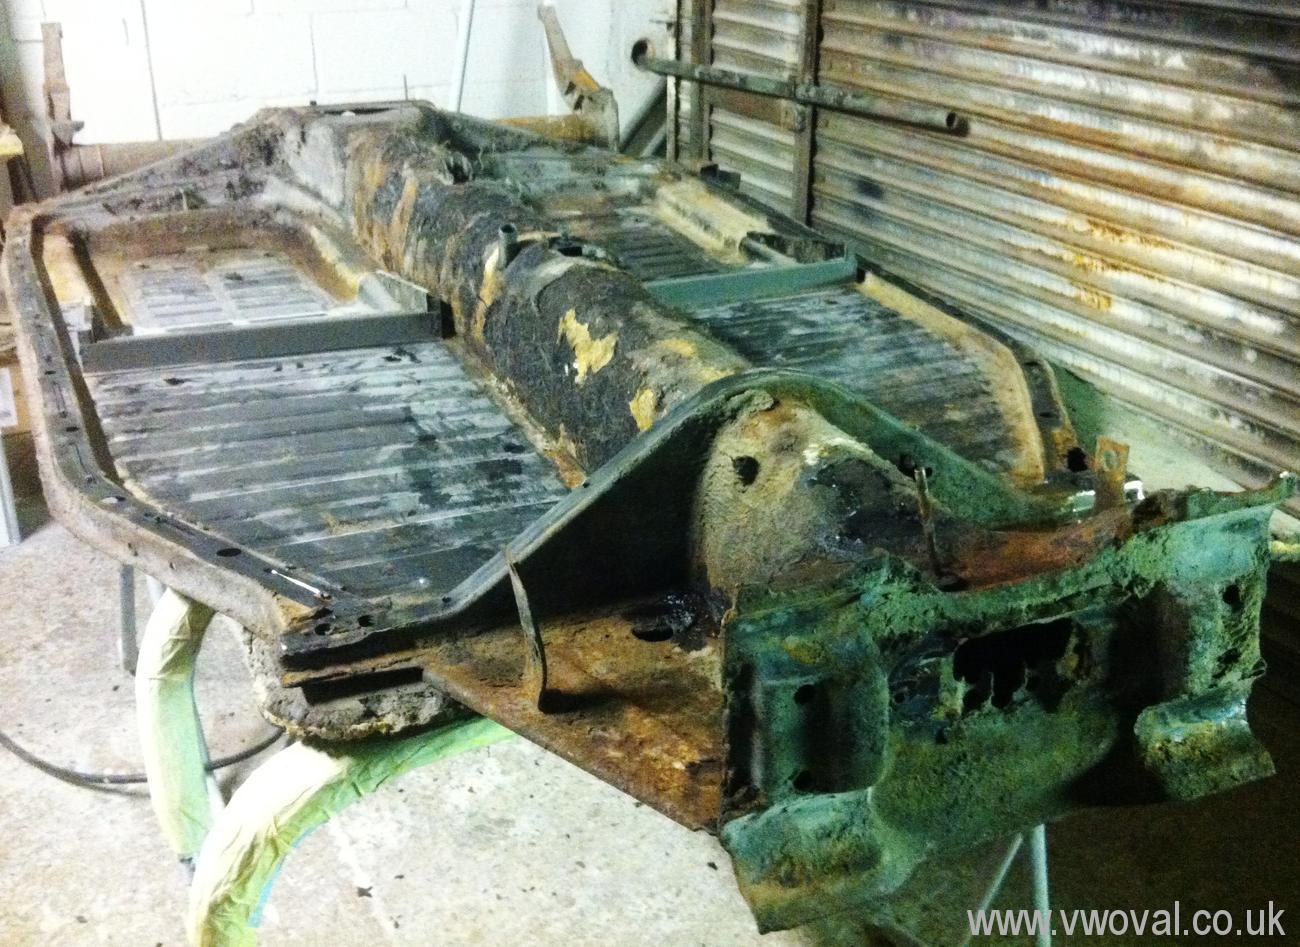
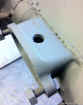
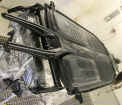
- Chassis is bare, a bit rusty and needing
some welding ... so it gets some love...


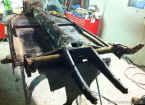
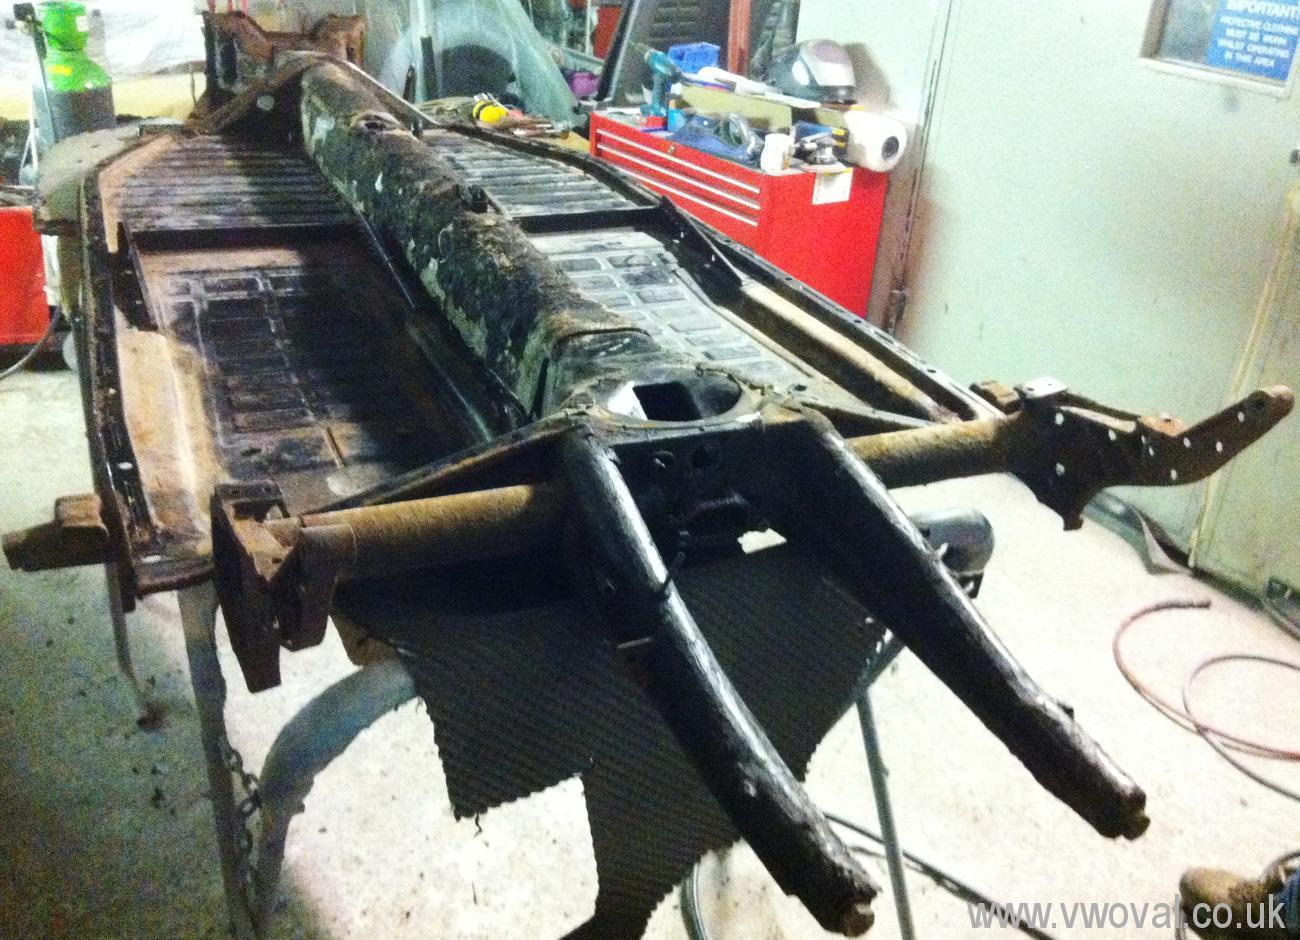
- I then took the chassis for blasting at ABS Blasting ...
- And then it was taken to be powder coated by Perfect Coatings..
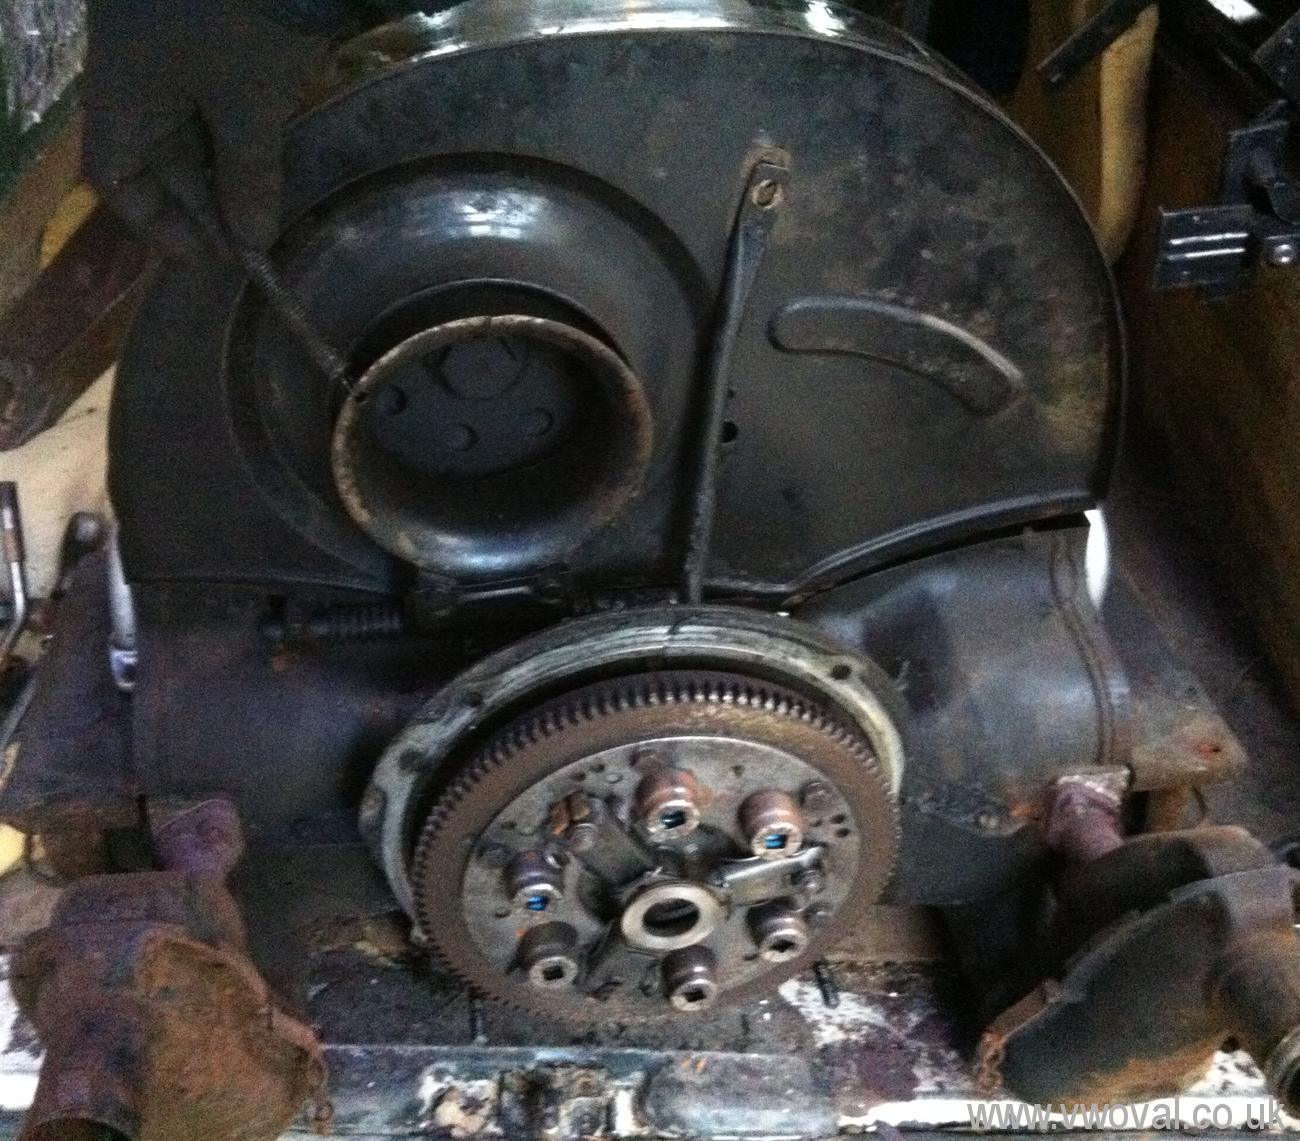
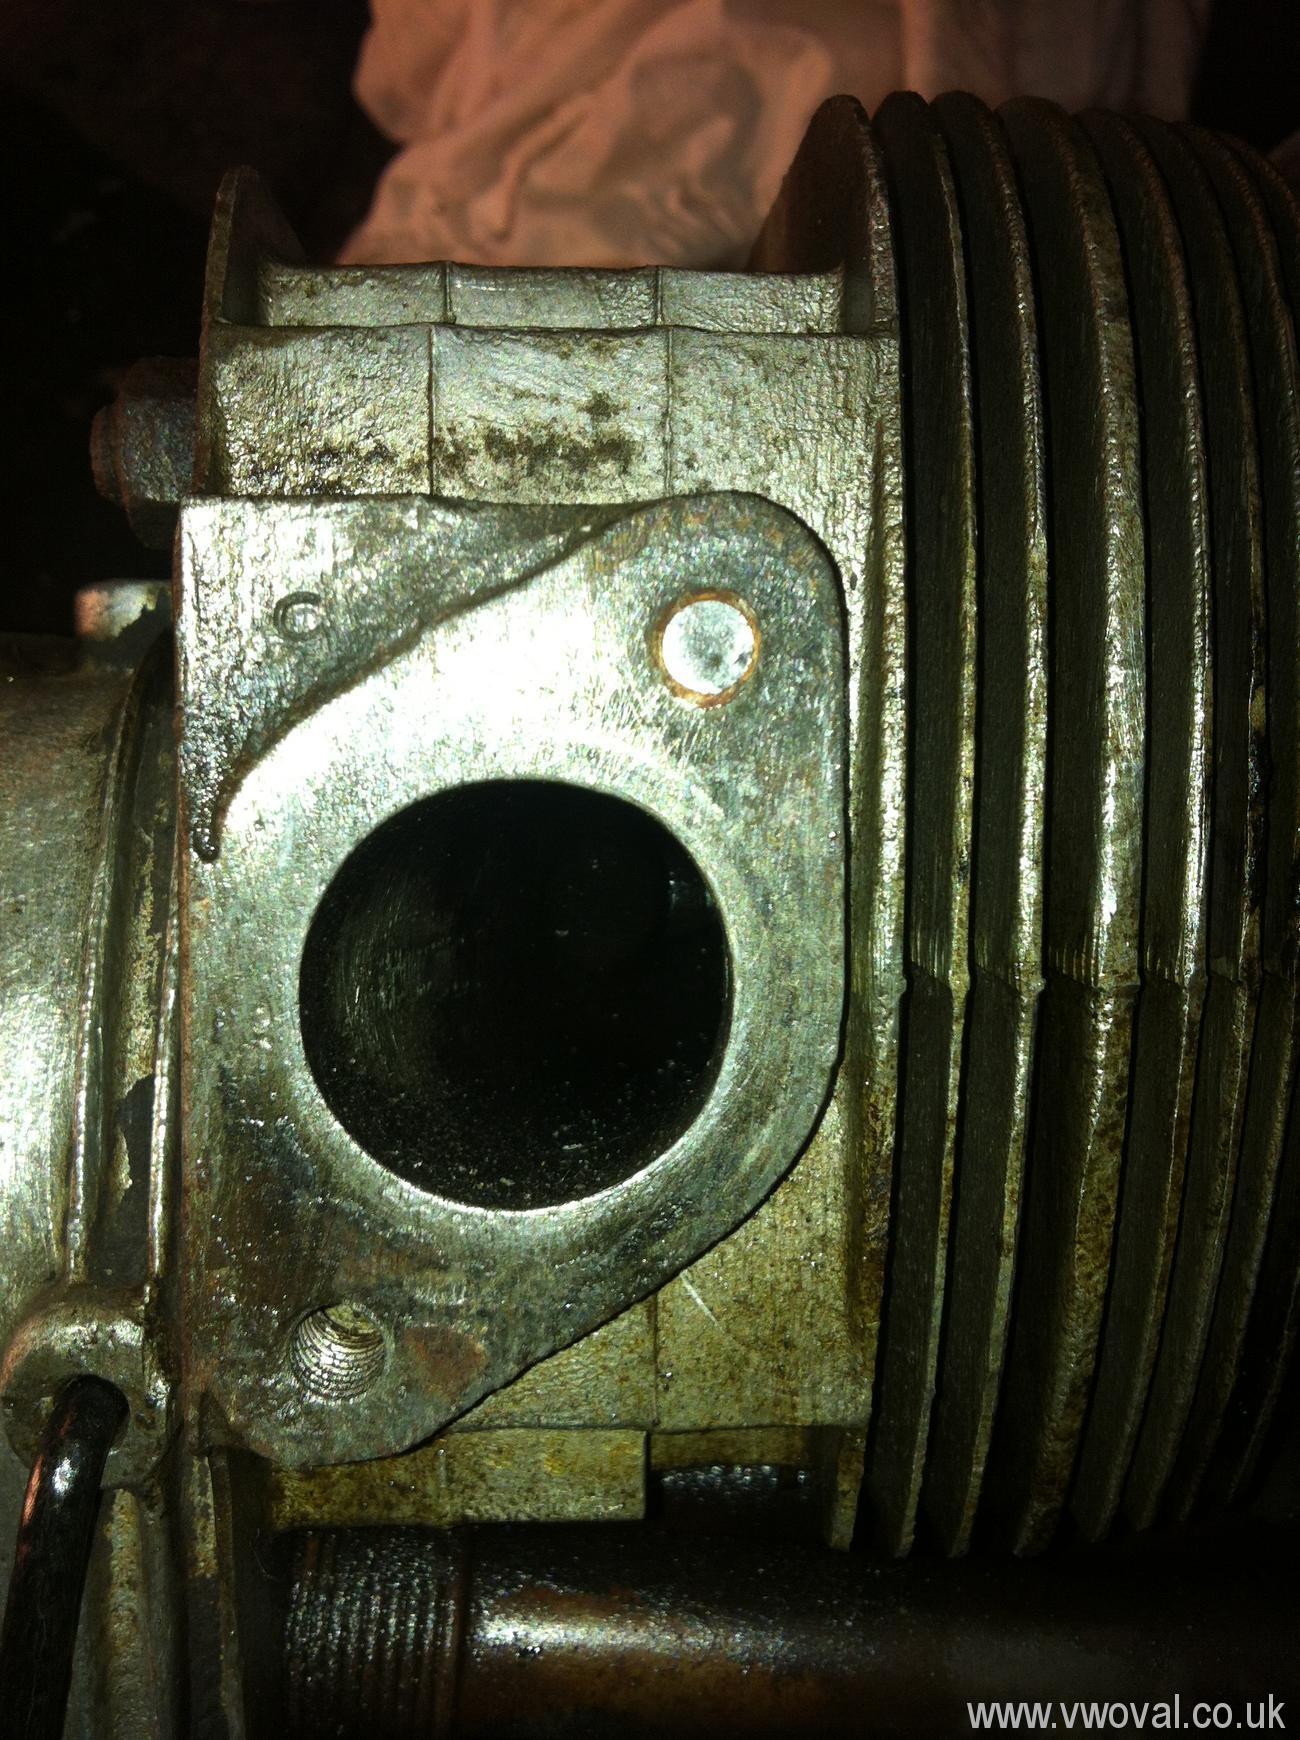
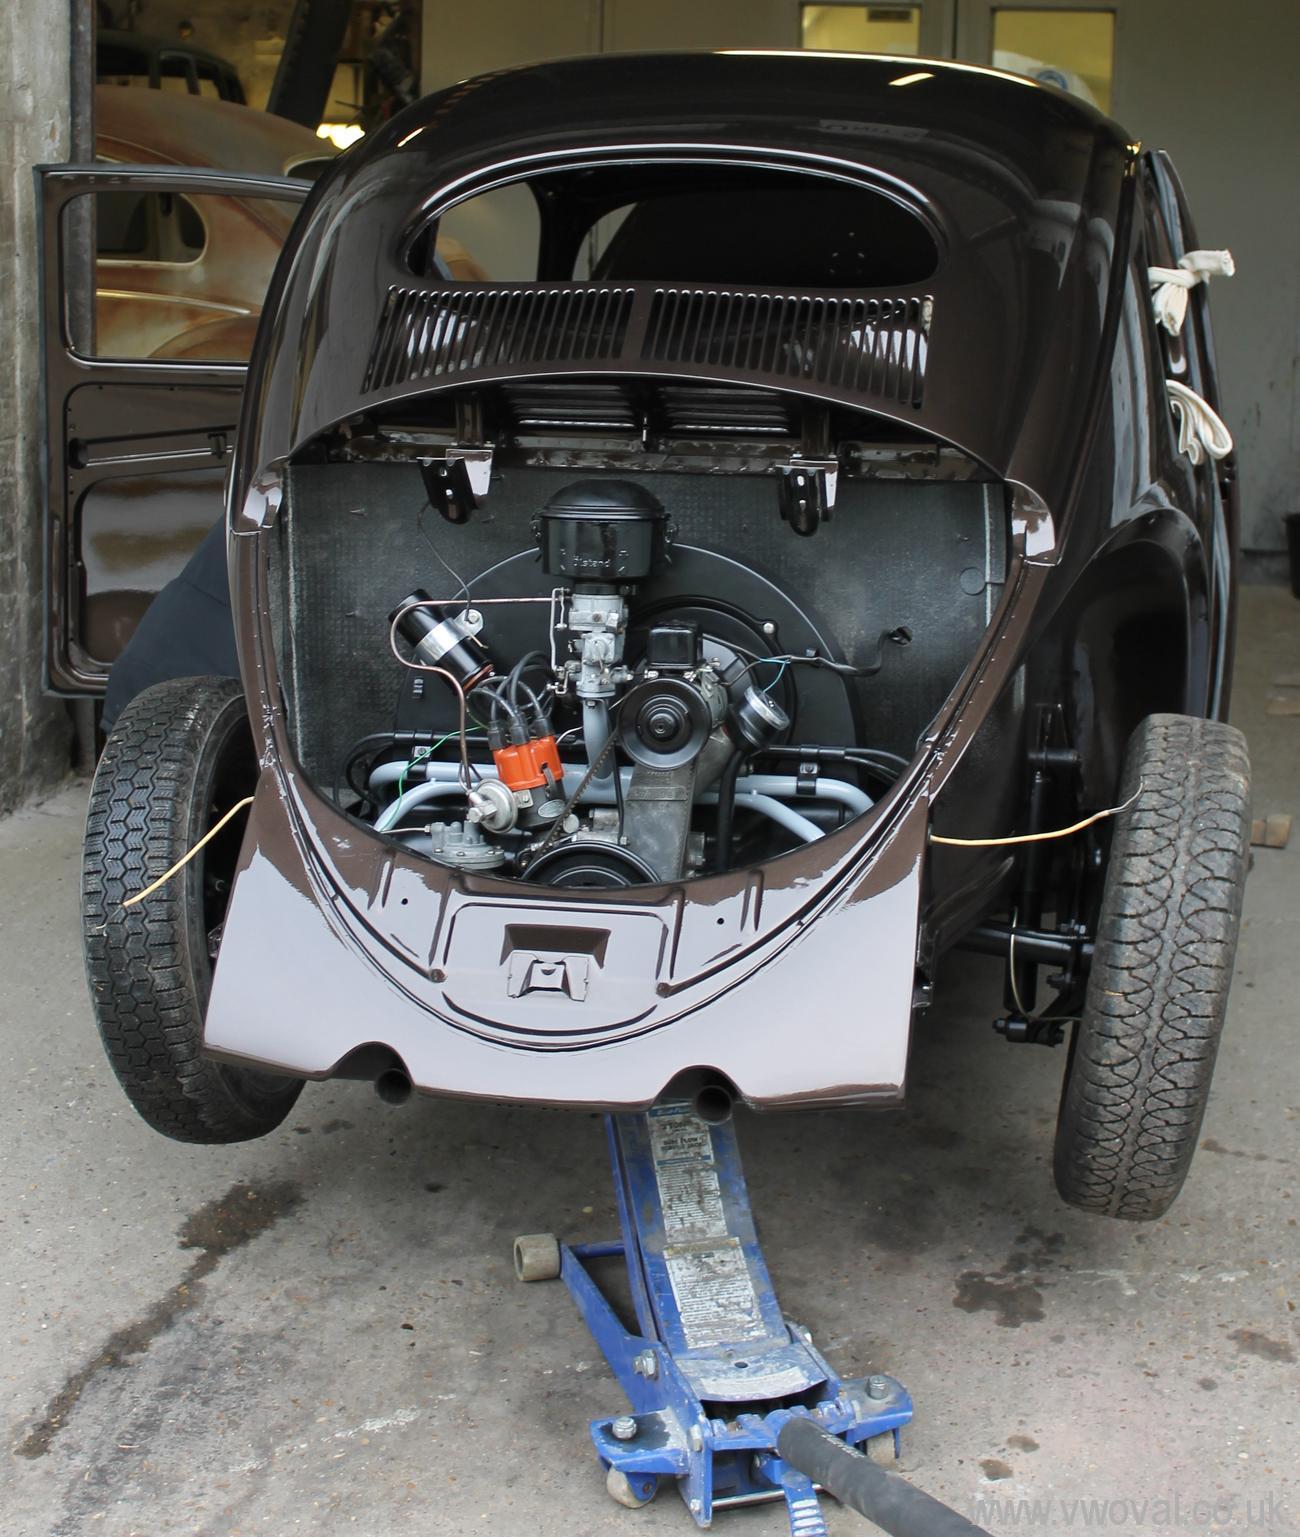
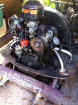
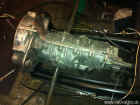
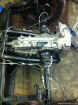
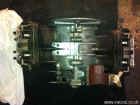
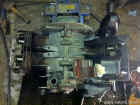
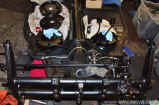
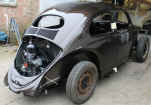
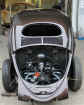
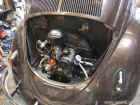
- My friend Dave and I stripped the engine down... the pile of bits plus
a NOS Genuine VW exhaust Box that I happened to have stashed away I sent these
off for Blasting at ABS Blasting.

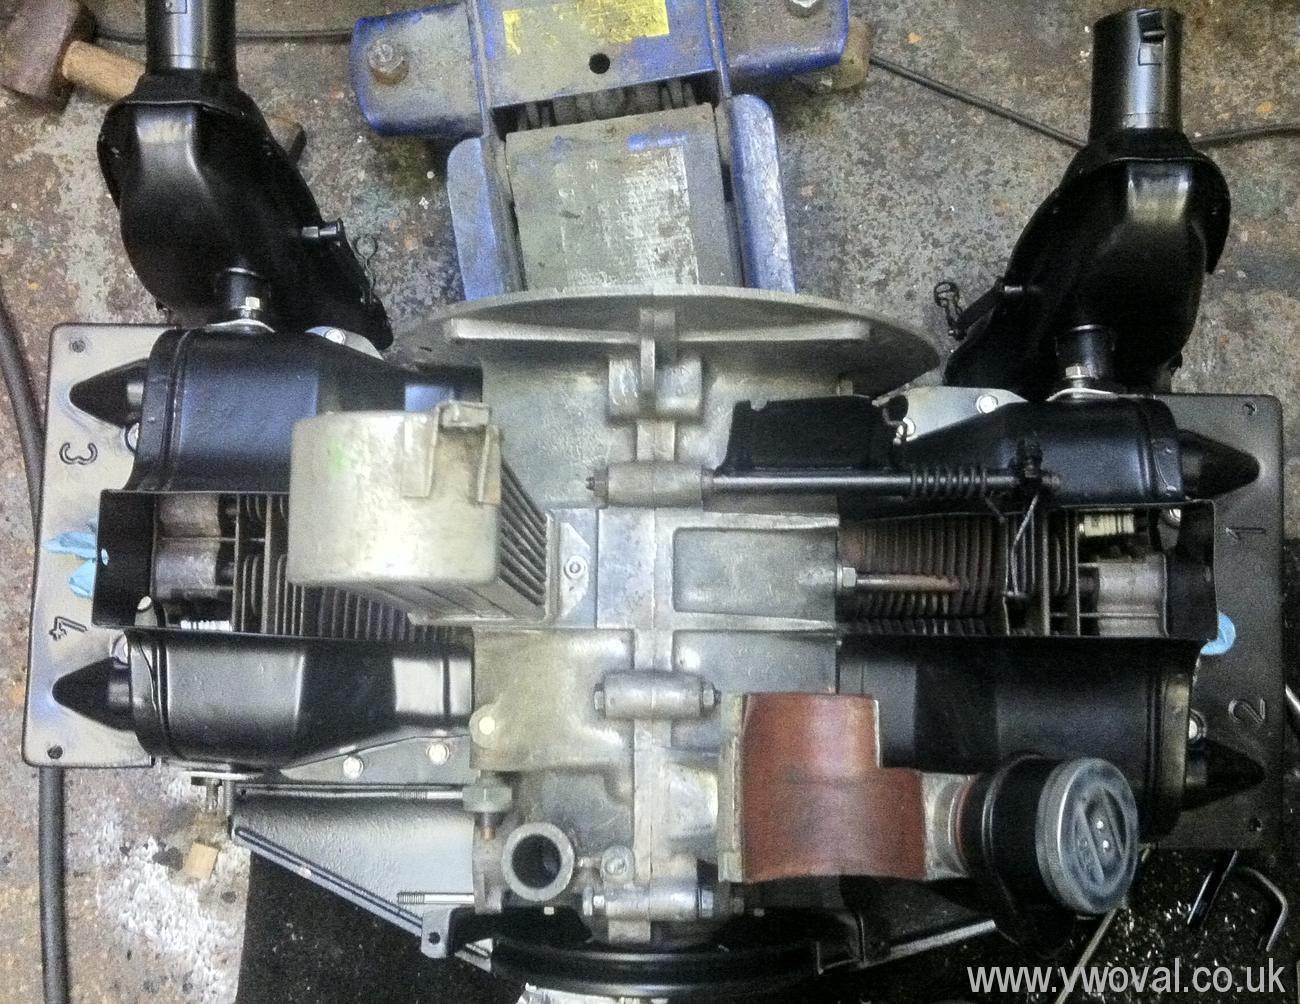
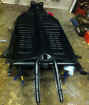
- Here are all the bits of engine tin back, all blasted and then coated by Perfect
Coatings - thanks for the delivery!
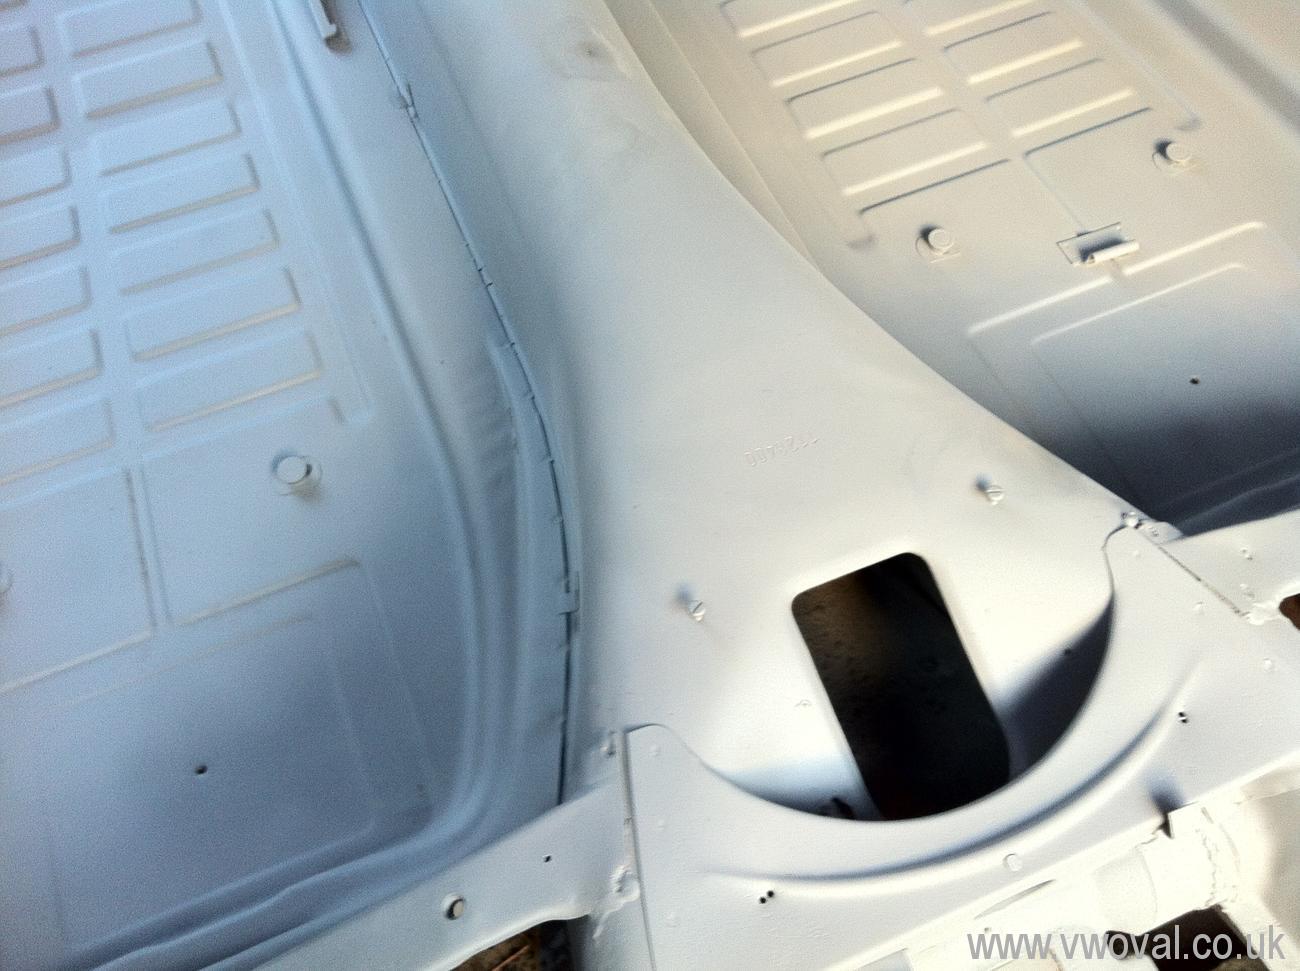
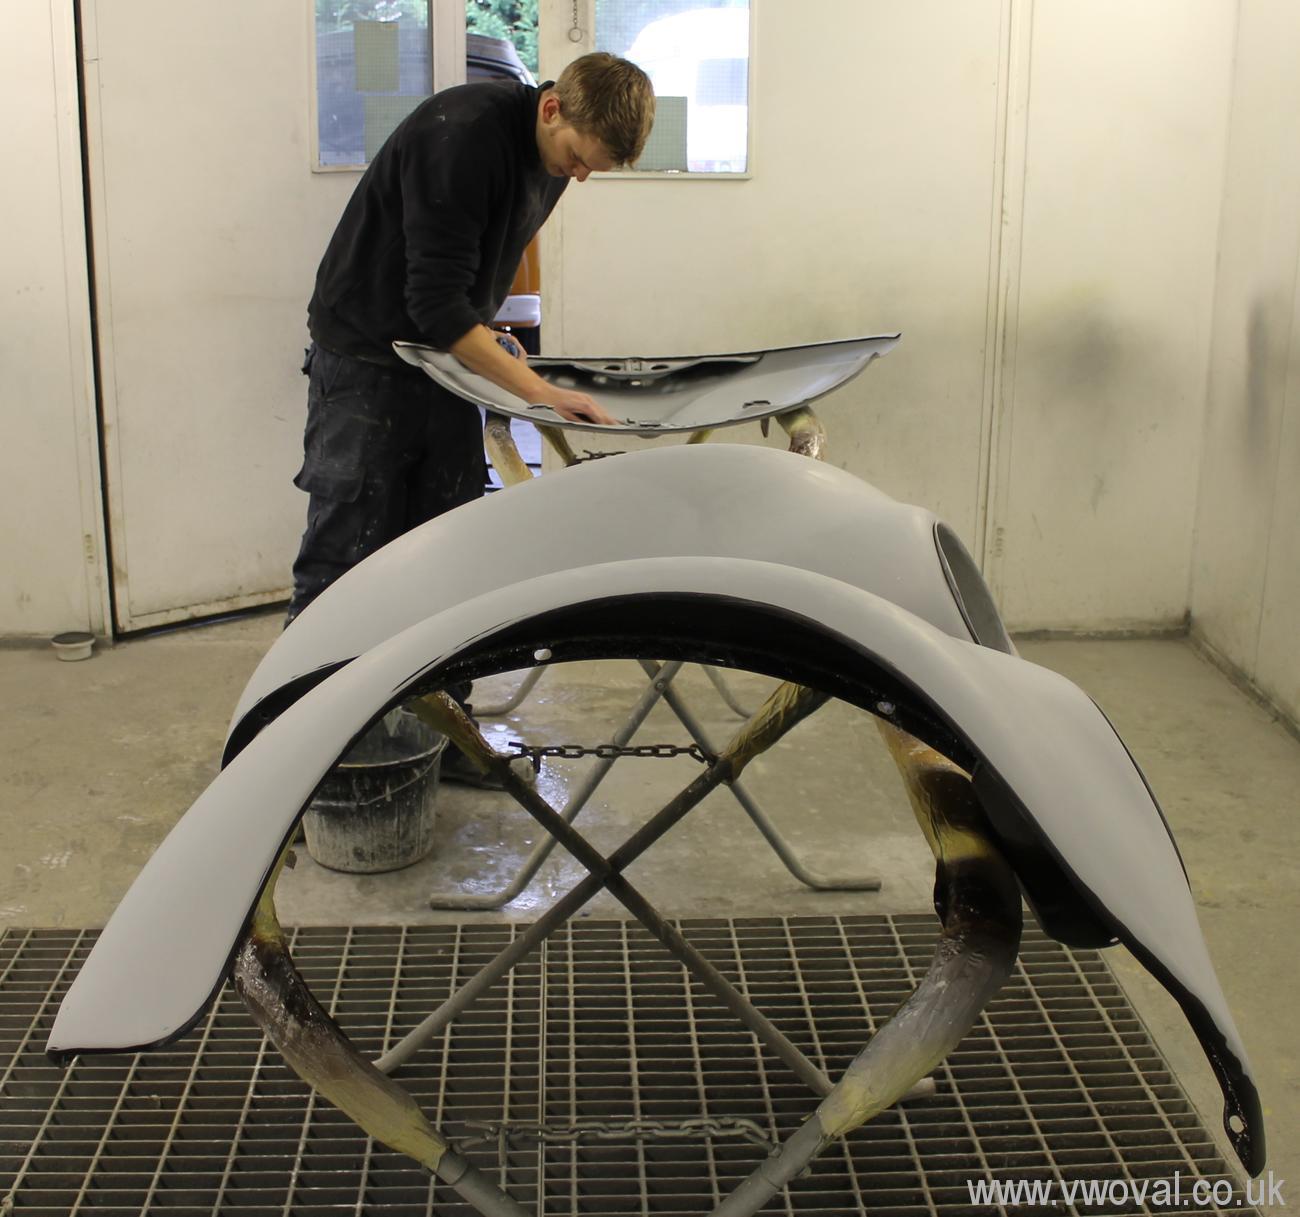
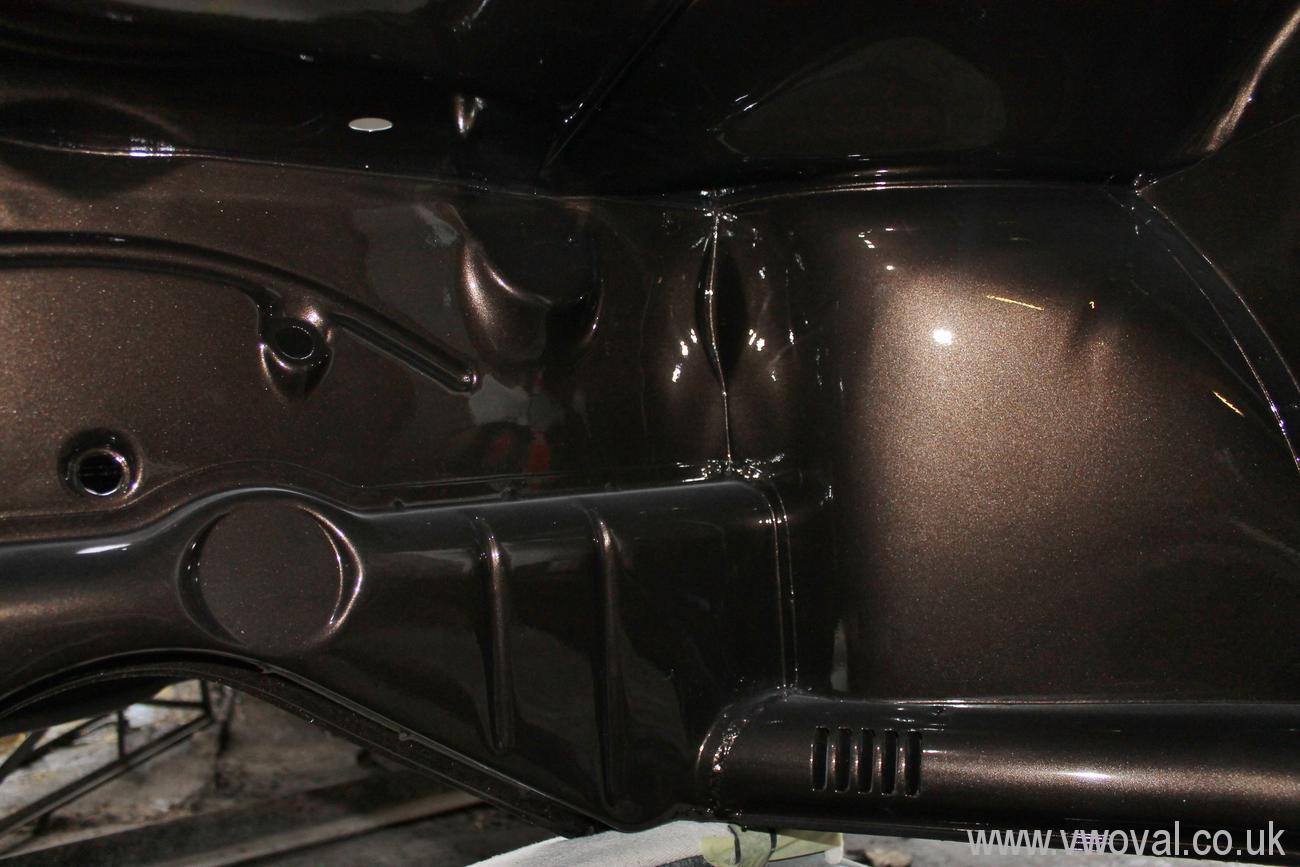
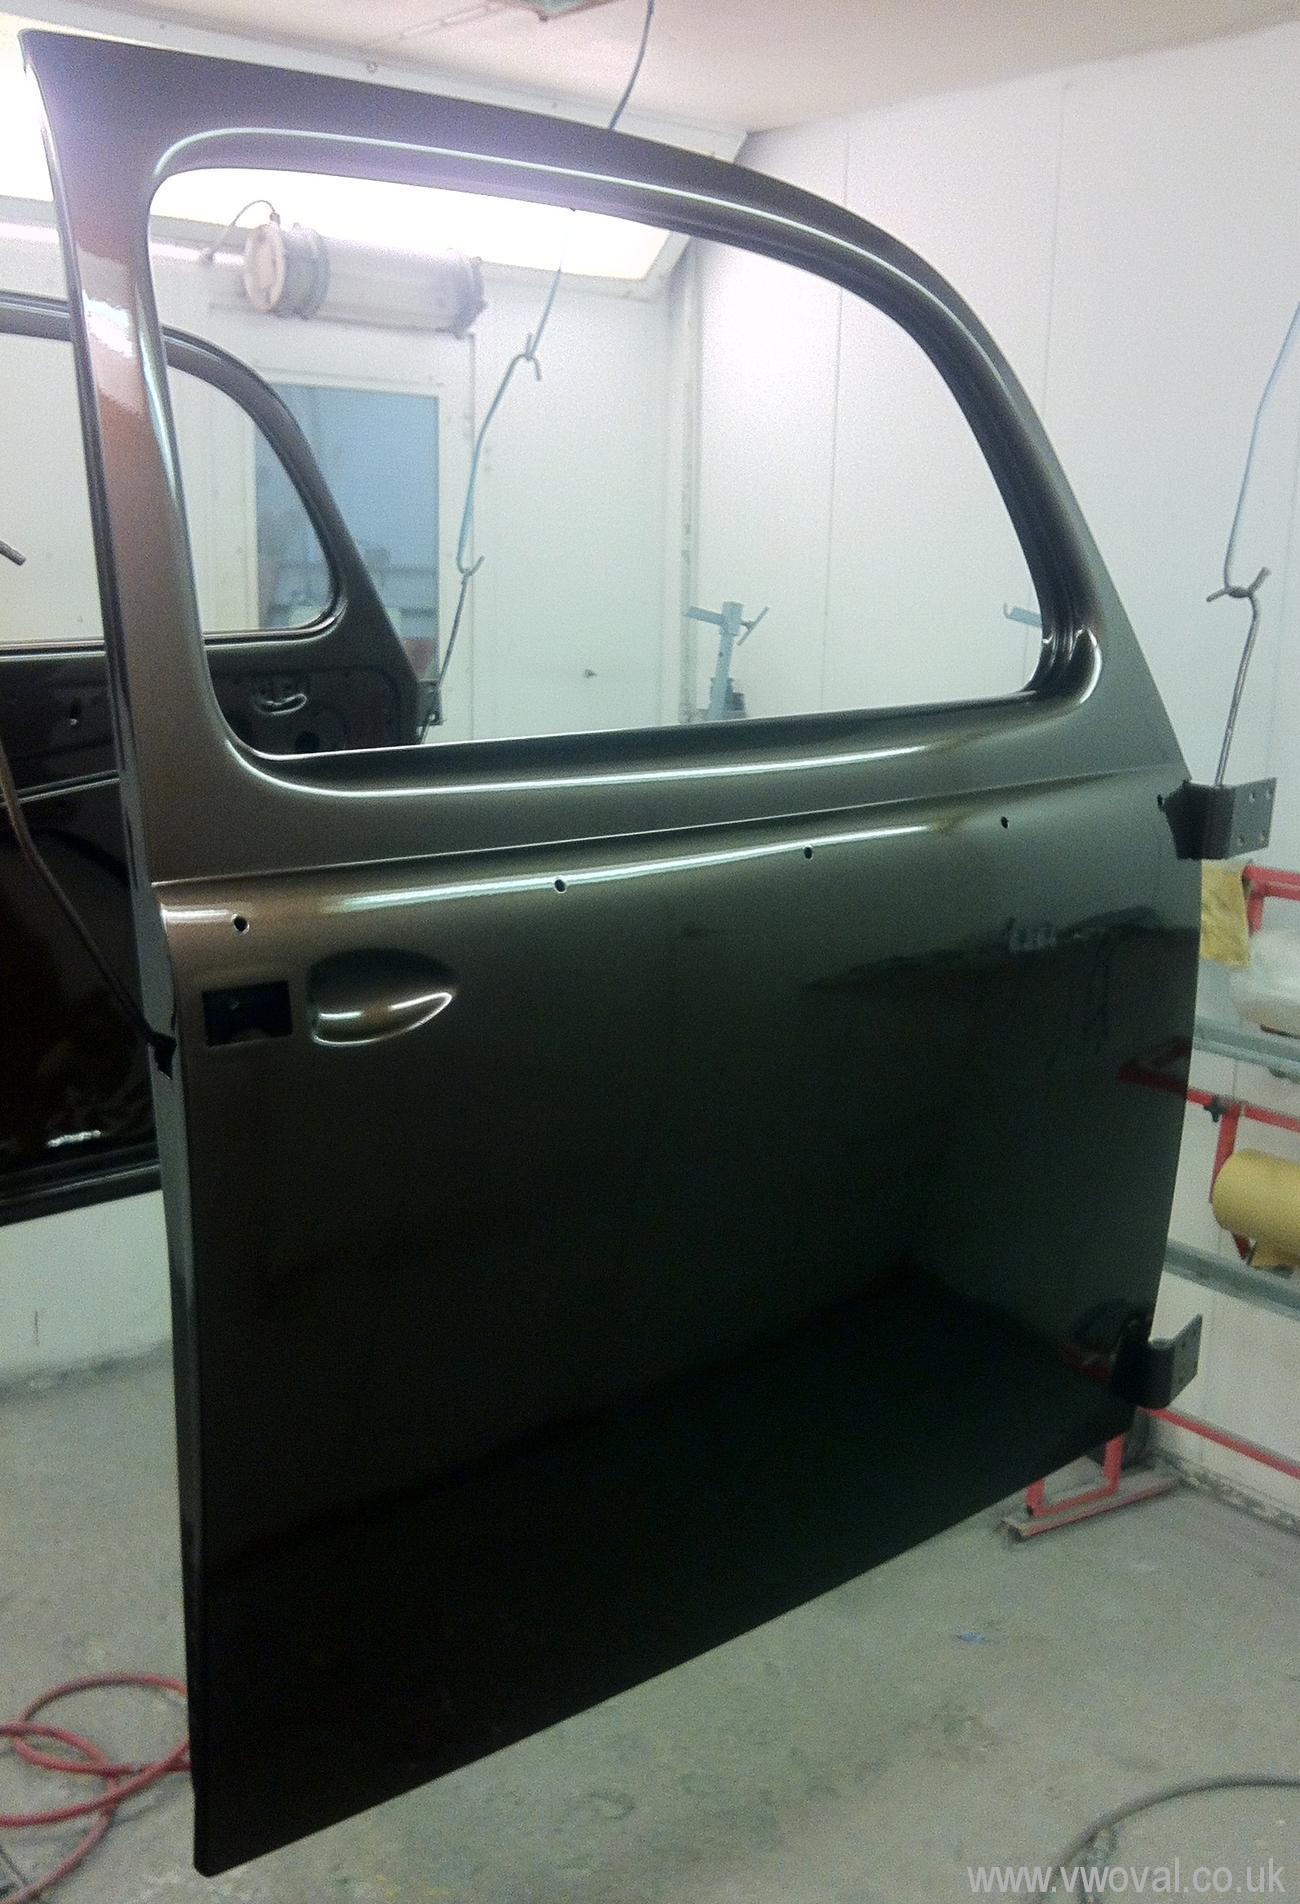
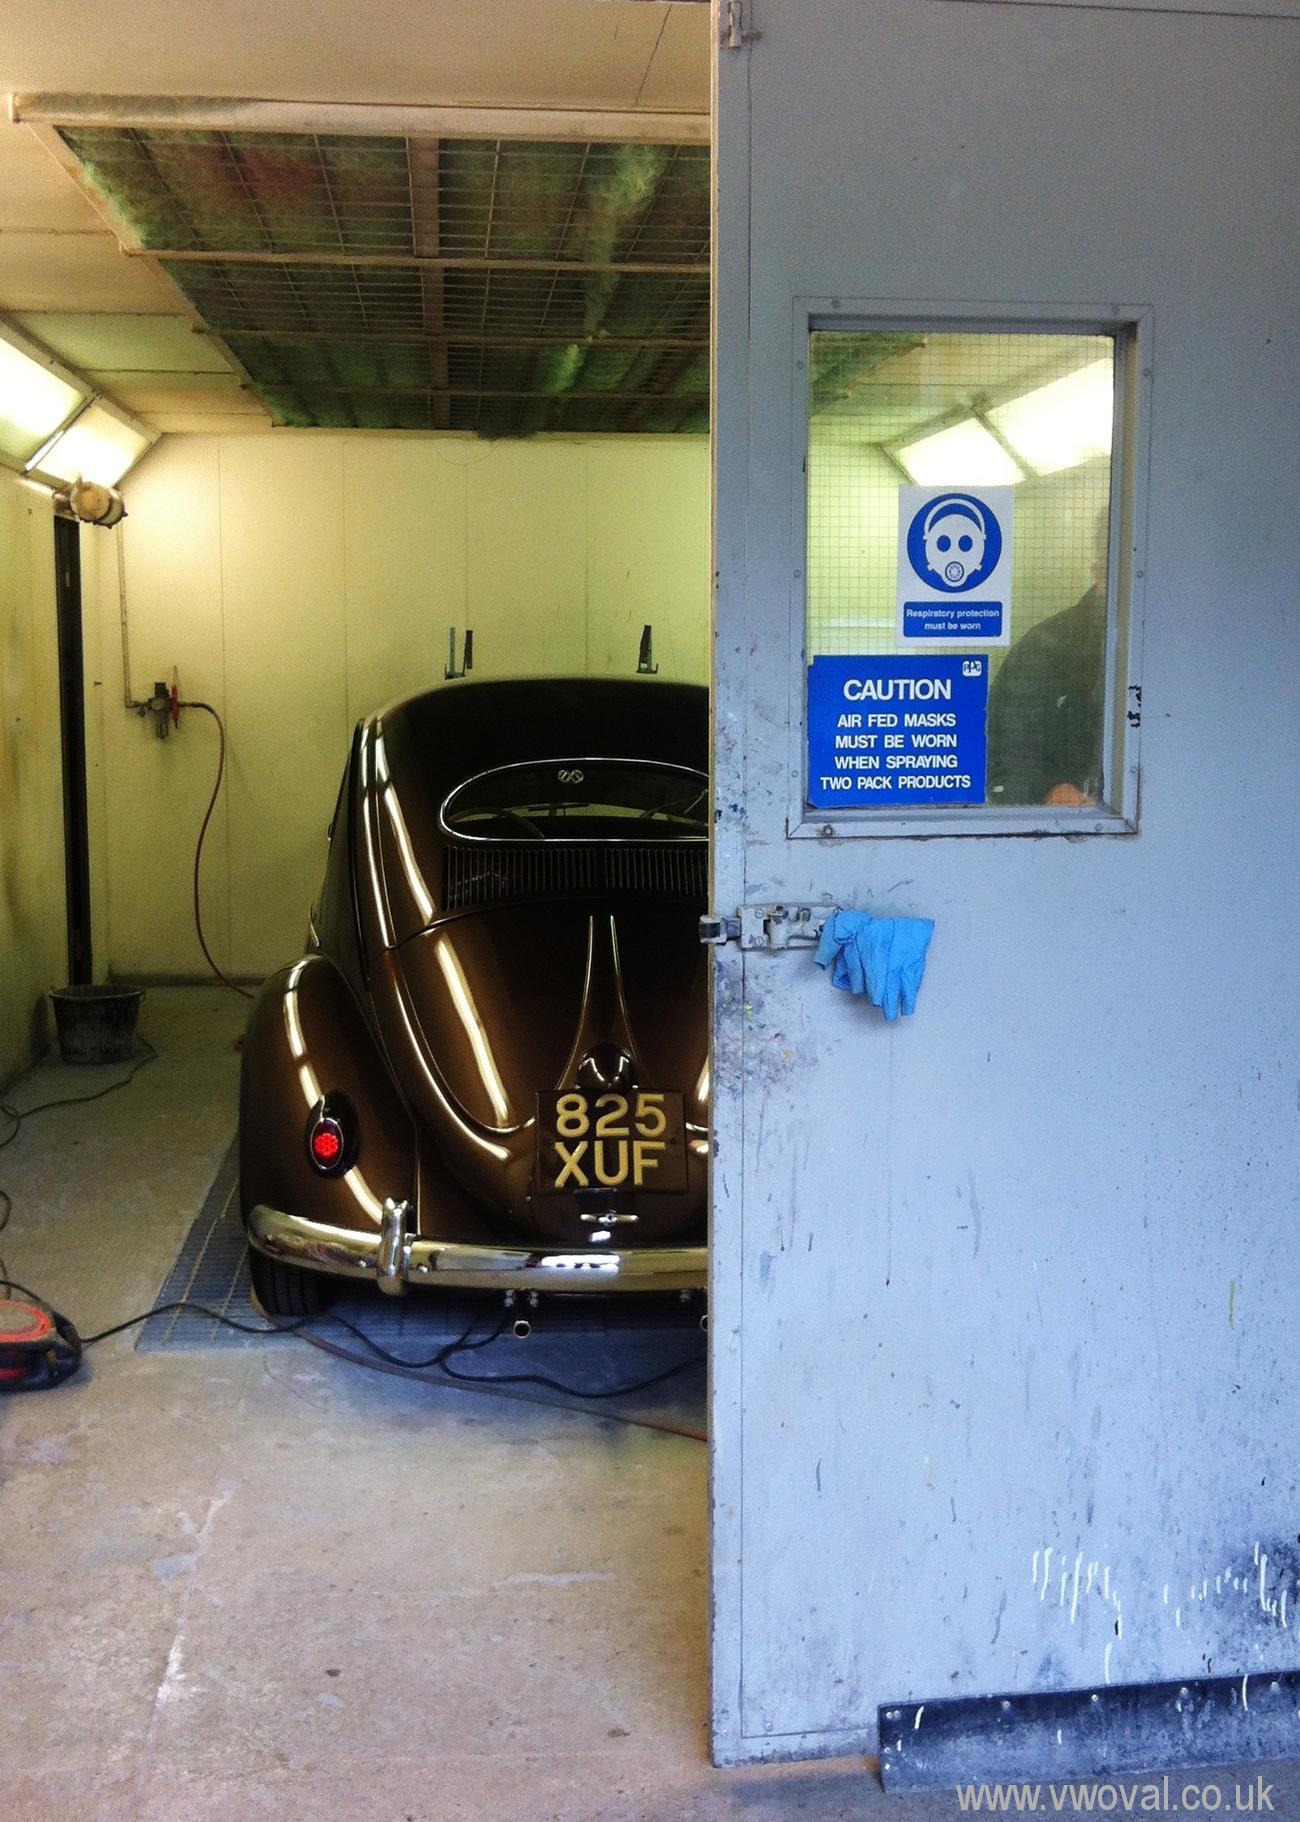
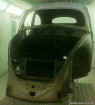
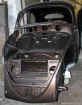
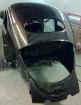
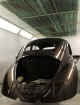
- The inside of the body shell was painted first - this was done by Panel Kraft
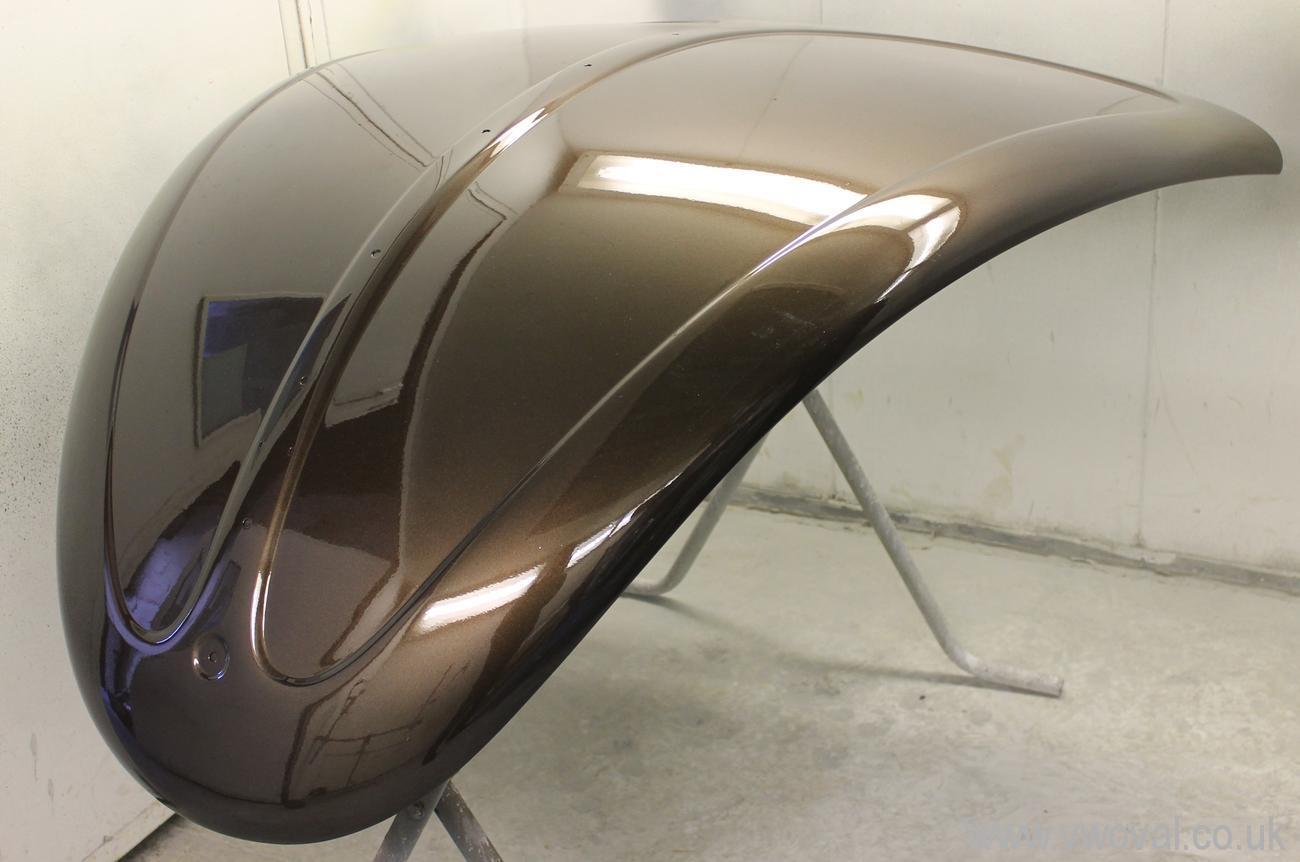
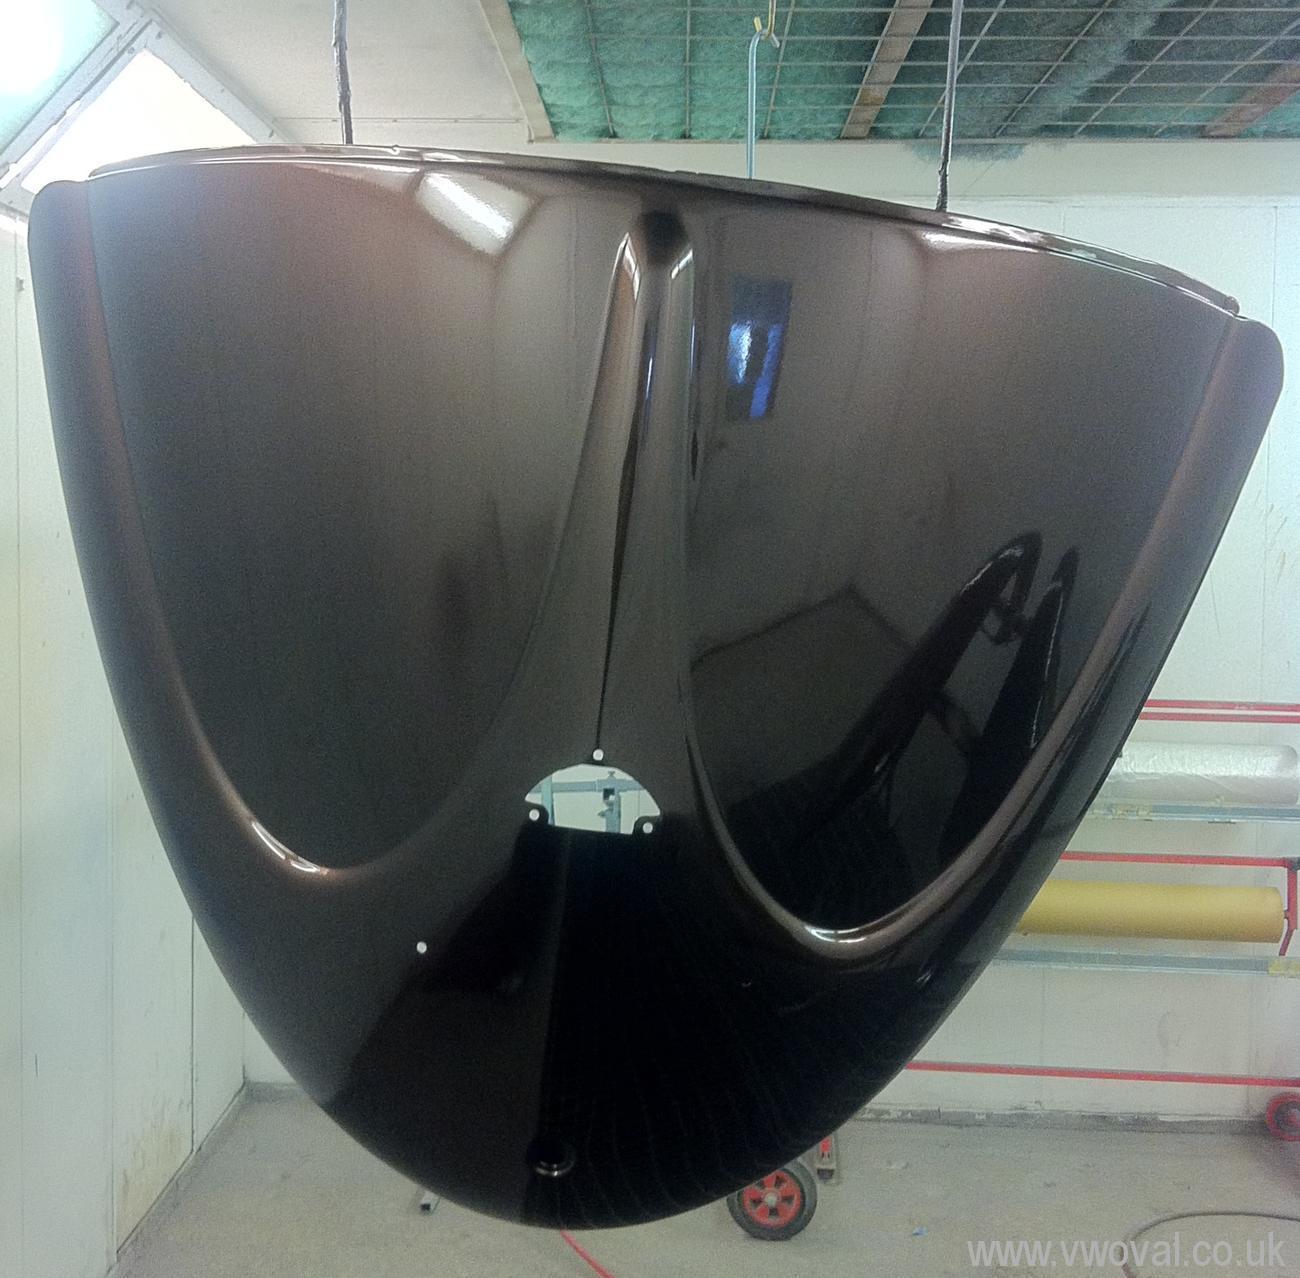
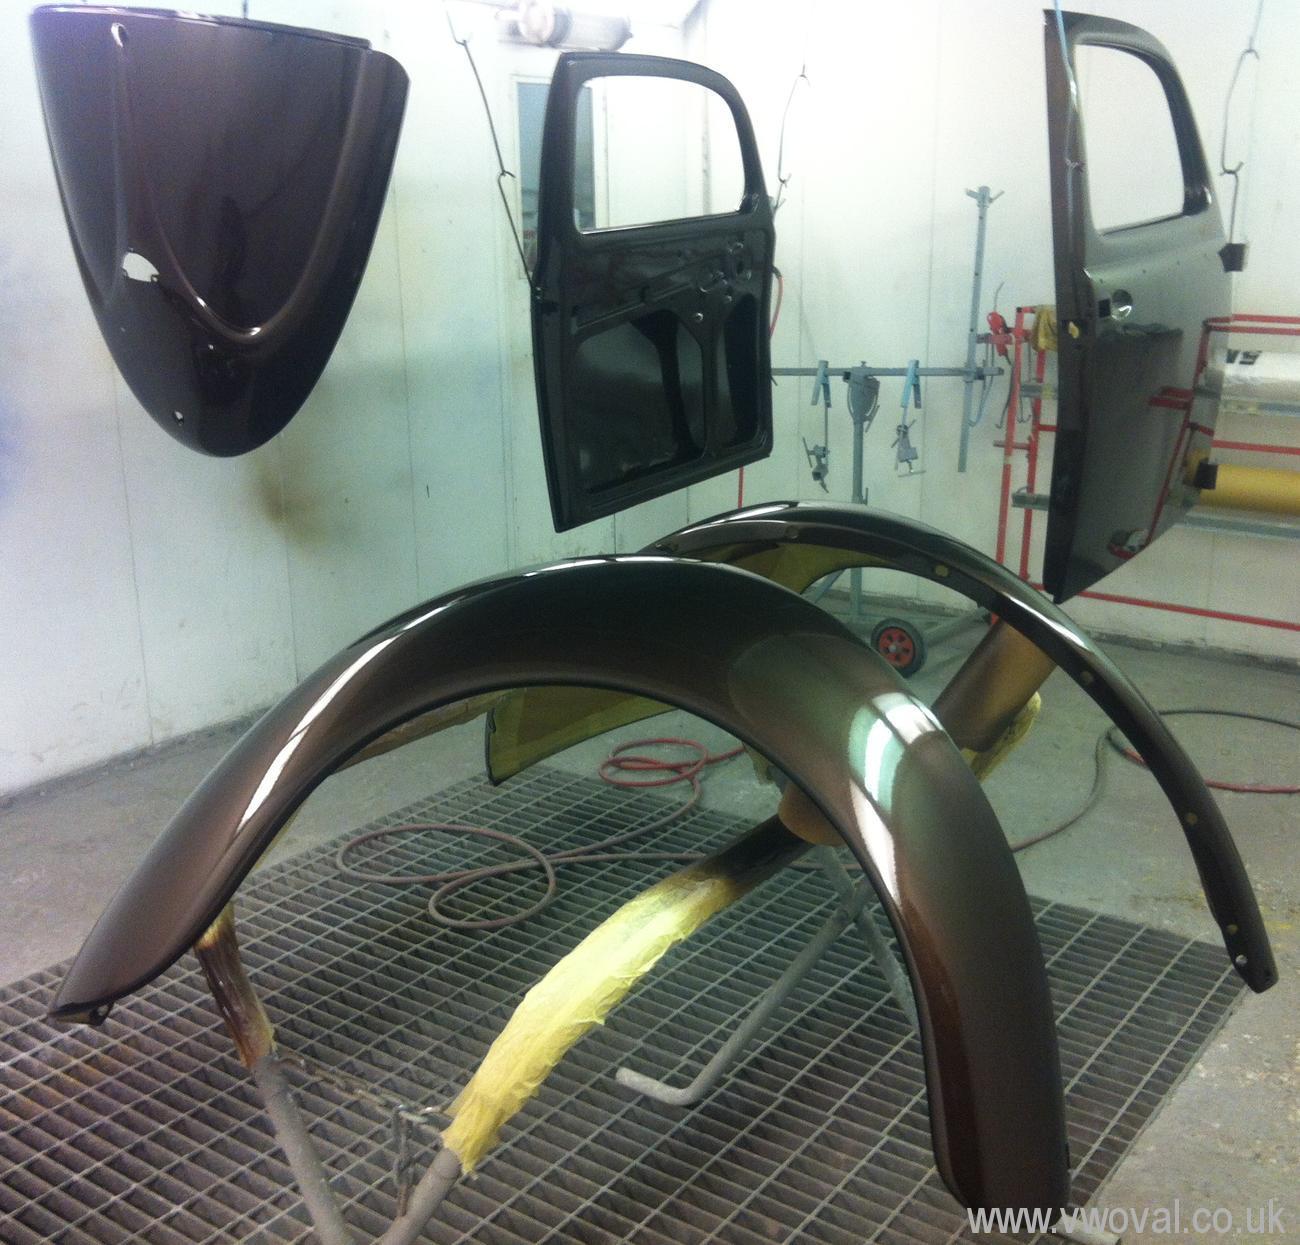
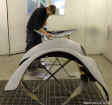
- Here is all the ongoing prep of panels.. again, Panel Kraft...

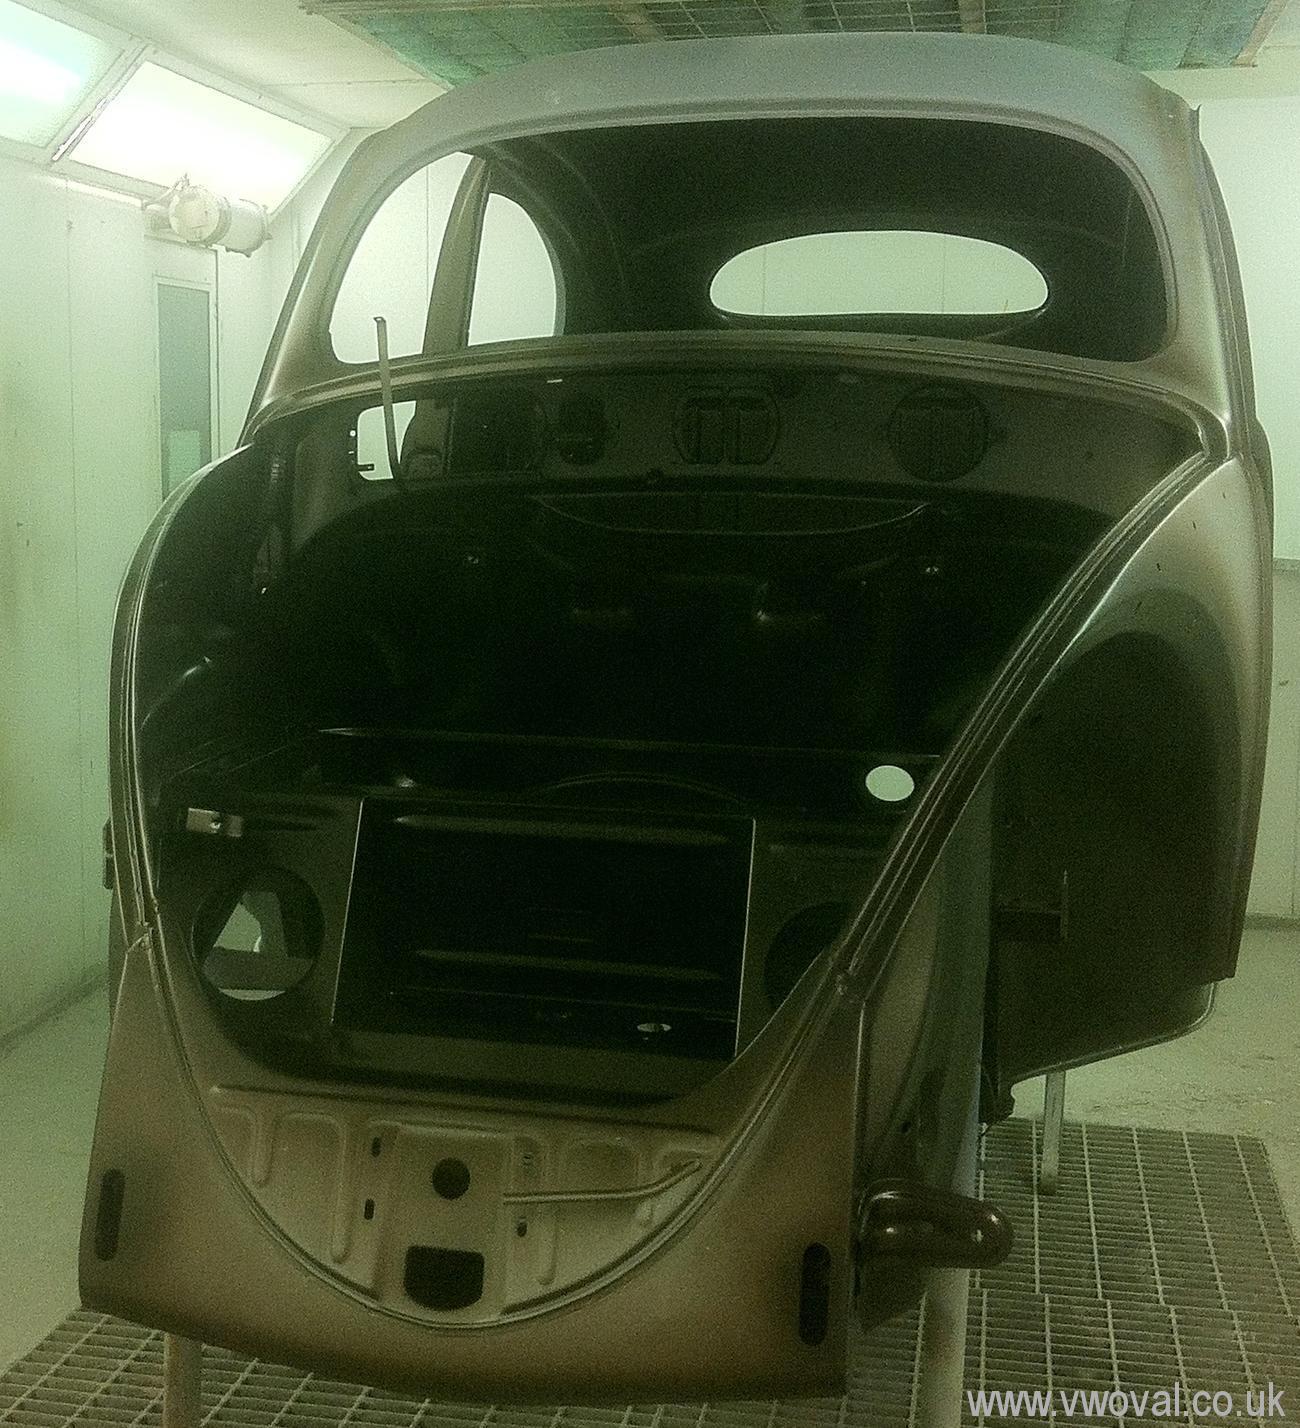
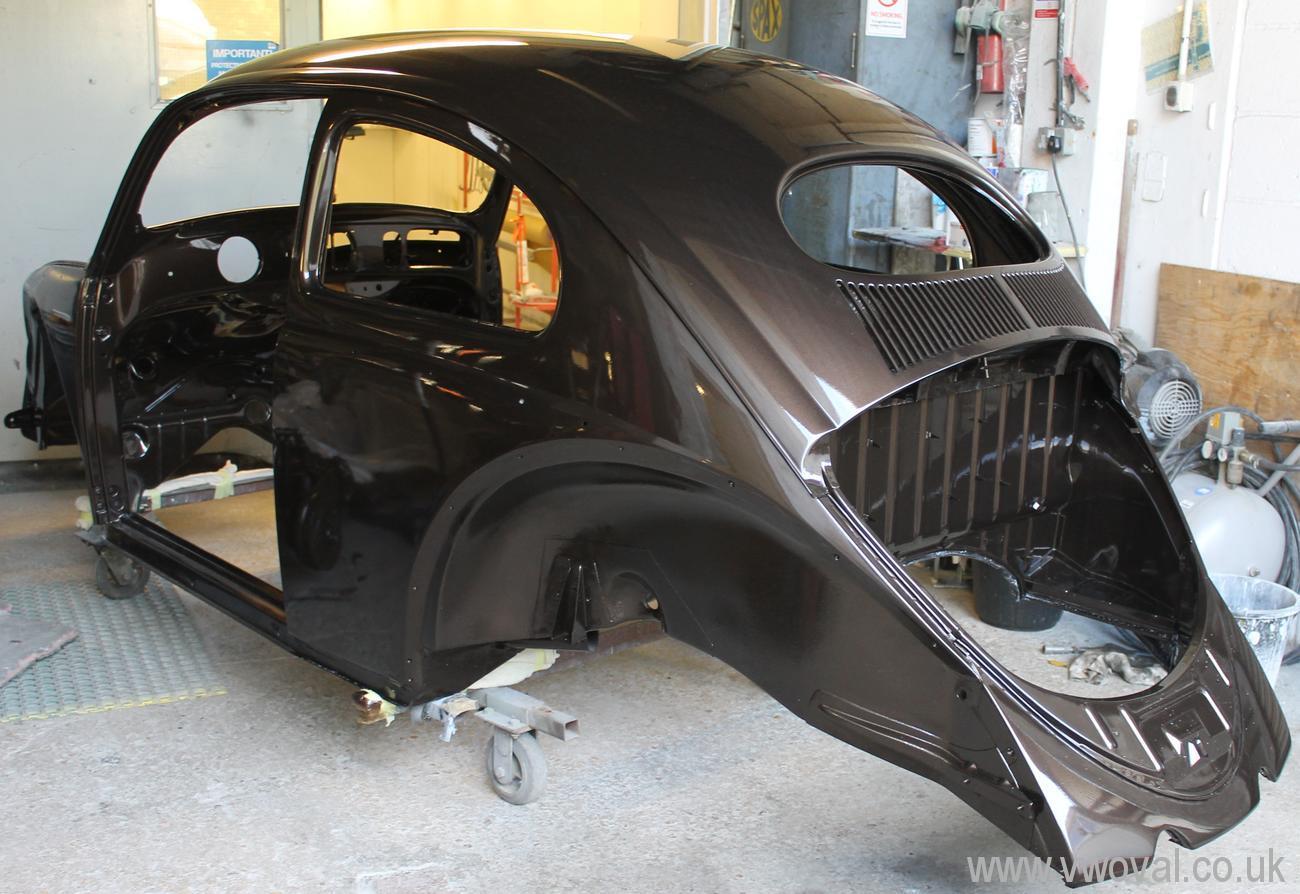
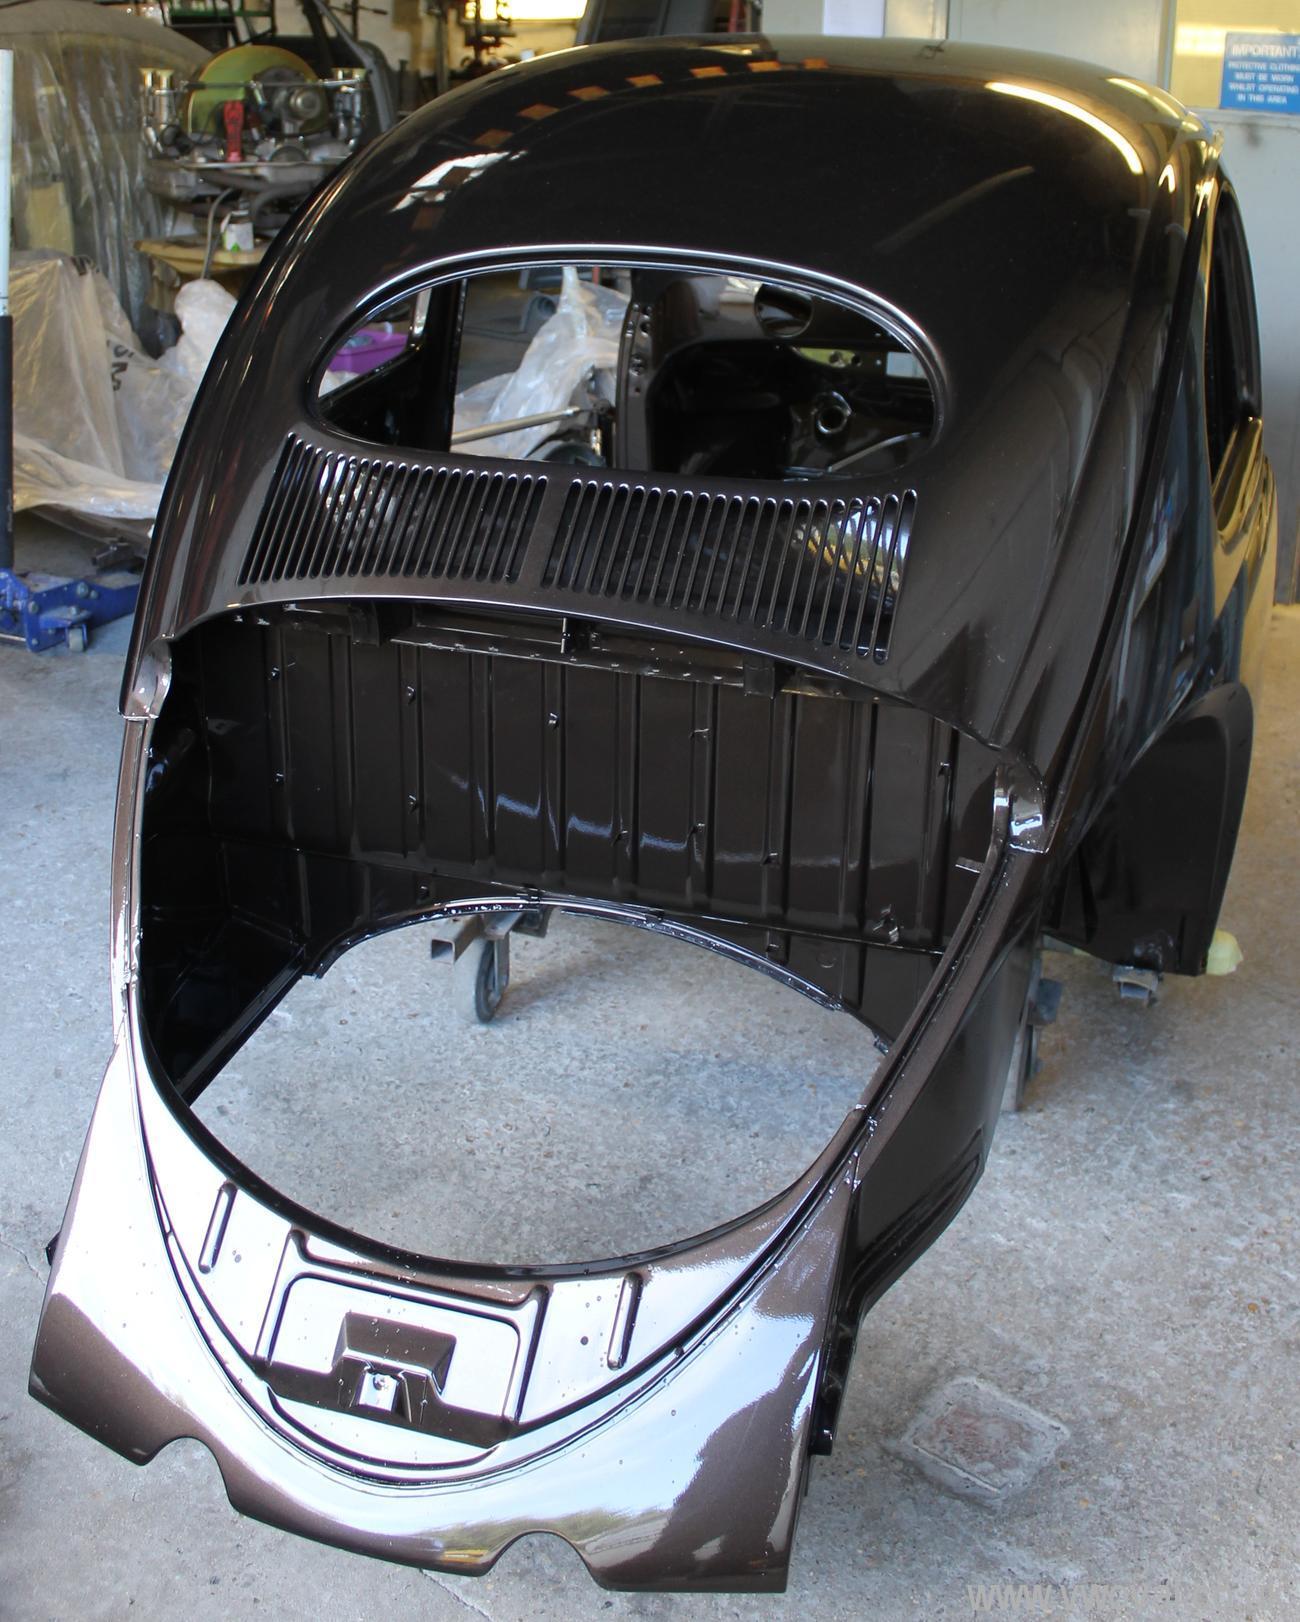
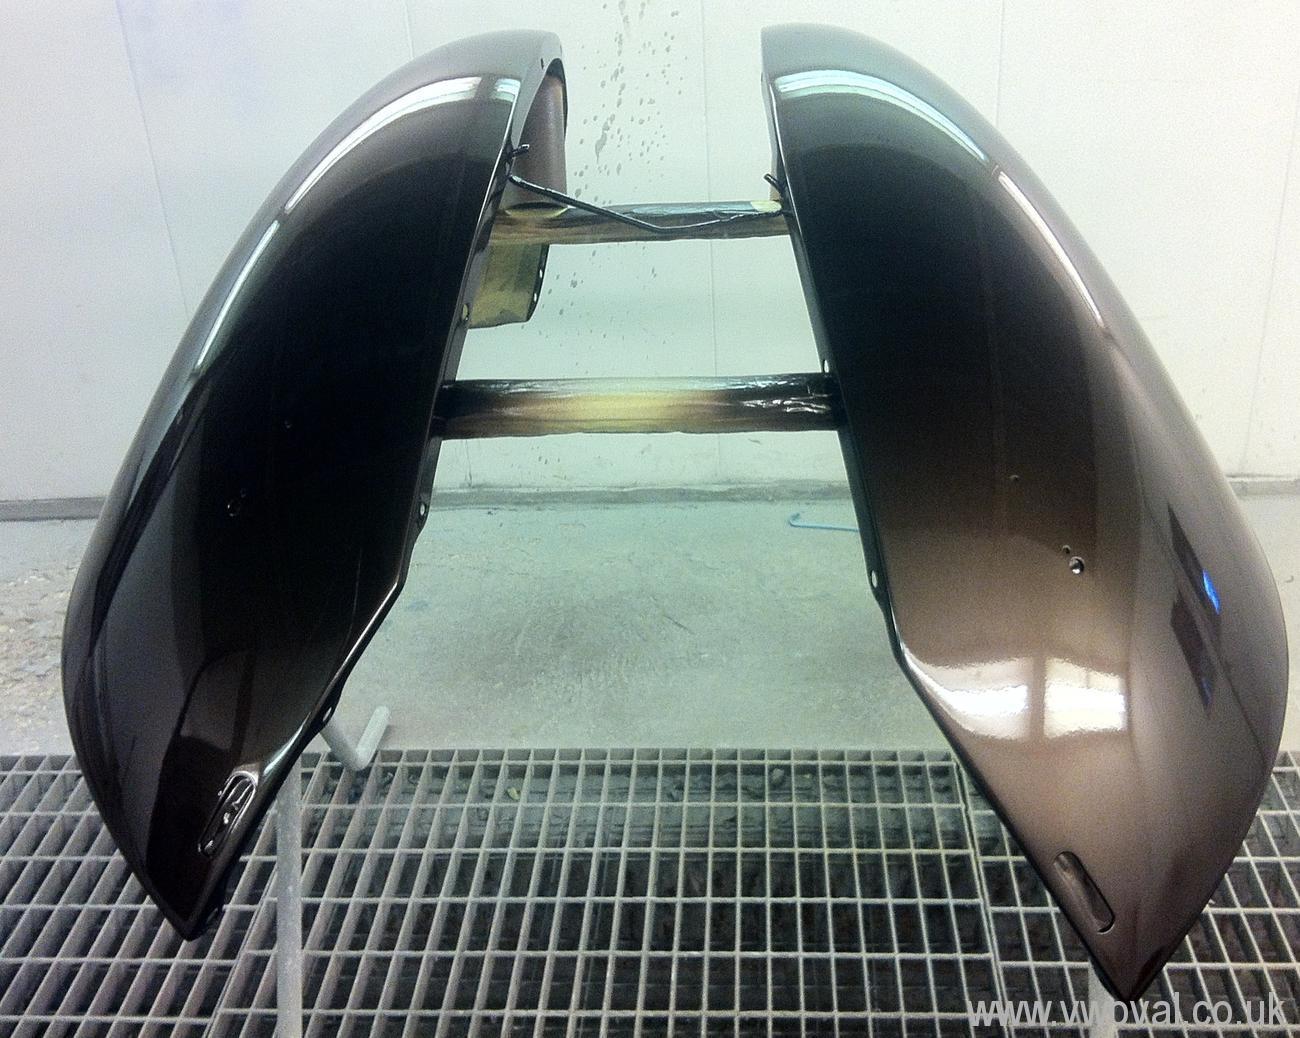
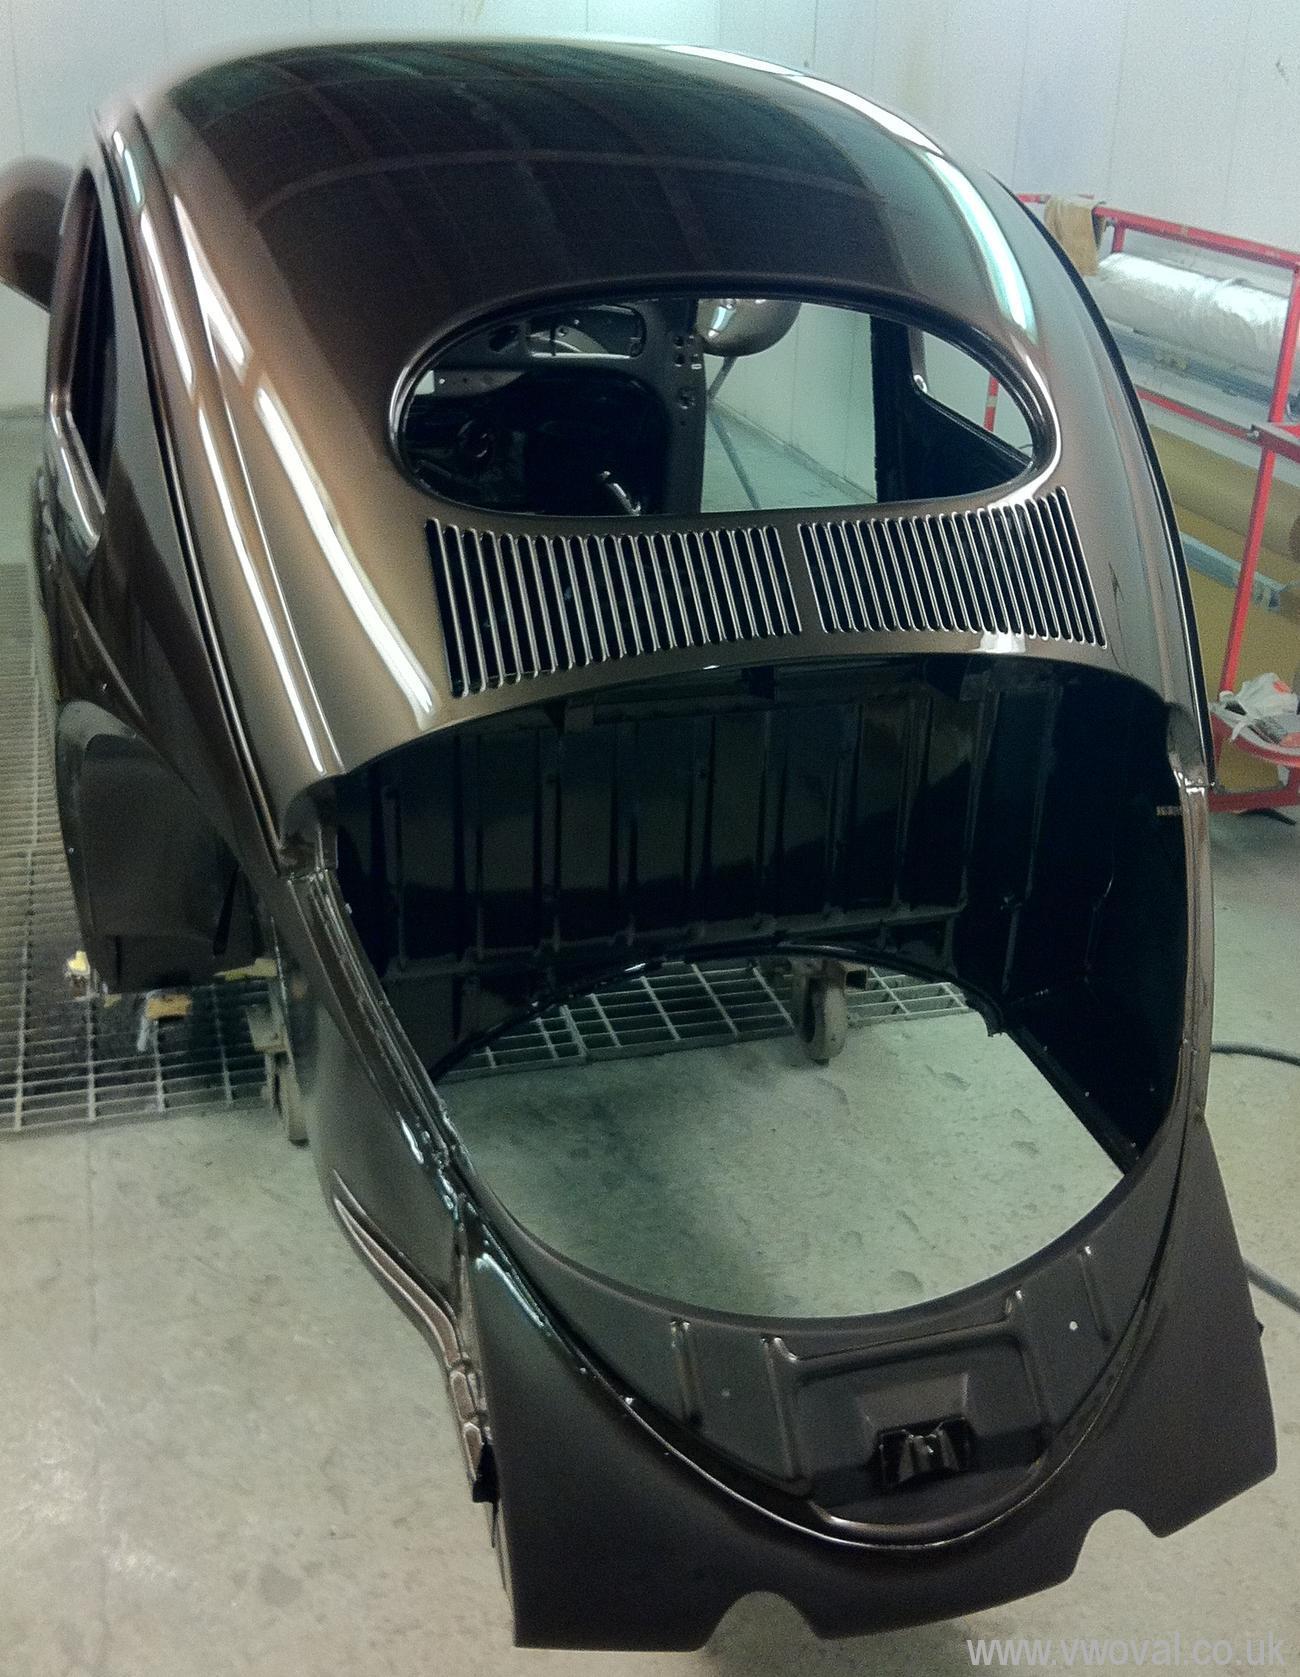
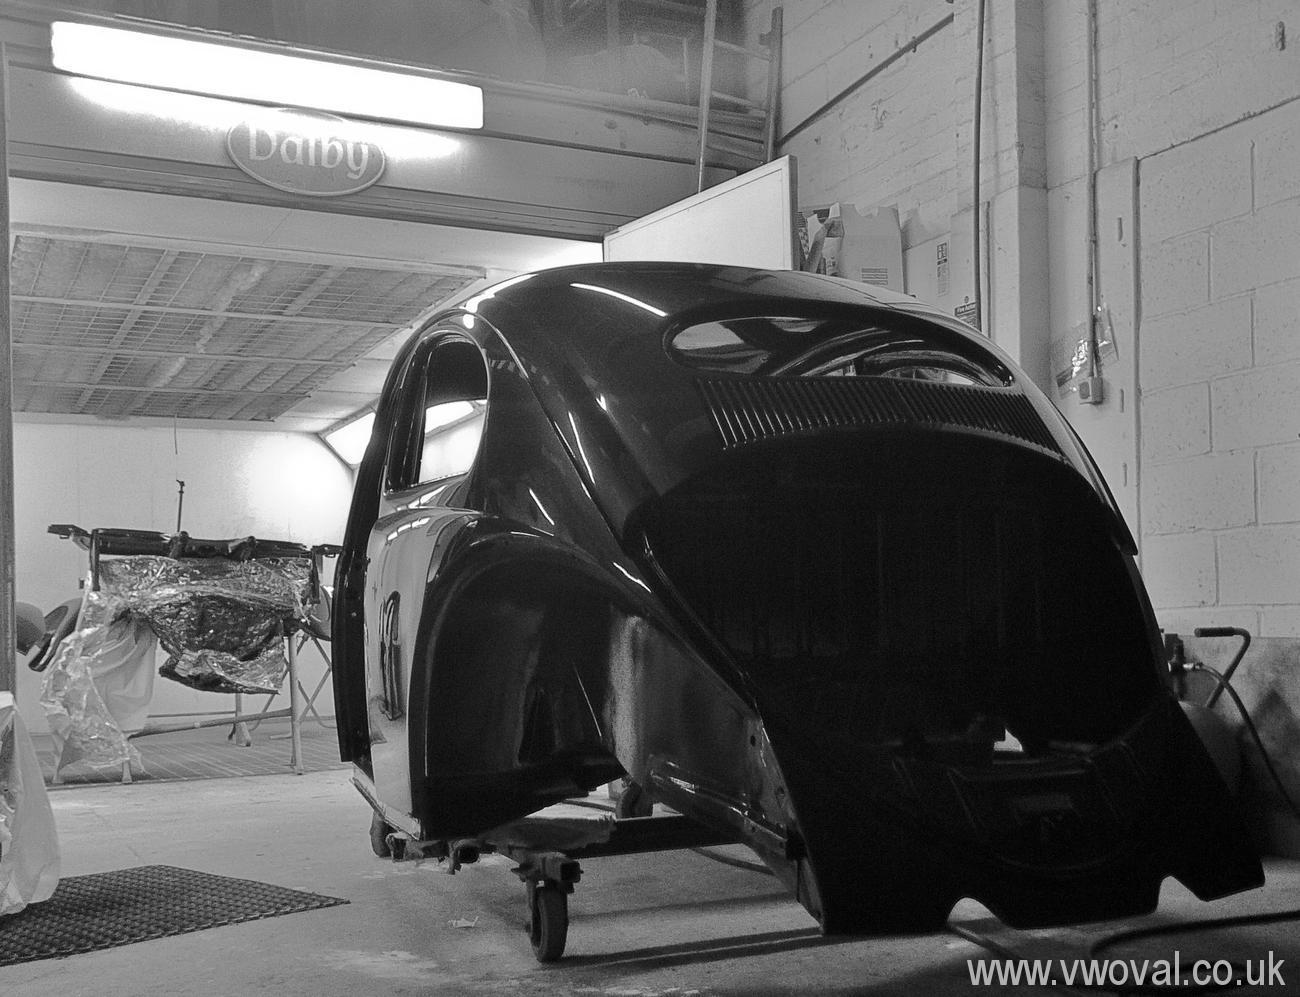
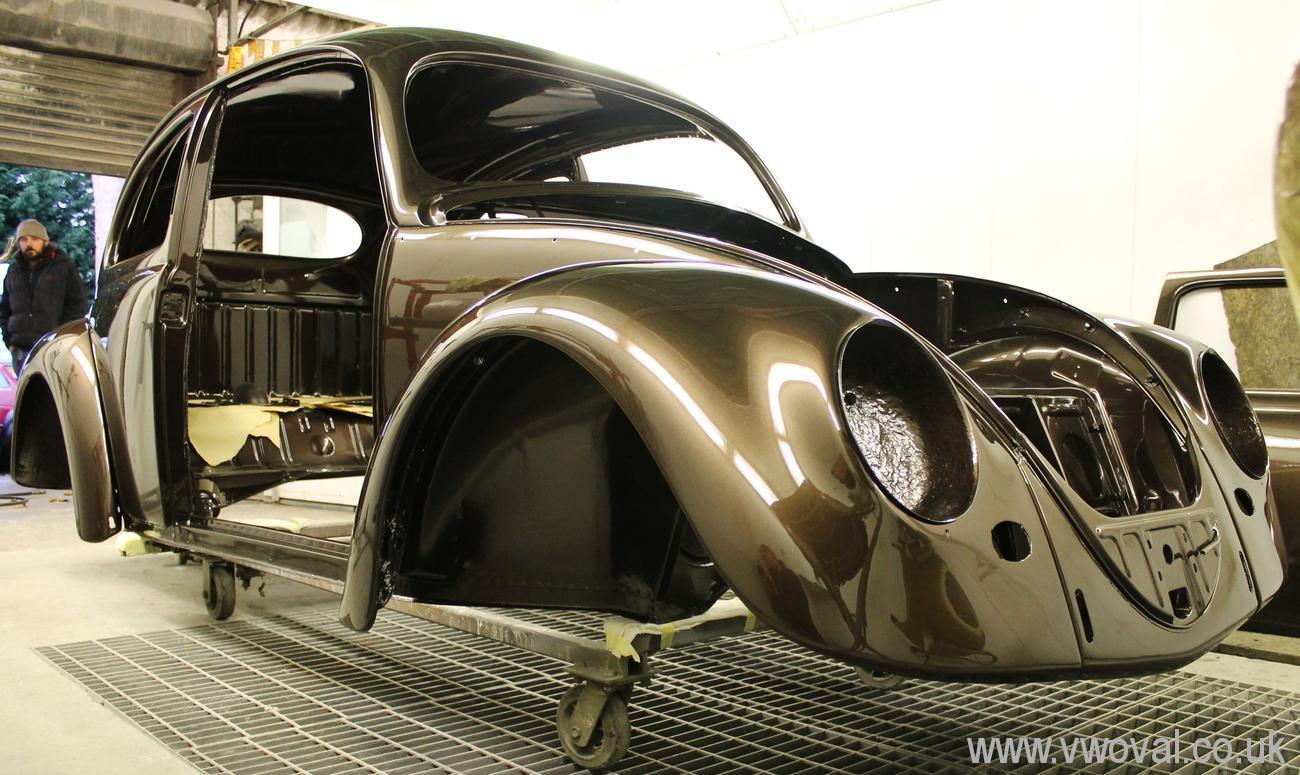
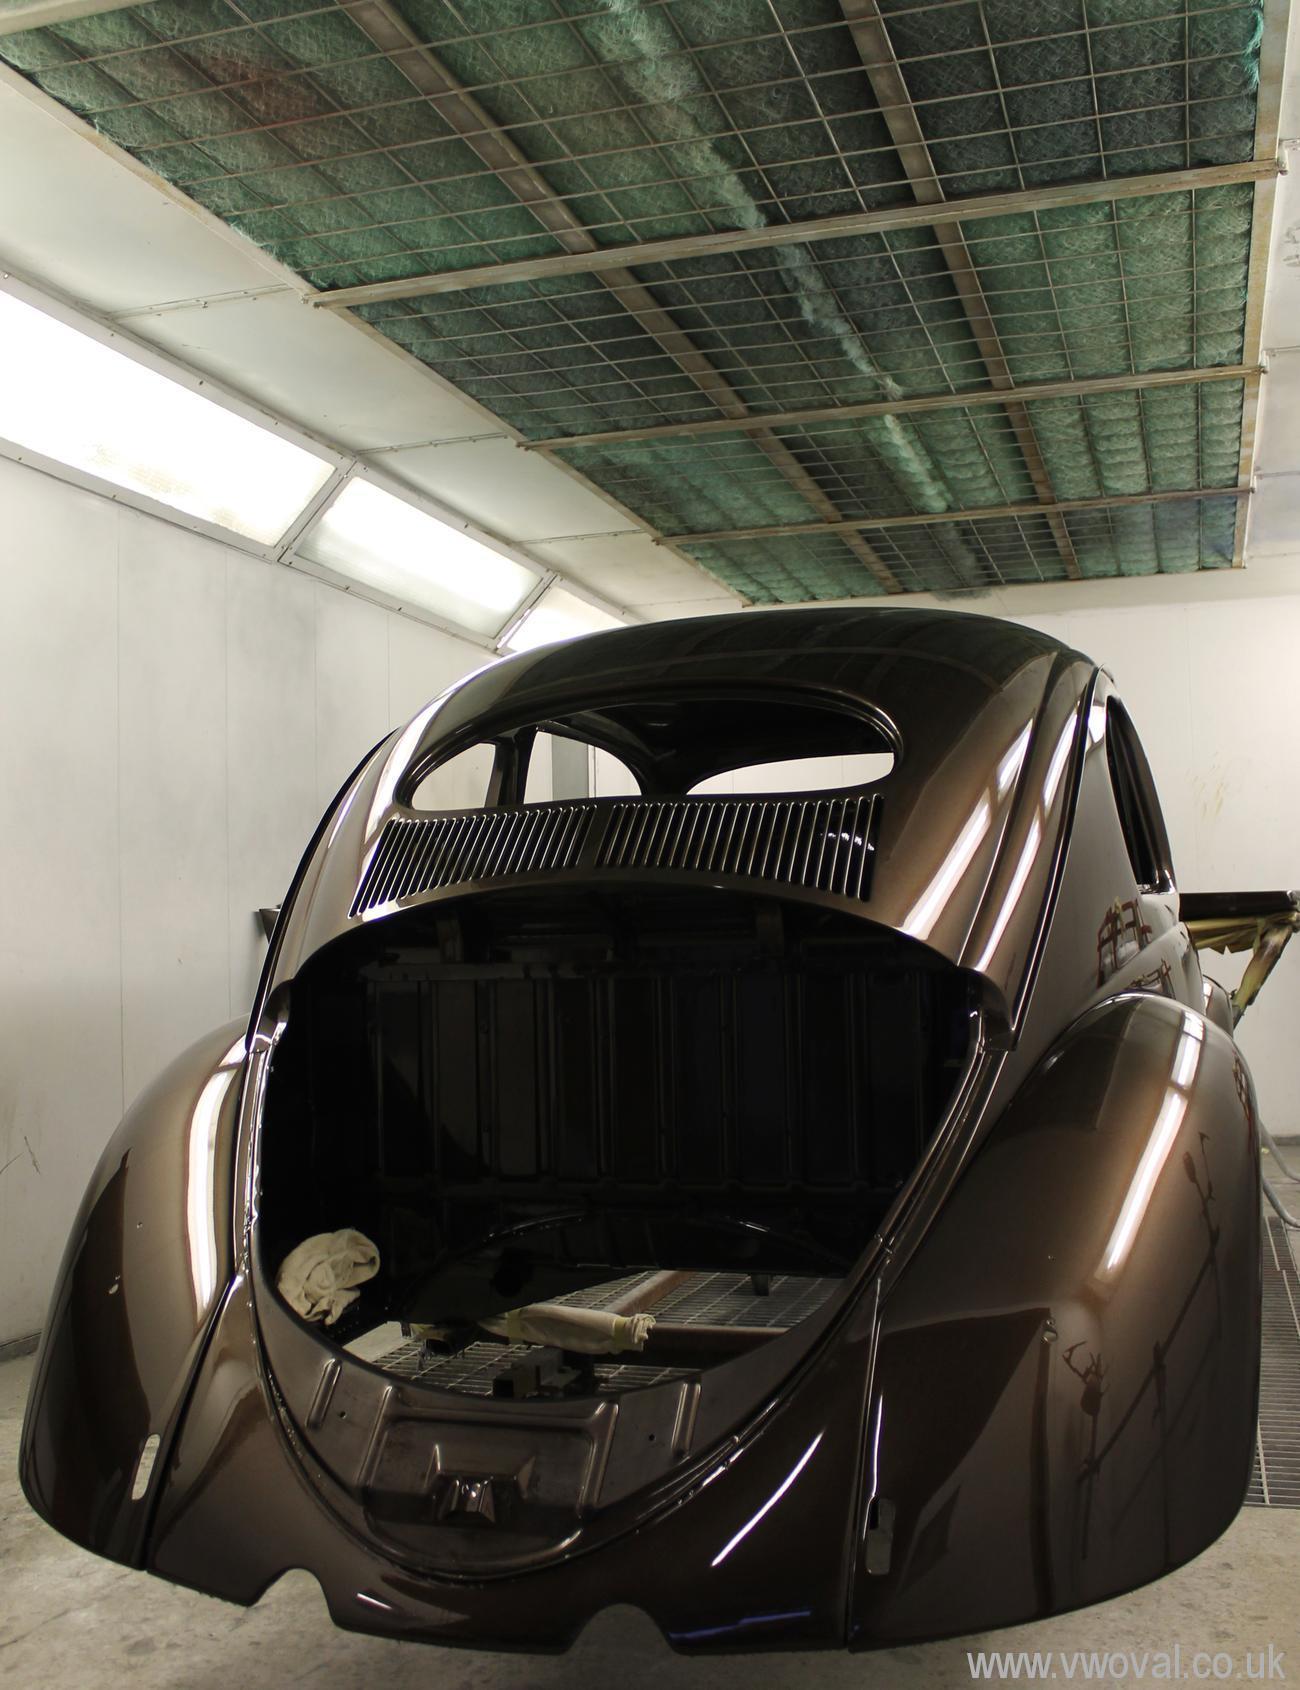
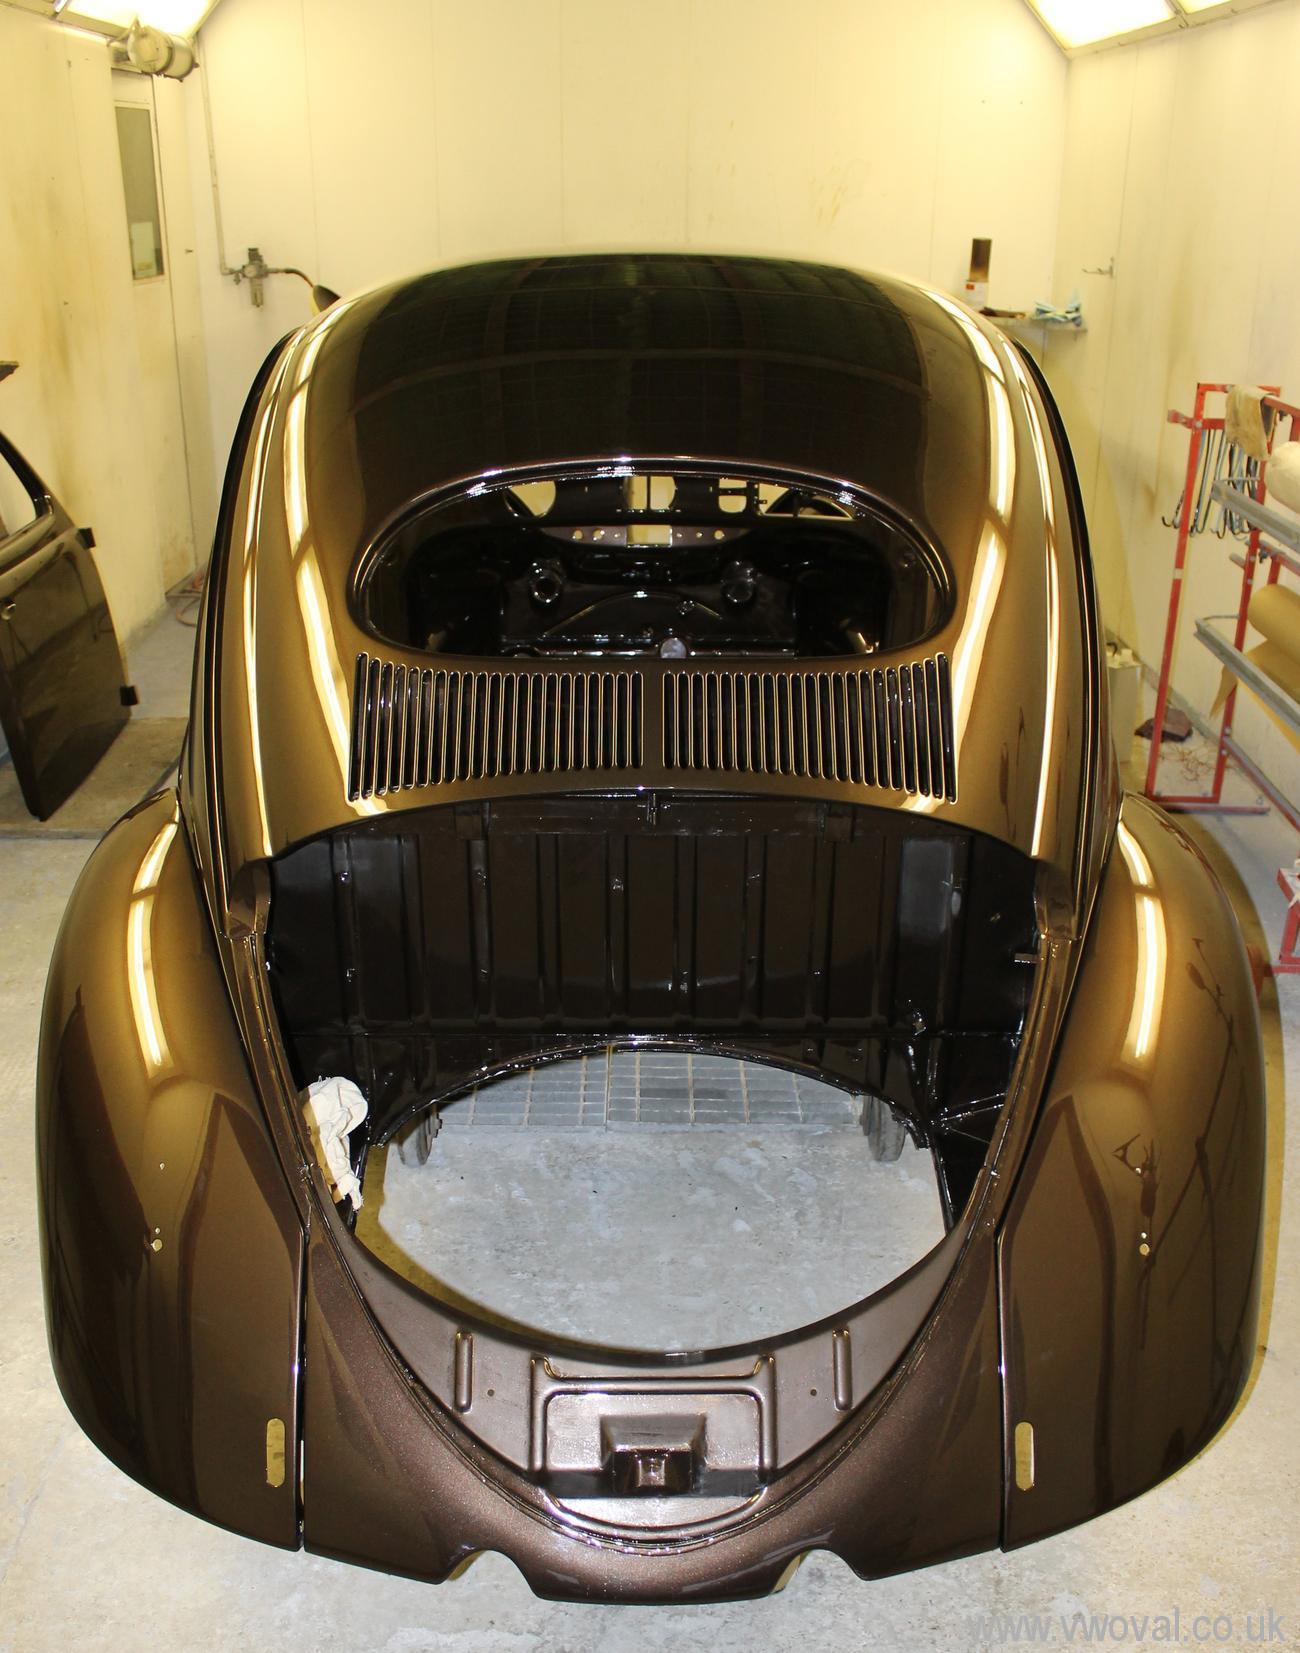
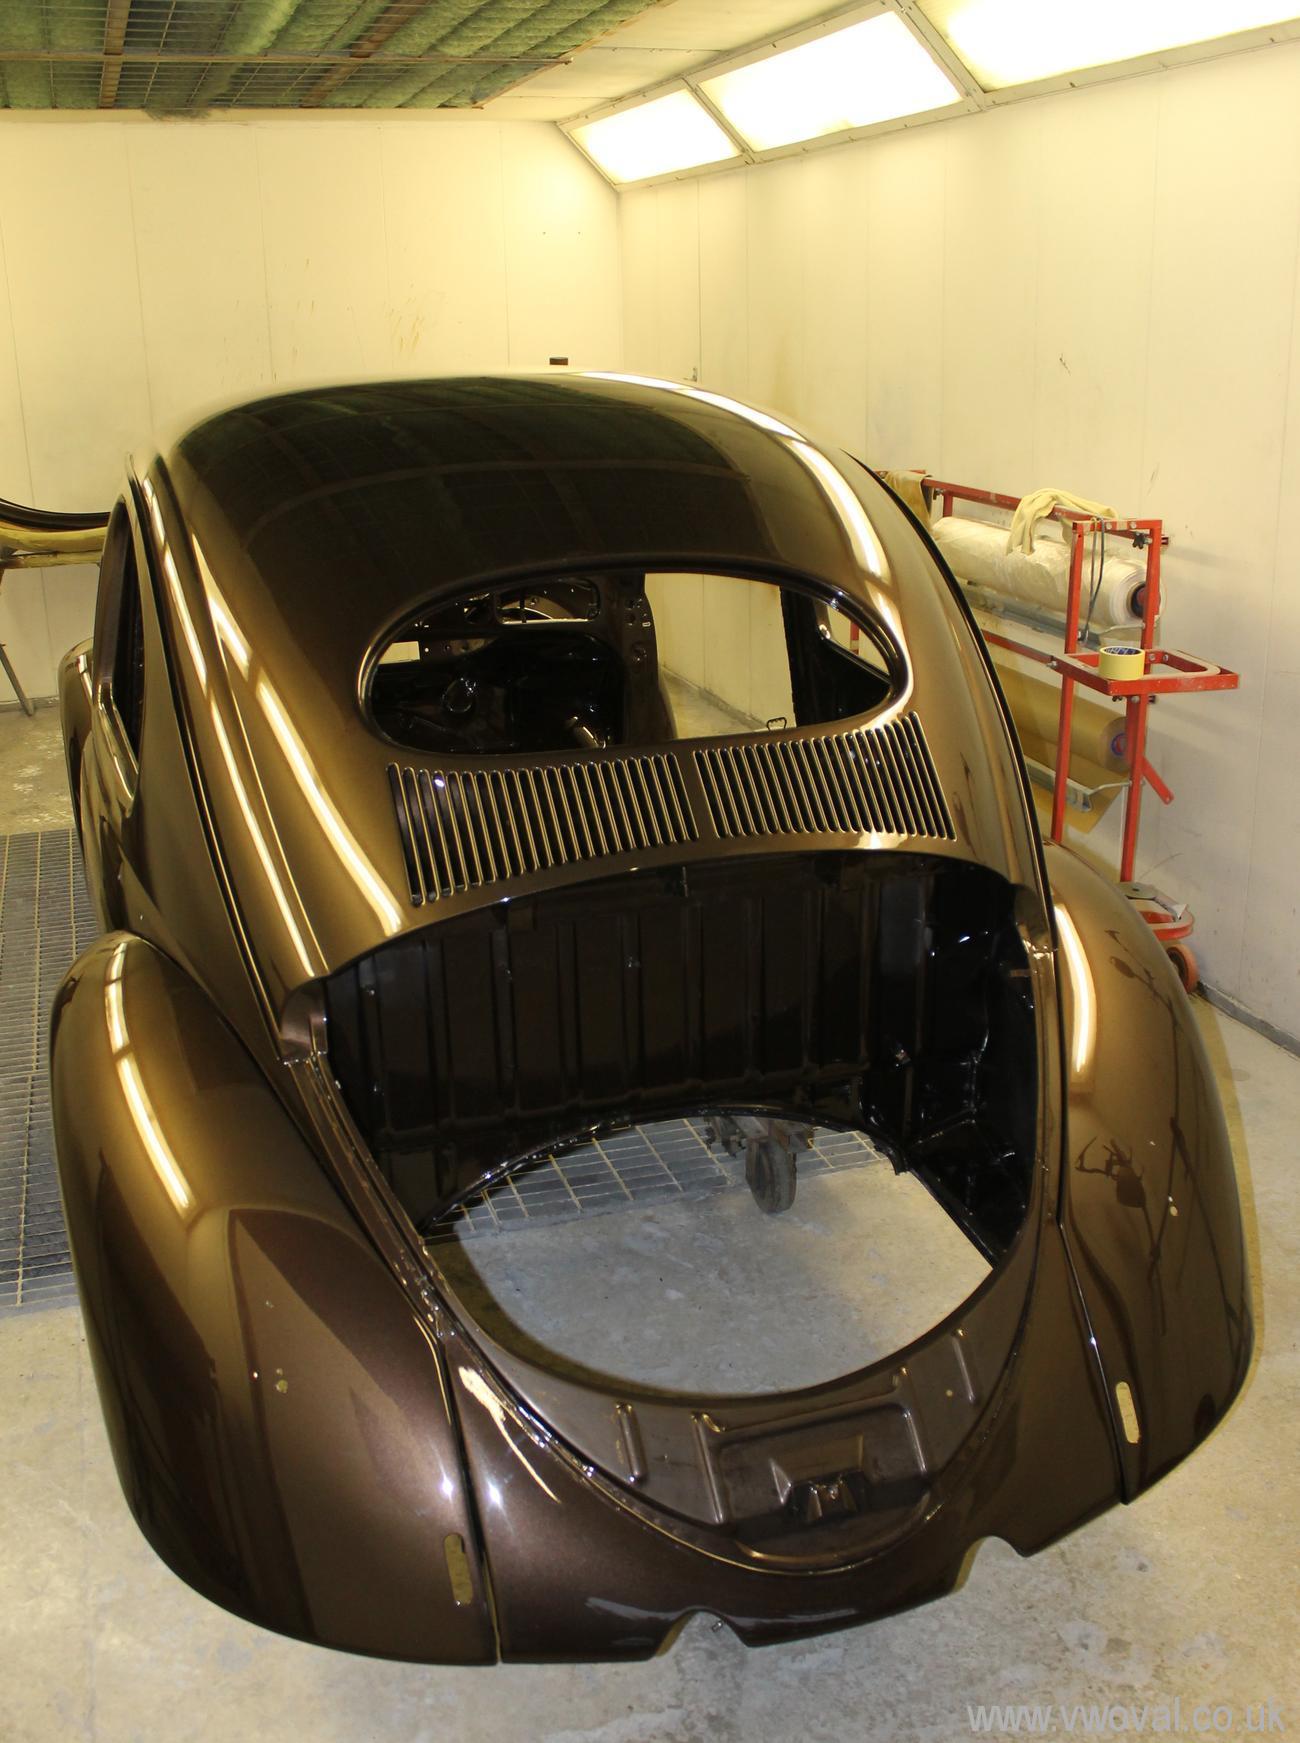
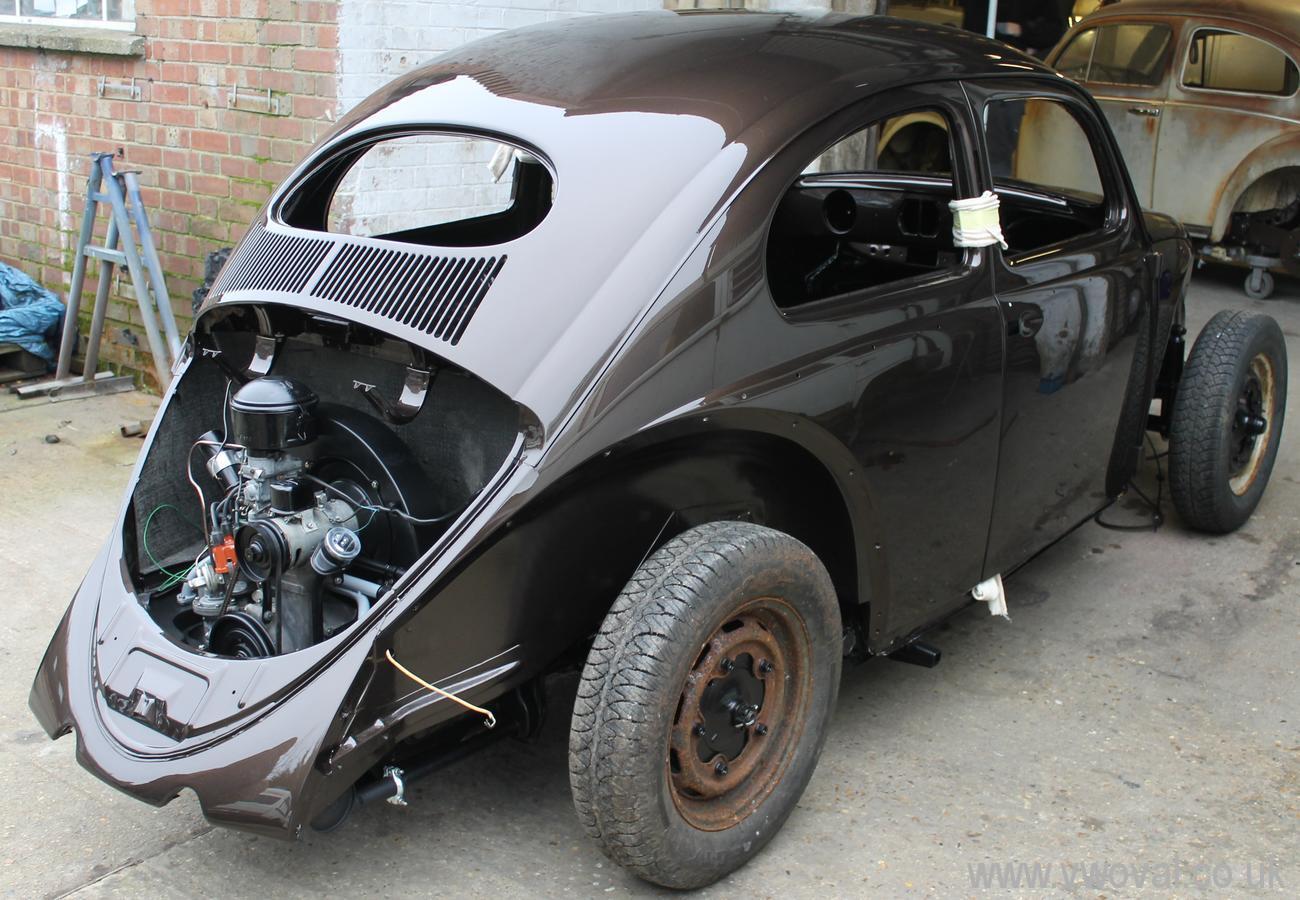
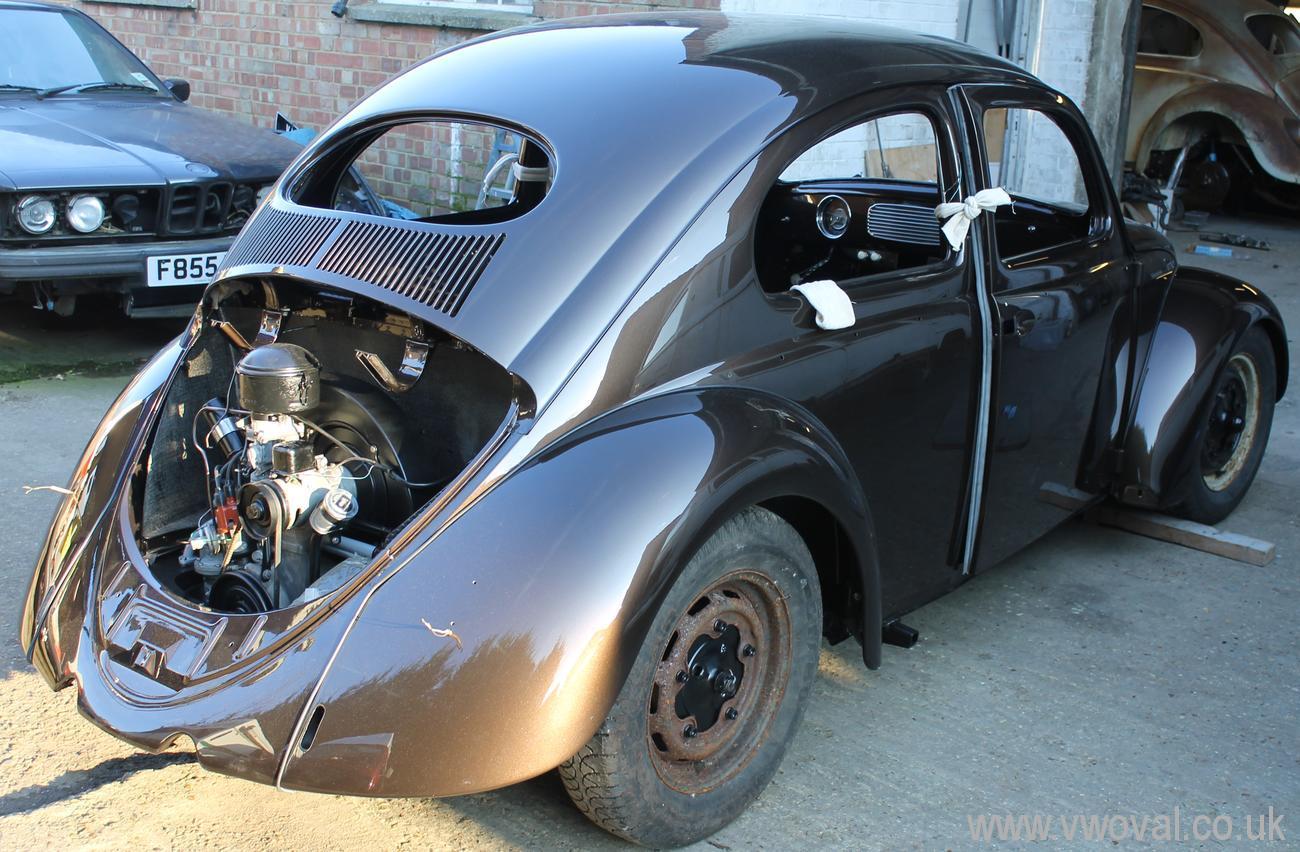
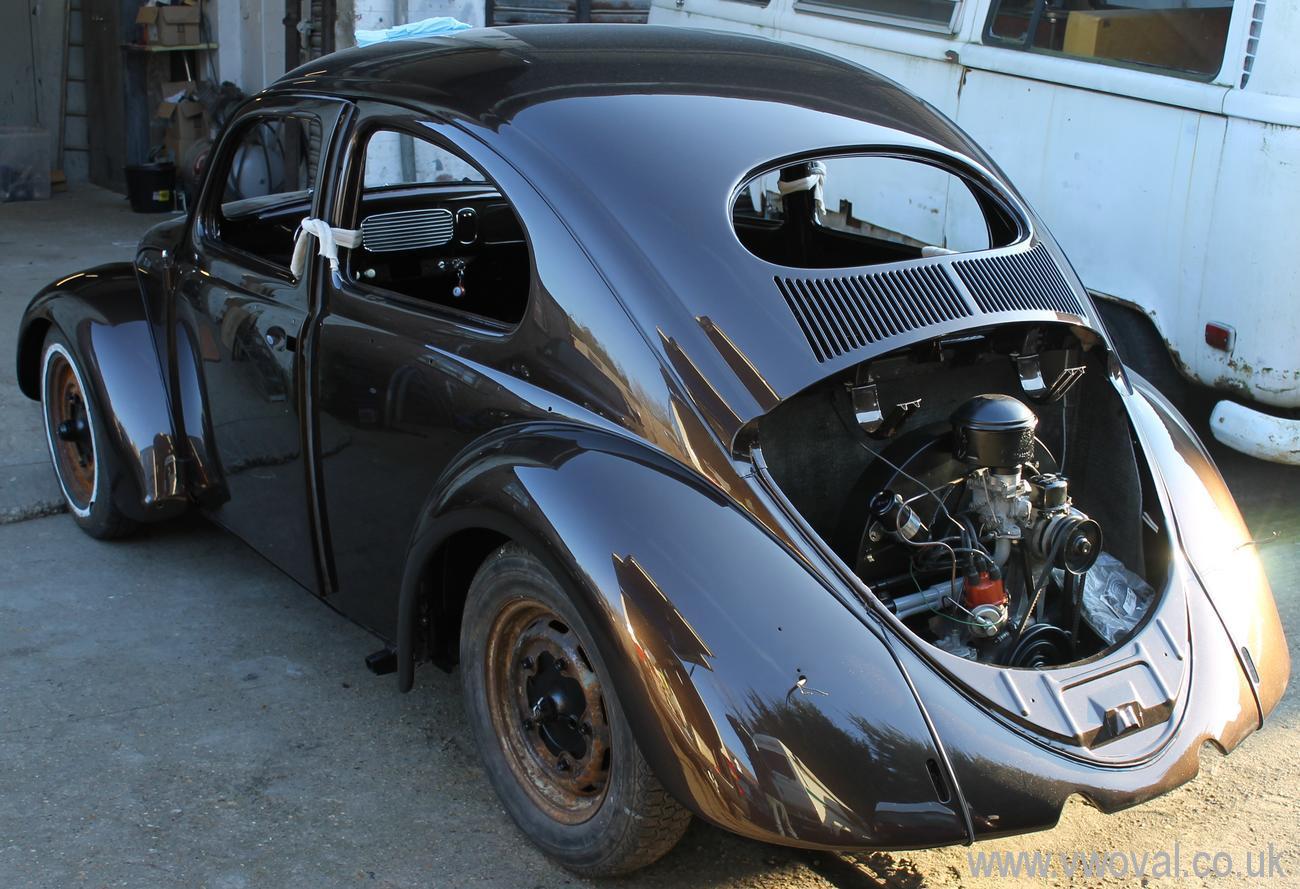
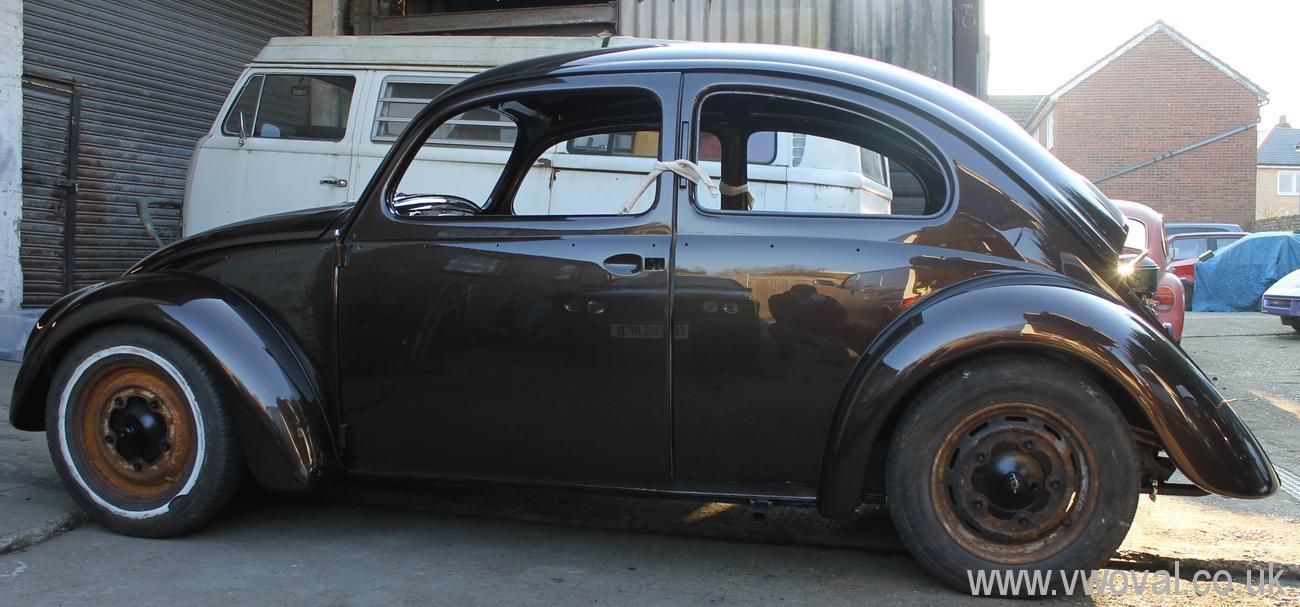
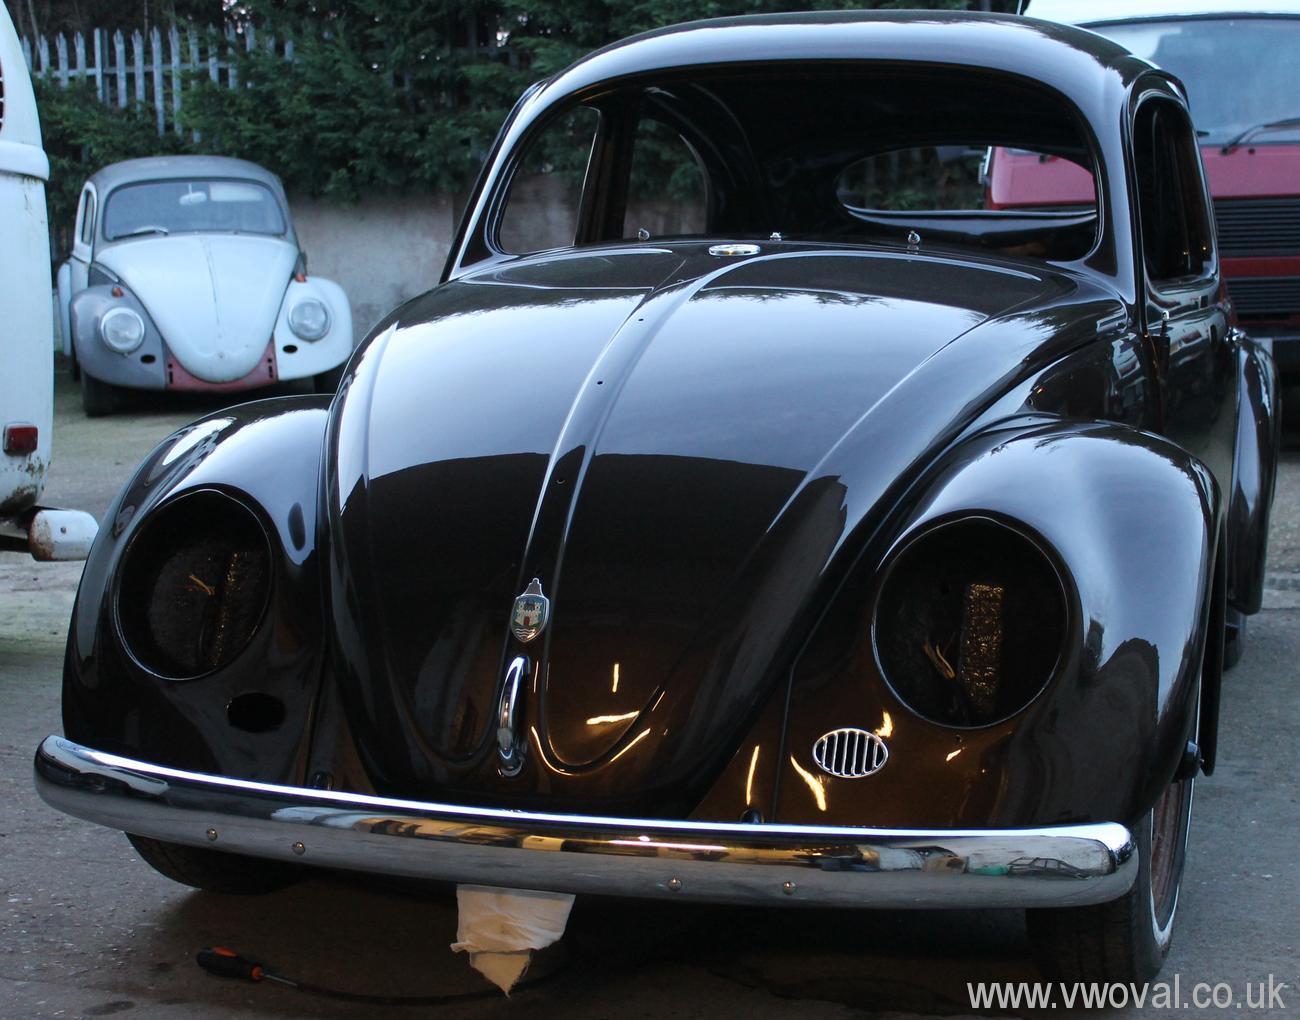
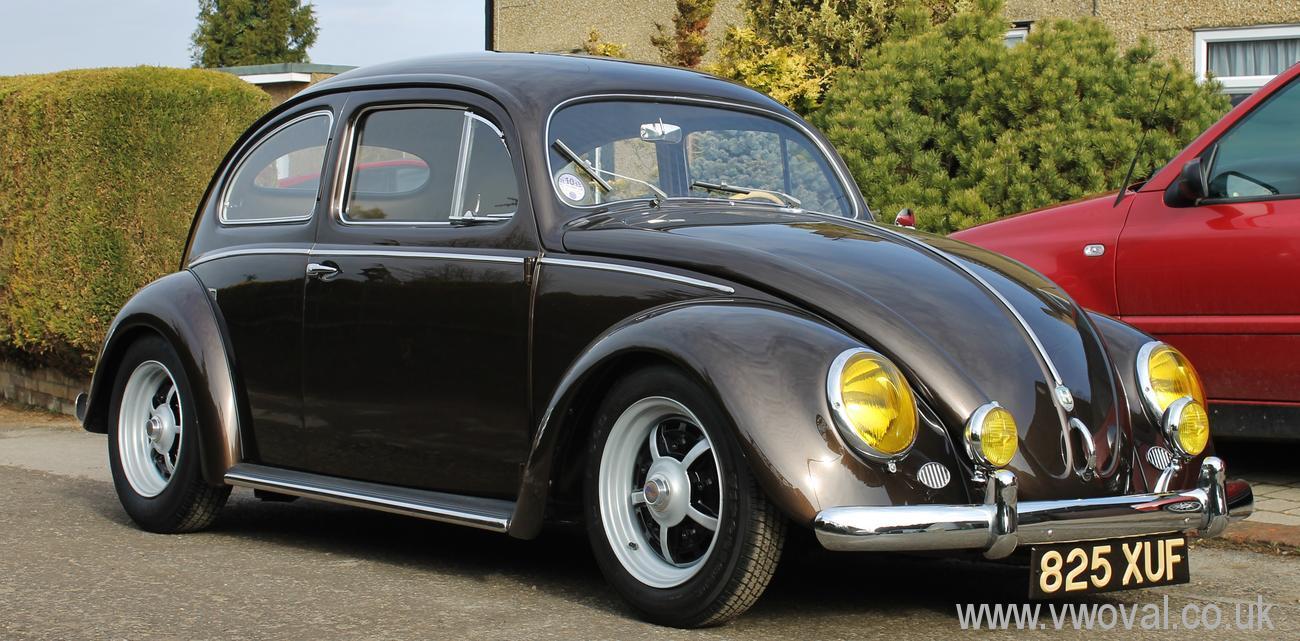
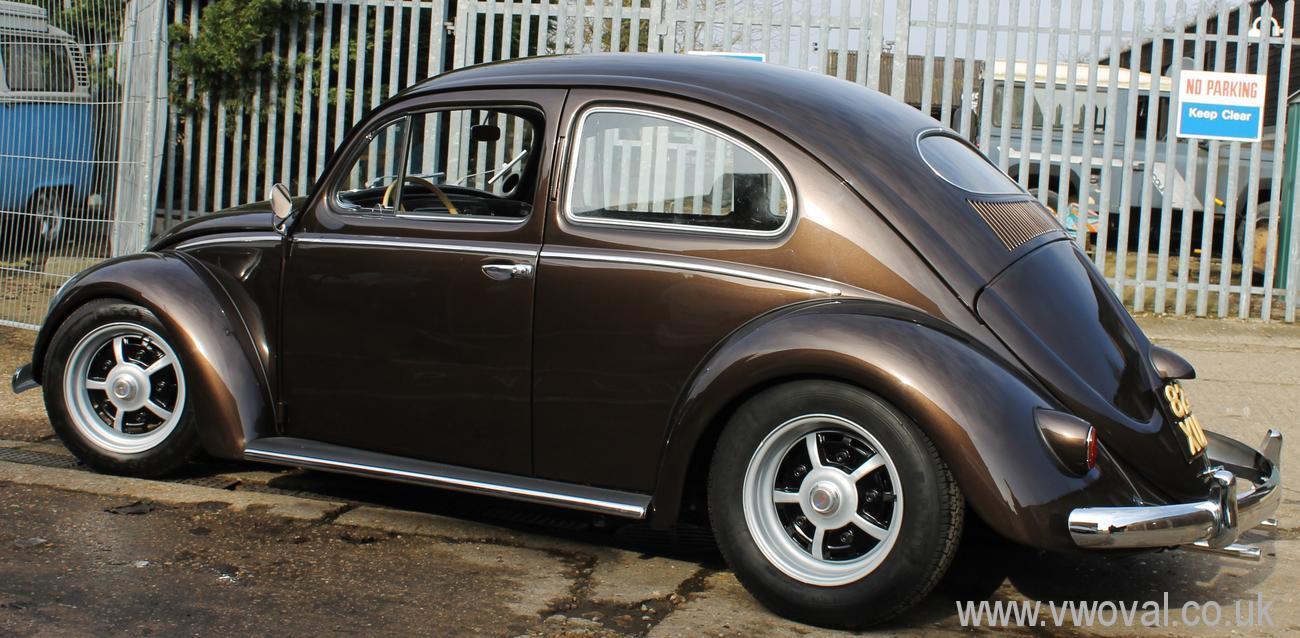
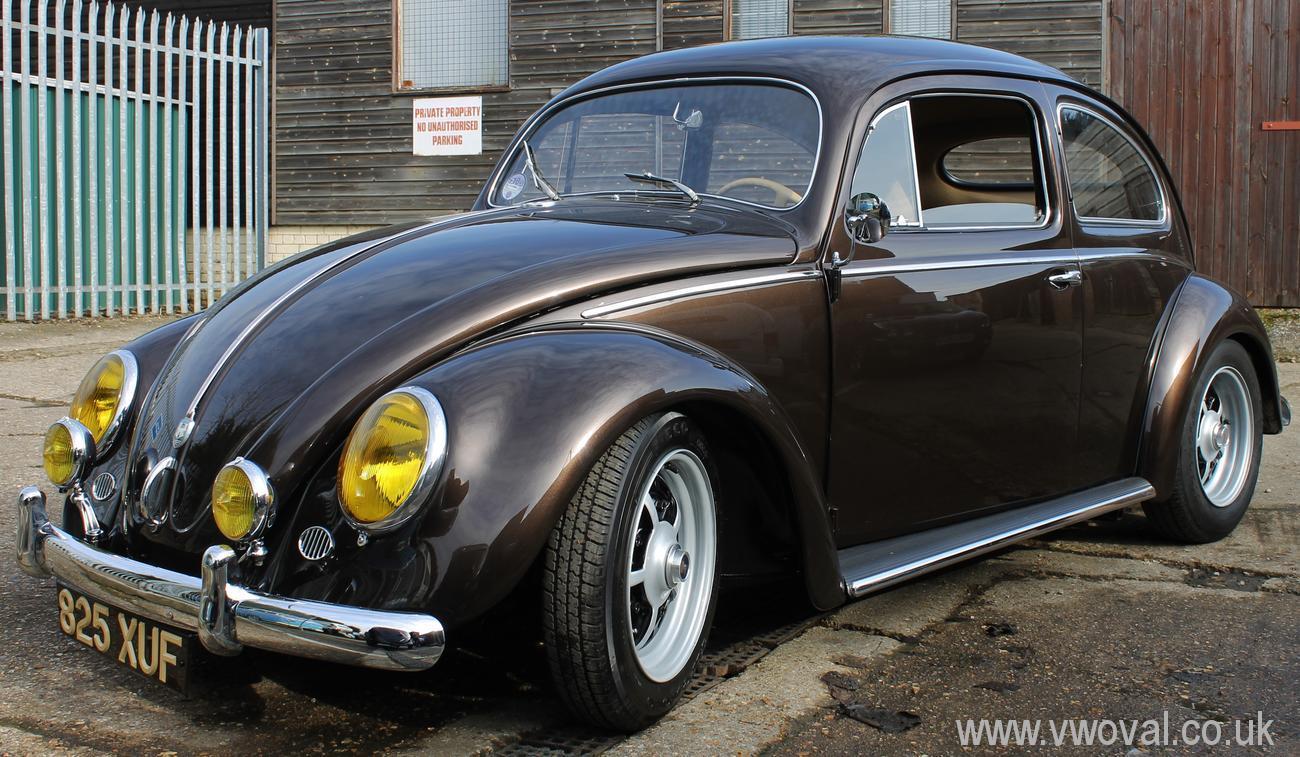
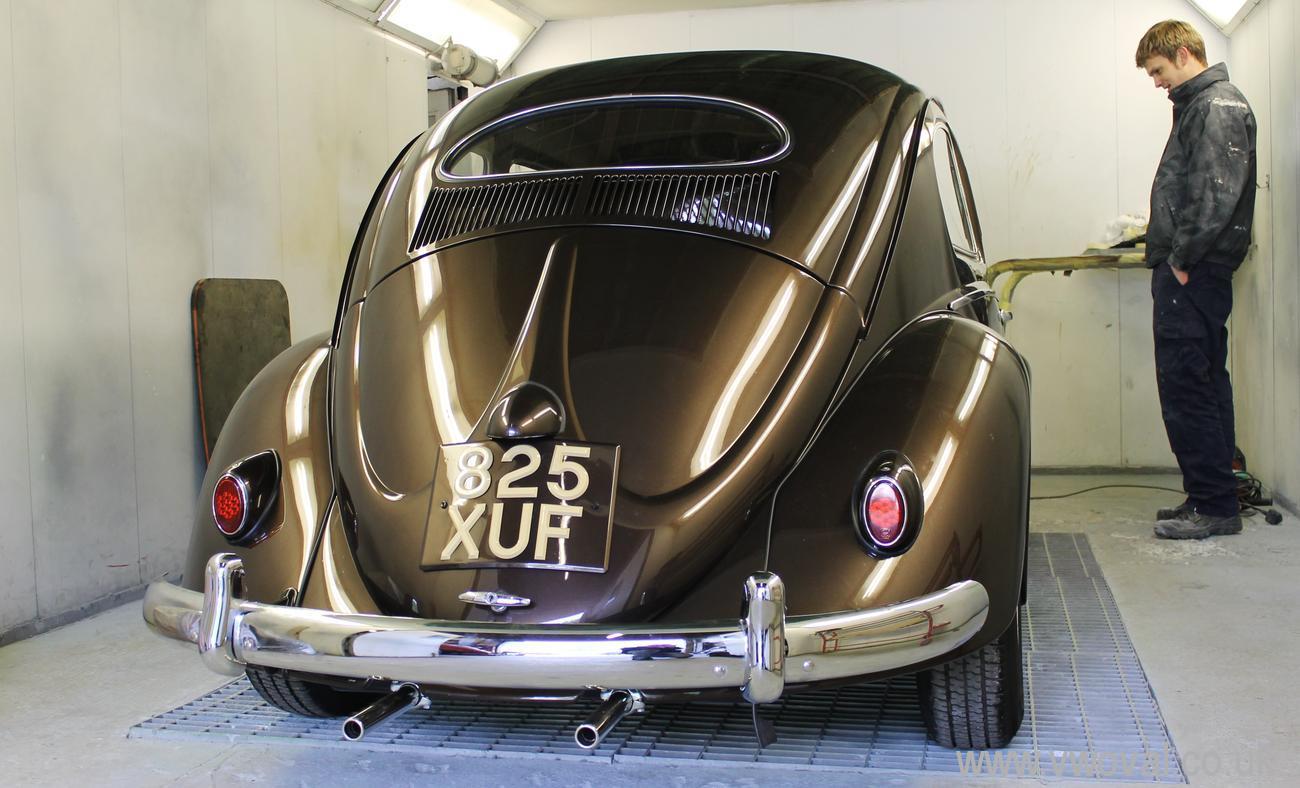
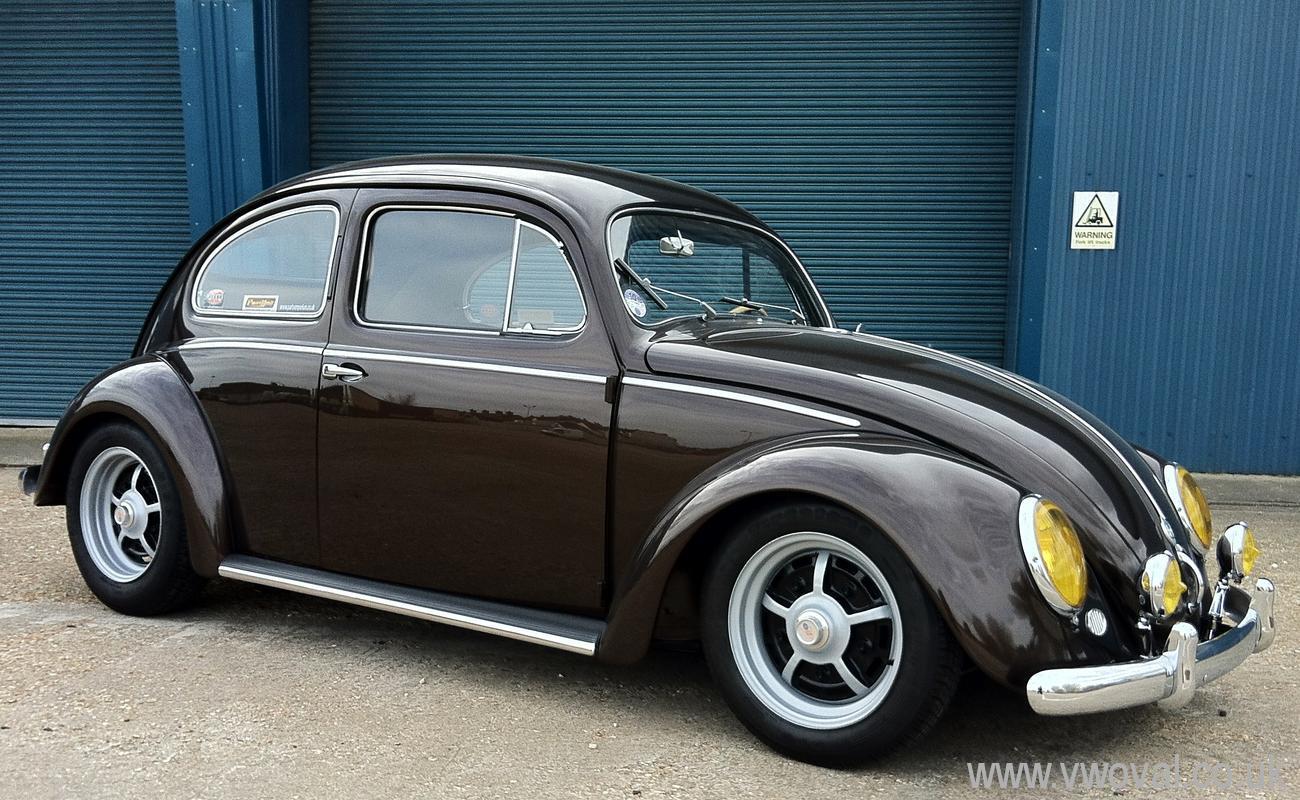
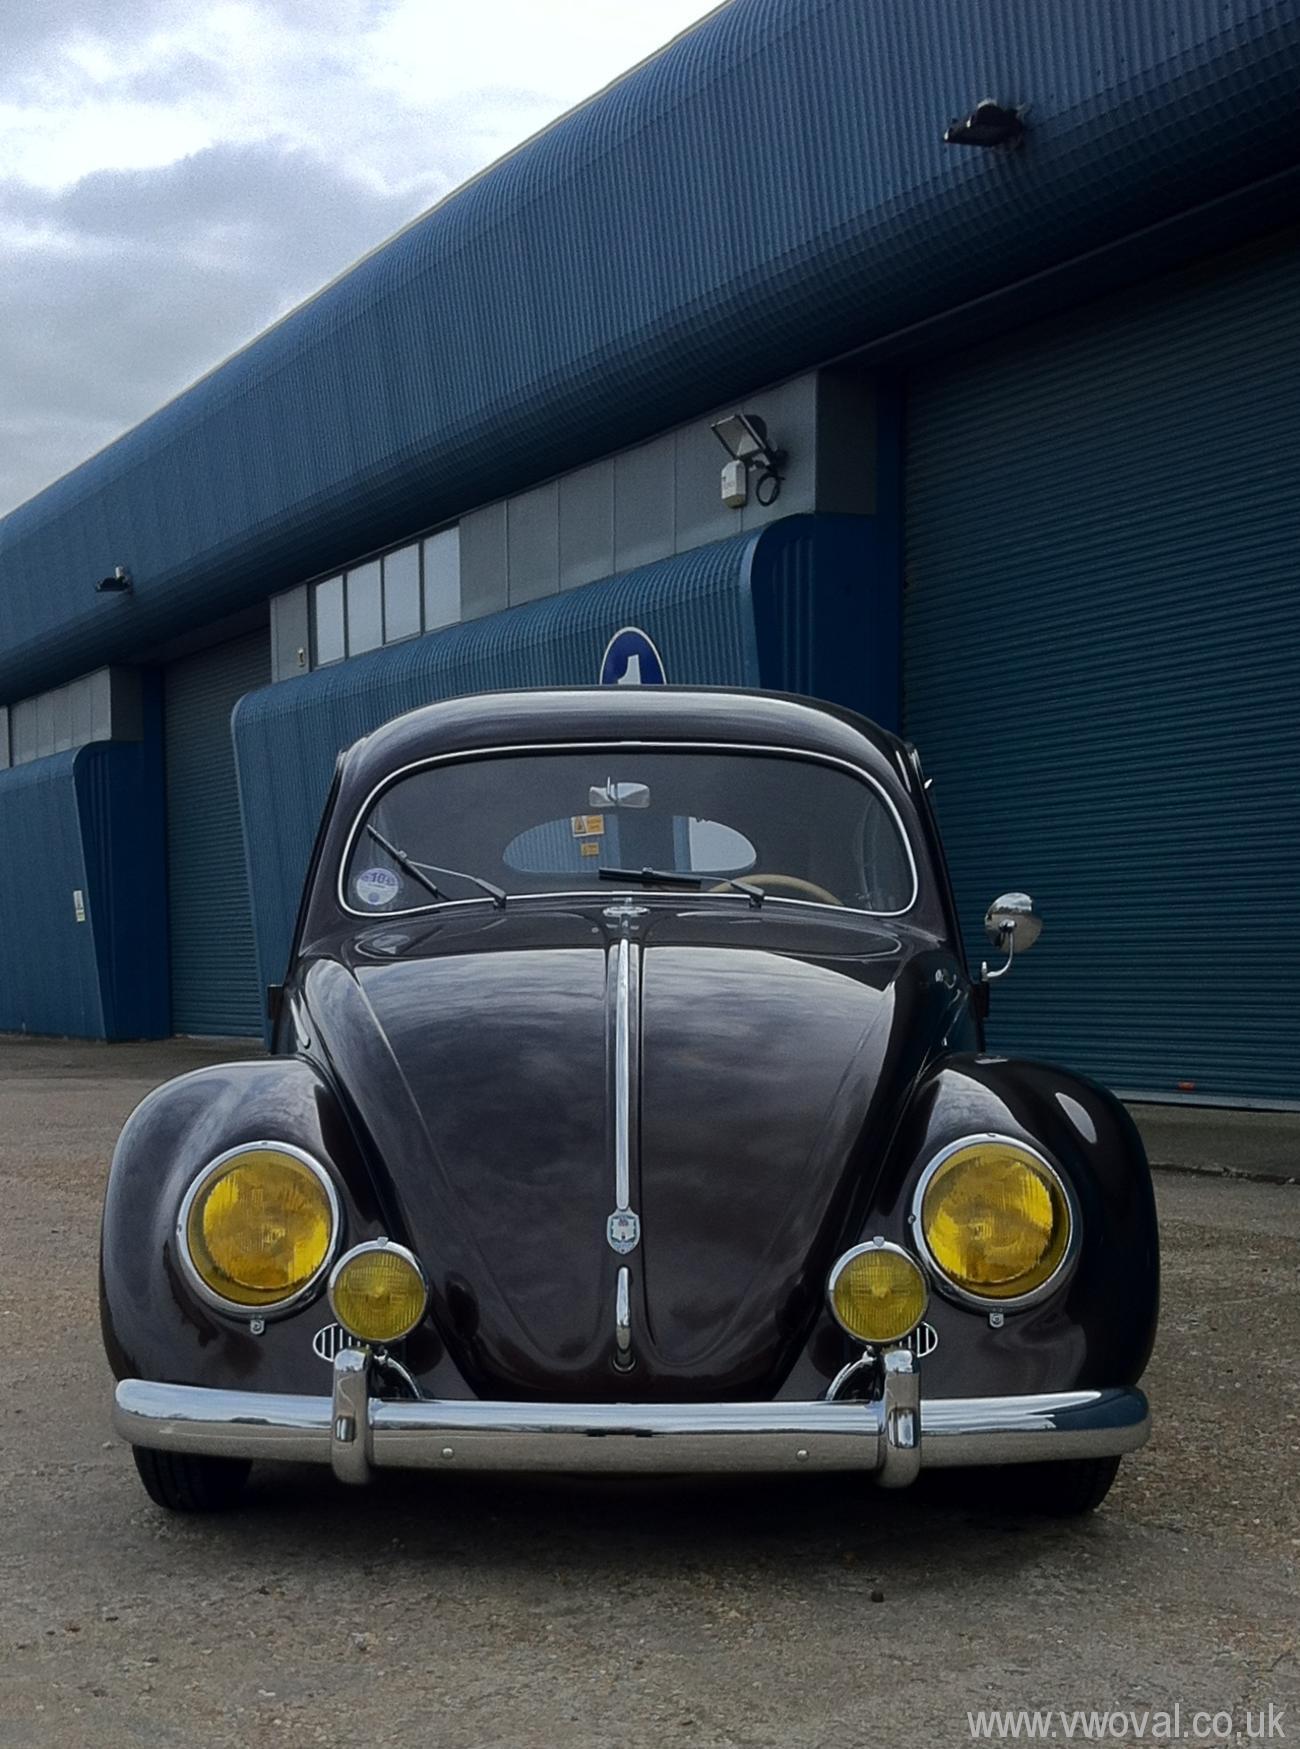
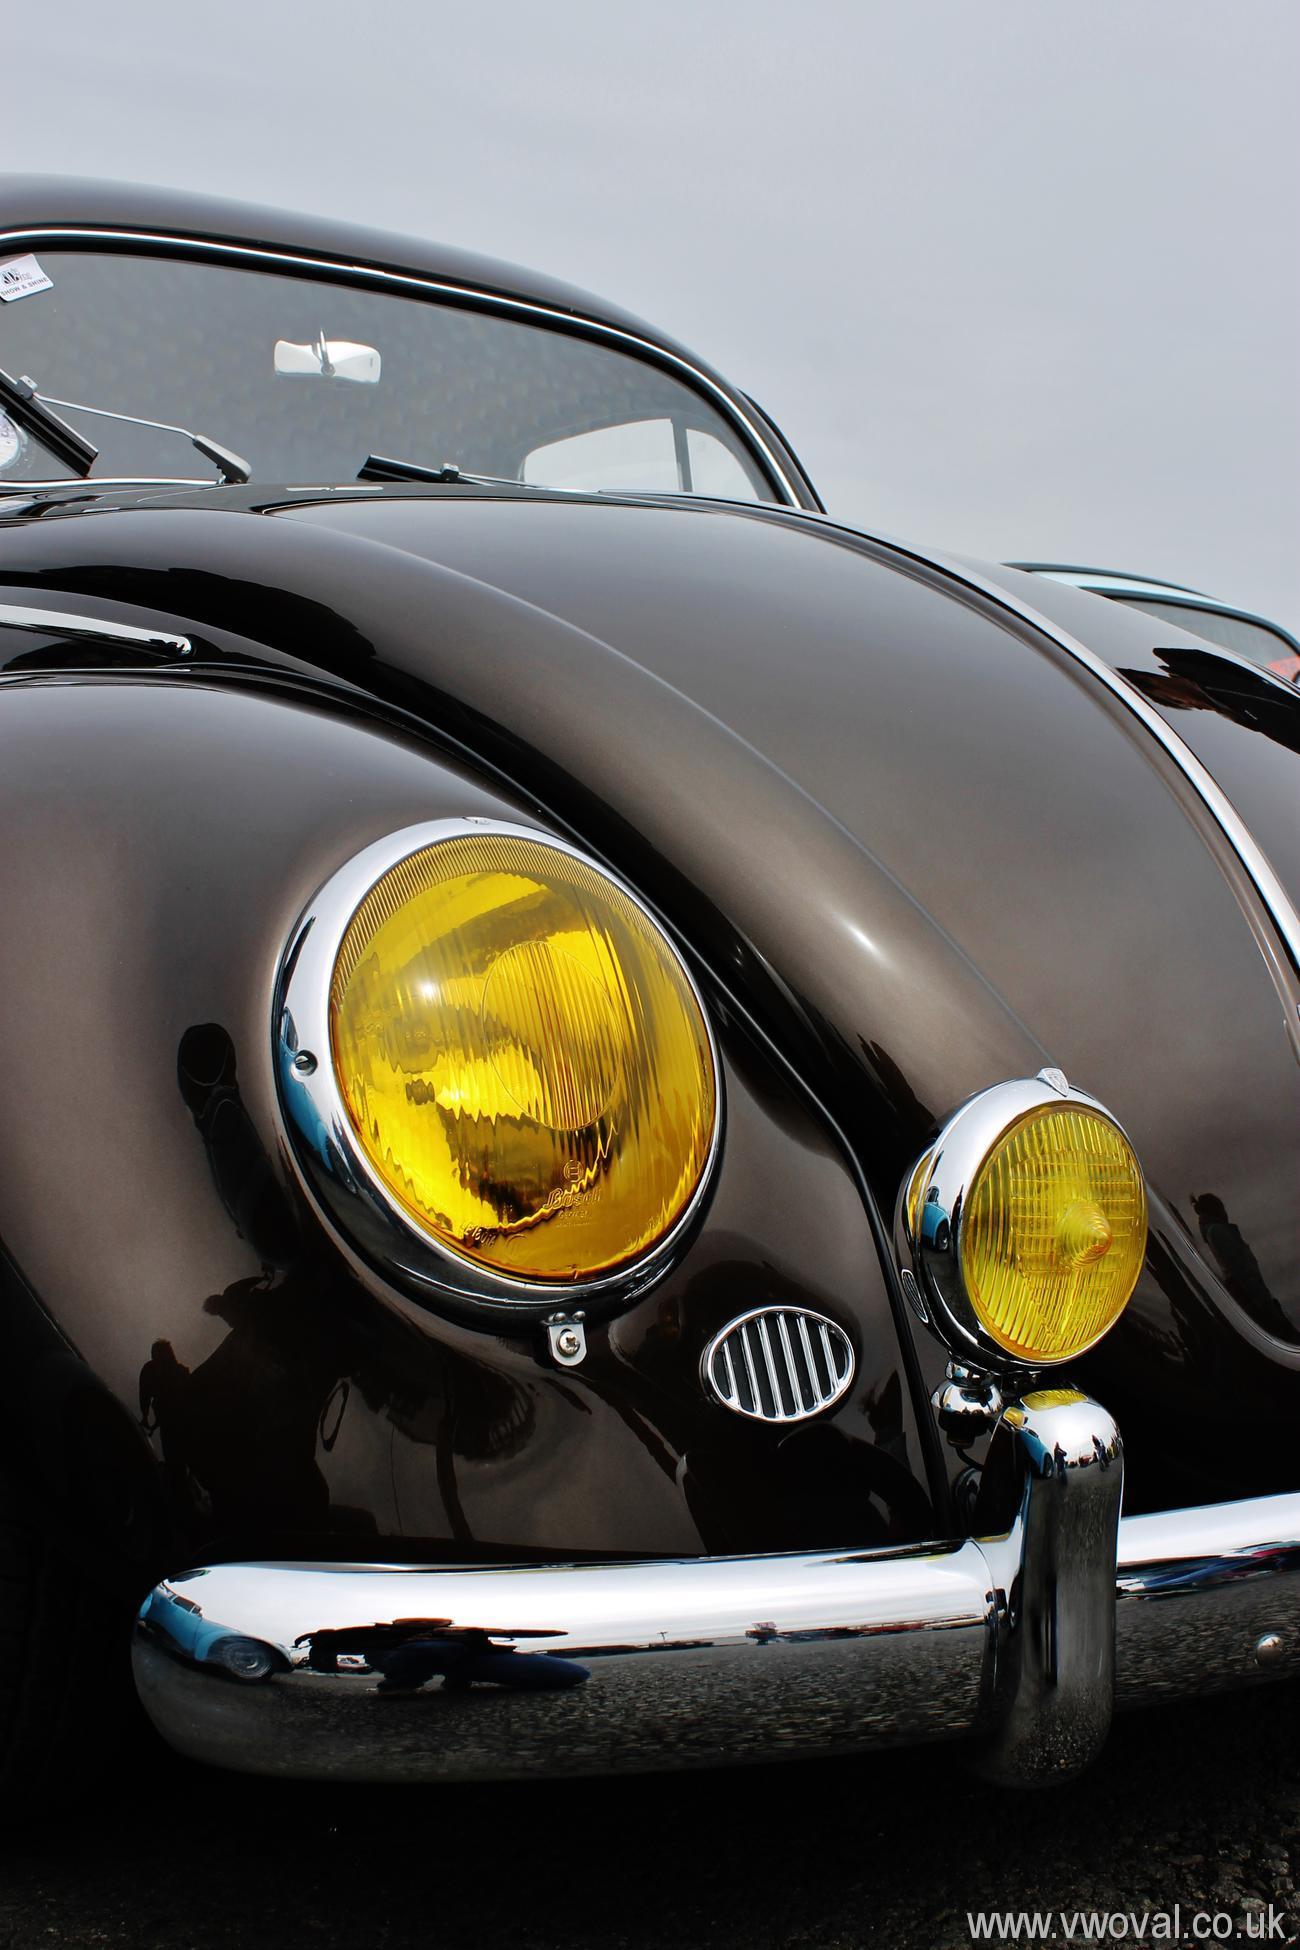
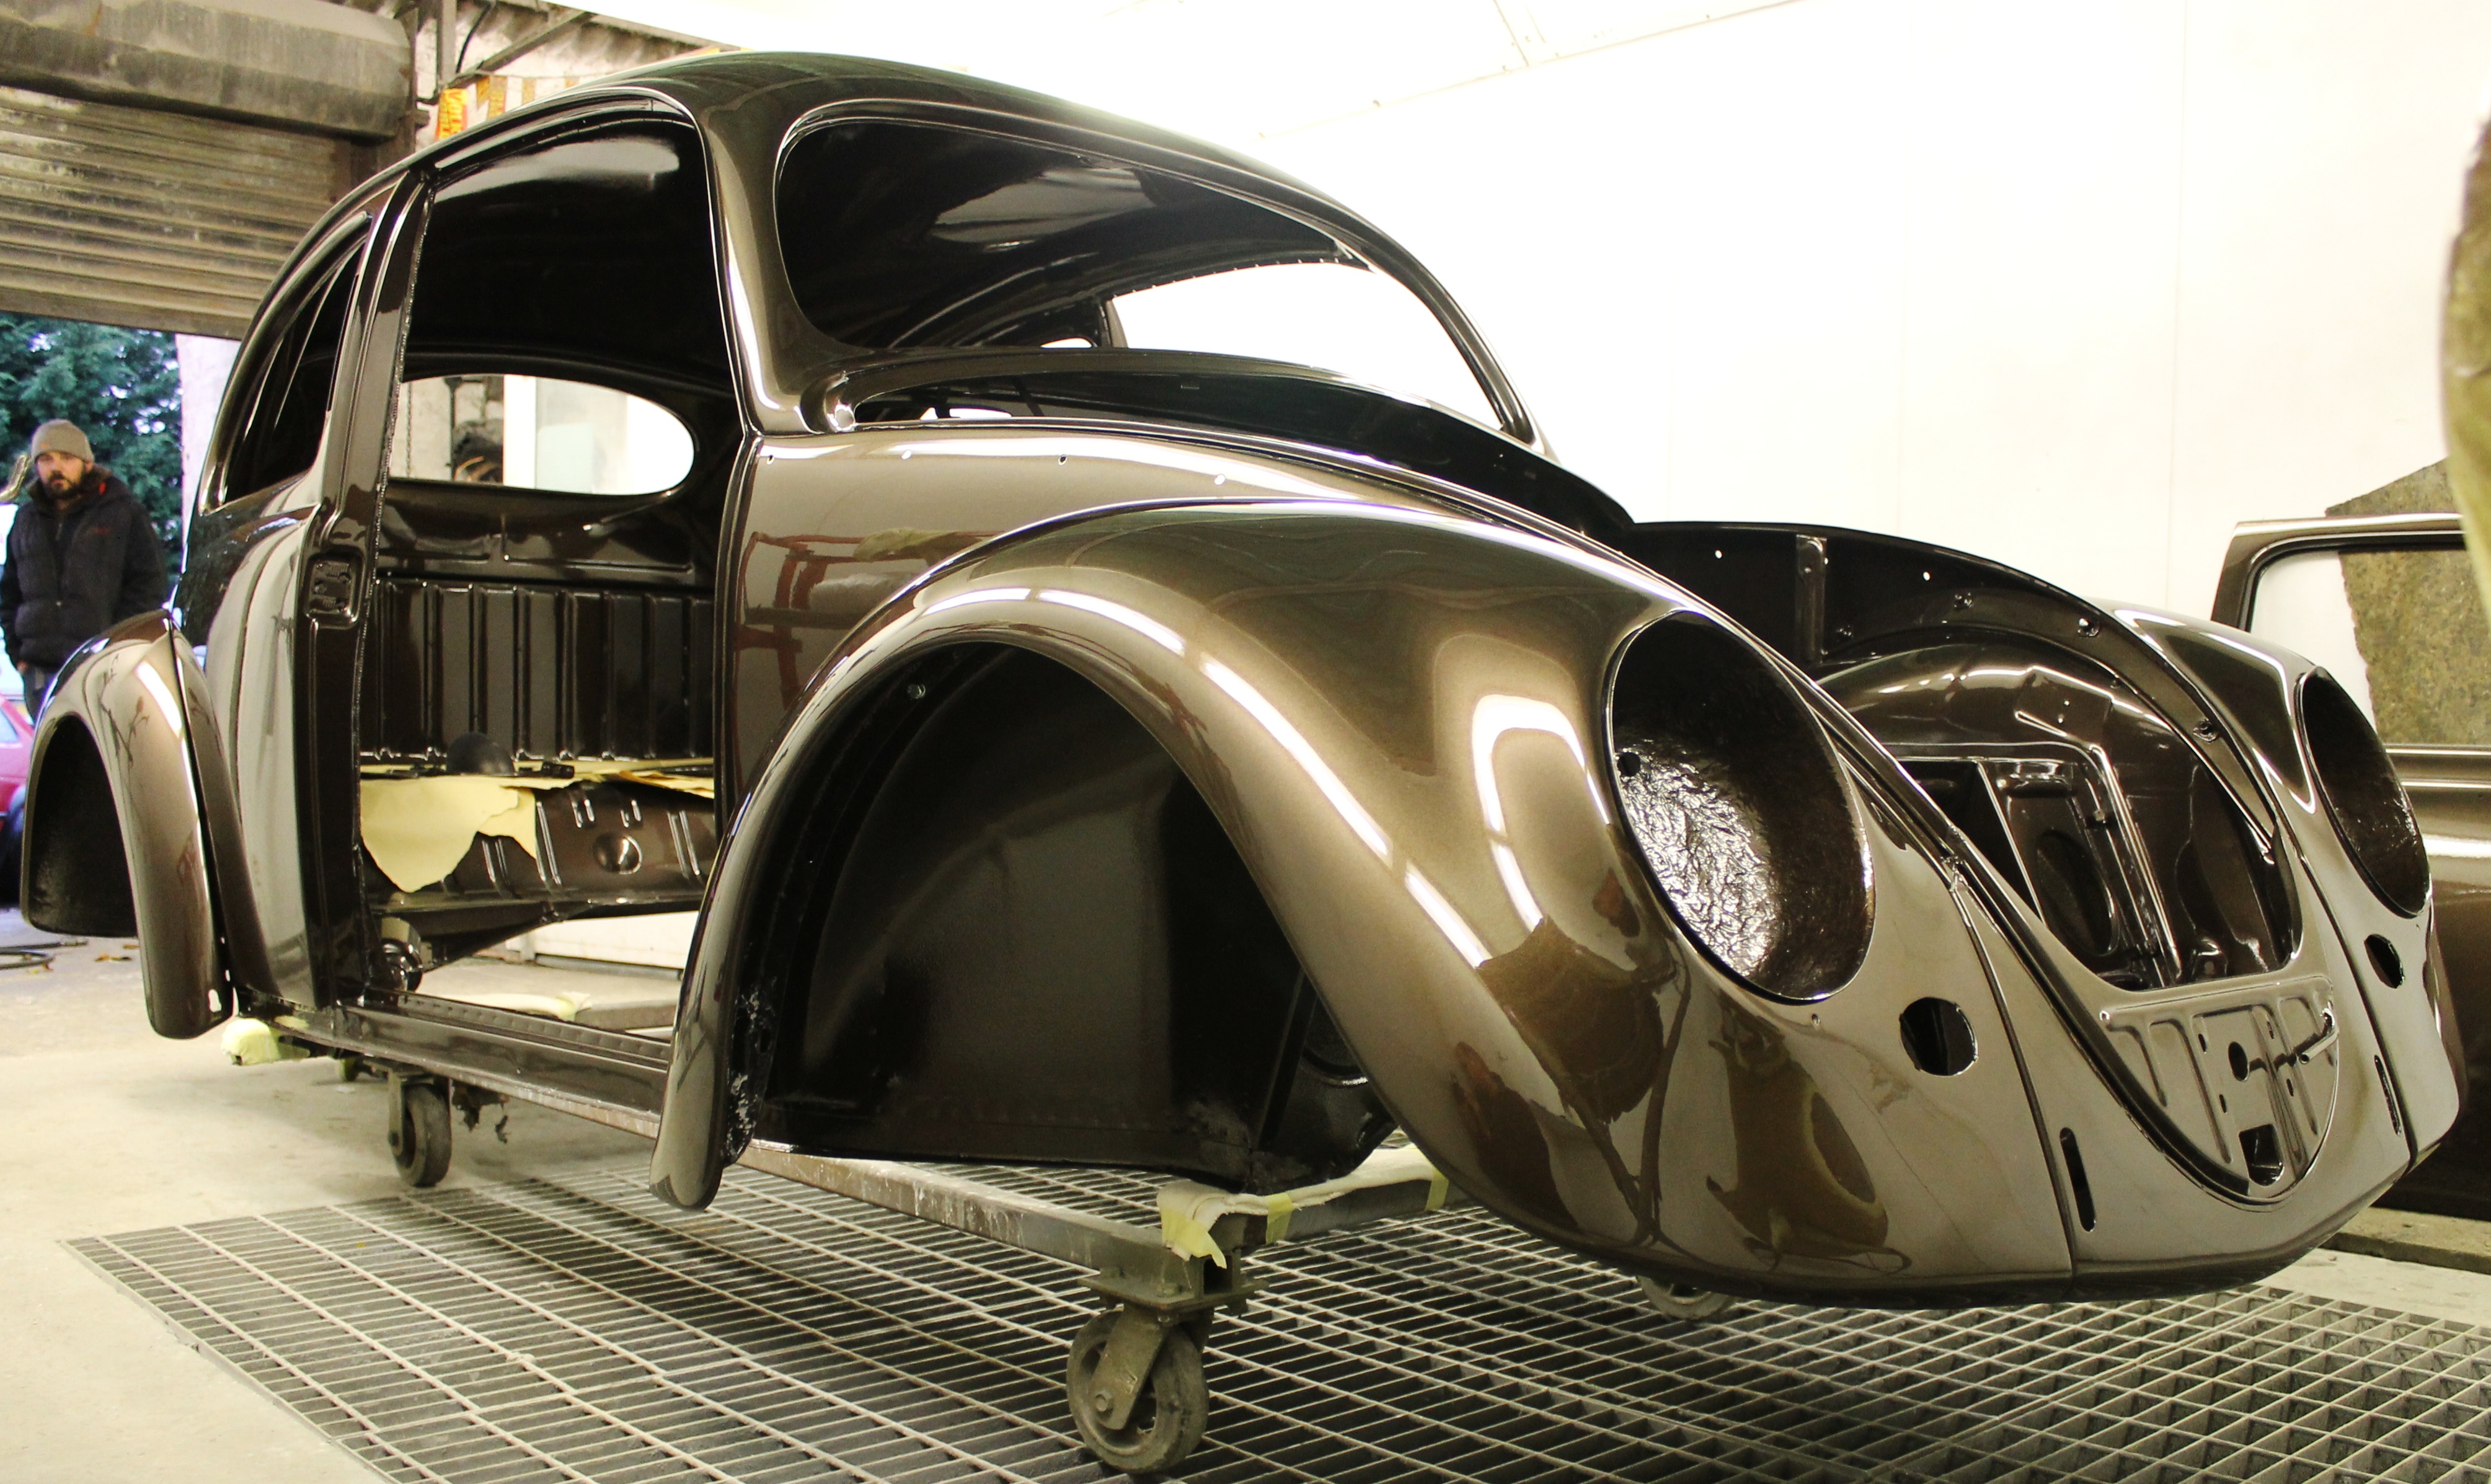
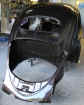
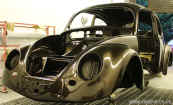
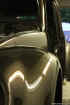
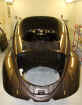
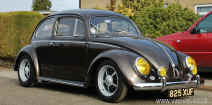
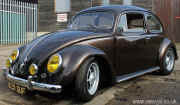
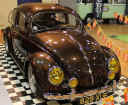
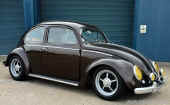
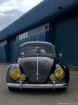
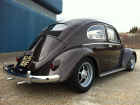
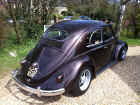
- The Painted body shell... looks amazing!


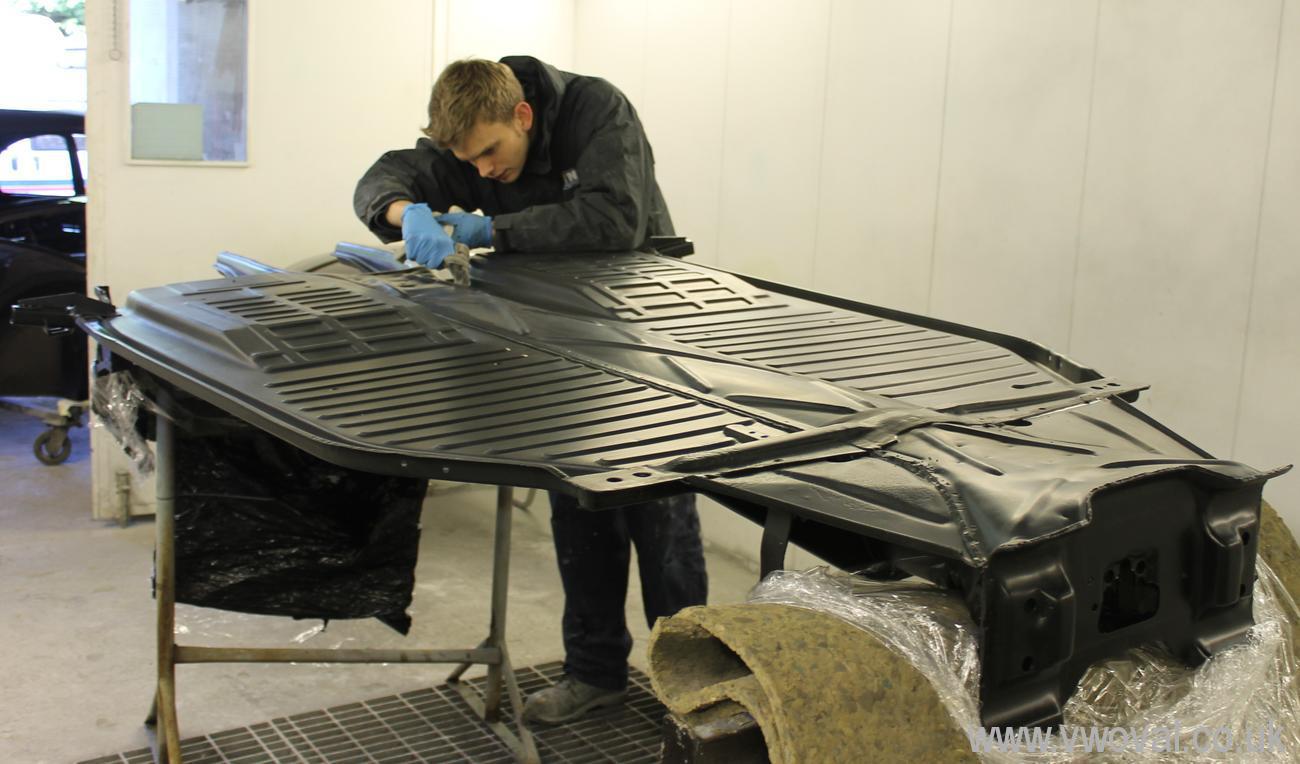
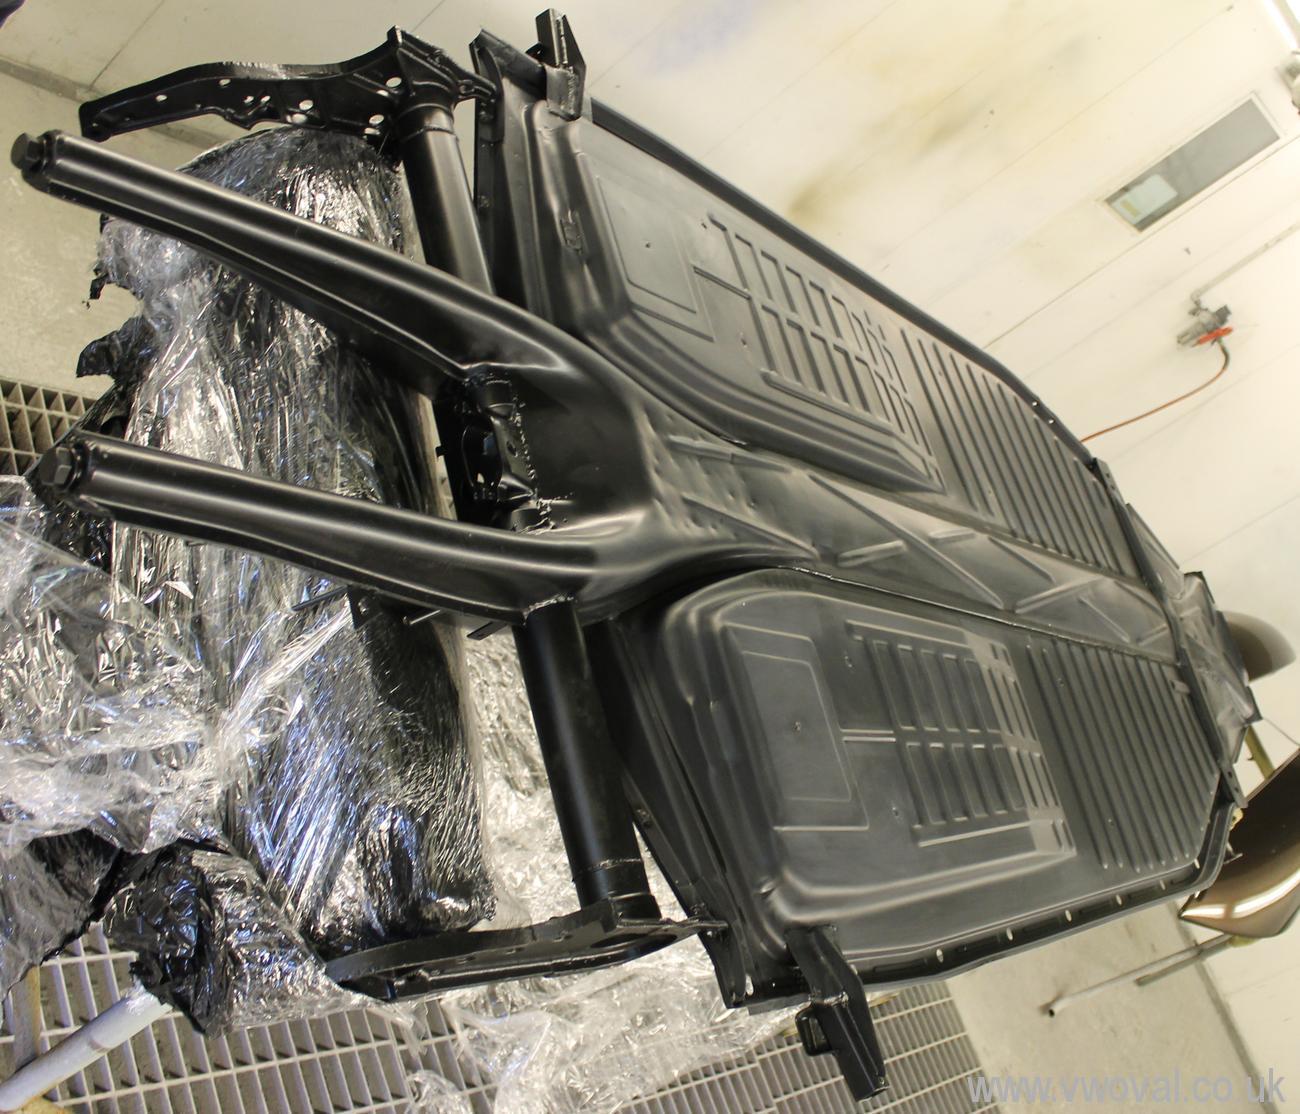
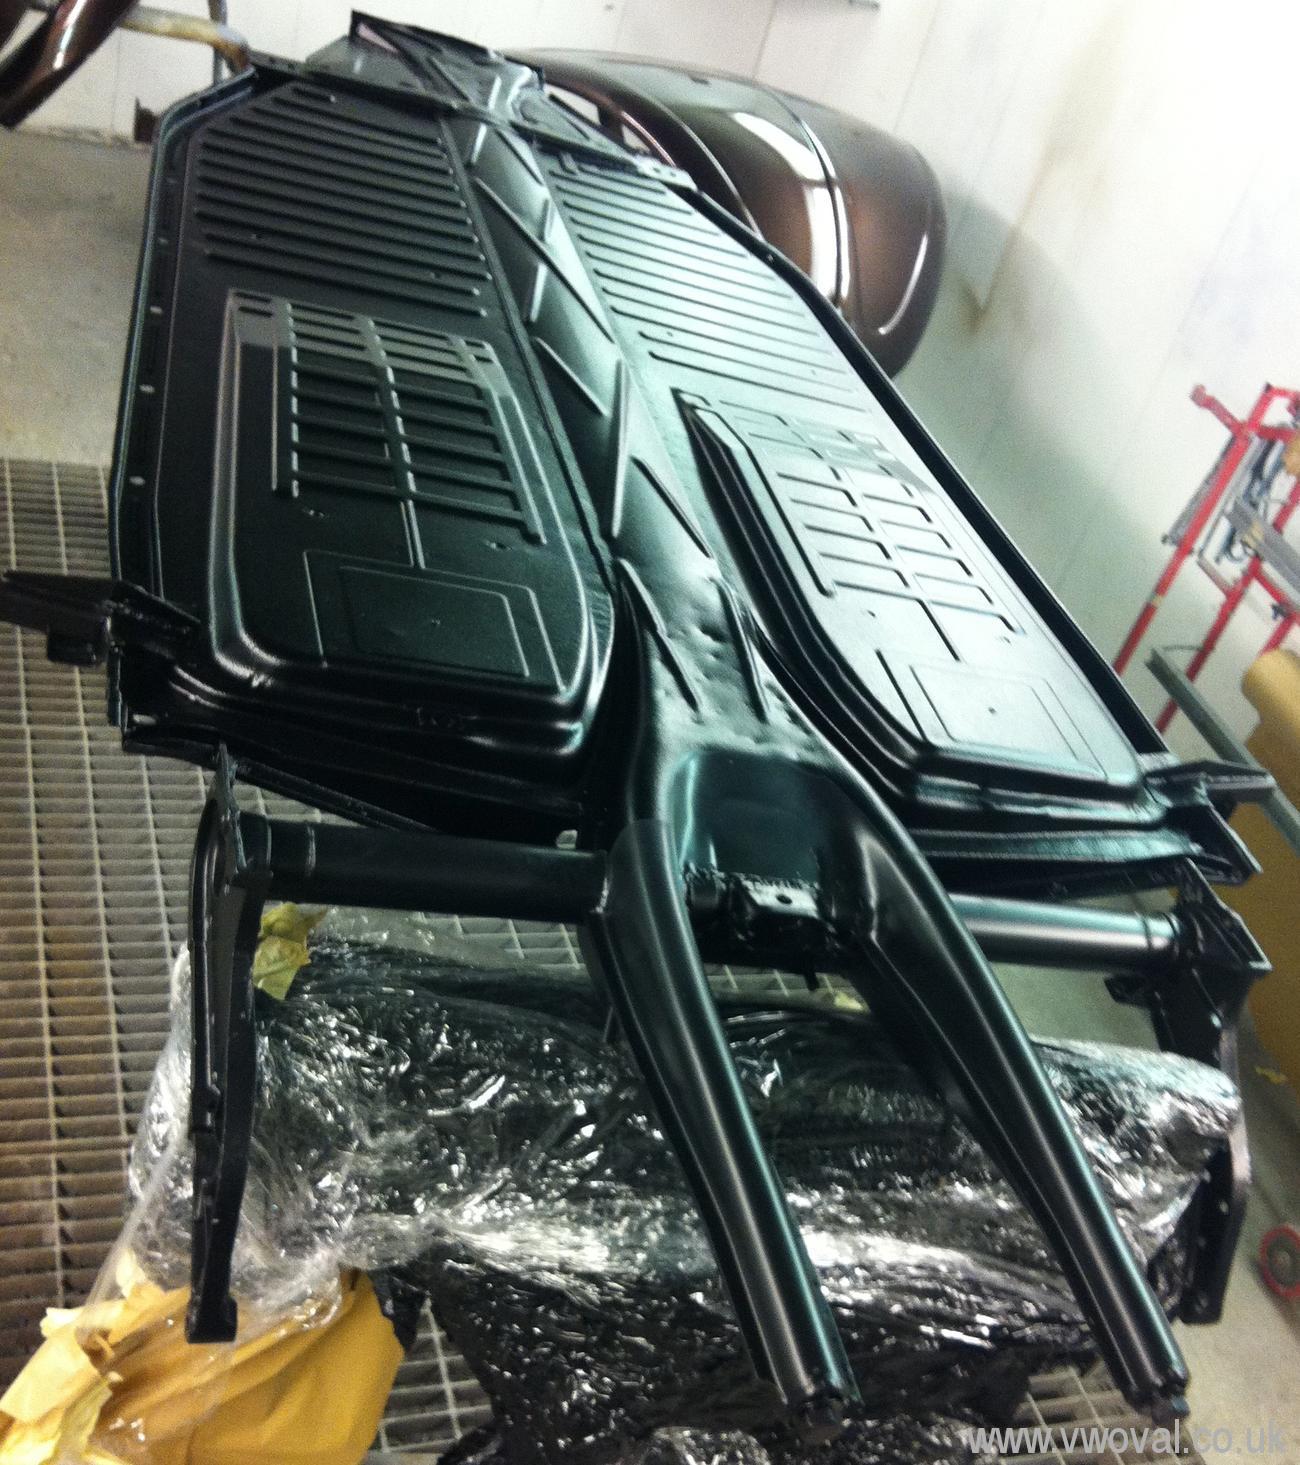
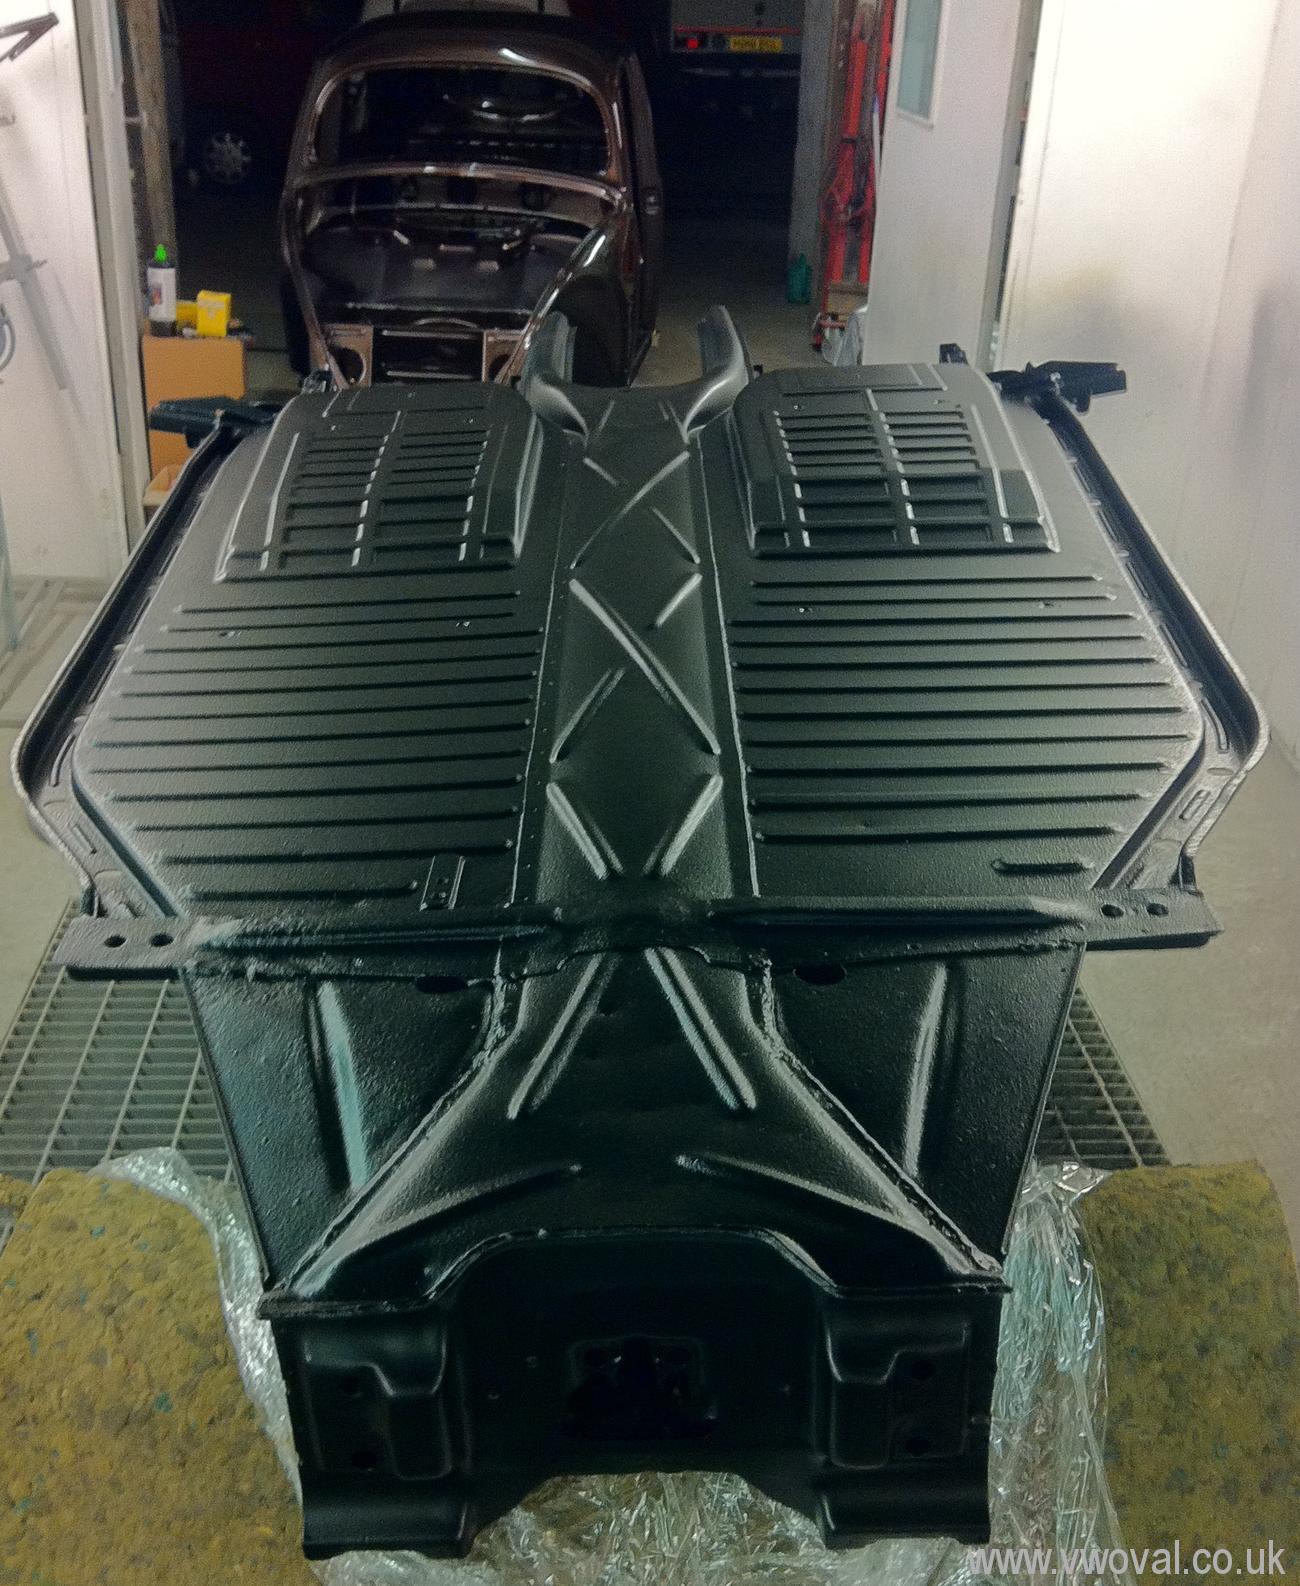
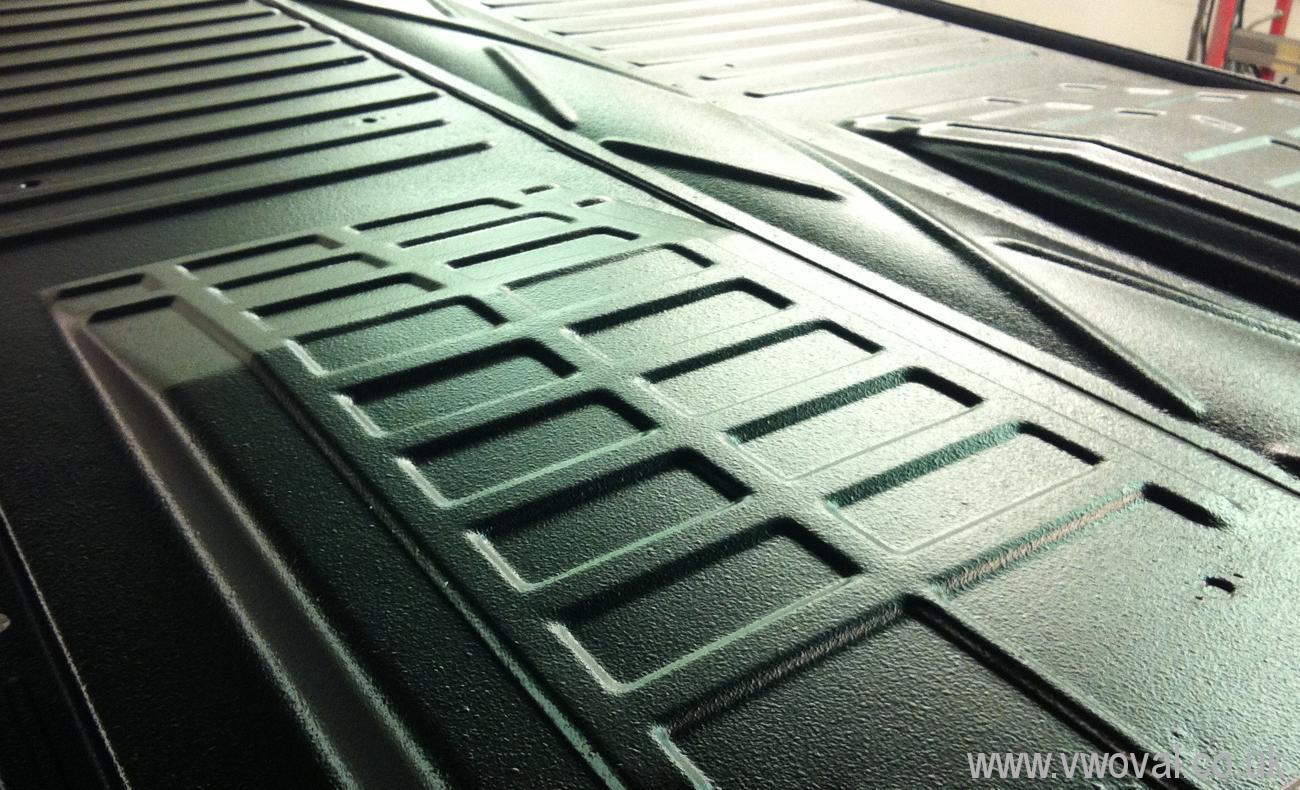
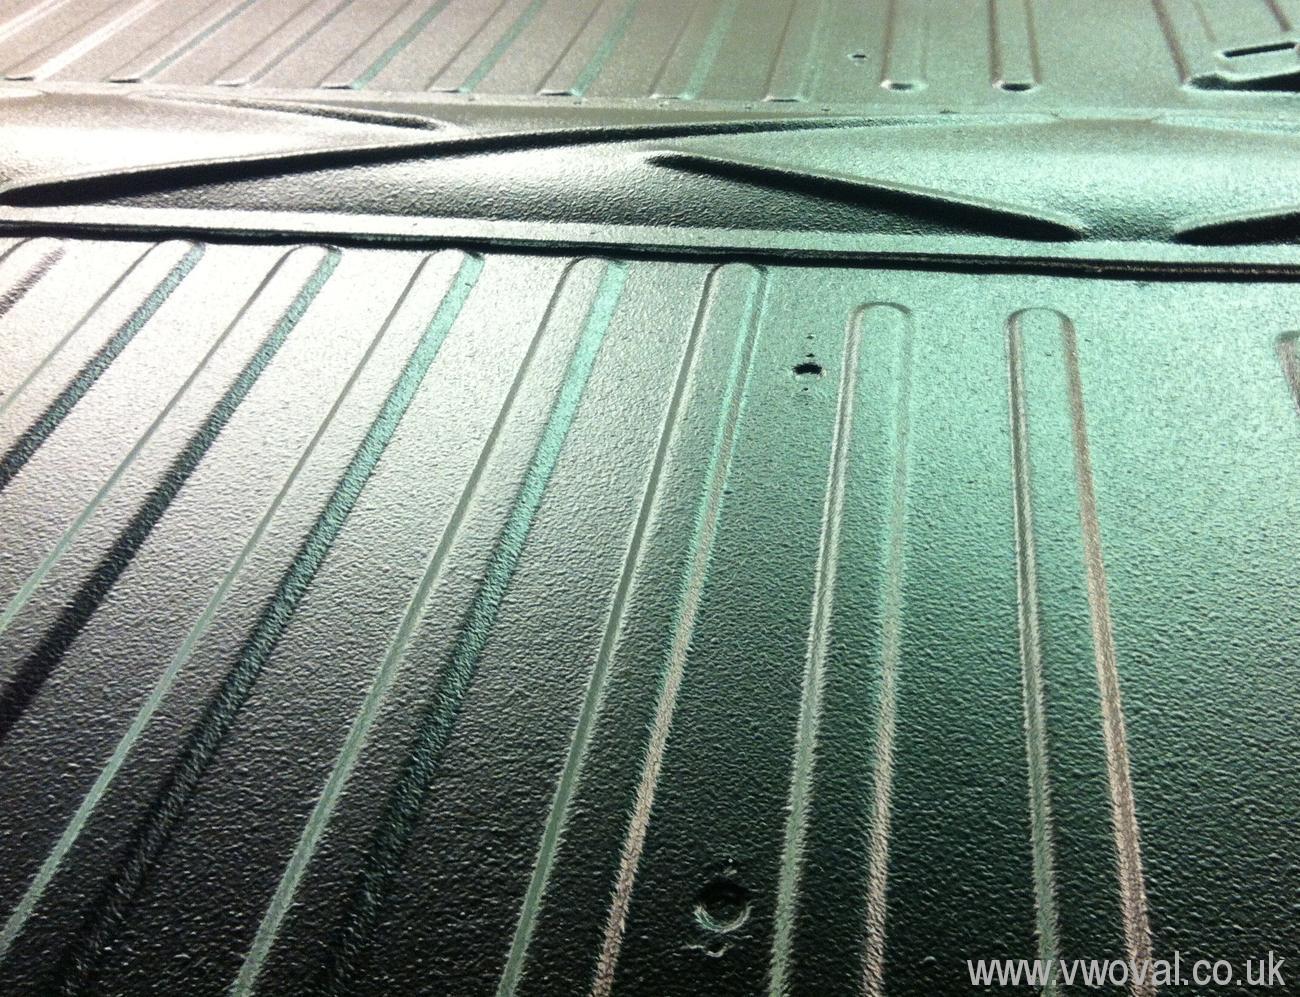
- 7/12/12 The Powder coated Chassis was
dropped back off at Panel Kraft where it is flipped over, seam sealed and then shutzed with
rubber stone chip paint and given a coat of gloss black... Lovely.
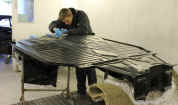
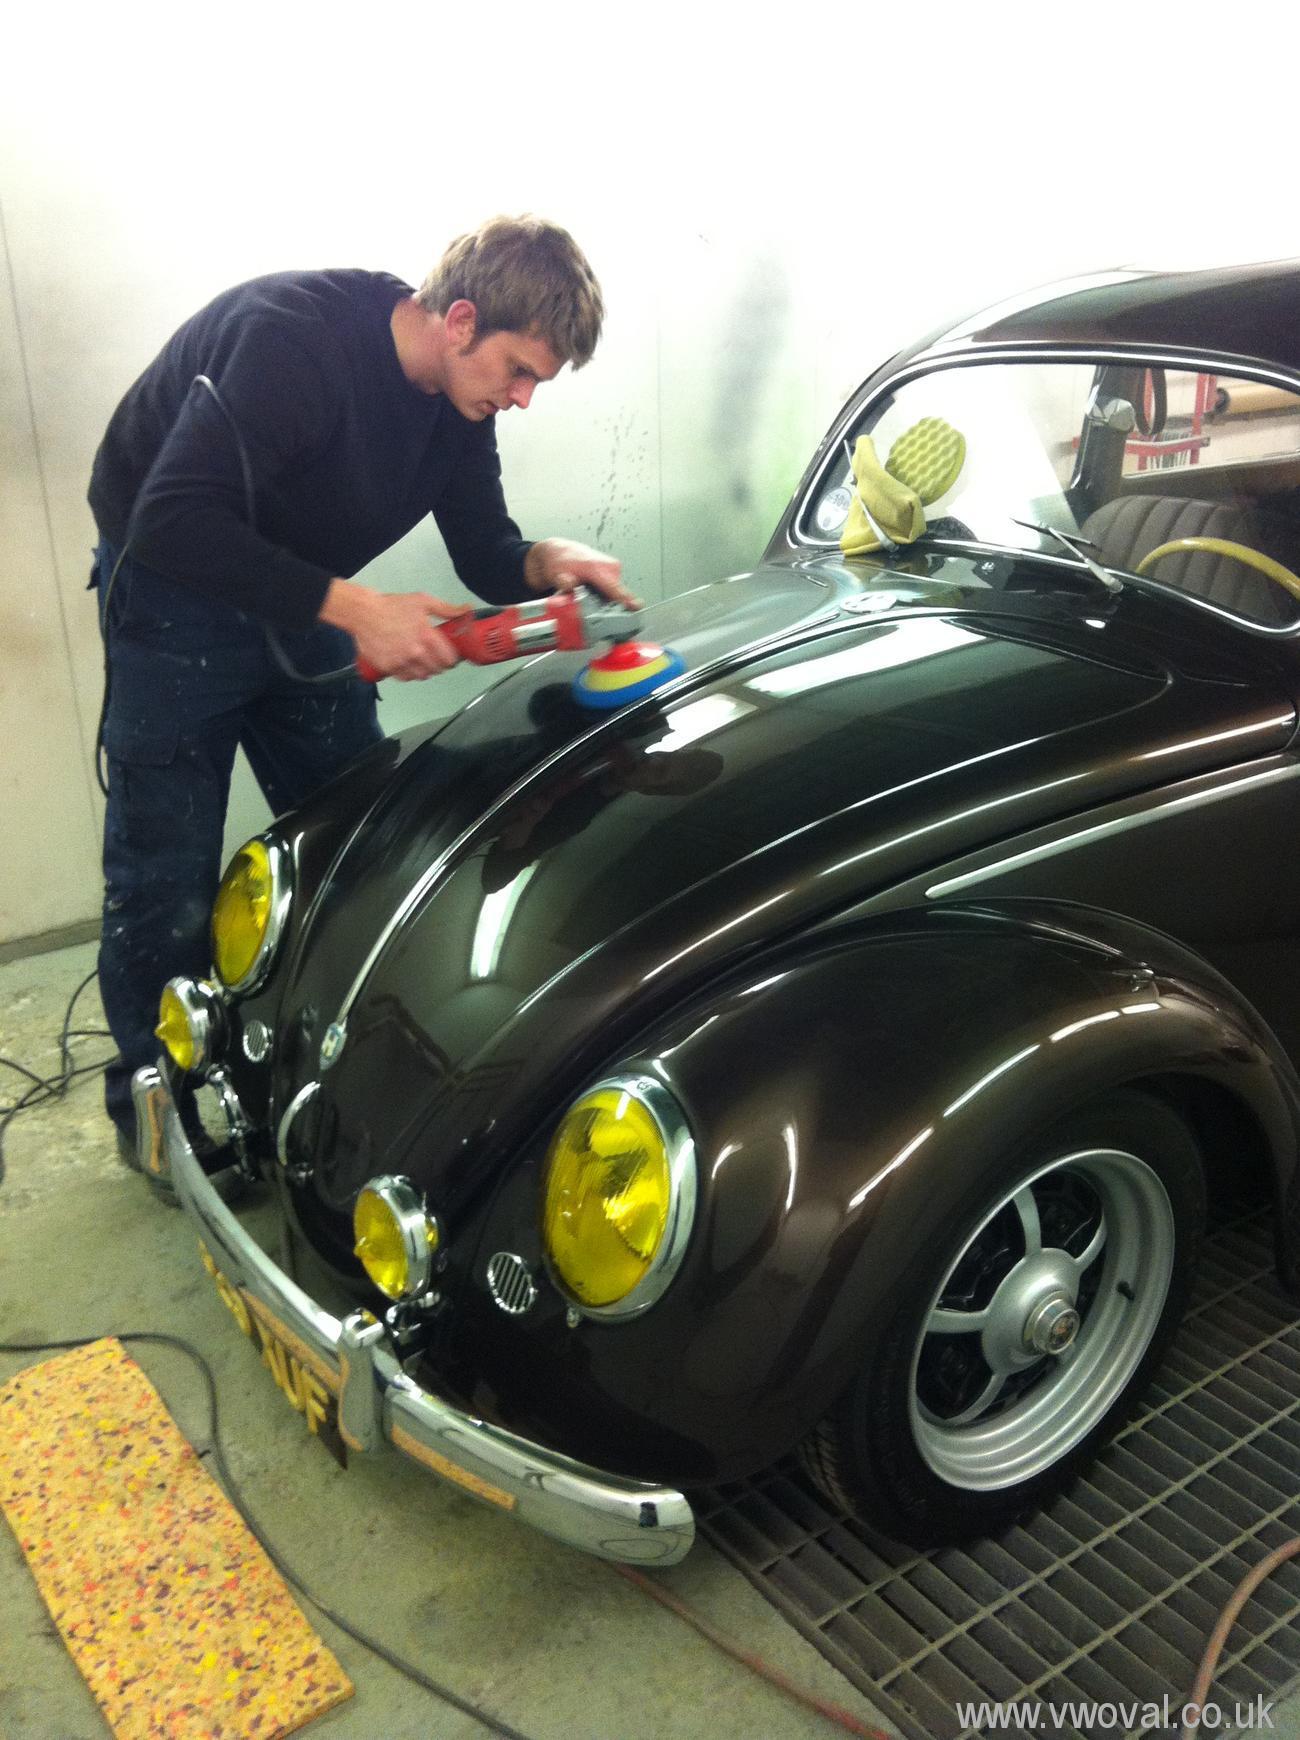
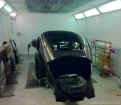
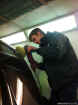
- The Body is being Cut and polished... it looks amazing!

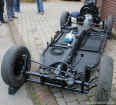
- The Chassis is home - 10/12/12
- The car was painted by Panel Kraft, But I
am responsible for the rebuild.. it keeps costs down and lets be honest...
its the best bit!
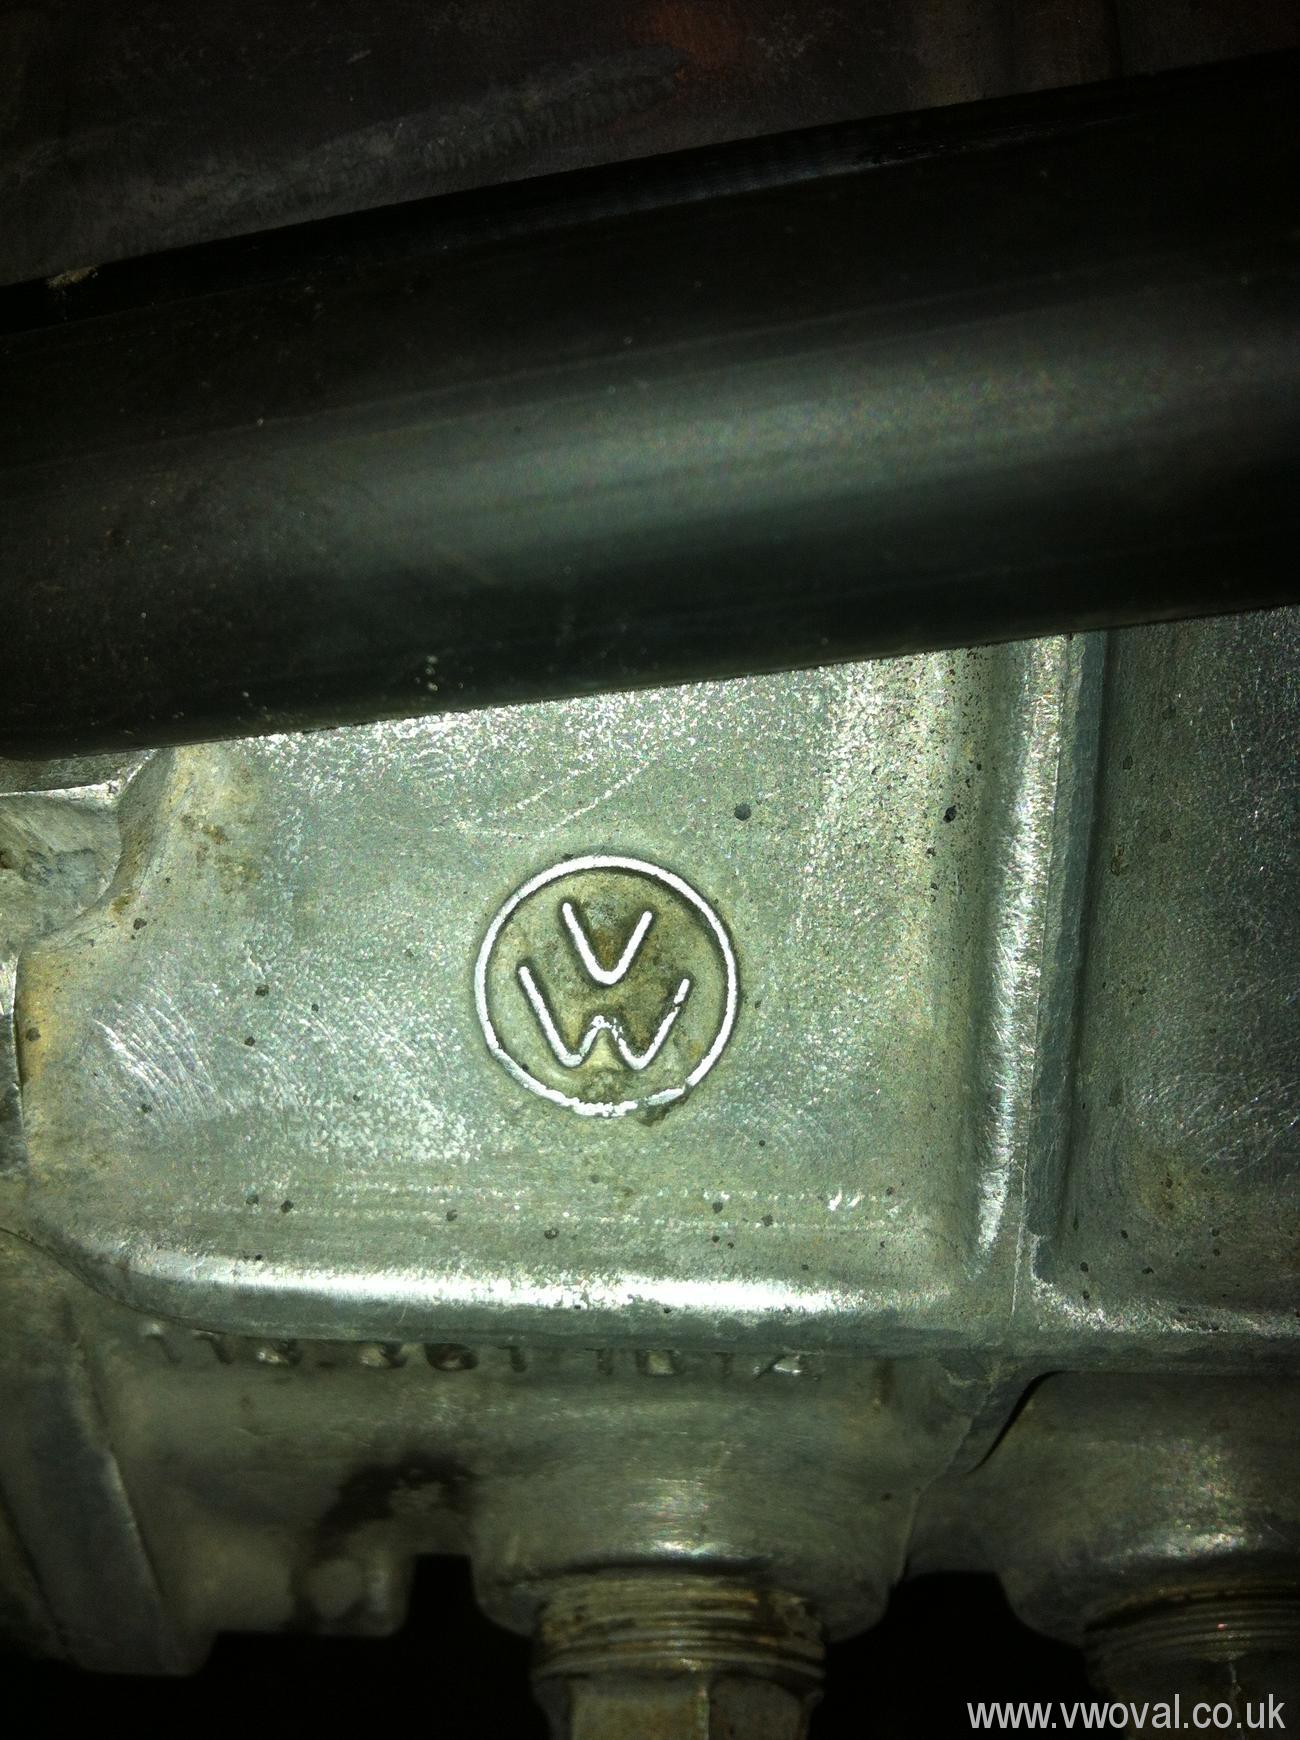
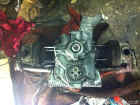
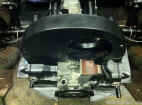
- I gave the gearbox a good glean -
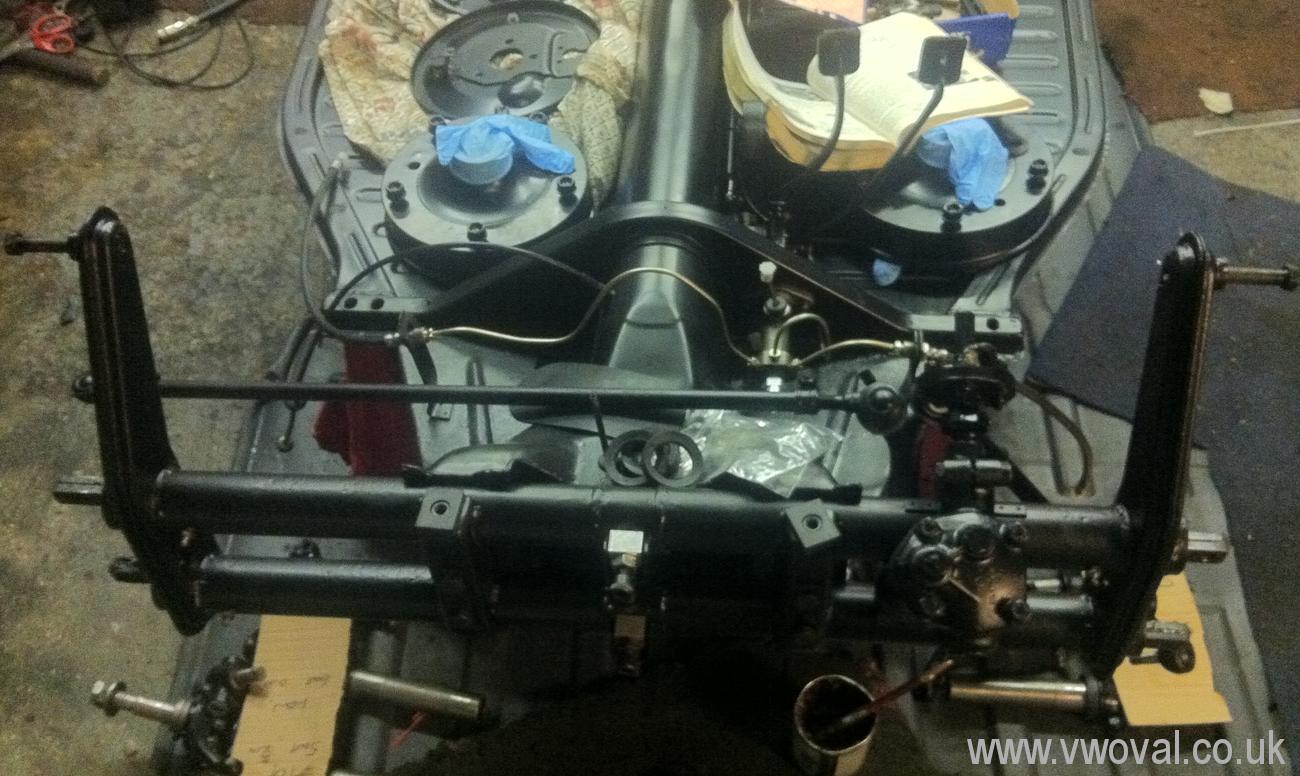
- Here I am setting the rear ride height on the spring plates,
these are replacement spring plates as the old ones were going thin with
rust!

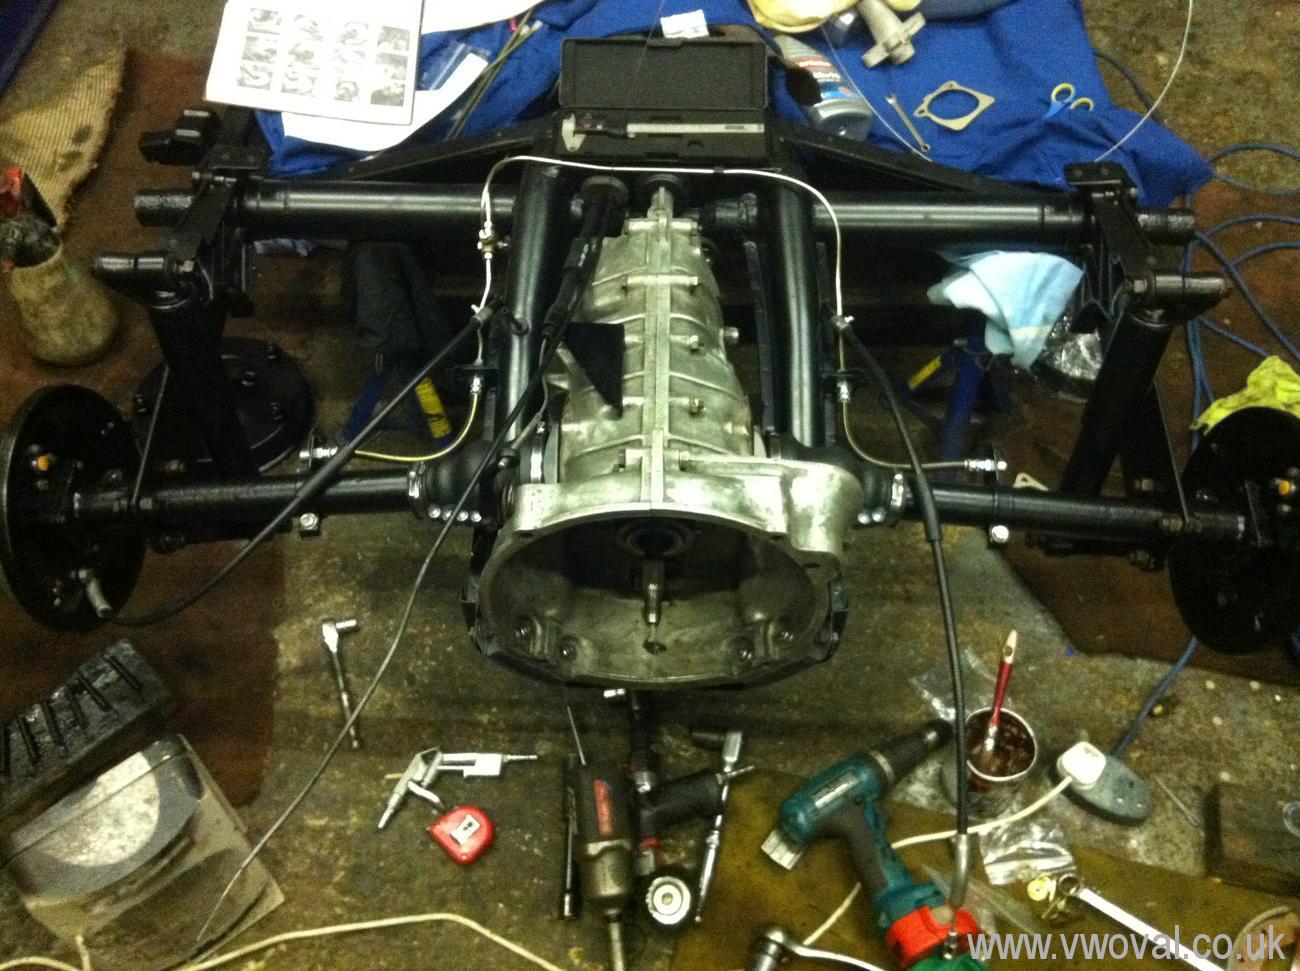
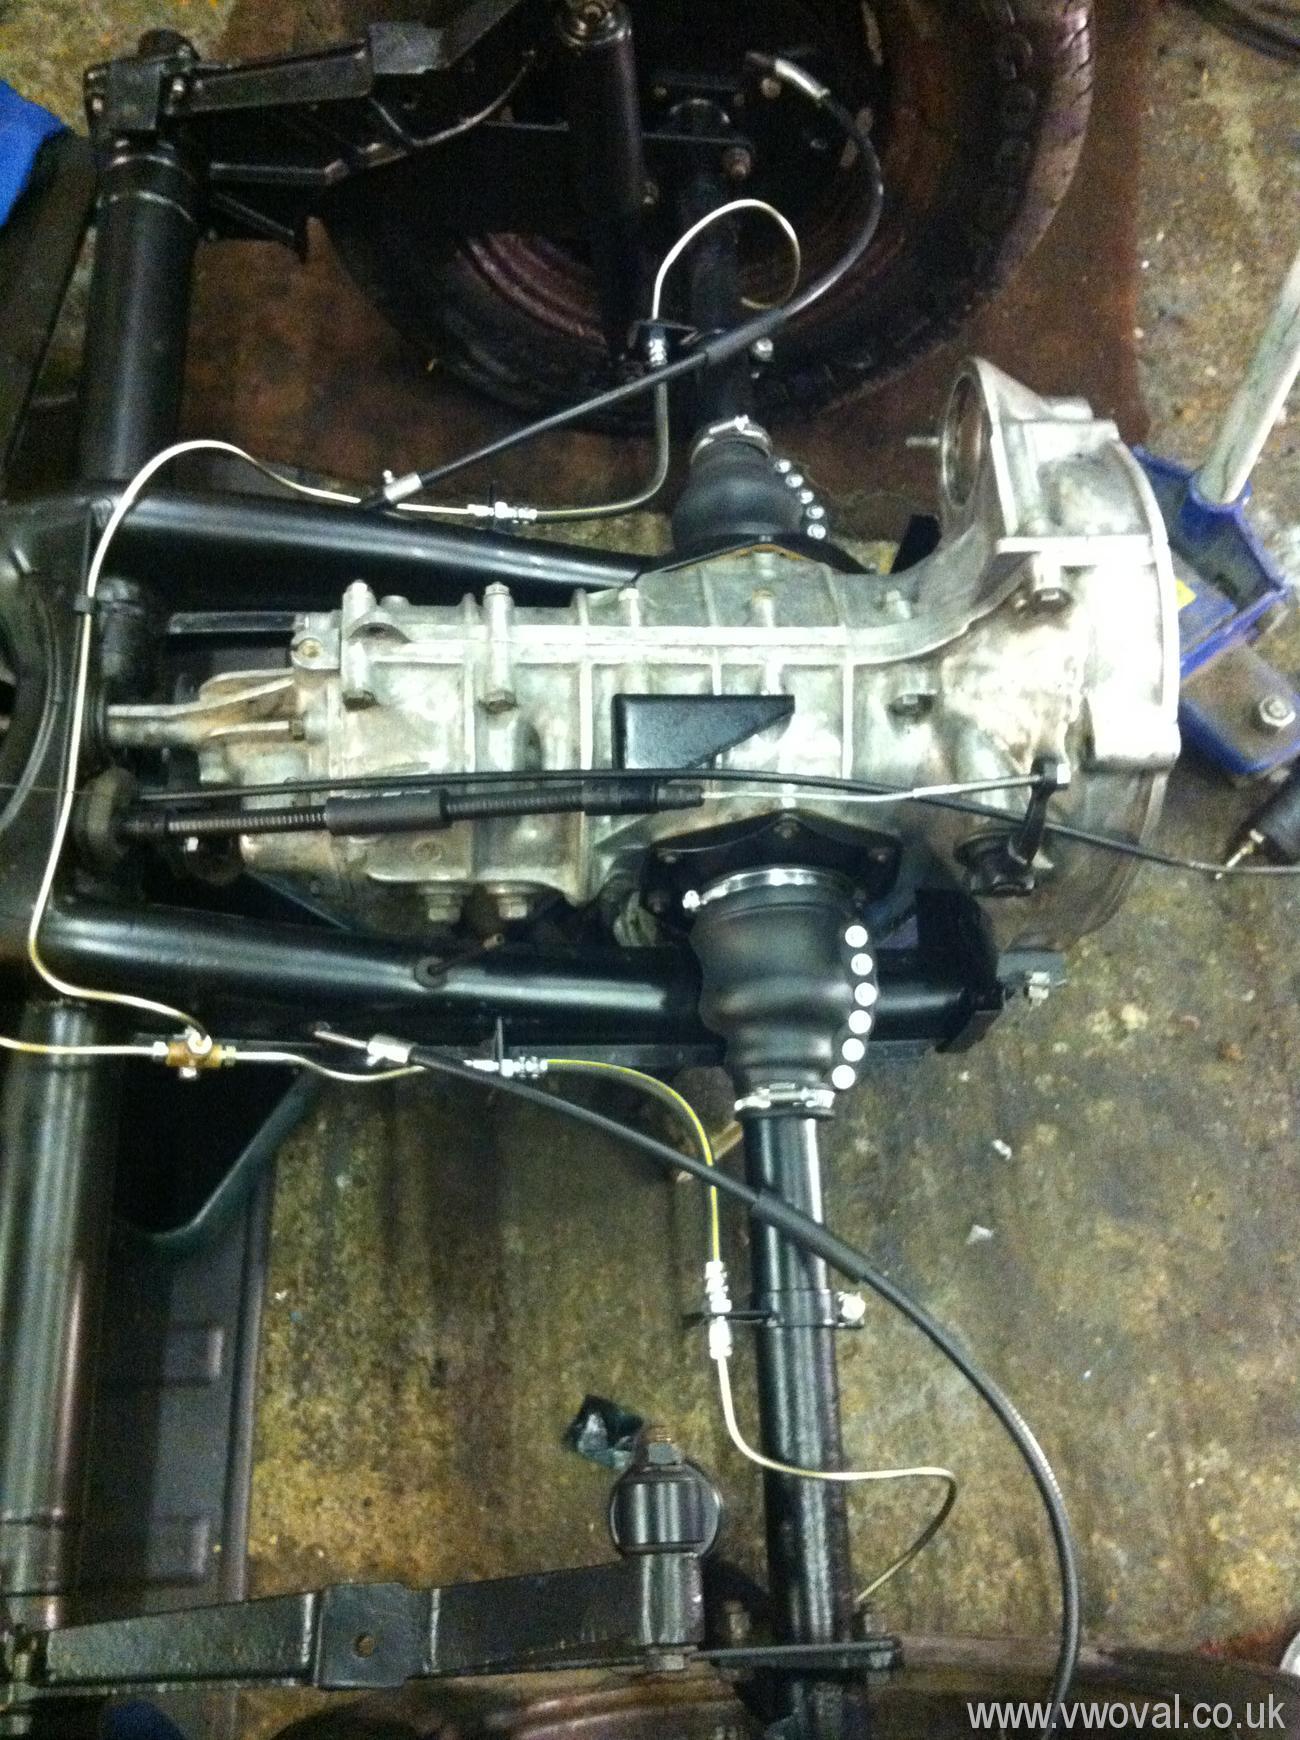
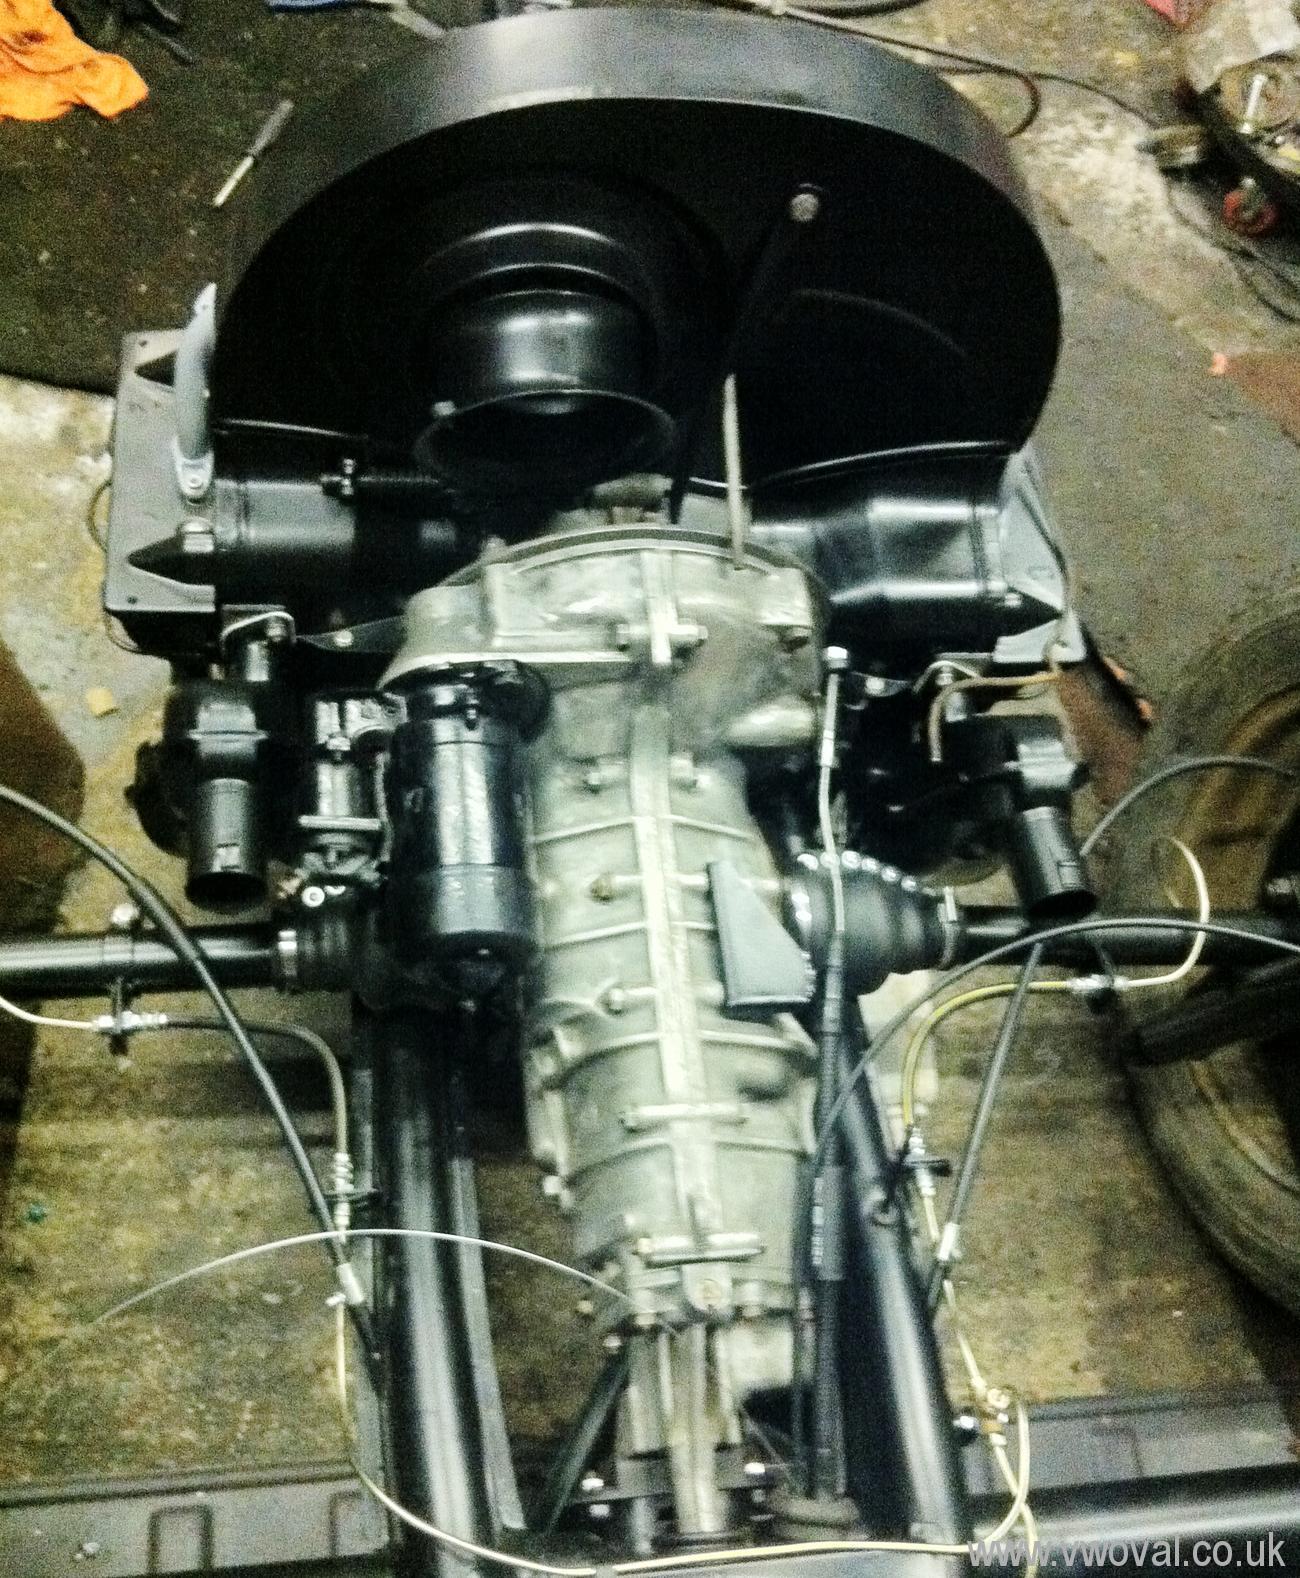
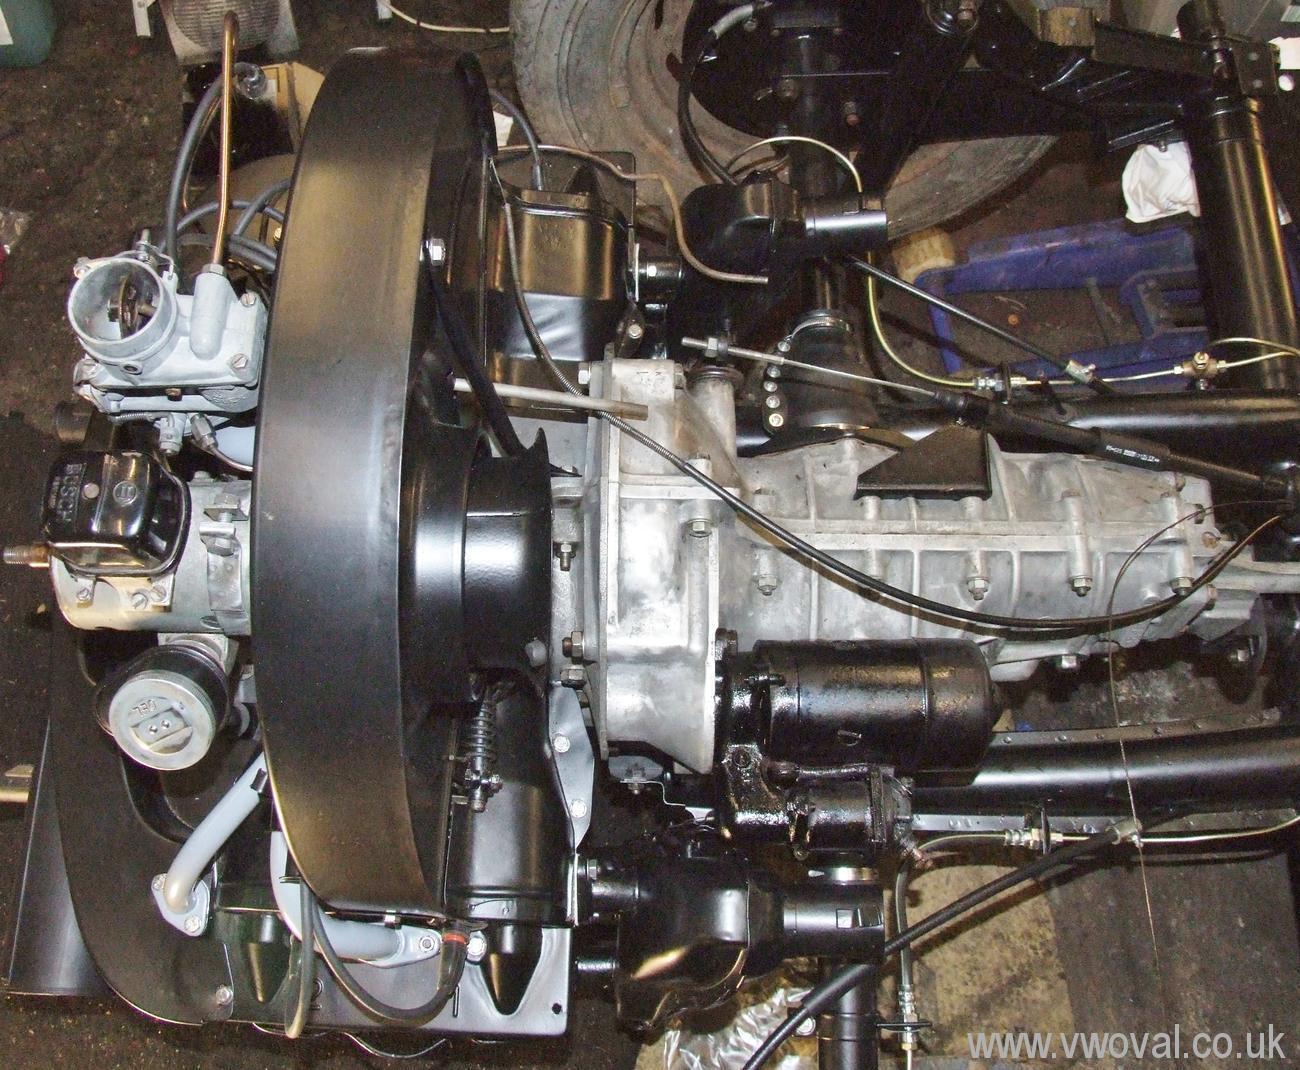
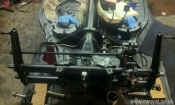
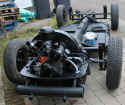
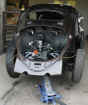
- I put the gearbox in...
- On Friday 14th I went to see how the shell was getting on...
- All I can say is WOW! They have nearly finished the polishing... it looks
amazing.

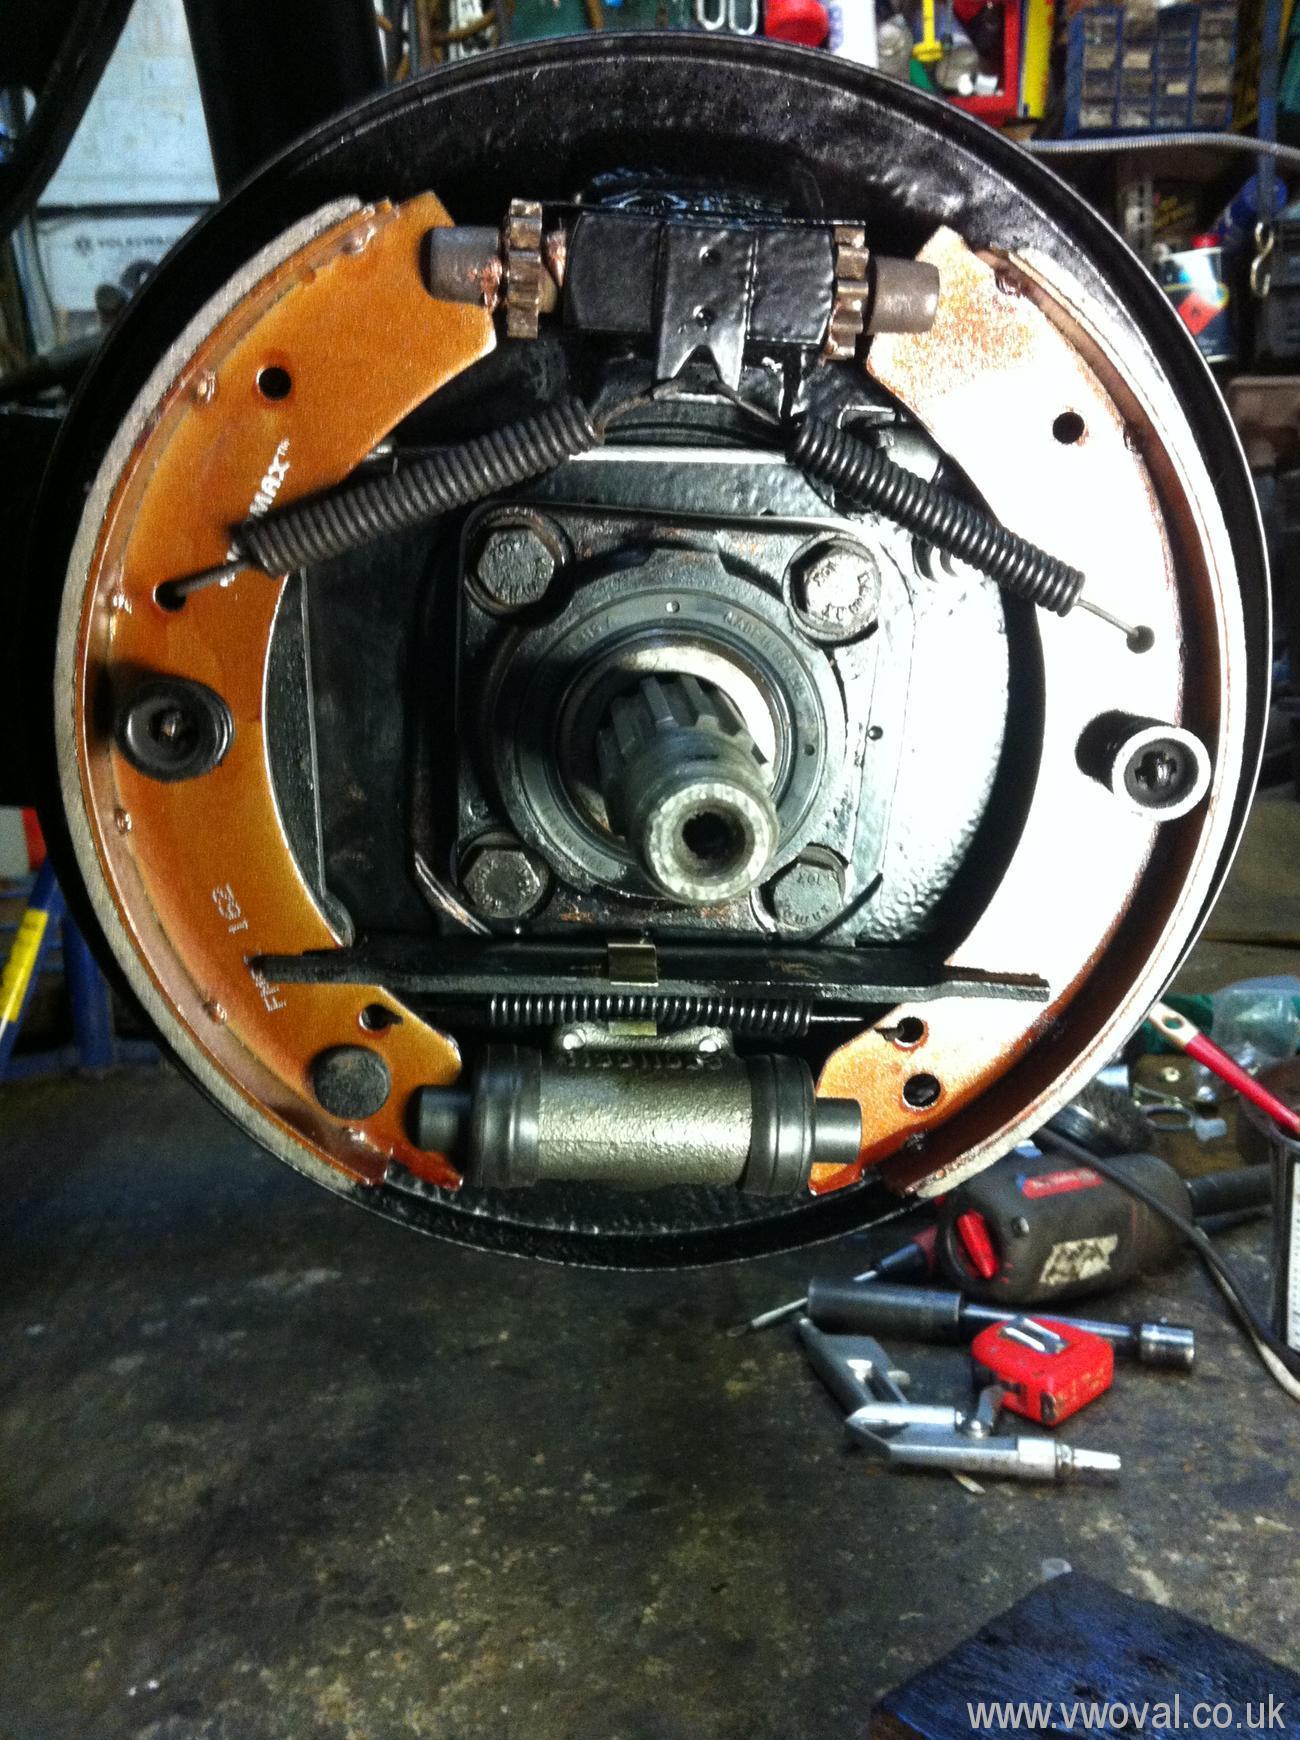
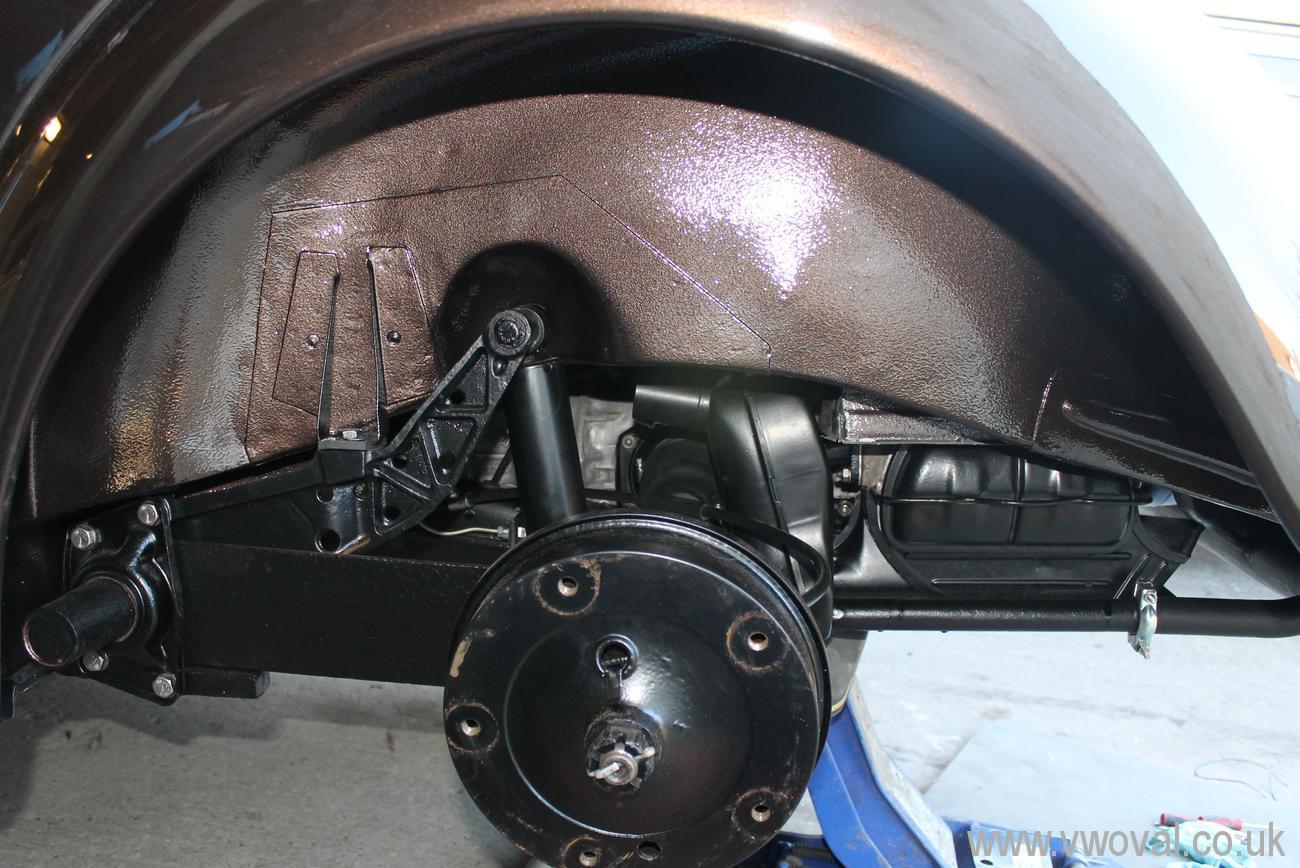
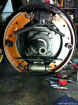
- I have the new Brakes all put together and its back on its rear wheels...
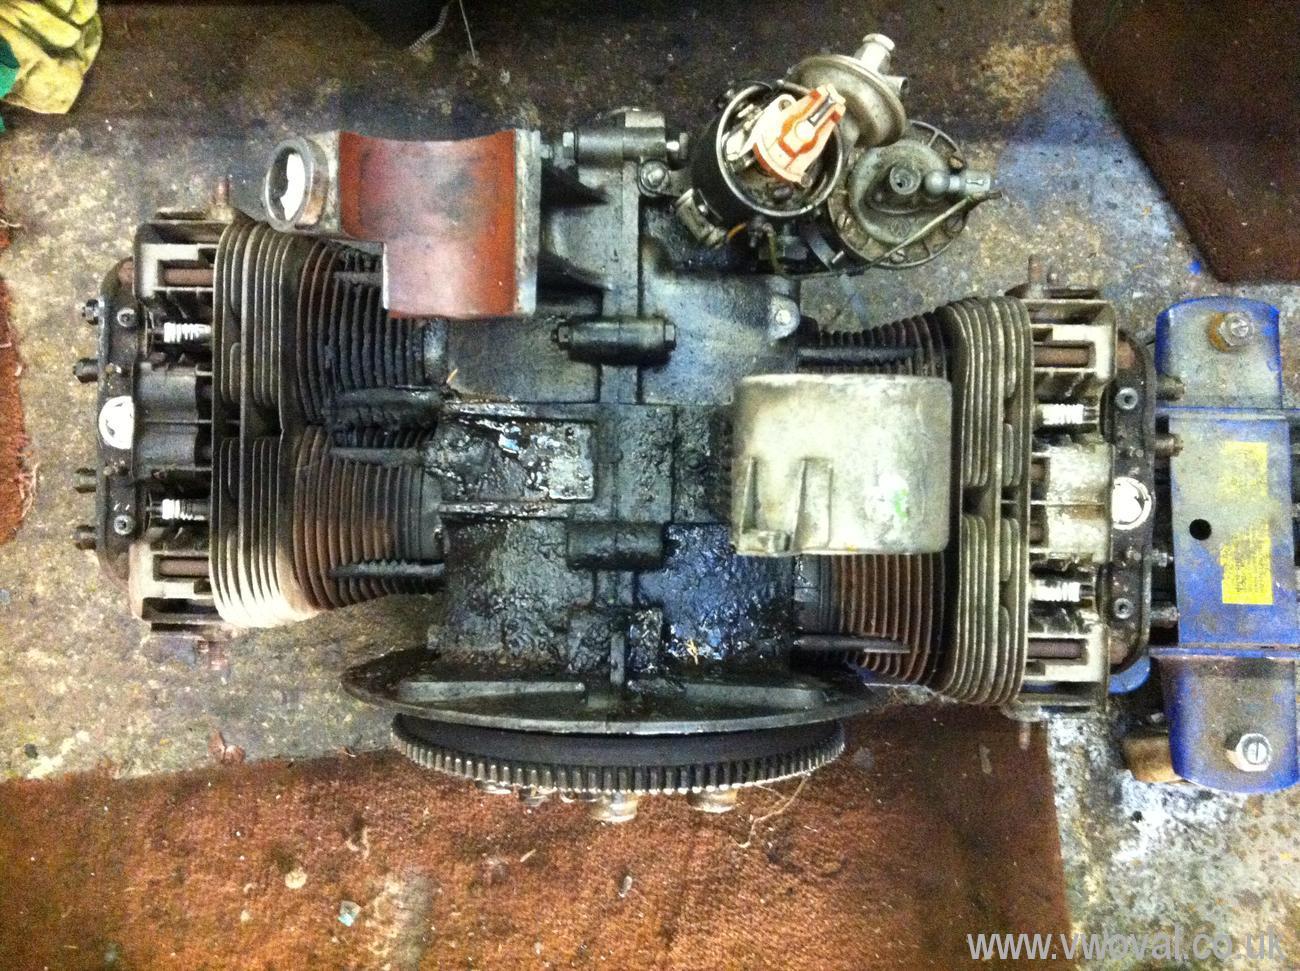
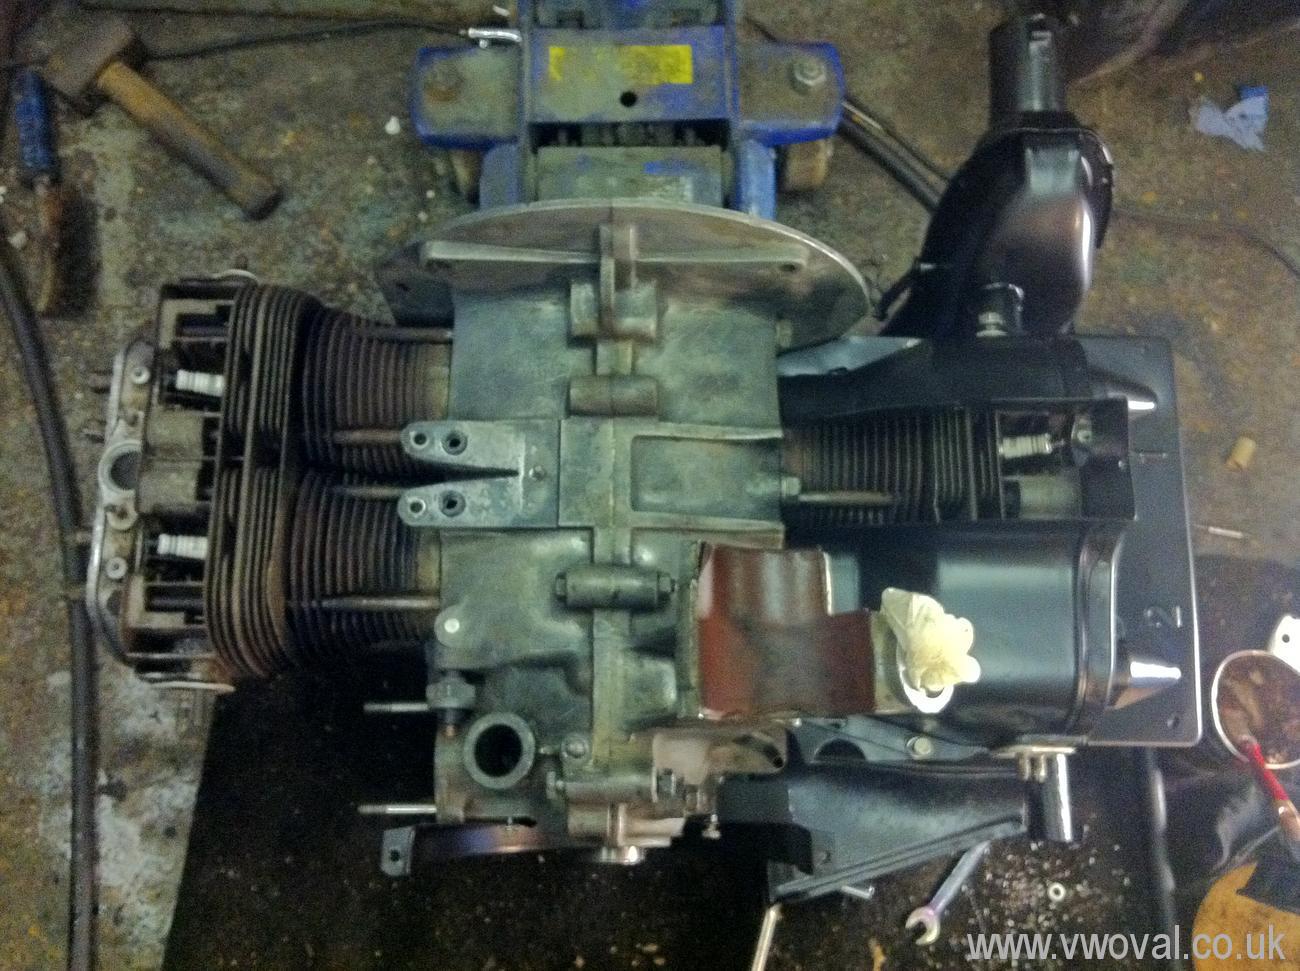
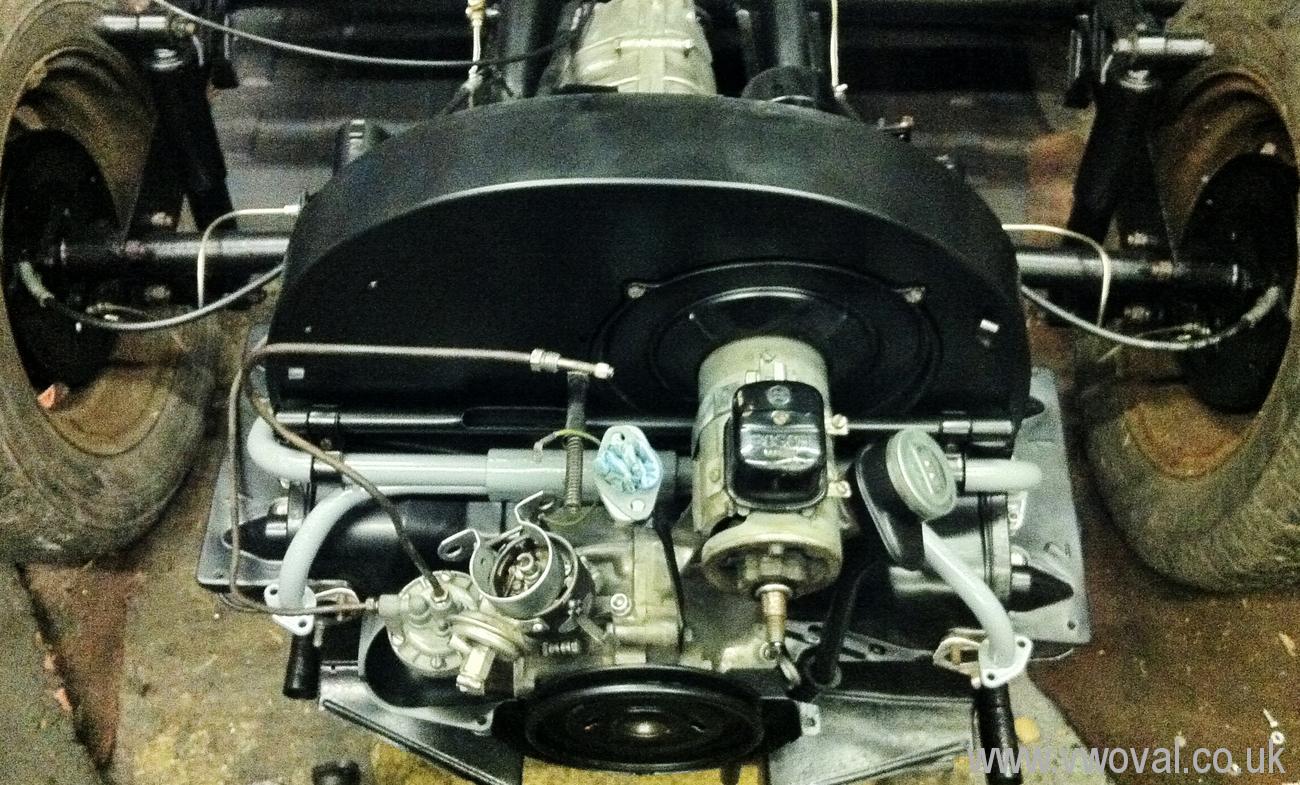
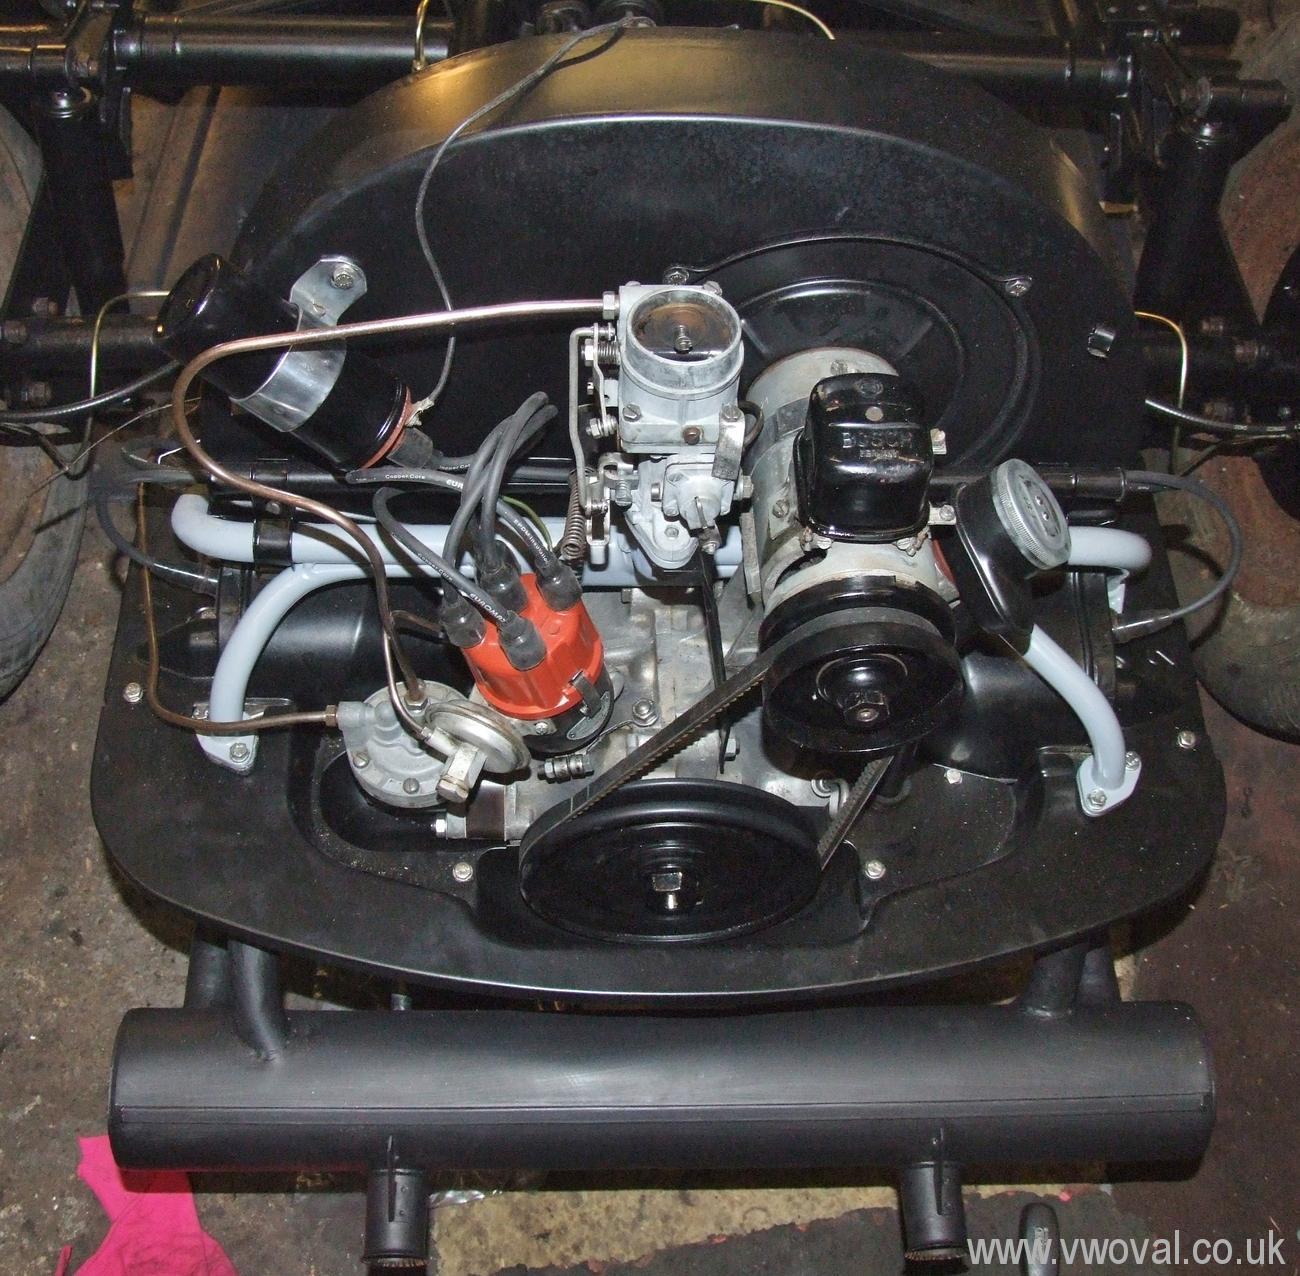
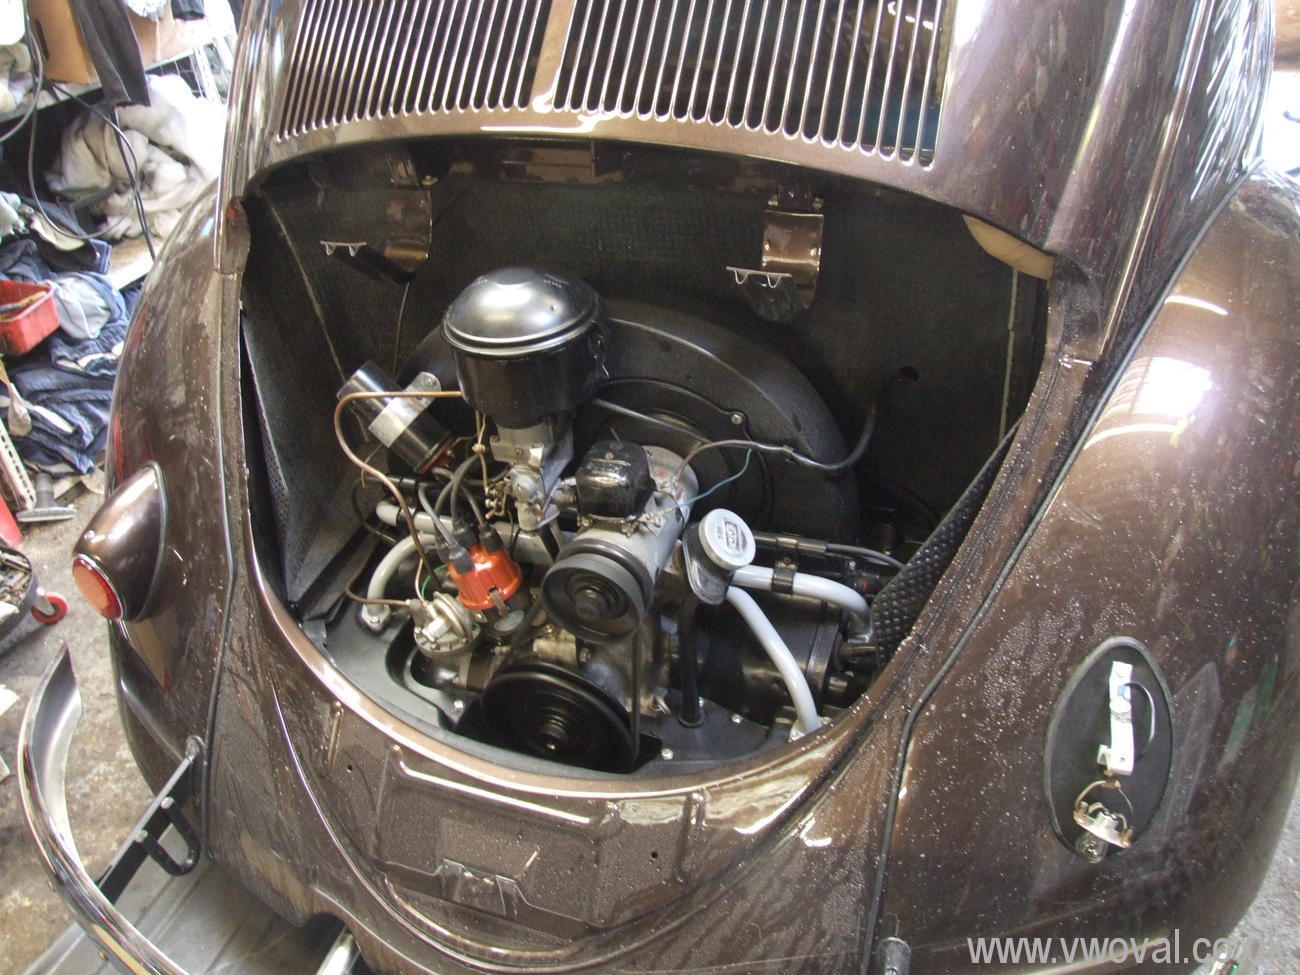
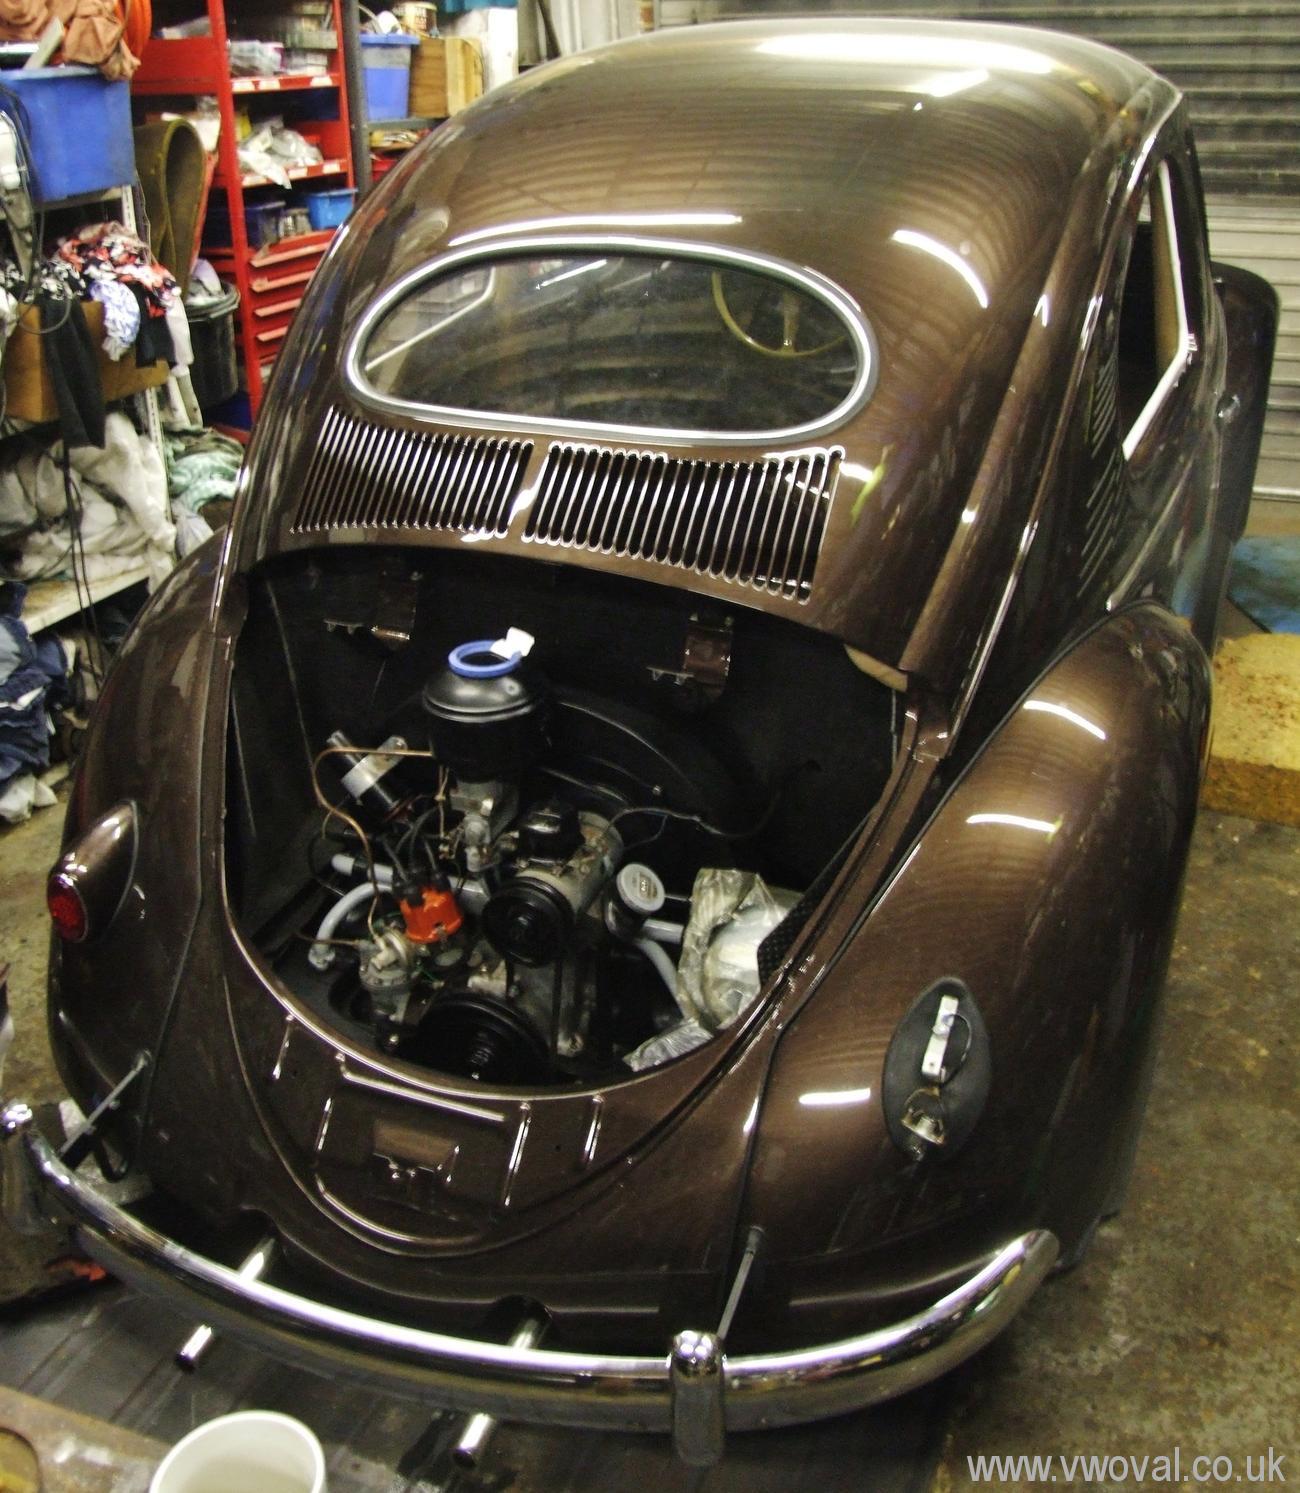
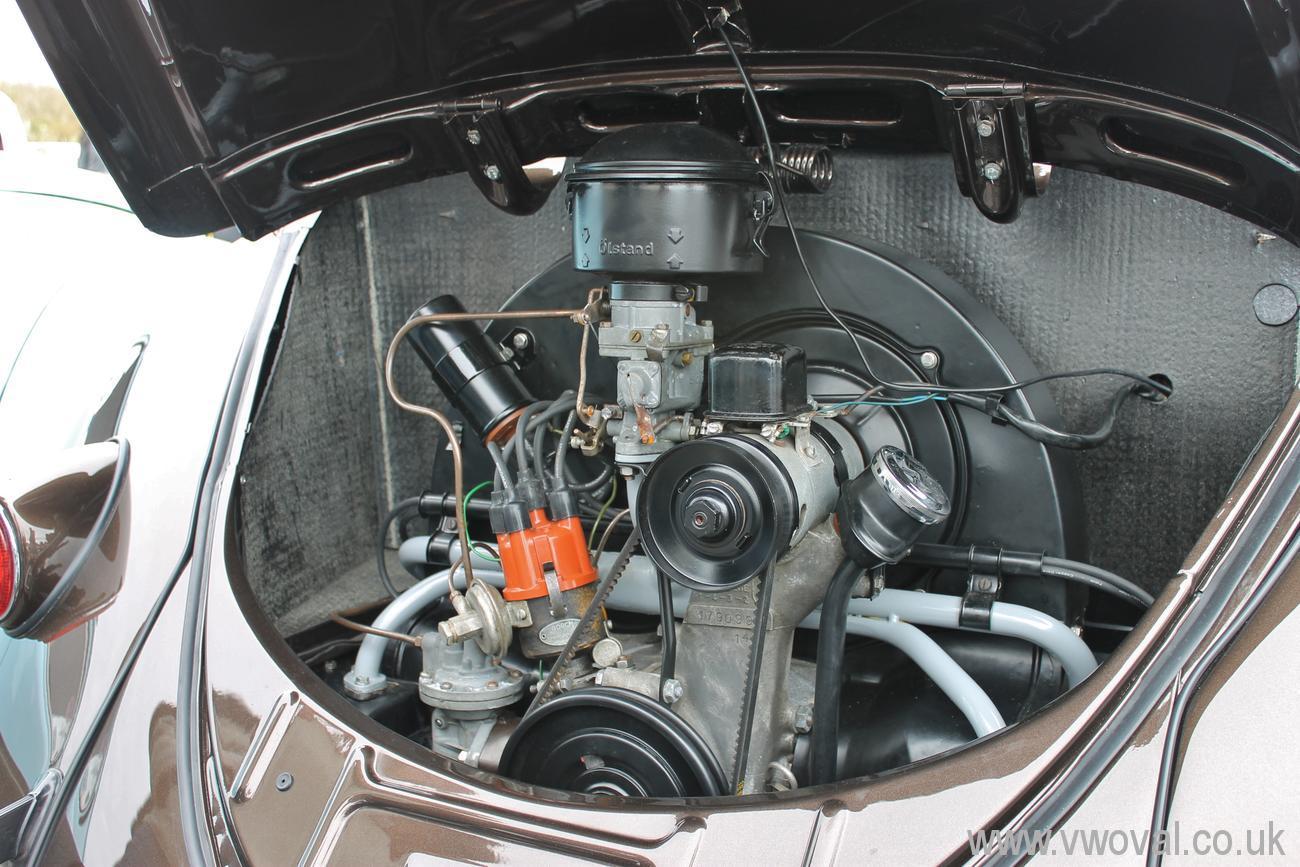
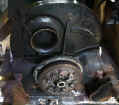
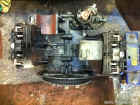
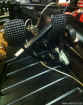
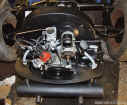
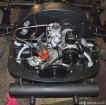
- Then the engine needed a good clean -
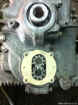
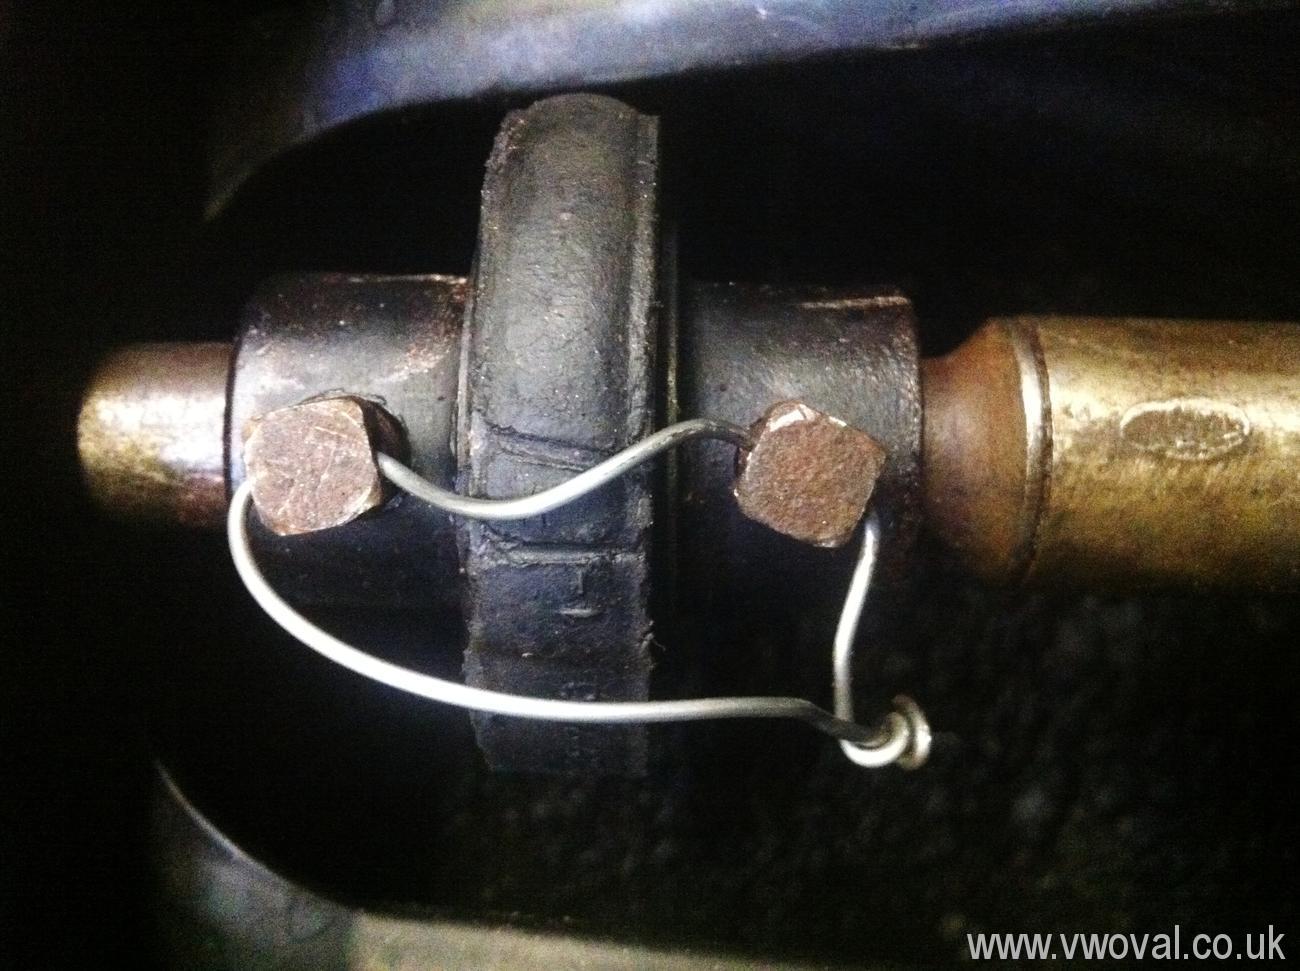
- 2 of the exhaust studs were unusable... one came out and the other snapped
off... so a drill and an M8 Tap came to the rescue.
- Starting to rebuild.. new plugs fitted, rockers adjusted .. got to order
some parts...
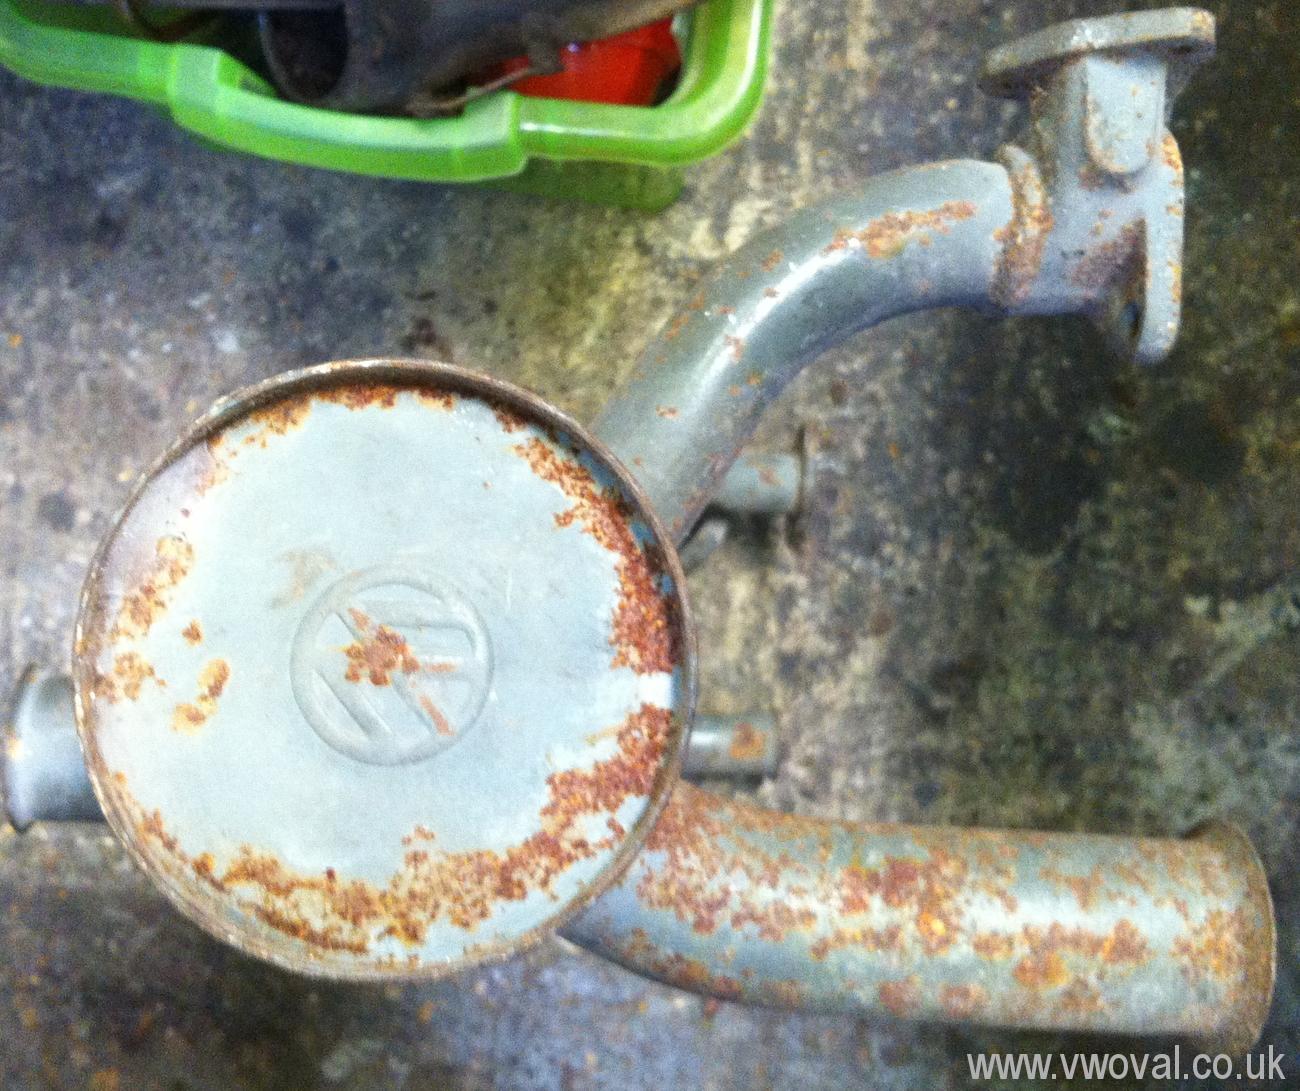
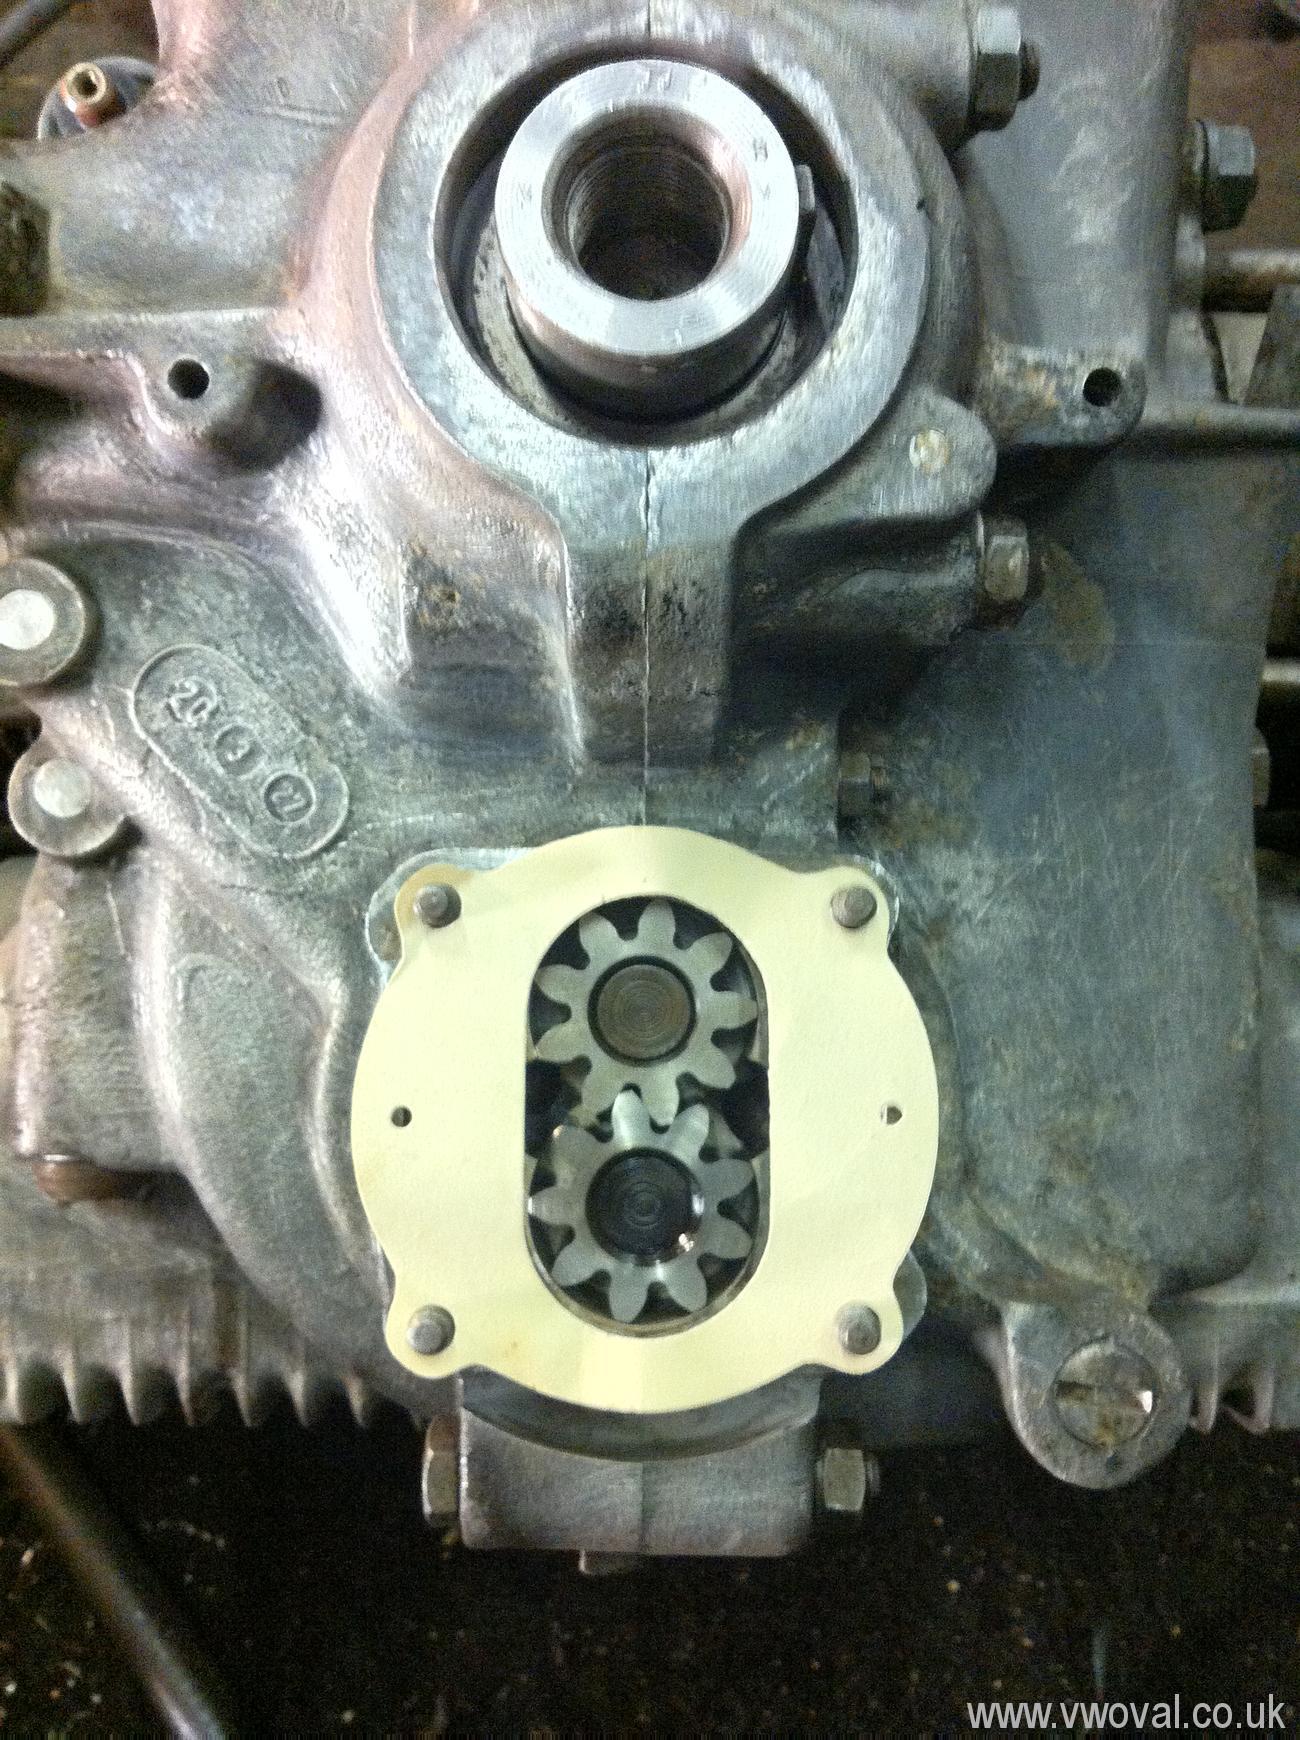
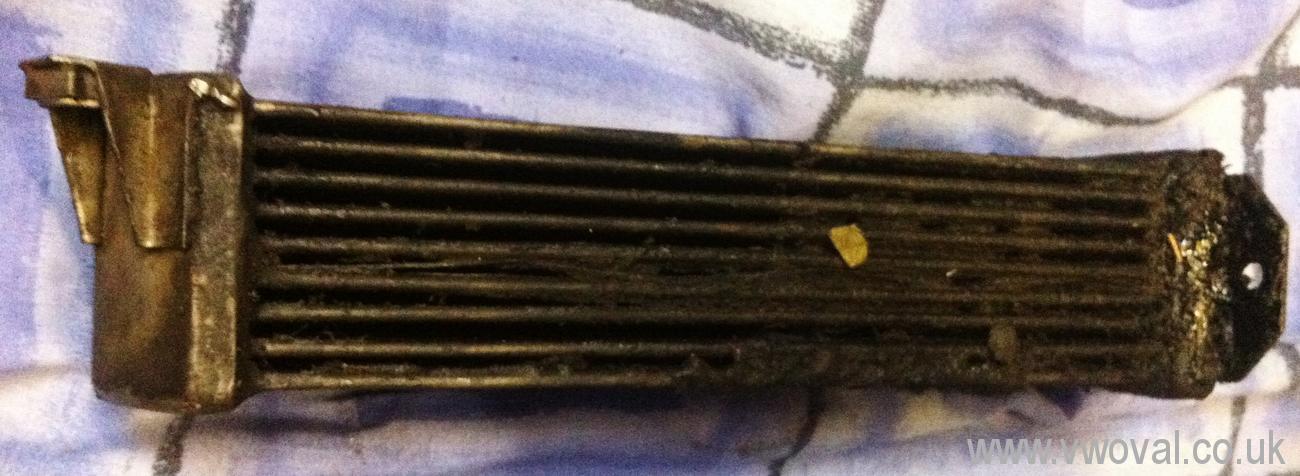
- Oil cooler seems to be a one year only
job... it needed a clean.
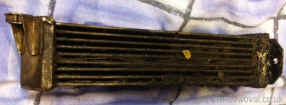
- Fitted...
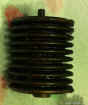
- Thermostat was rubbish so I found and tested another... here it is after a
warm bath..
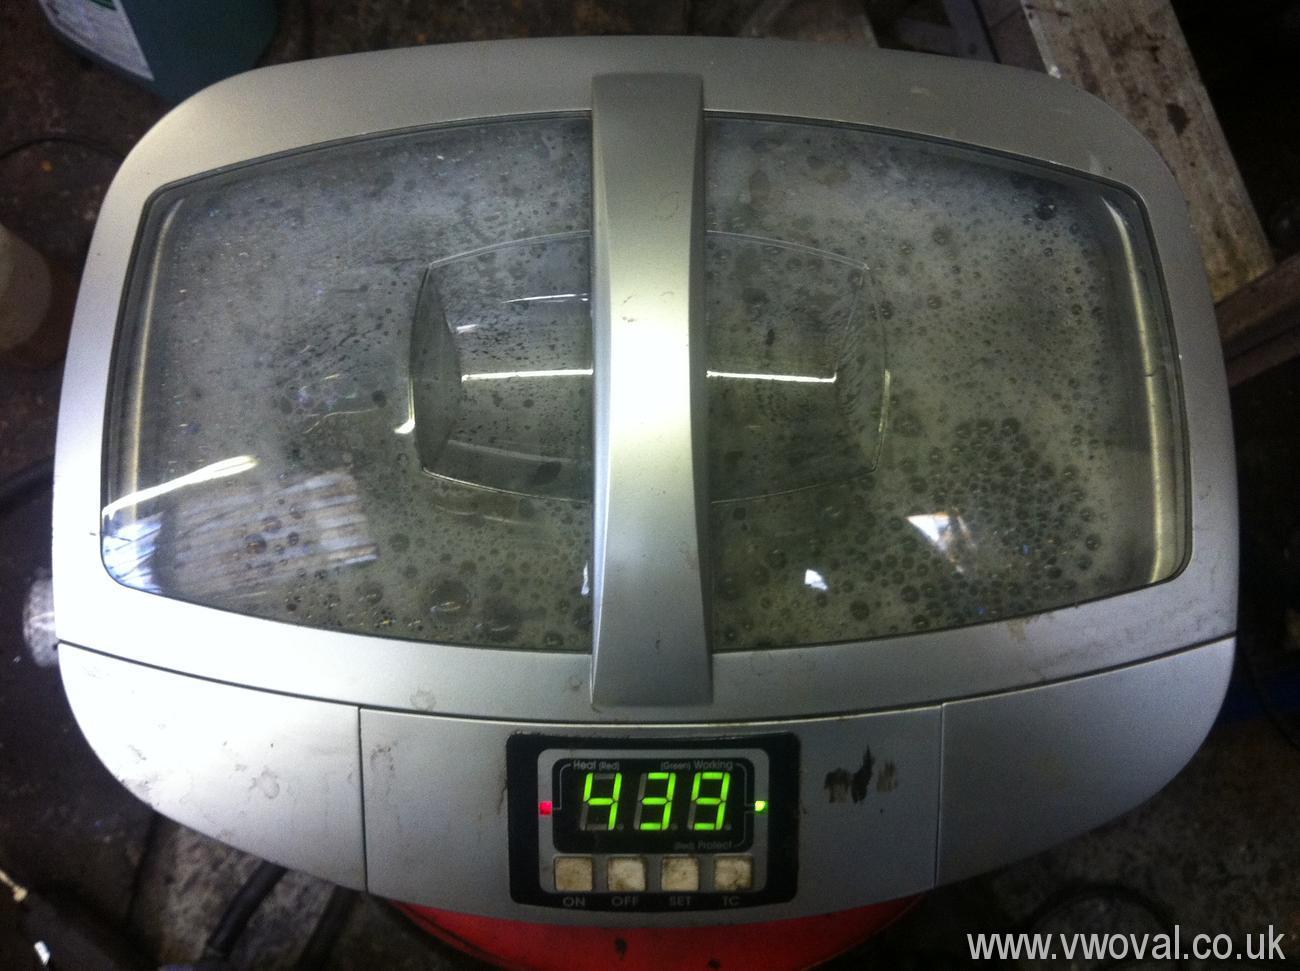
- Cleaning the carb in my little vibrating
bath...
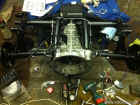
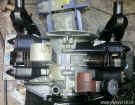
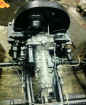
- I bolted the engine to the gearbox - new flexible flywheel oil seal fitted.. the old
one was like lump of plastic..
- Remembered to wire up the gear shift linkage..

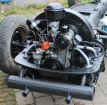
- Christmas 2012...
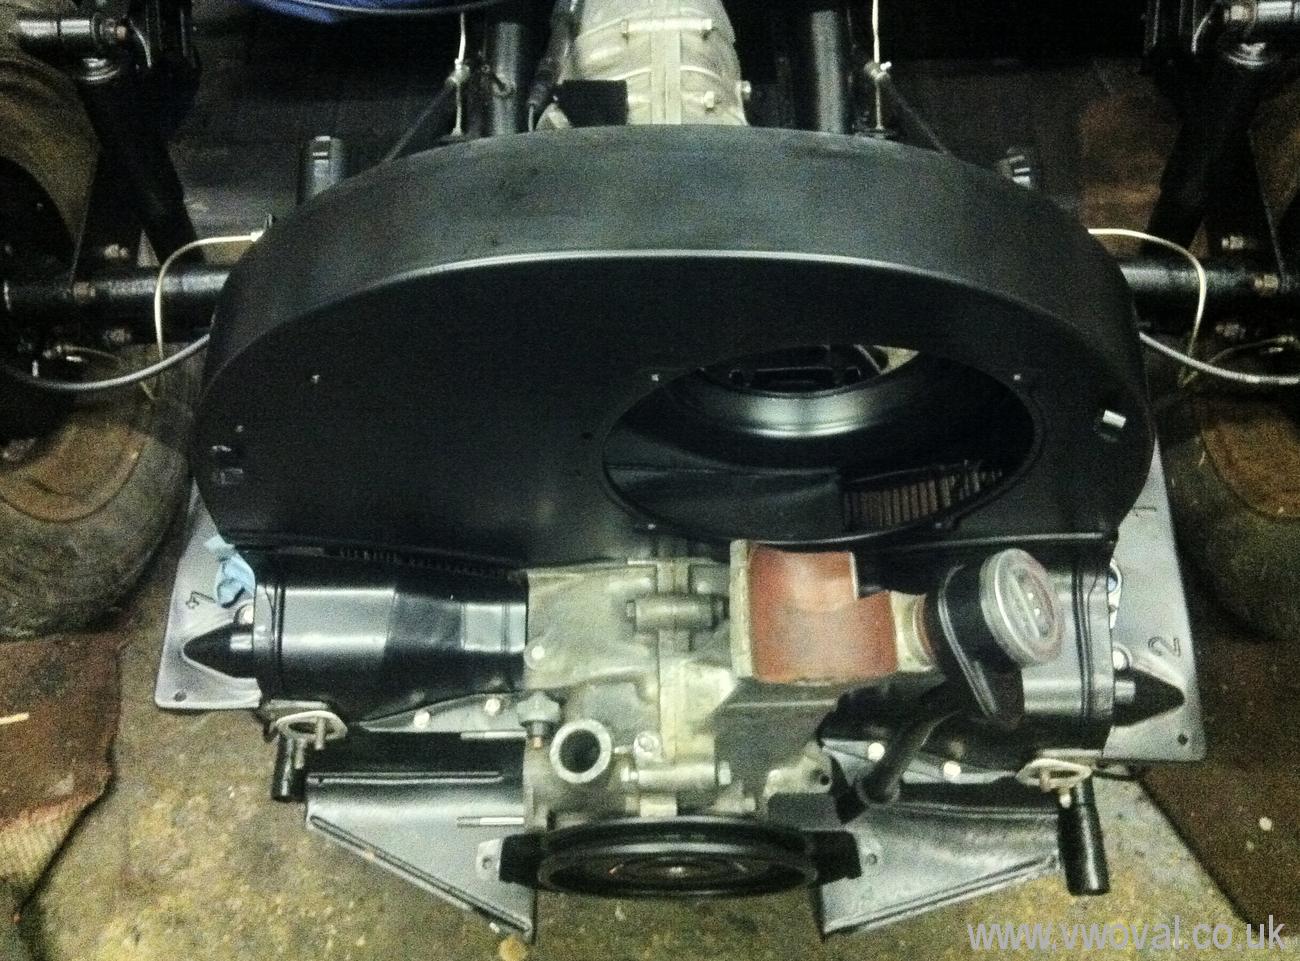
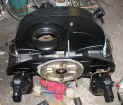
- The engine is slowly coming
together..
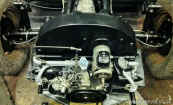
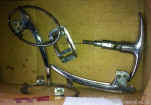
- Beam Bolted on - Awaiting parts (new
bearings), but
everything else cleaned and ready to fit
- Pedal assembly rebuilt with powder coated
pedals
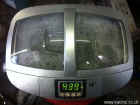
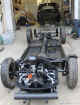
- Jan 1st 2013 - Progress on the chassis
build is slow.. the body shell is waiting for me!

- 3/1/13 - I
have given up on the front axle / early beam bushes and found a replacement
axle...
- A little package has arrived from the USA -
Some brake cylinders and a pair of spot light mounts. Even after import duty
they are loads cheaper than from the UK.
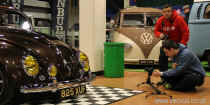
- 7/1/13 - Hayden and I have put the Main
wiring loom back into the shell.
- 7/1/13 Good ole Hayden has made the
"new" King and link pin beam adjustable... and it is now painted and ready to go
on the car - thank you Hayden.
- 10/1/13 - Today I received an email from
Volksworld Magazine - its quite exciting.
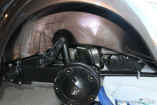
- 10/1/13 - This afternoon I Fitted the new
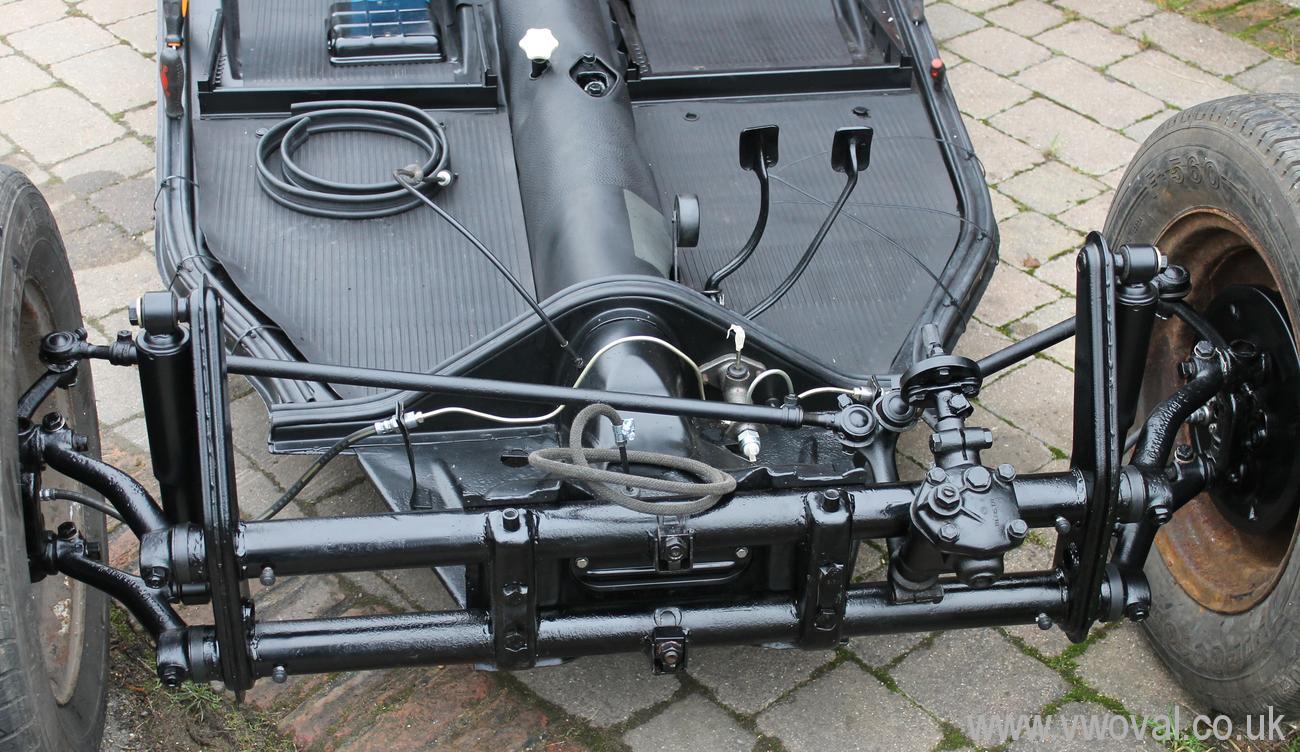
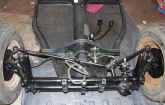
beam to the frame head, fitted the new Frame head plate, Fitted the torsion leaves,
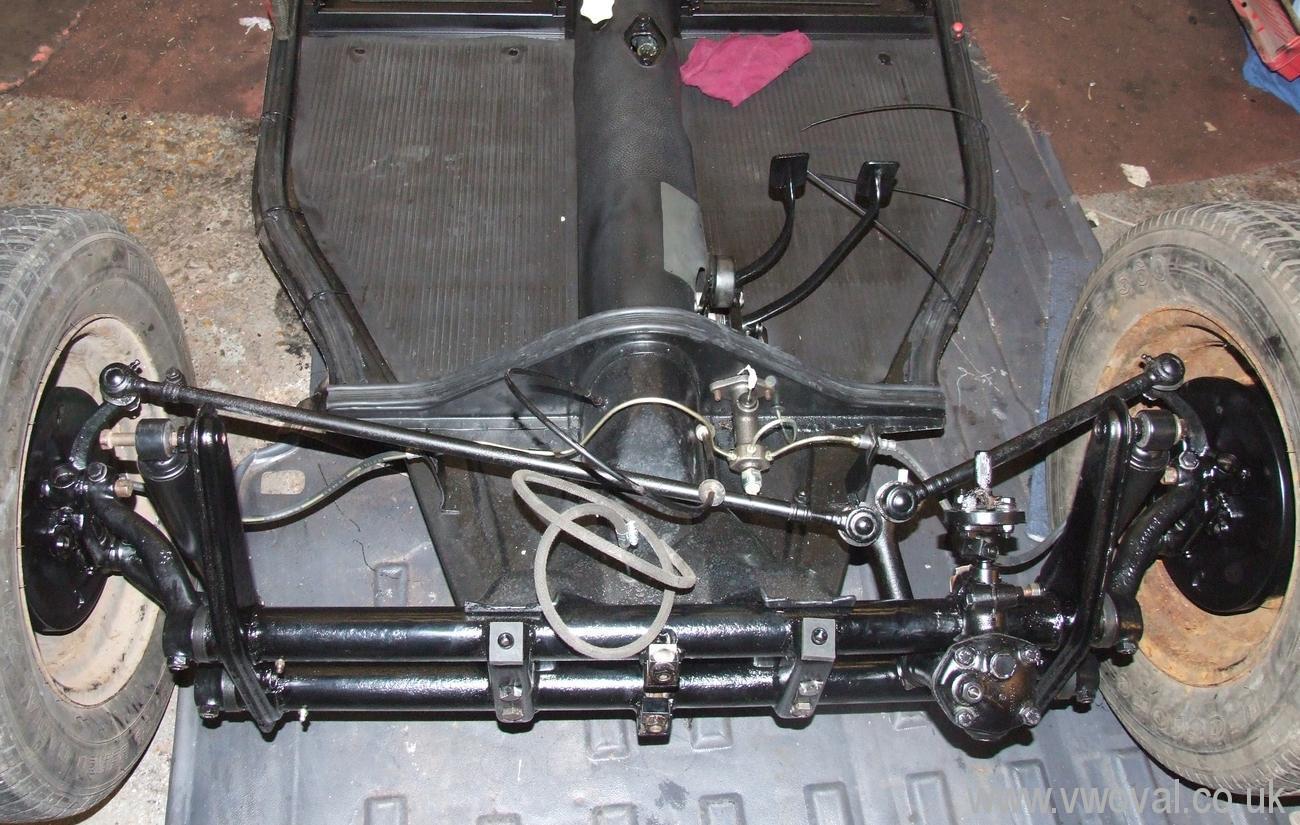
trailing arms, Stub axles, Backing plates, new Brakes, Drums and steering arms...
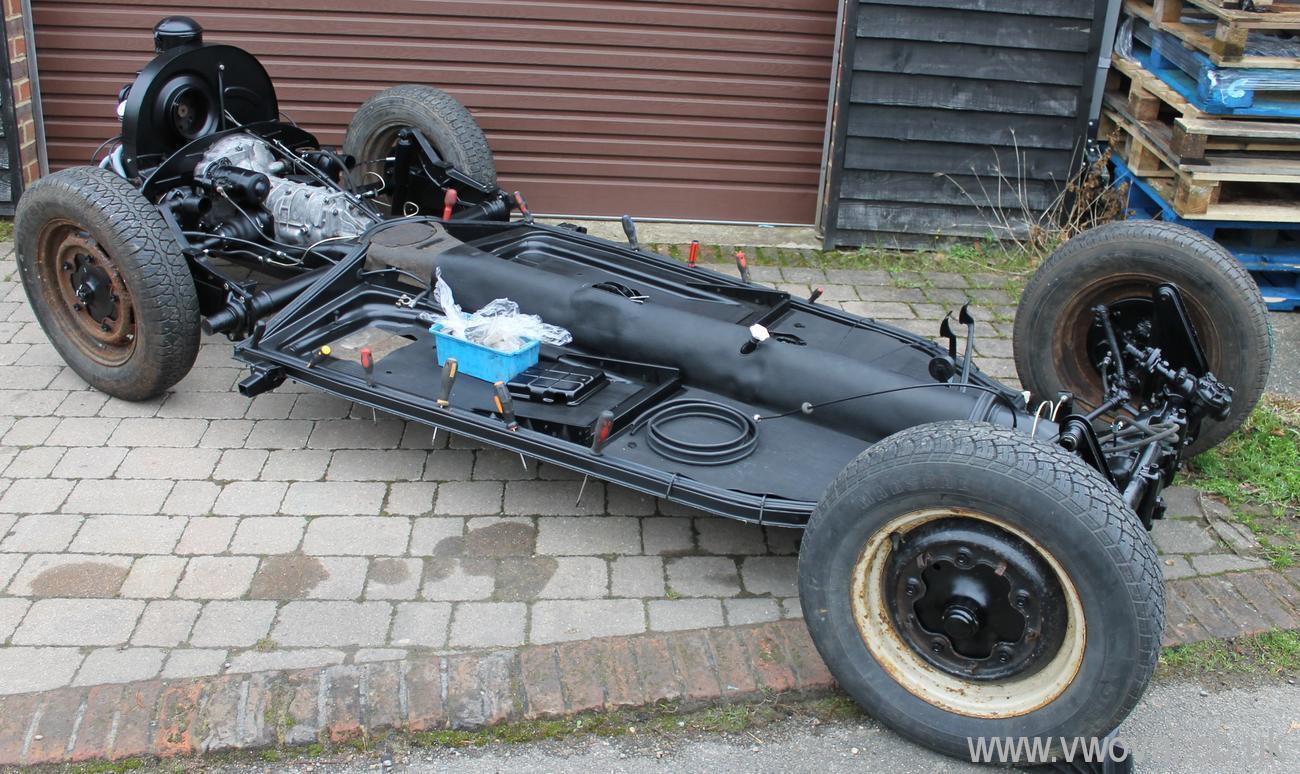
yes - it is now a rolling chassis.
- The brakes are now adjusted and fluid bled
(thanks Dave) ... we have working brakes.
- 10/1/13 Another order placed today with VW
Heritage and Custom and Commercial.... this is getting expensive!
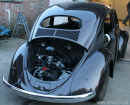
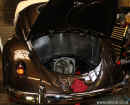
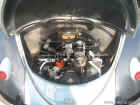
- Dave and I fired up the little 6v engine
tonight - just to make sure it will run... it does... it also leaks oil!
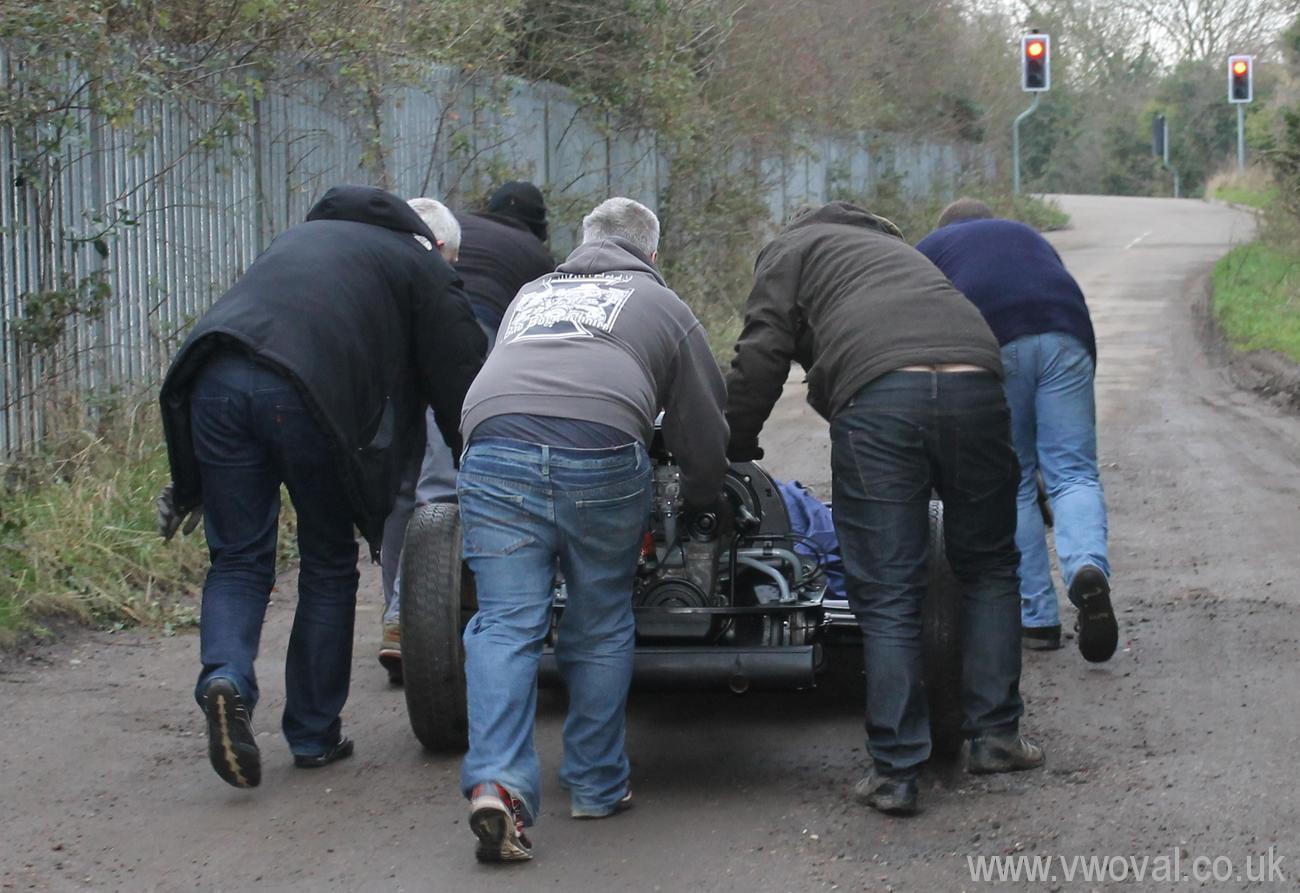
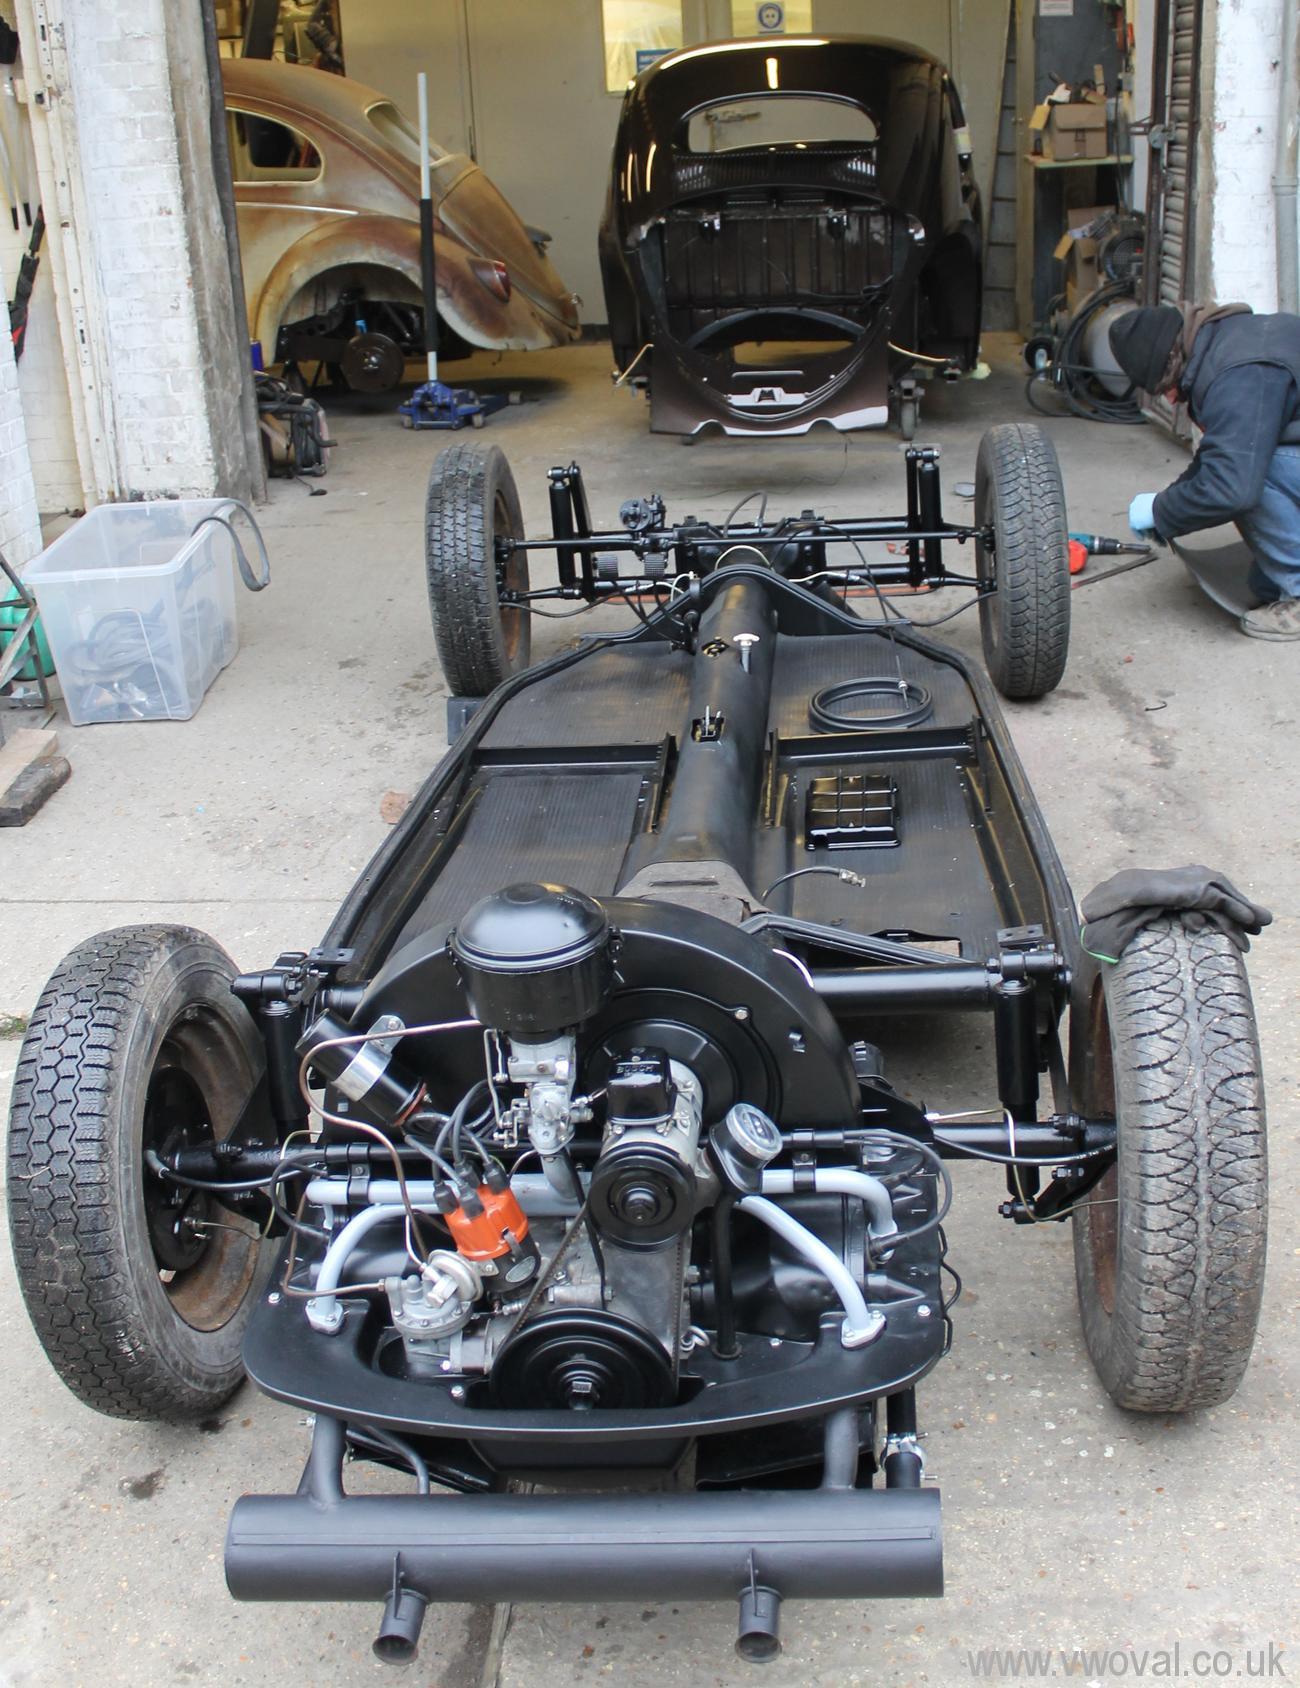
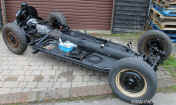
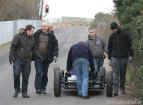
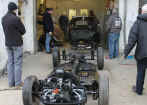
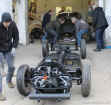
- Saturday 12th January 2013 was a big day.
- By 10am the chassis had rolled its first
wheel... outside in daylight at last.

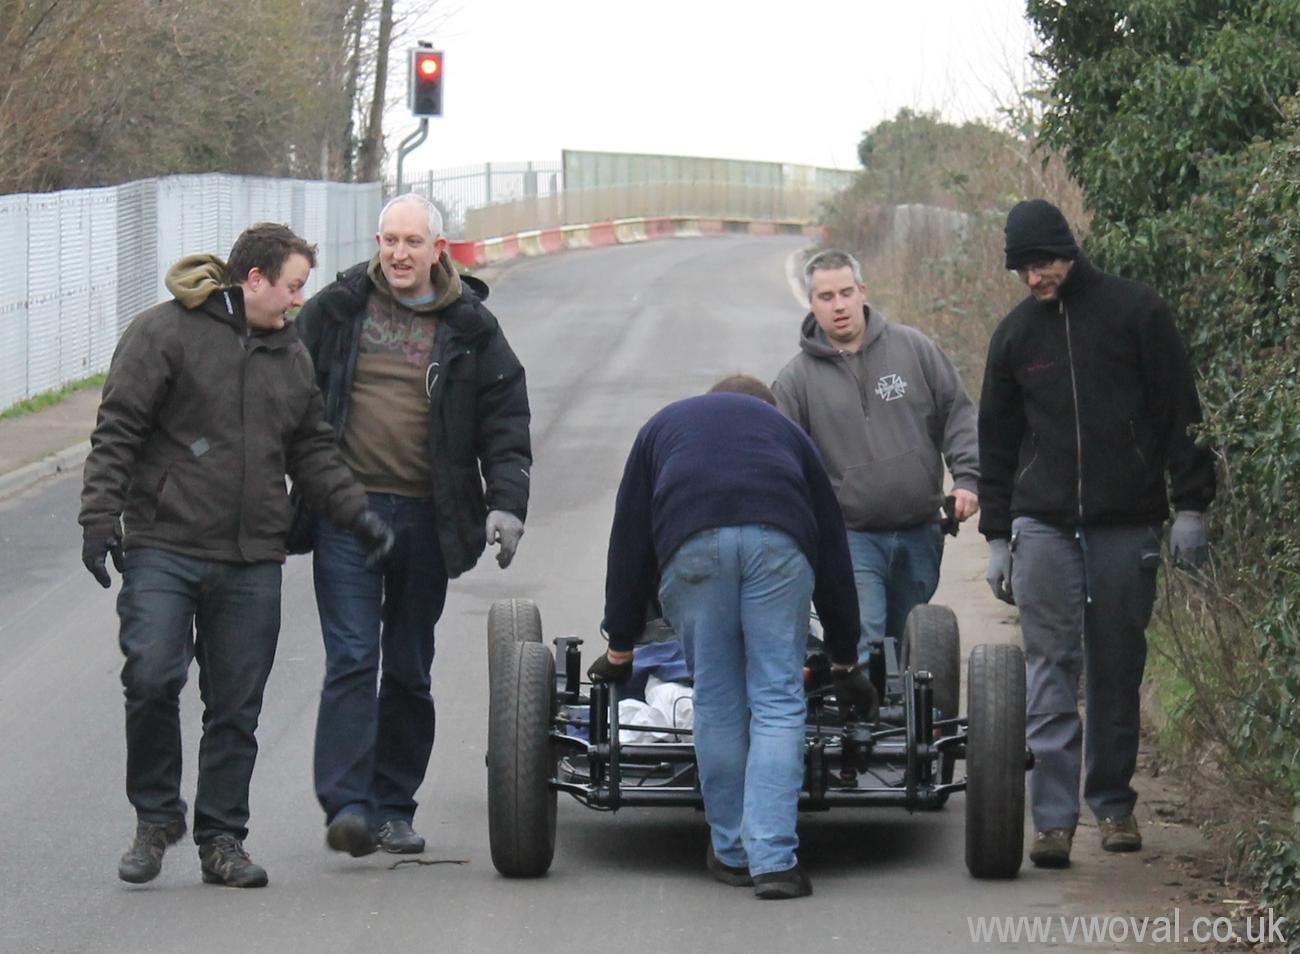
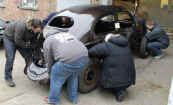
- Some Strong young men turned up and took it
for a walk!

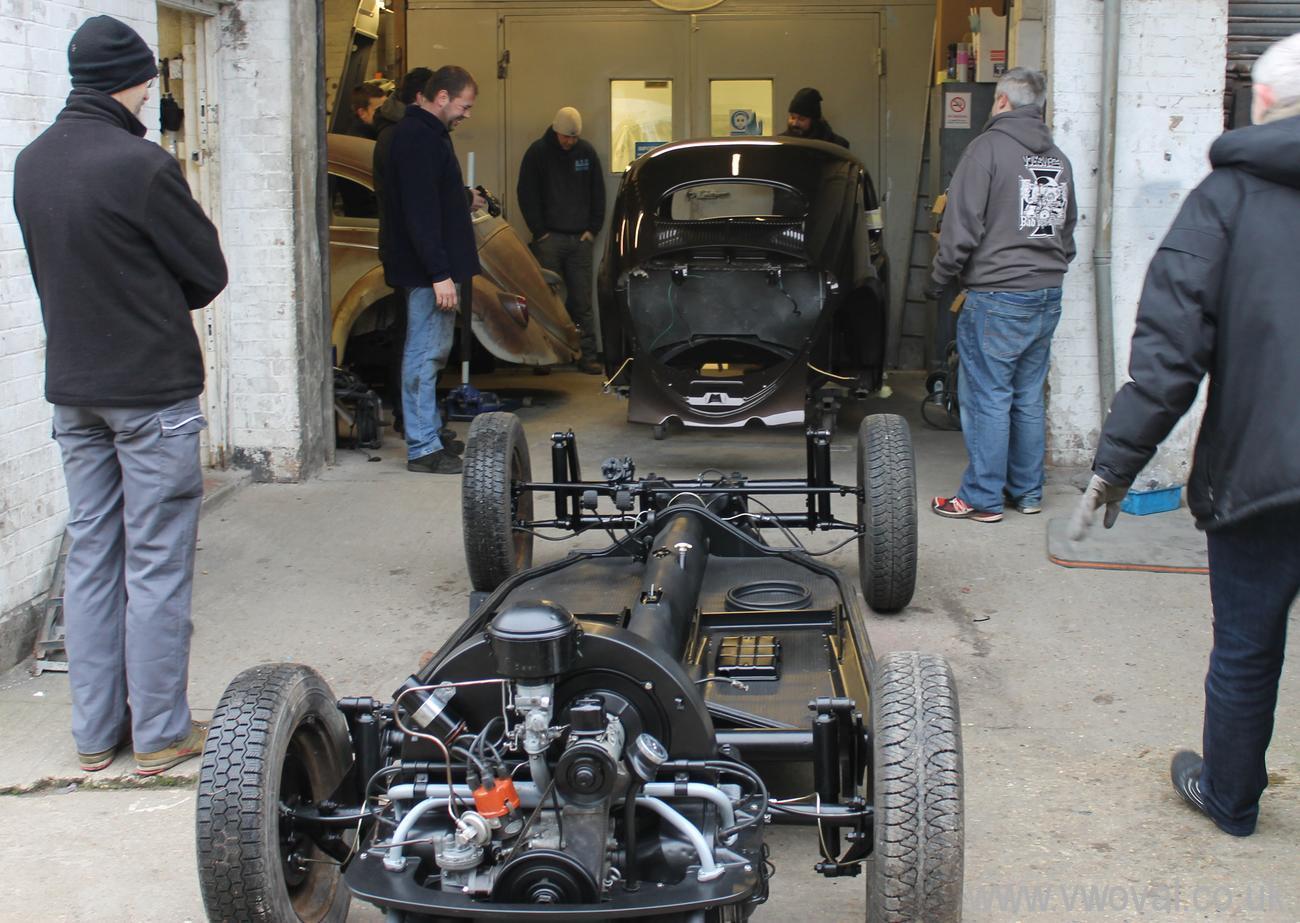
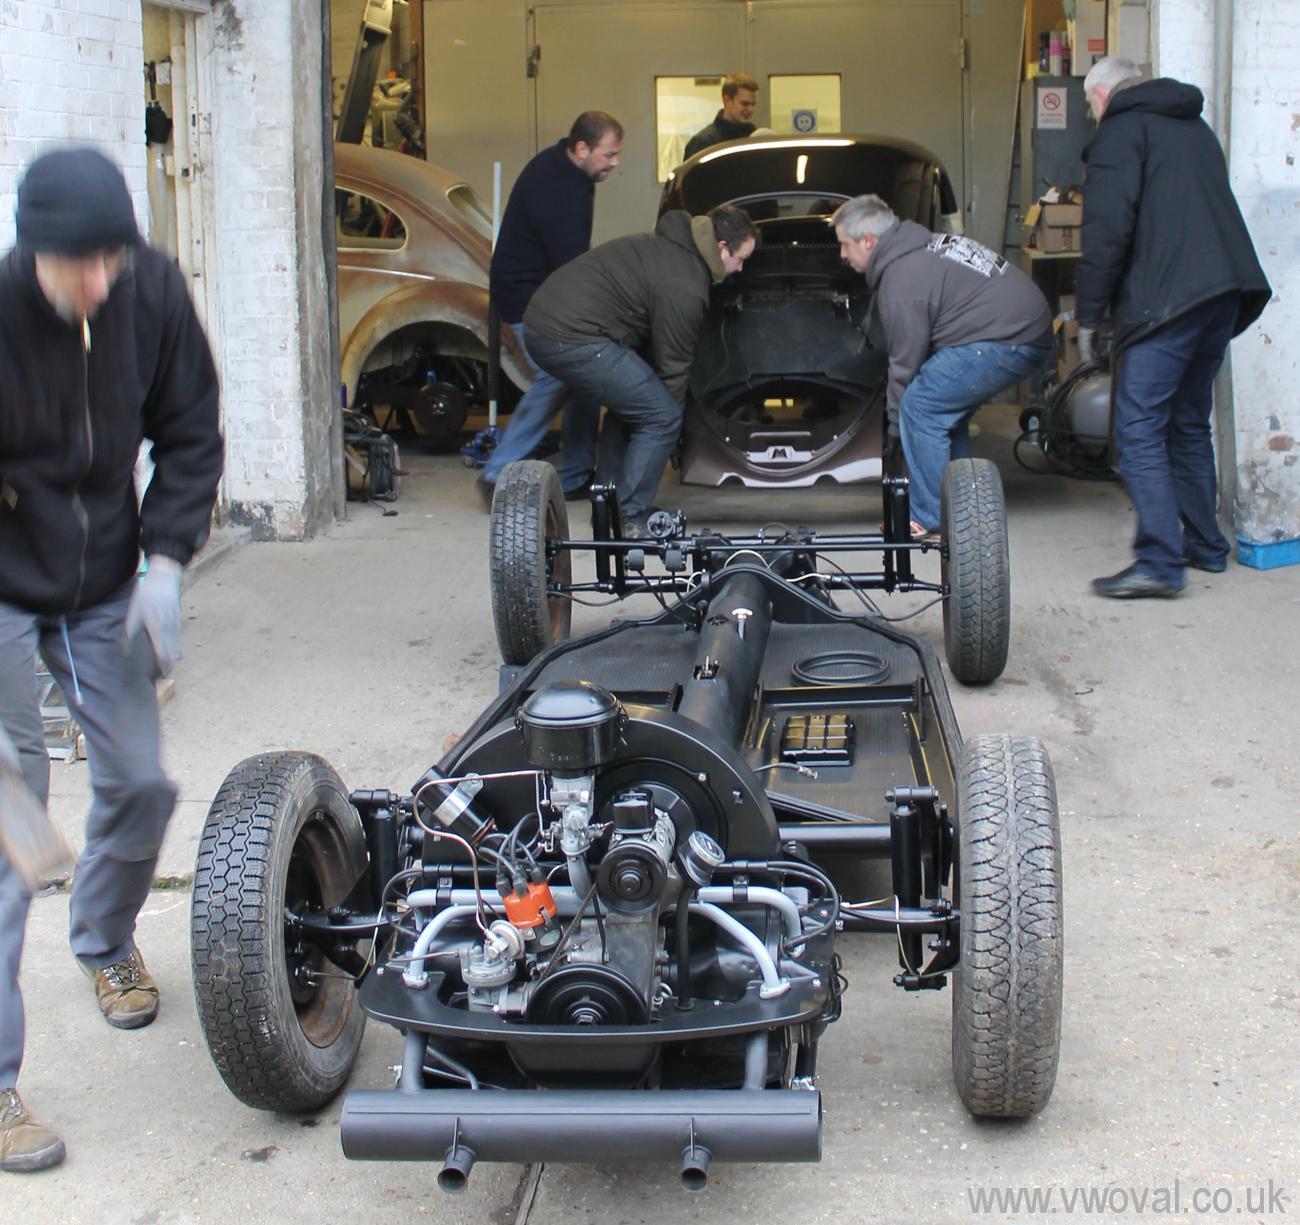
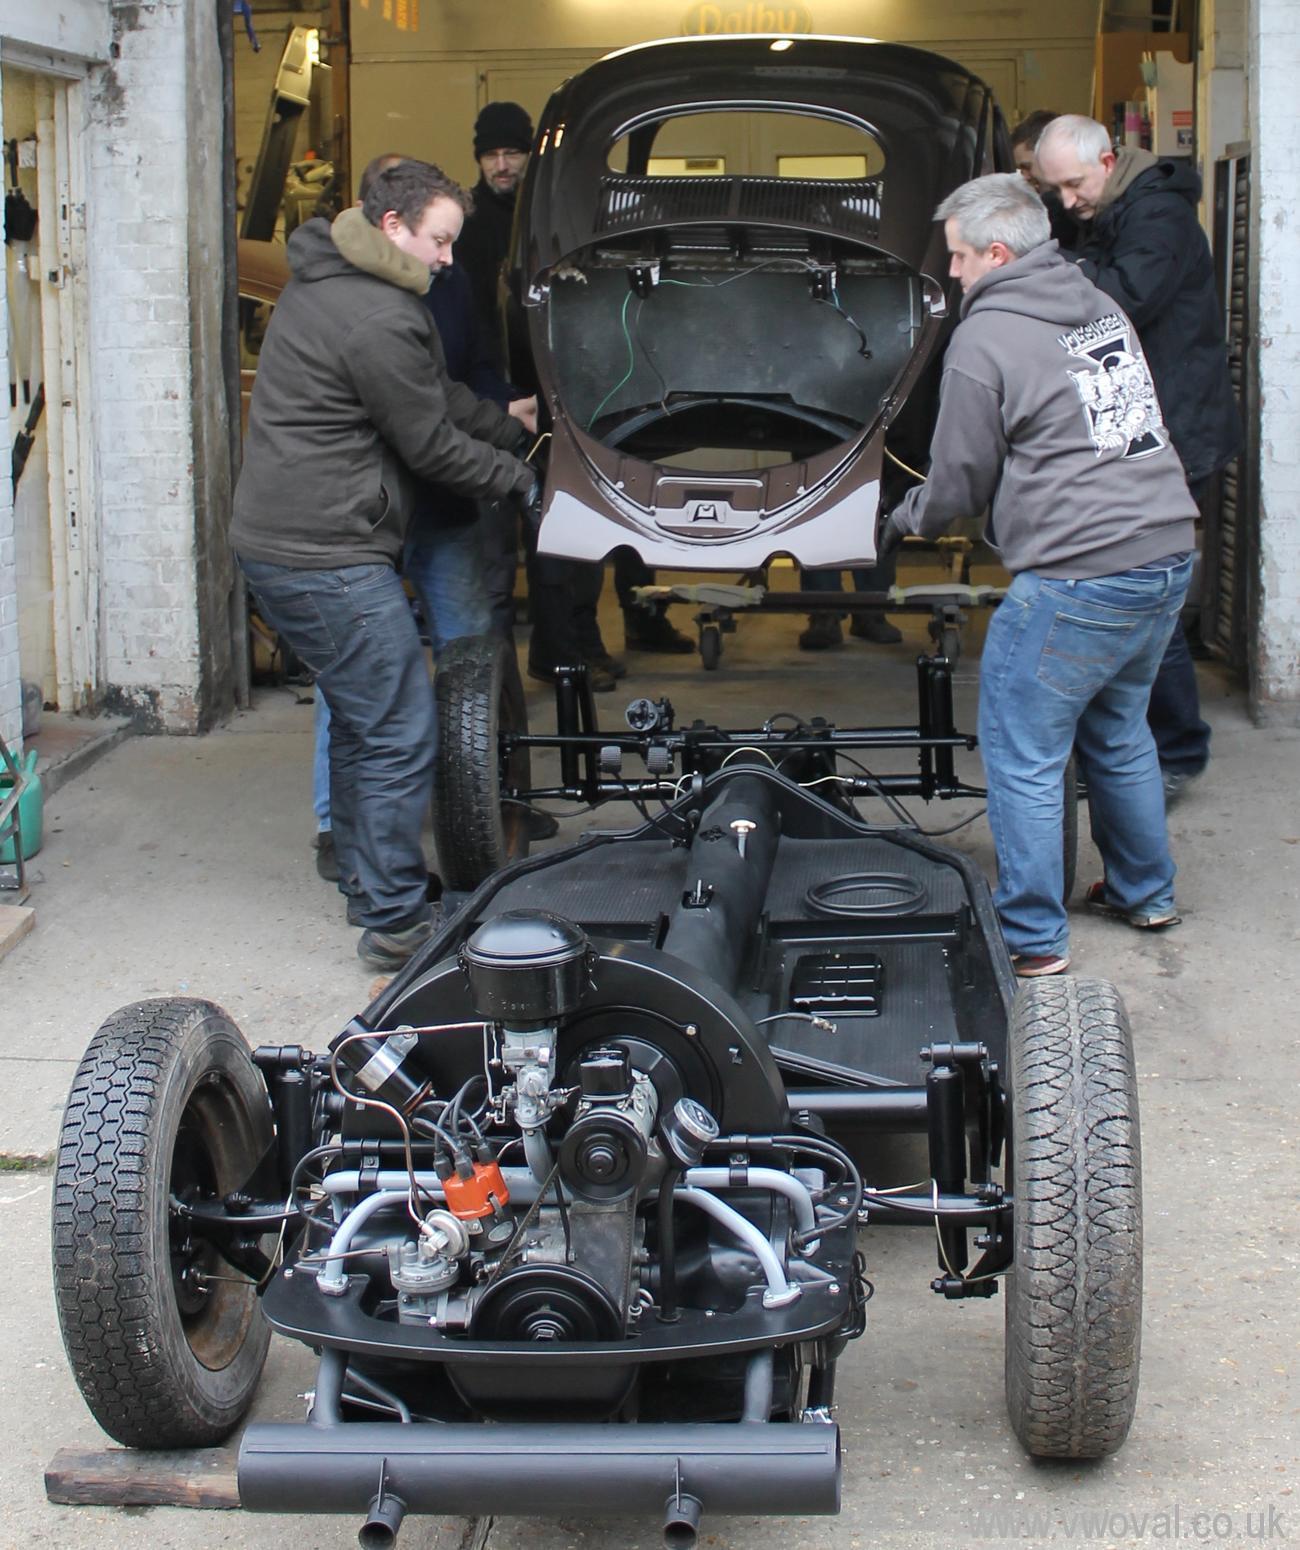
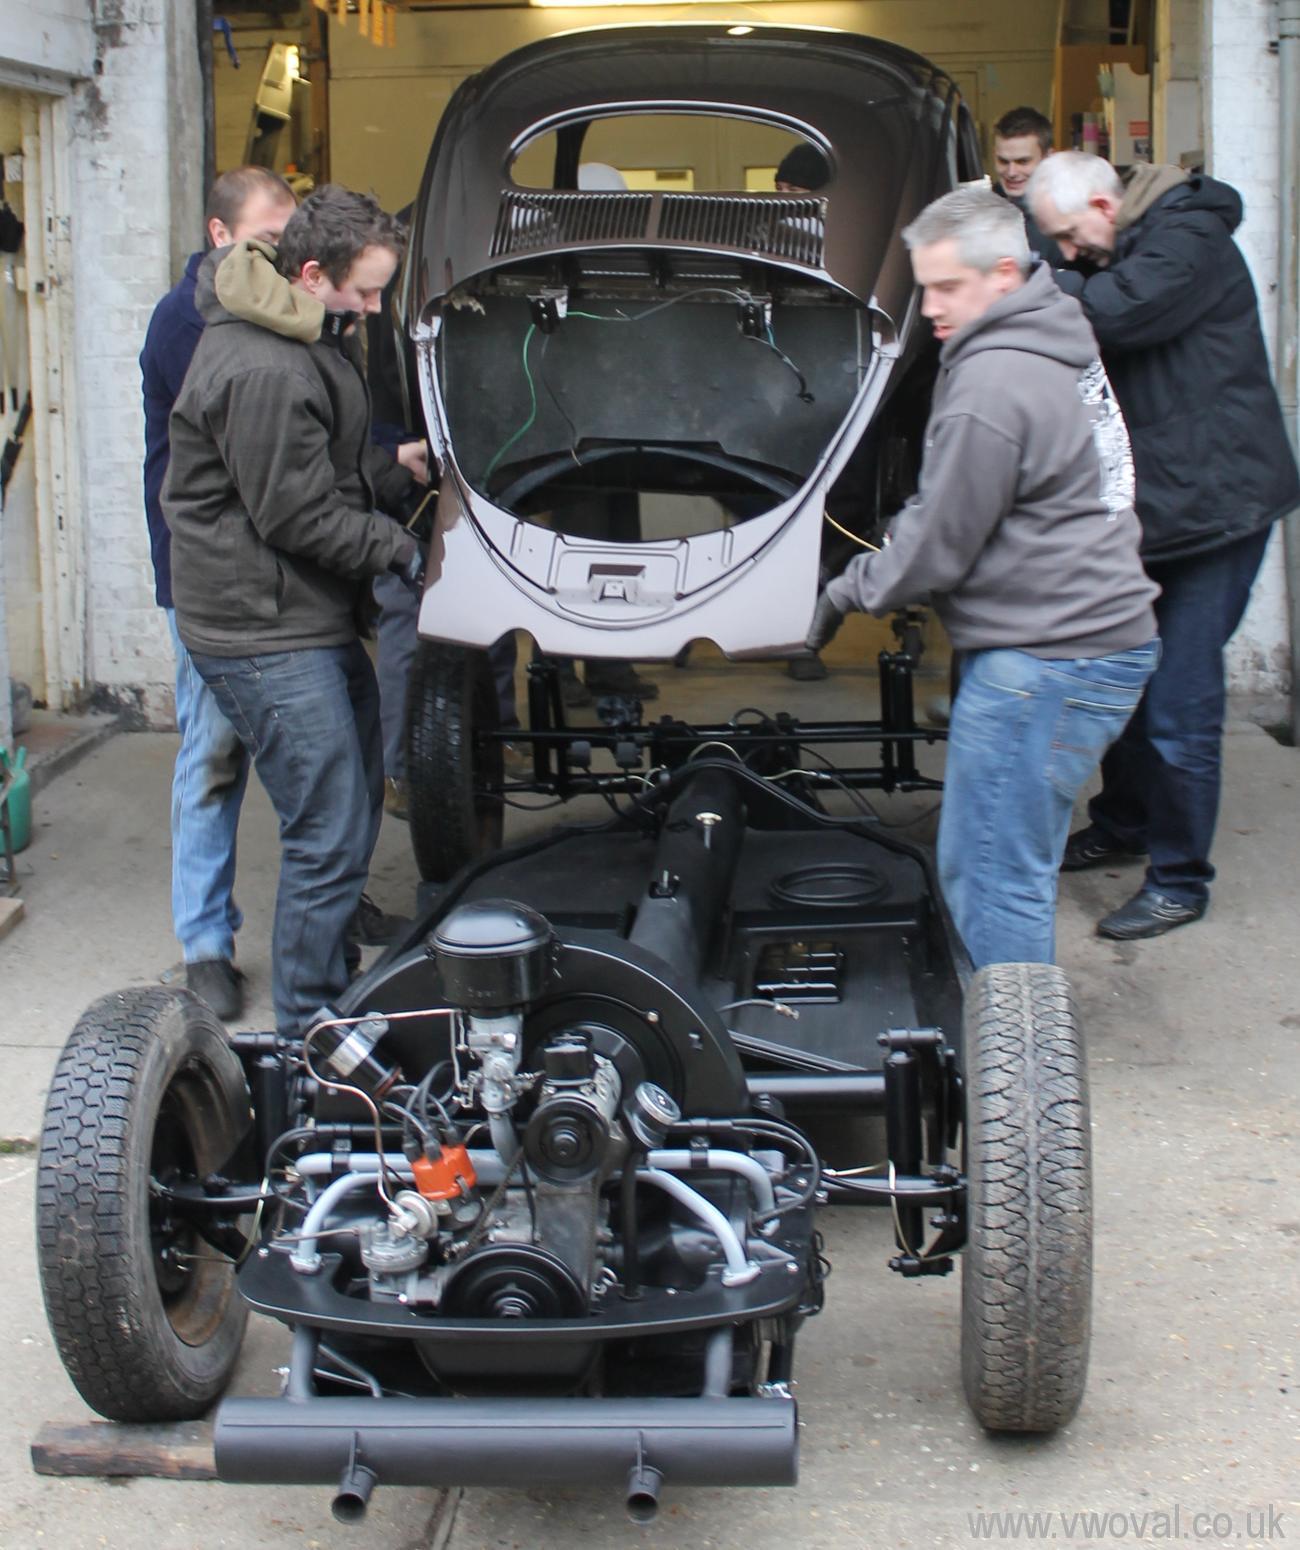
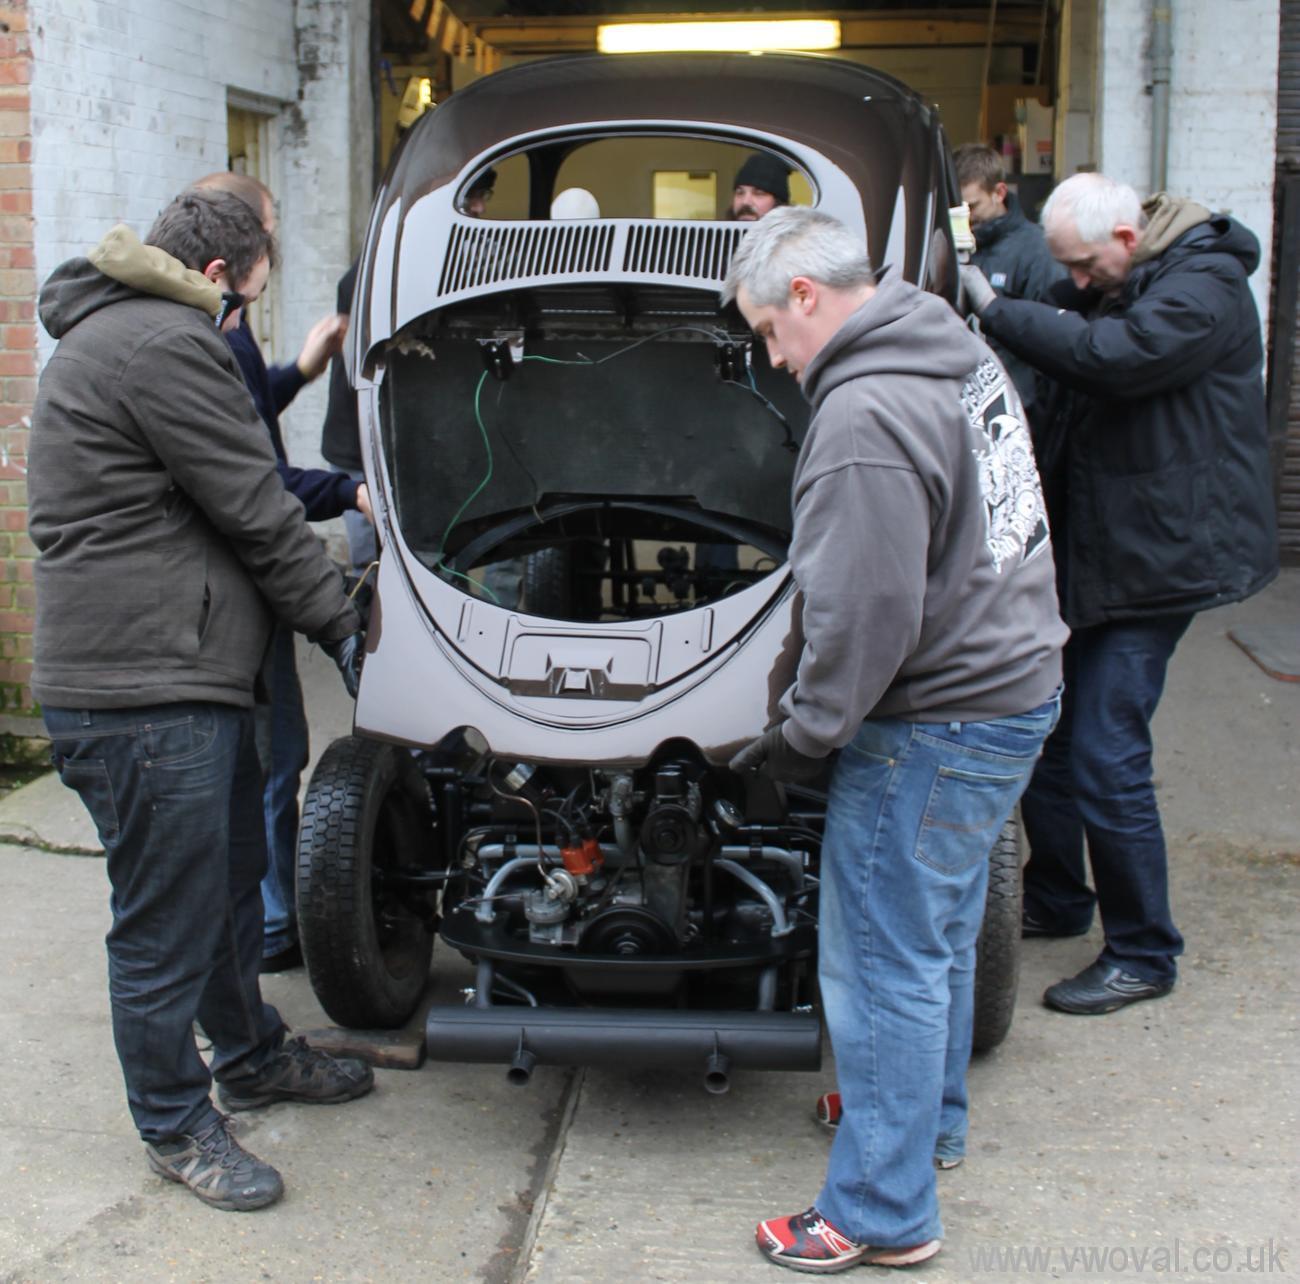
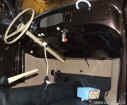
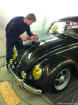
- Let the Chassis see the Body shell.
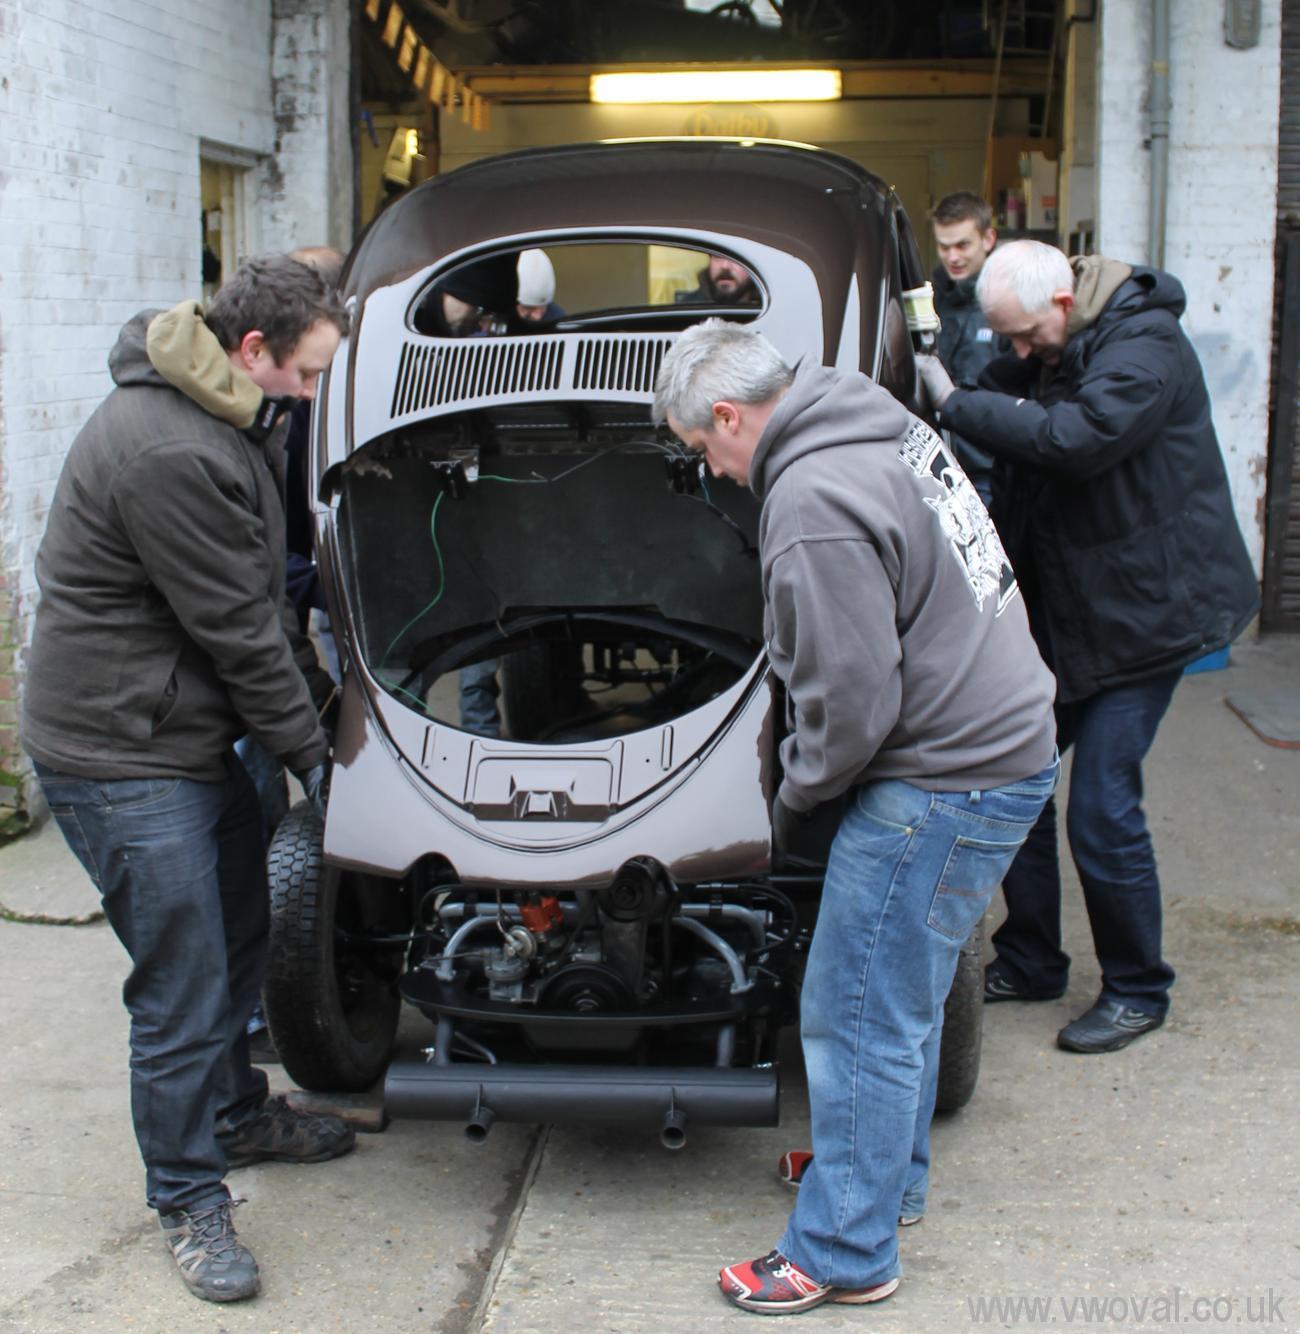
- So with a little help, many hands made
light work of lifting the shell onto the chassis. Thanks to Stuart, Tim, Alex,
John, Hayden, Dave and Craig..
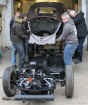
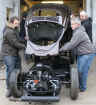
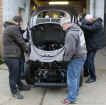

- And suddenly it was all coming
together... but still lots more to do.
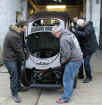
- Straight up into the air for some chassis
bolts..
- By the end of Saturday it was almost bolted
down, had rear wings
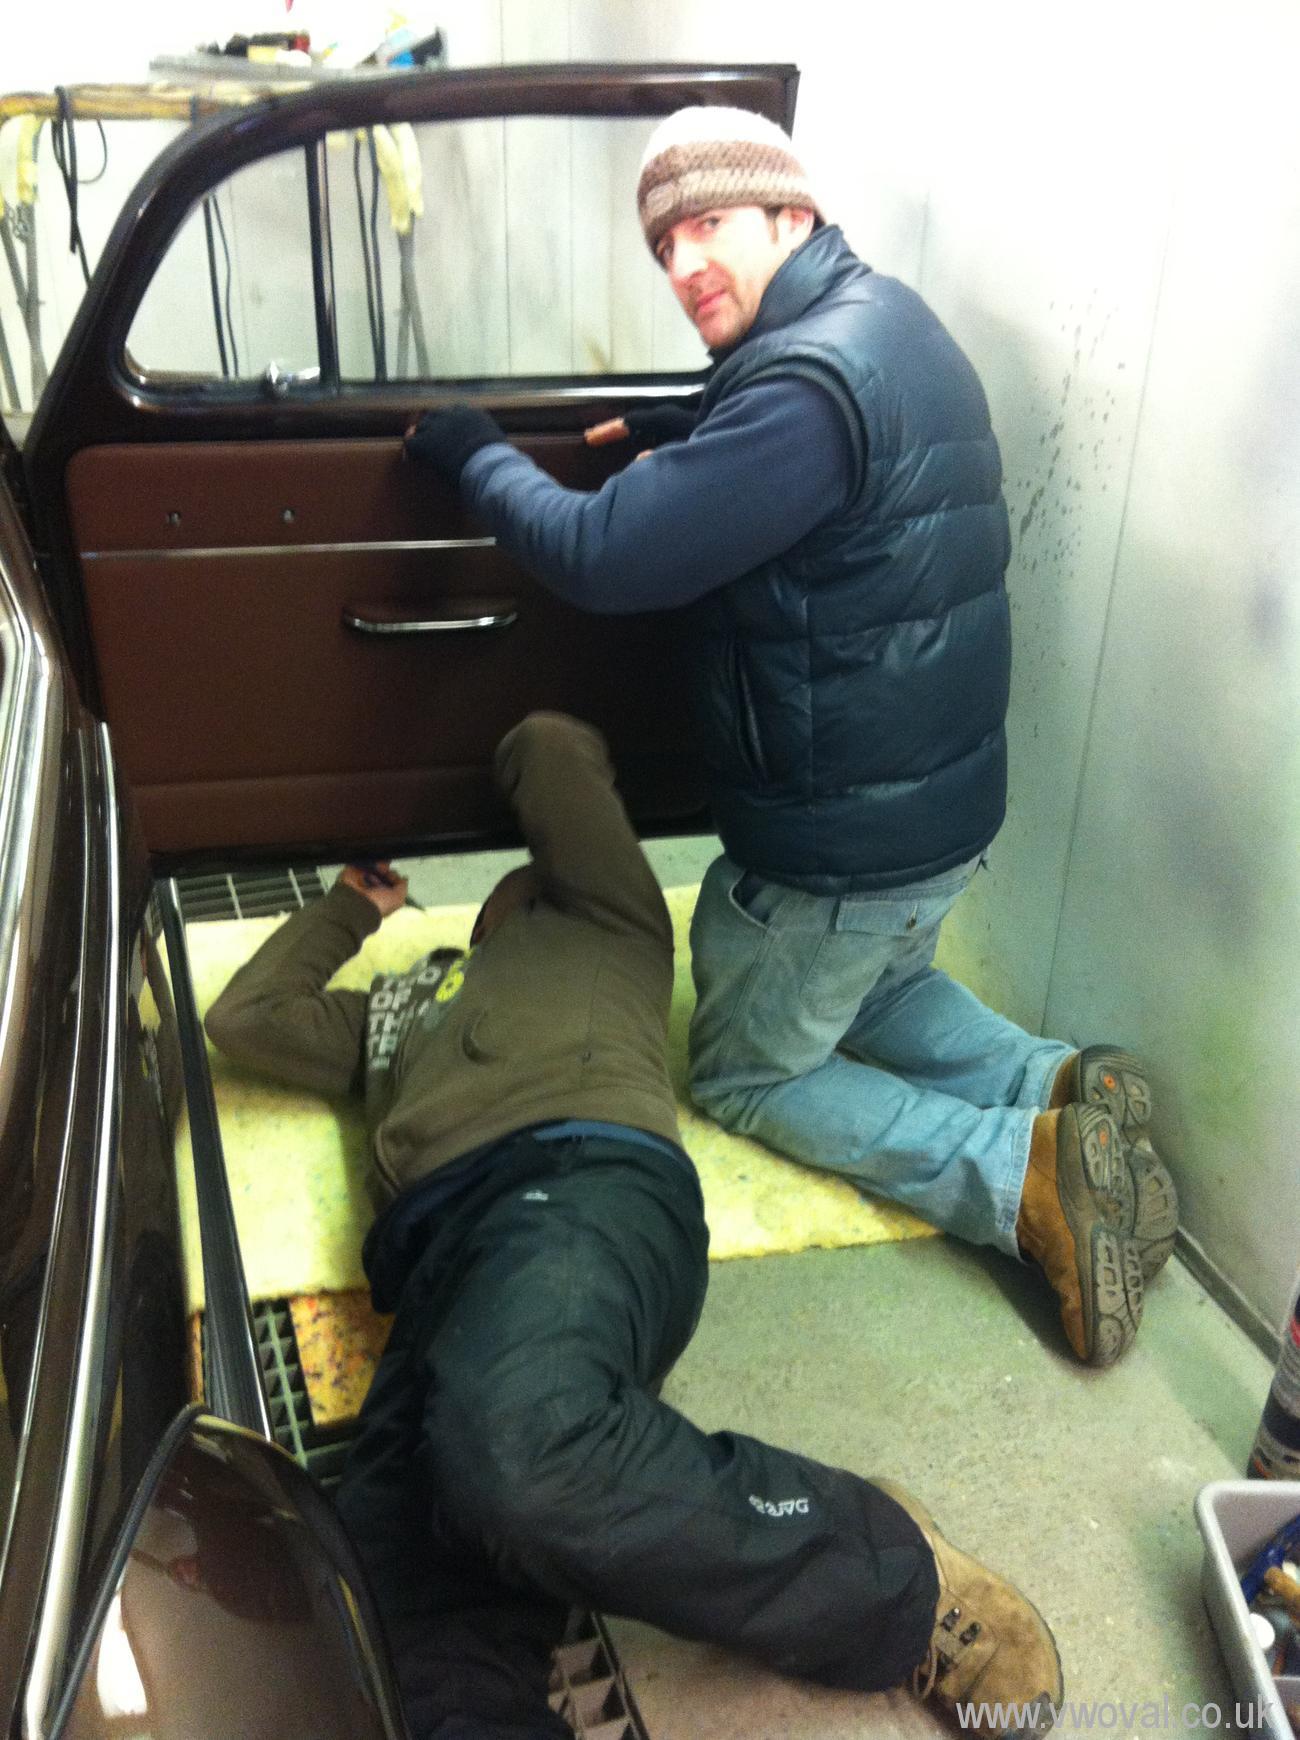
and lots of other bits and pieces... thanks for all your work / help today Hayden.
- We were back out there for another 6 1/2
hours on Sunday... it was freezing! But we got a good chunk done - by lunchtime it had front wings...


- And was fully bolted down.
-
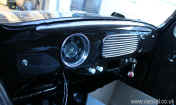
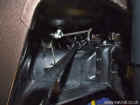
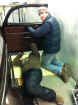
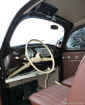
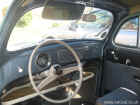
- The Dashboard is coming together, the
ignition works (lights on Speedo), the wiper motor does as it should... no
lights are attached yet, so I cant check them...
-
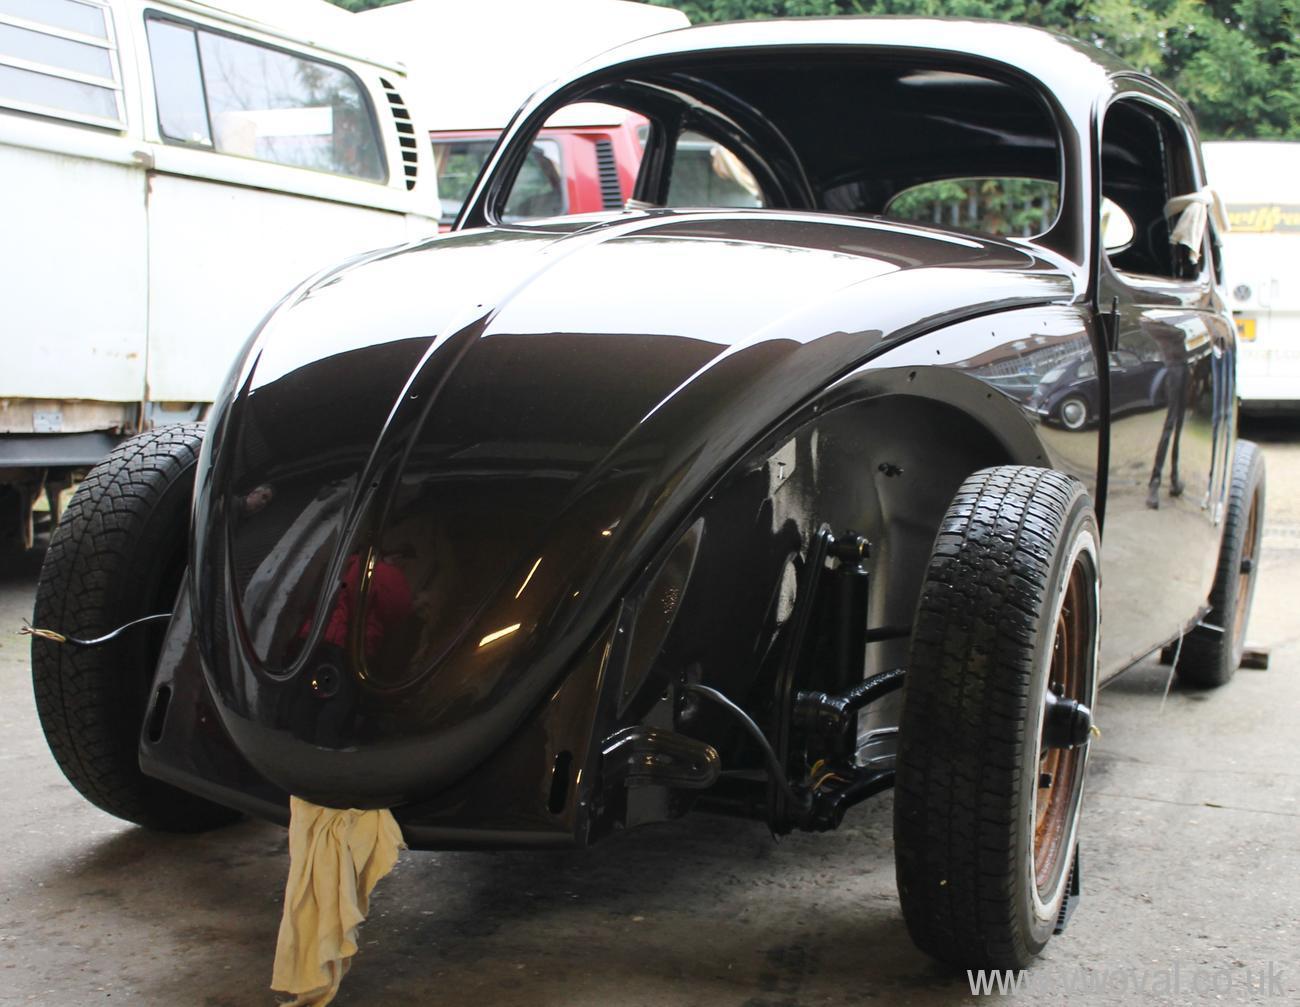
- The paint looks great in the tiny amount of
sunshine we had..

- At the end of the day we left it looking
like this.. getting there. This would be no where near as far down the road,
without help from good friends - Thank You all.

- Nearly ready to go to Pete the Trimmers... but
more grief with repro parts is delaying matters..
- On the way to the Delux VW Interiors - Trimmers... 17th
January 2013

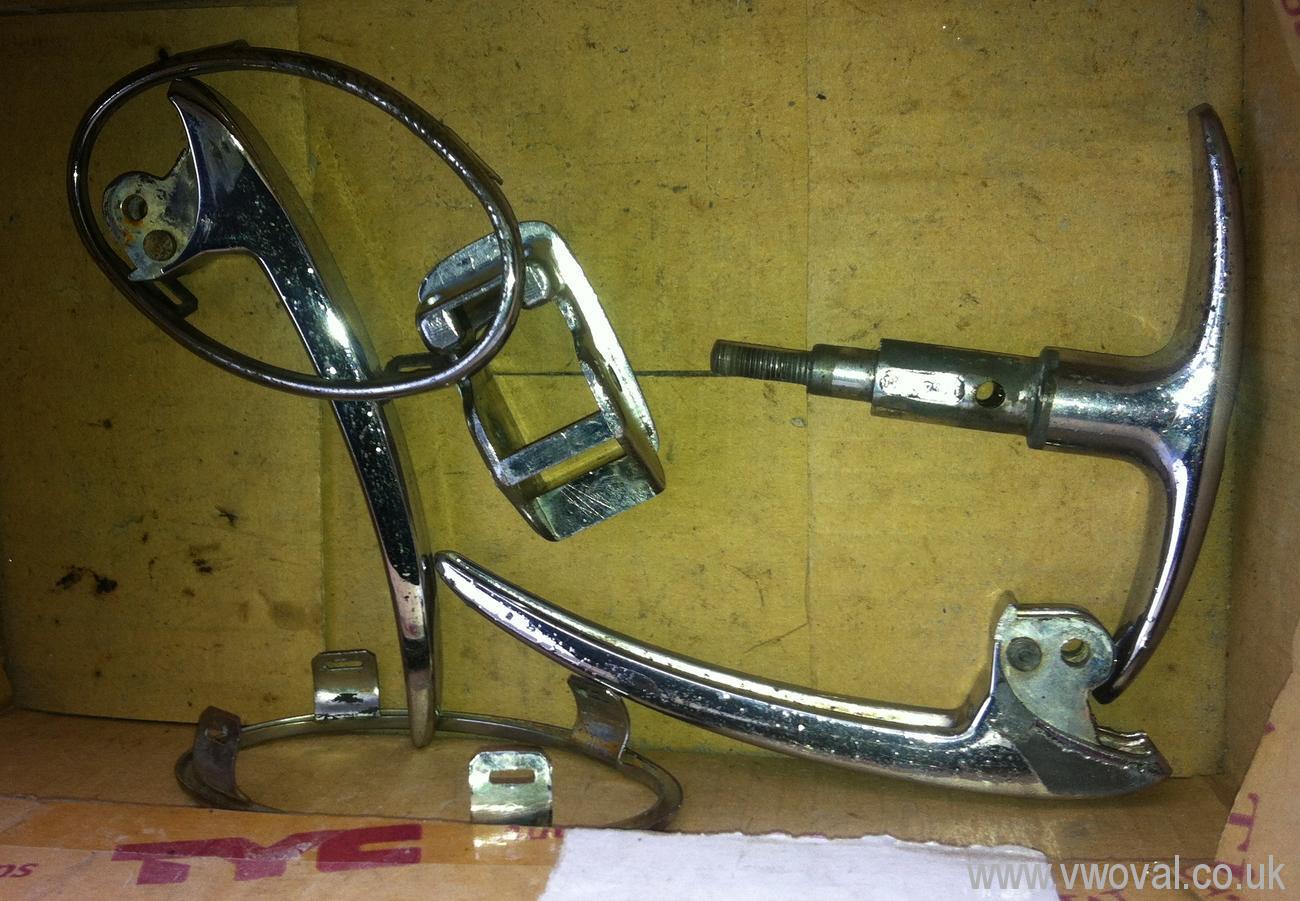
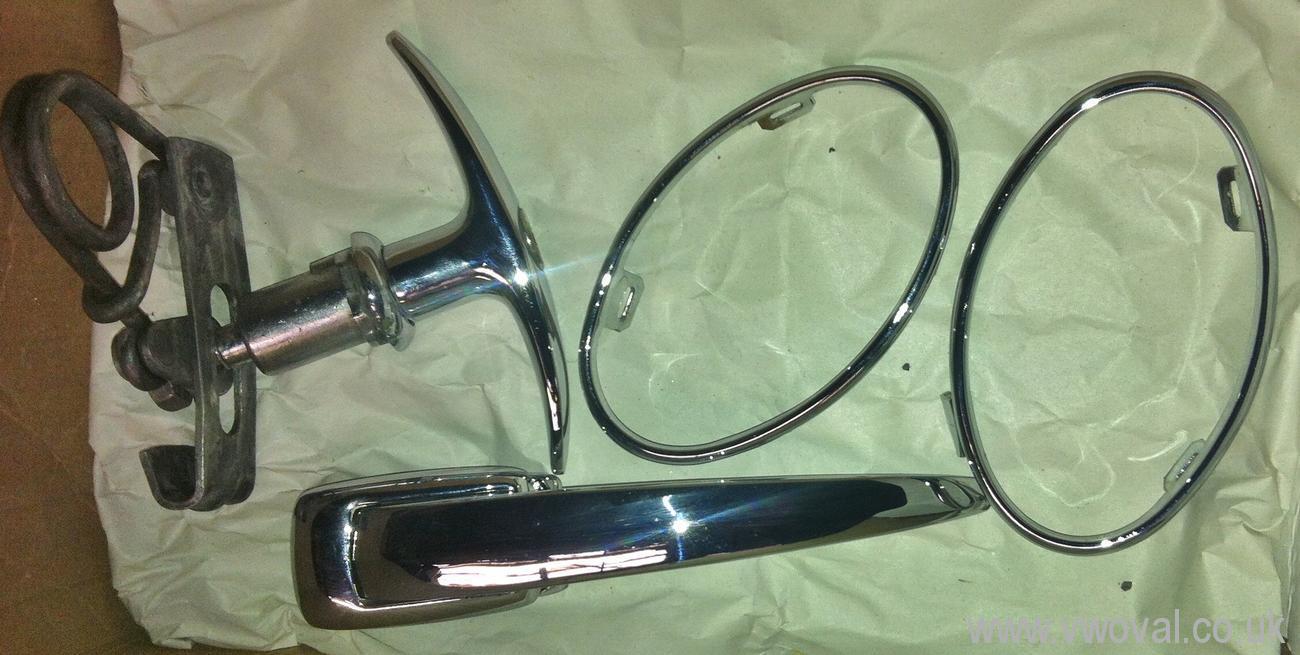
- Some original parts have now been sent
to the Chromers as the Repro stuff is just utter crap. :(
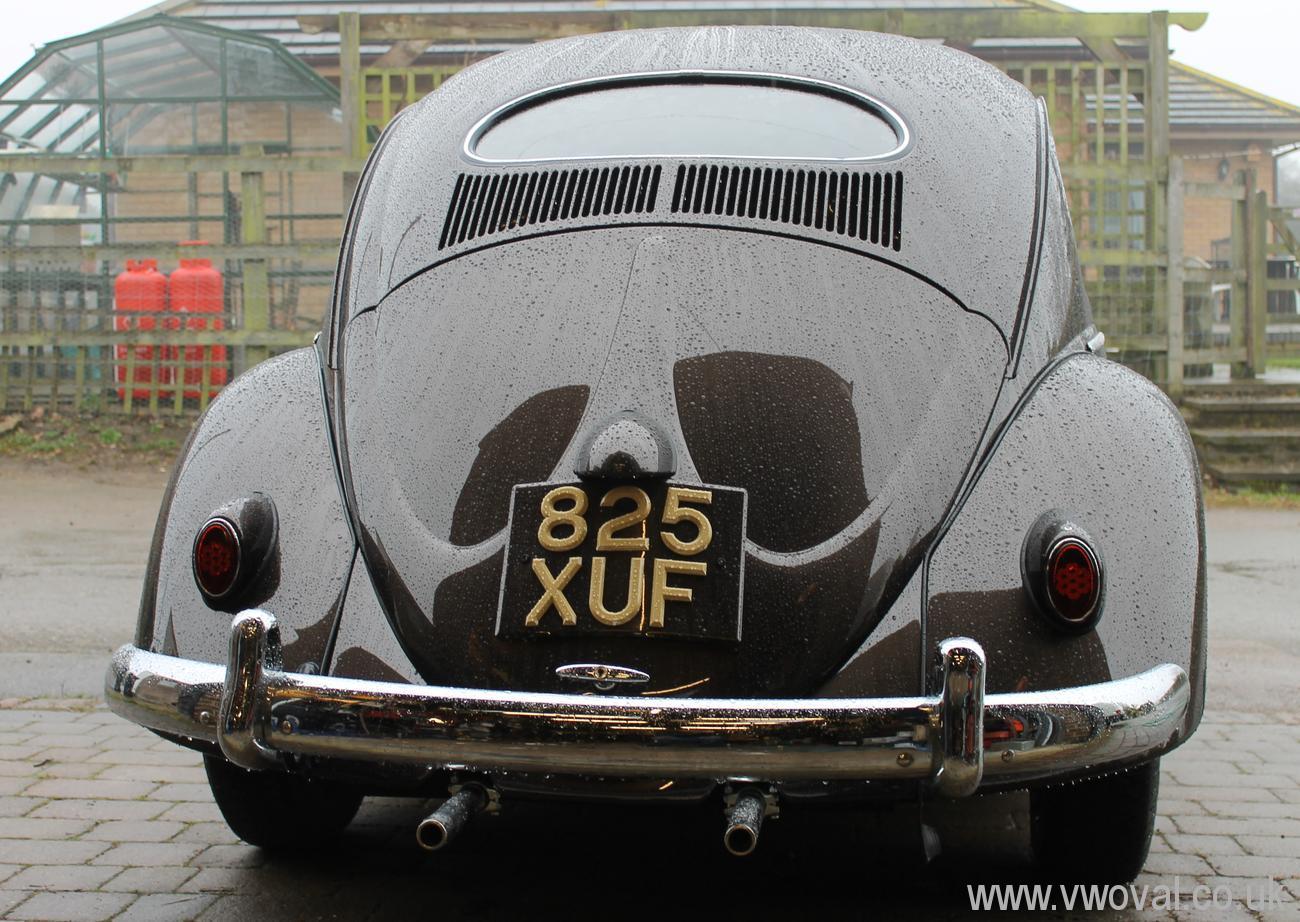
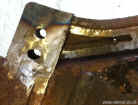
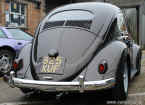
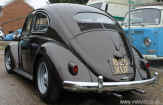
- Trying to fit the new rear stainless
steel bumper - the holes are at different heights - (yes the same genuine
bracket is used in both photos)
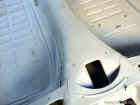
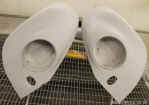
- Time to Tidy the garage... and prepare
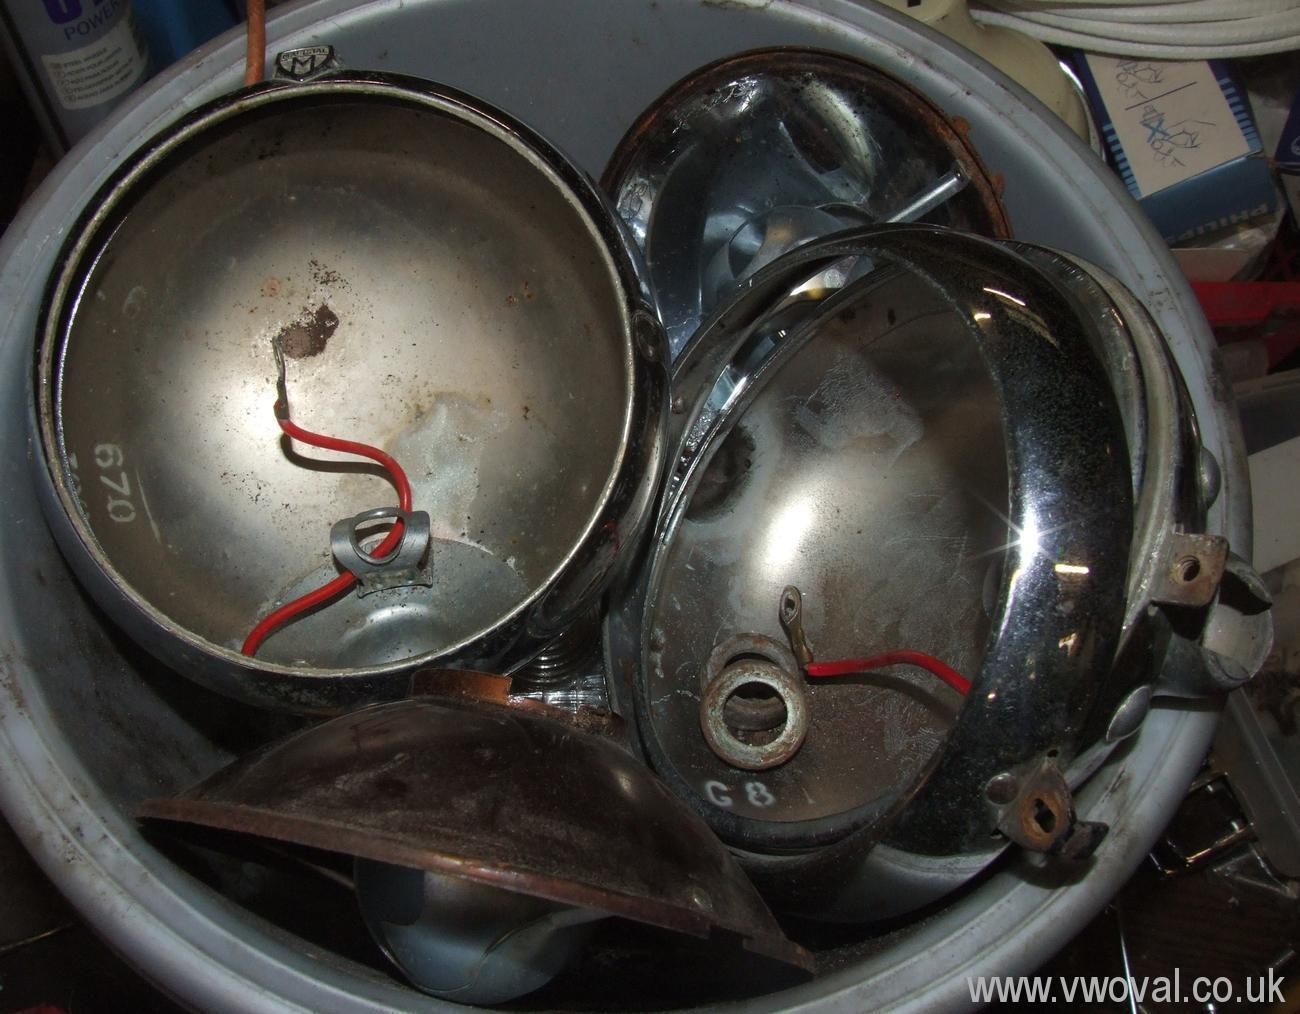
for the return of the project.. I'm rebuilding the rear pop outs (one is
much nicer than the other) and then I'm about to start on the headlight
units...

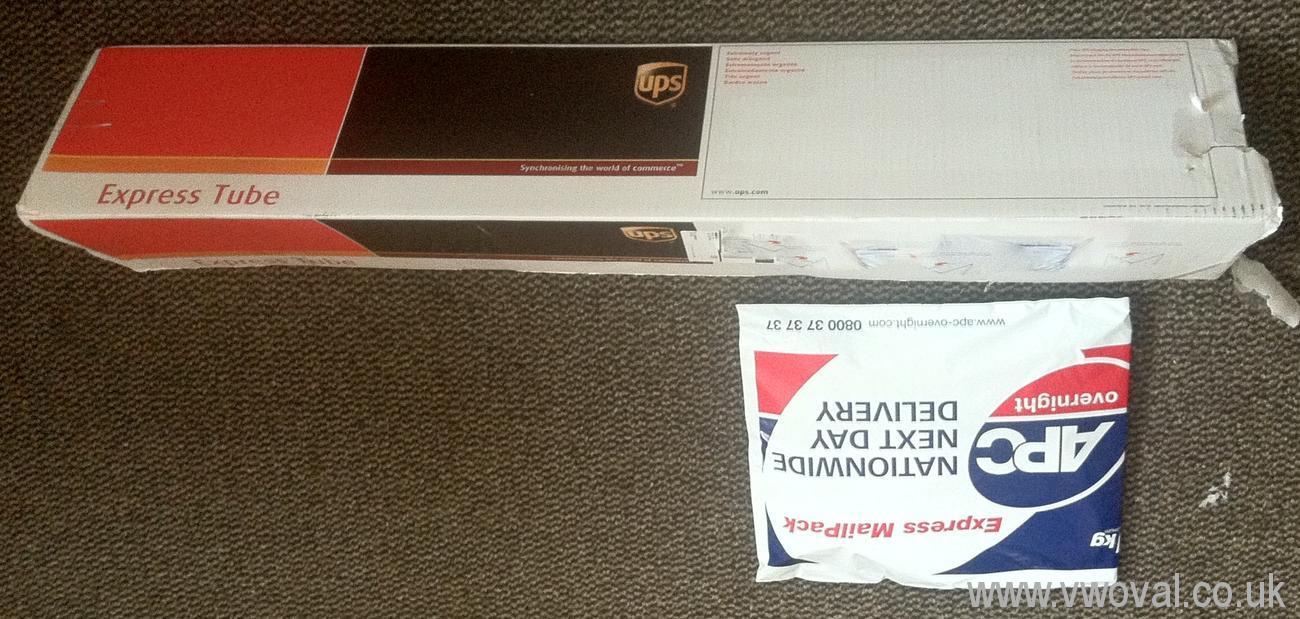
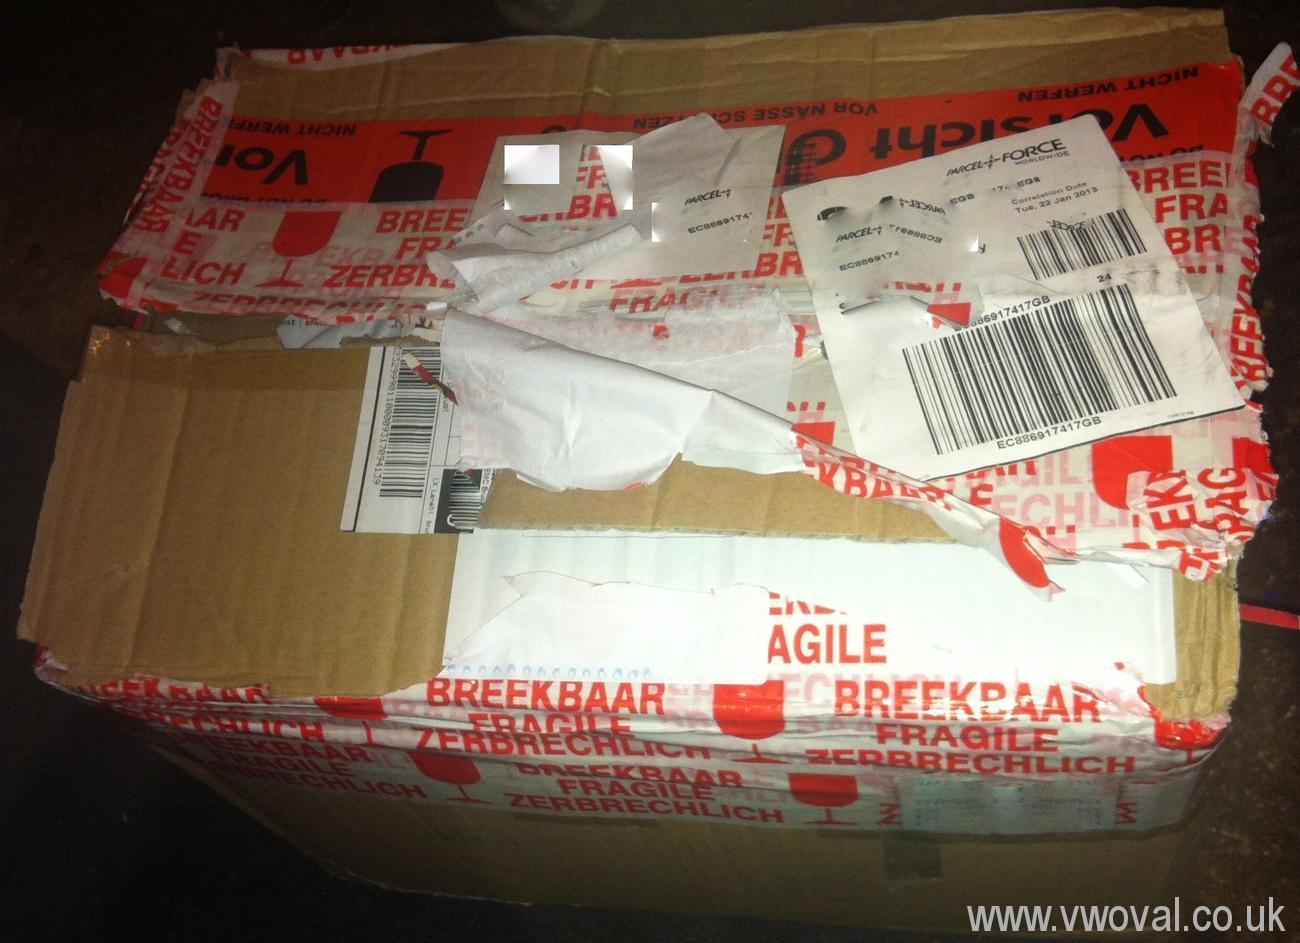
- Quite exciting week this week... 2
parcels of parts... what's inside?
- and then a Box from Belgium! - much
headlight excitement...

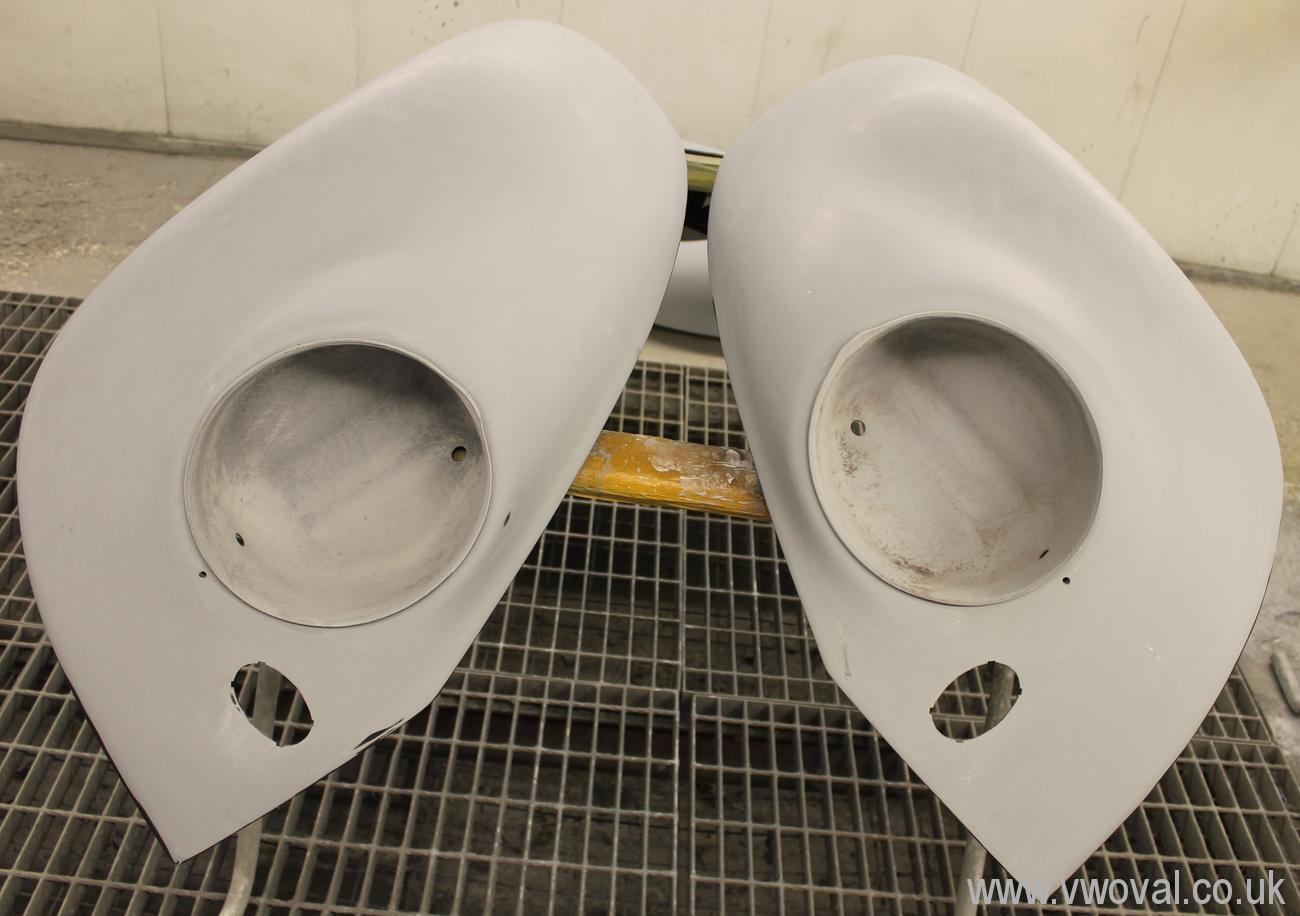
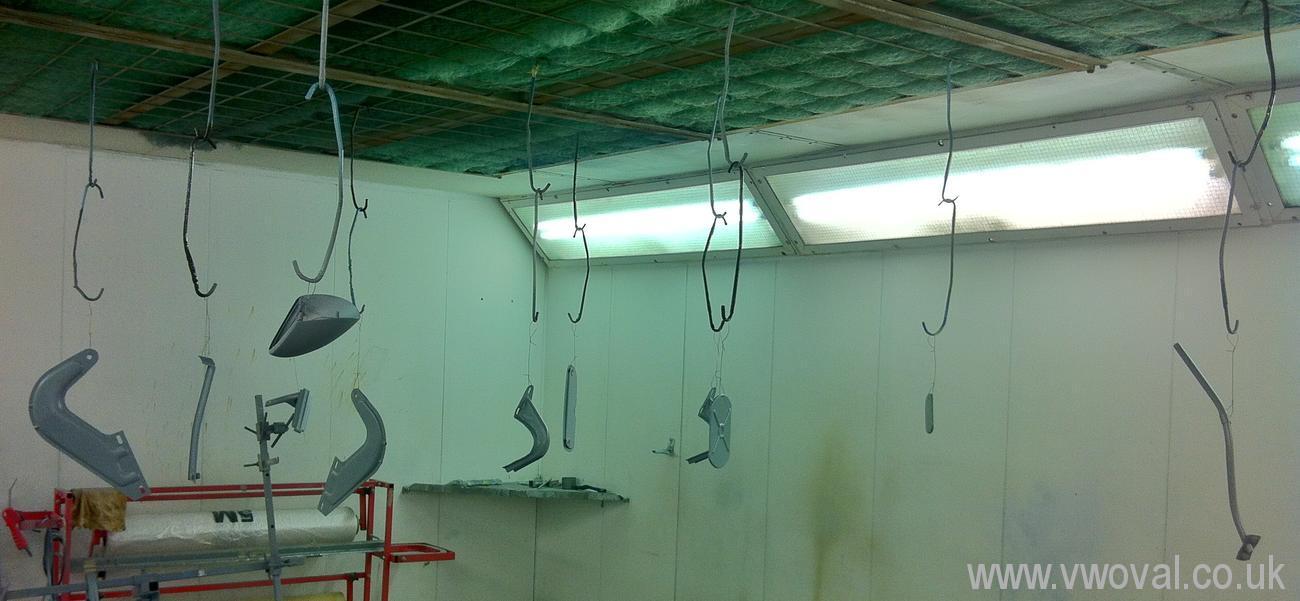
- Late January 2013 - The last few bits
are in the booth - ready for their first coat of primer...
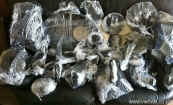
- Found these the other day... in with
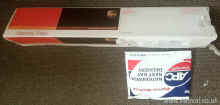
some parts.. I can only assume they are the old Swedish Tax Discs..
Cool to have.

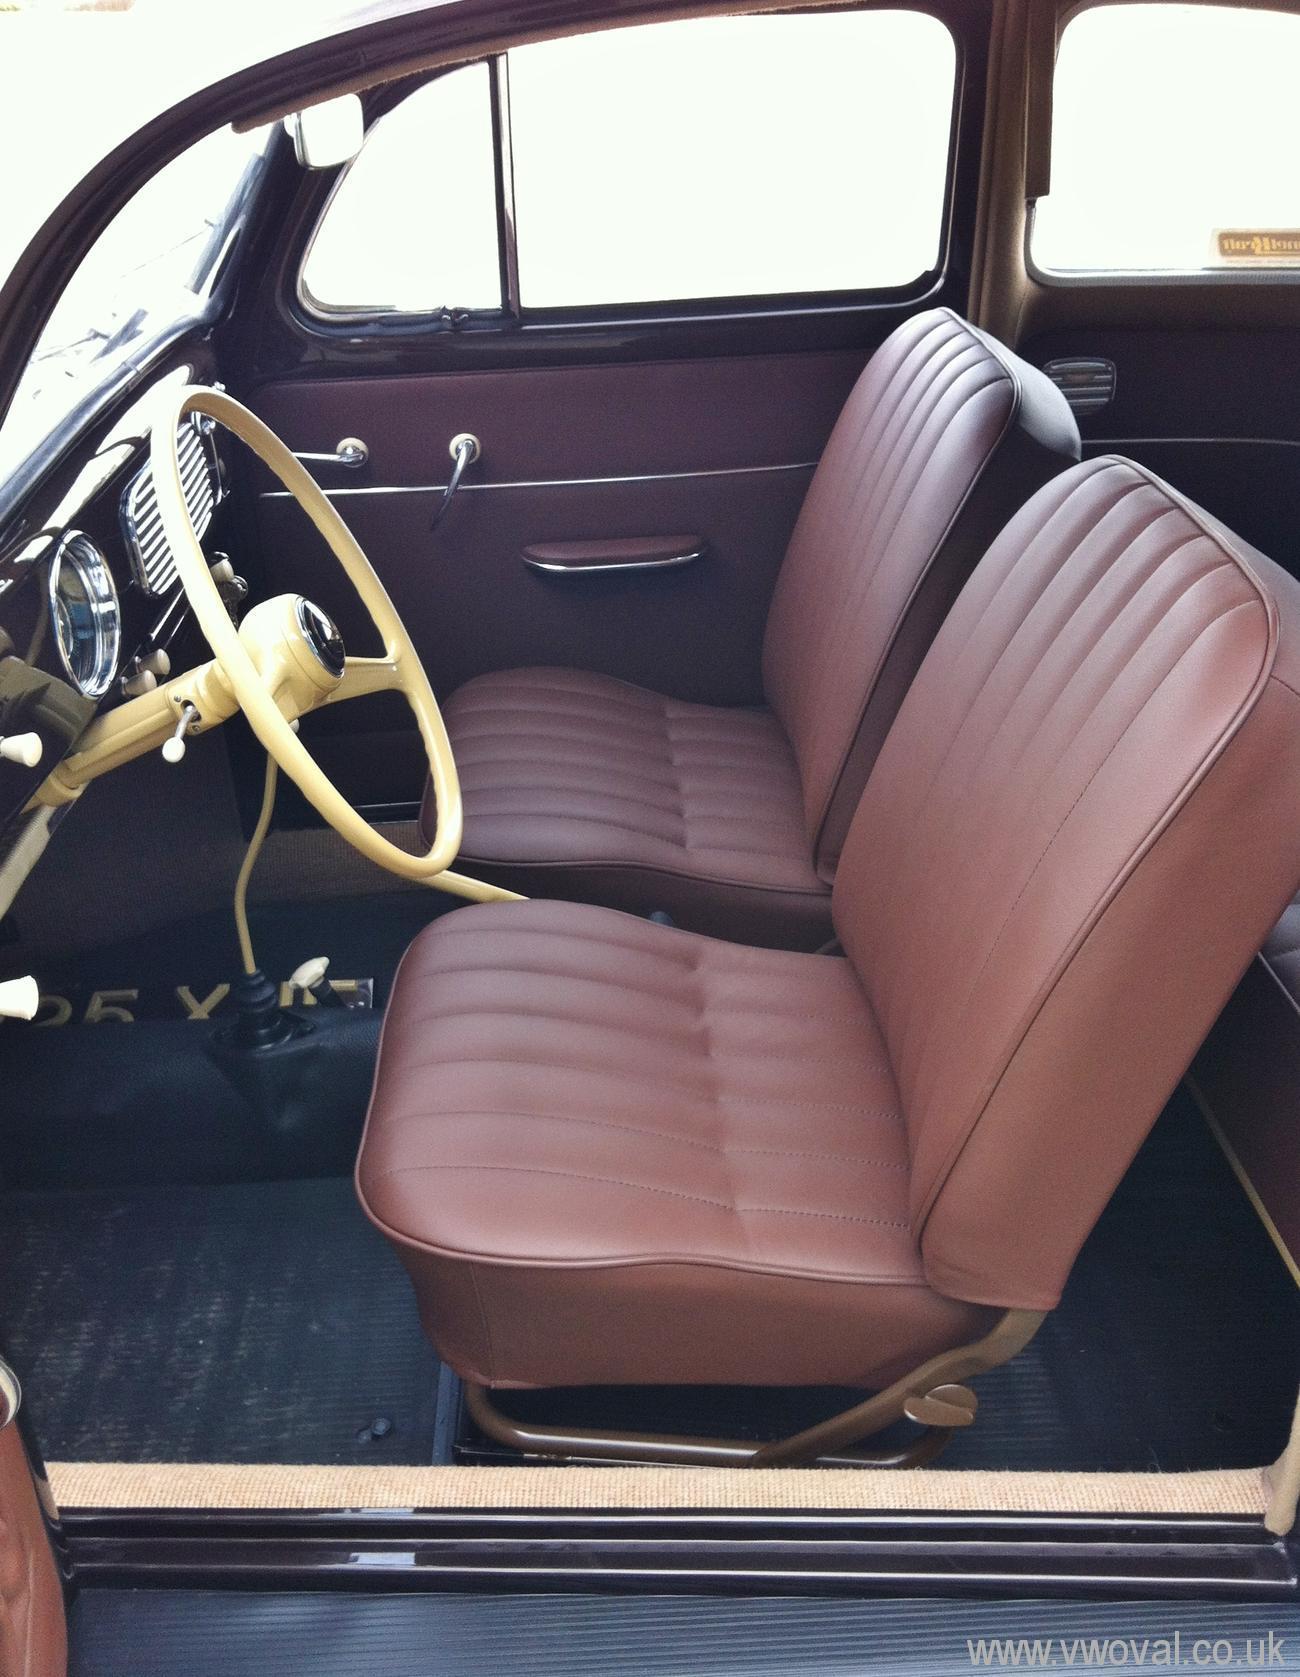
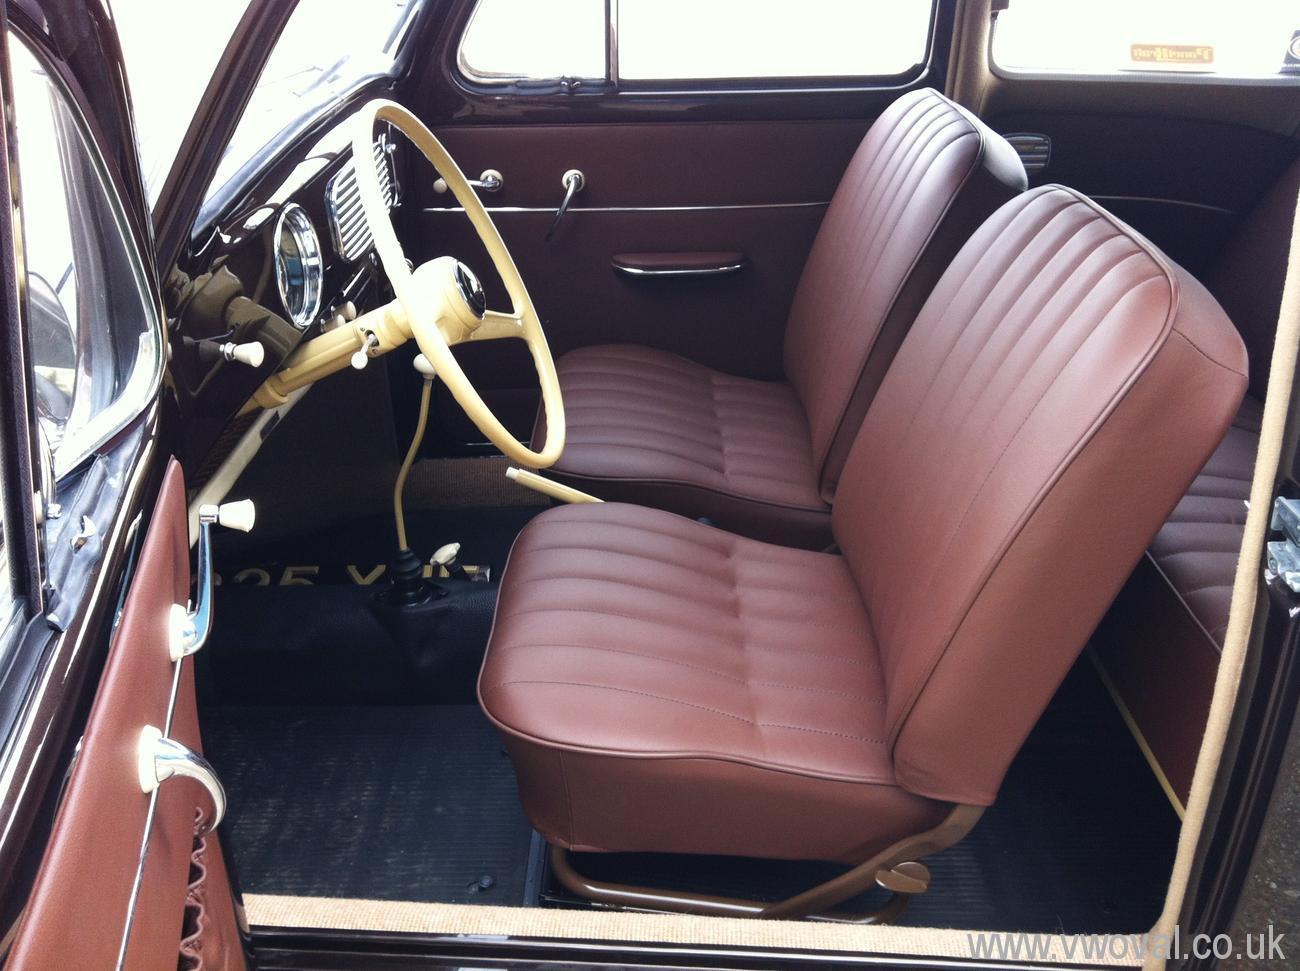
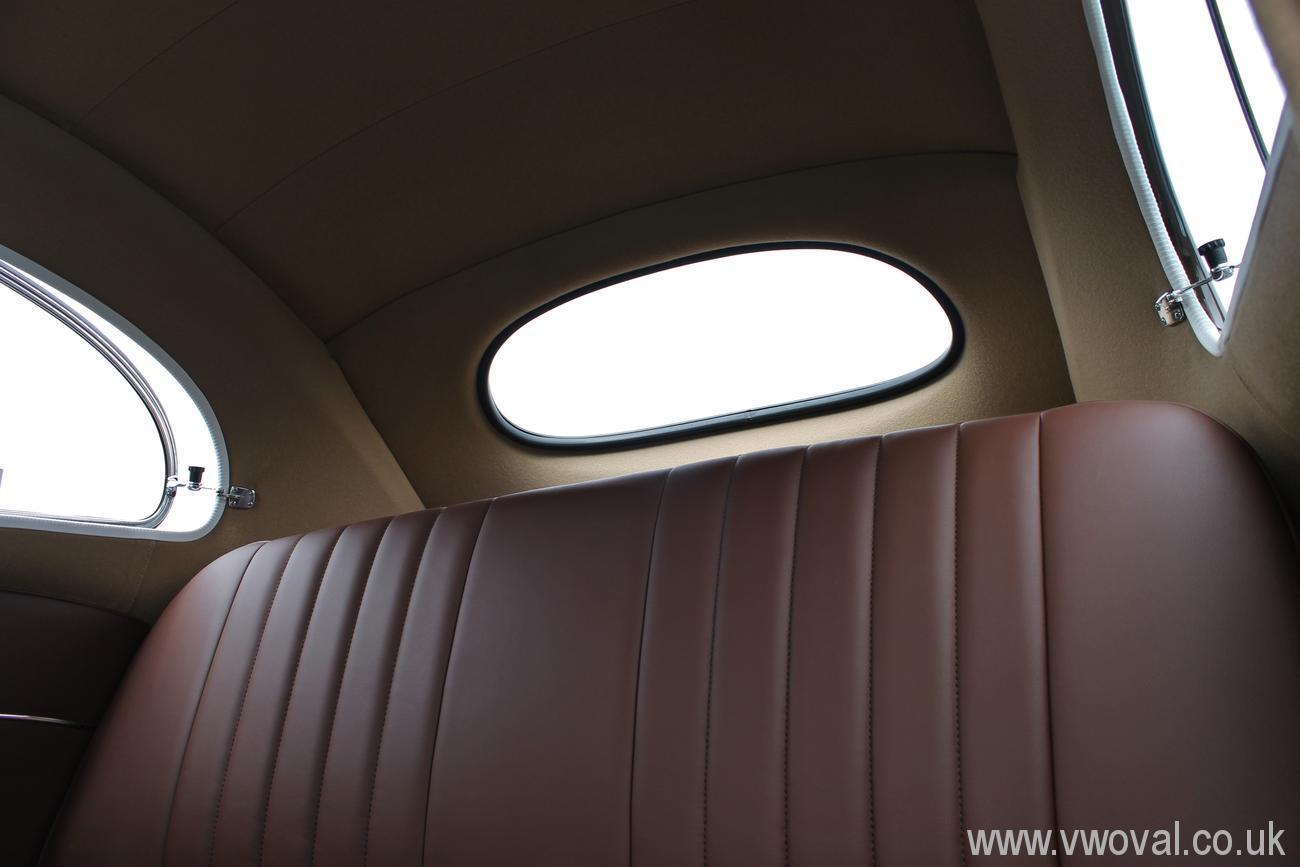
- 29/1/13 - The New Head liner is made,
ready to be fitted and the Carpets are being cut as I type.. Cant
wait to see them all fitted.
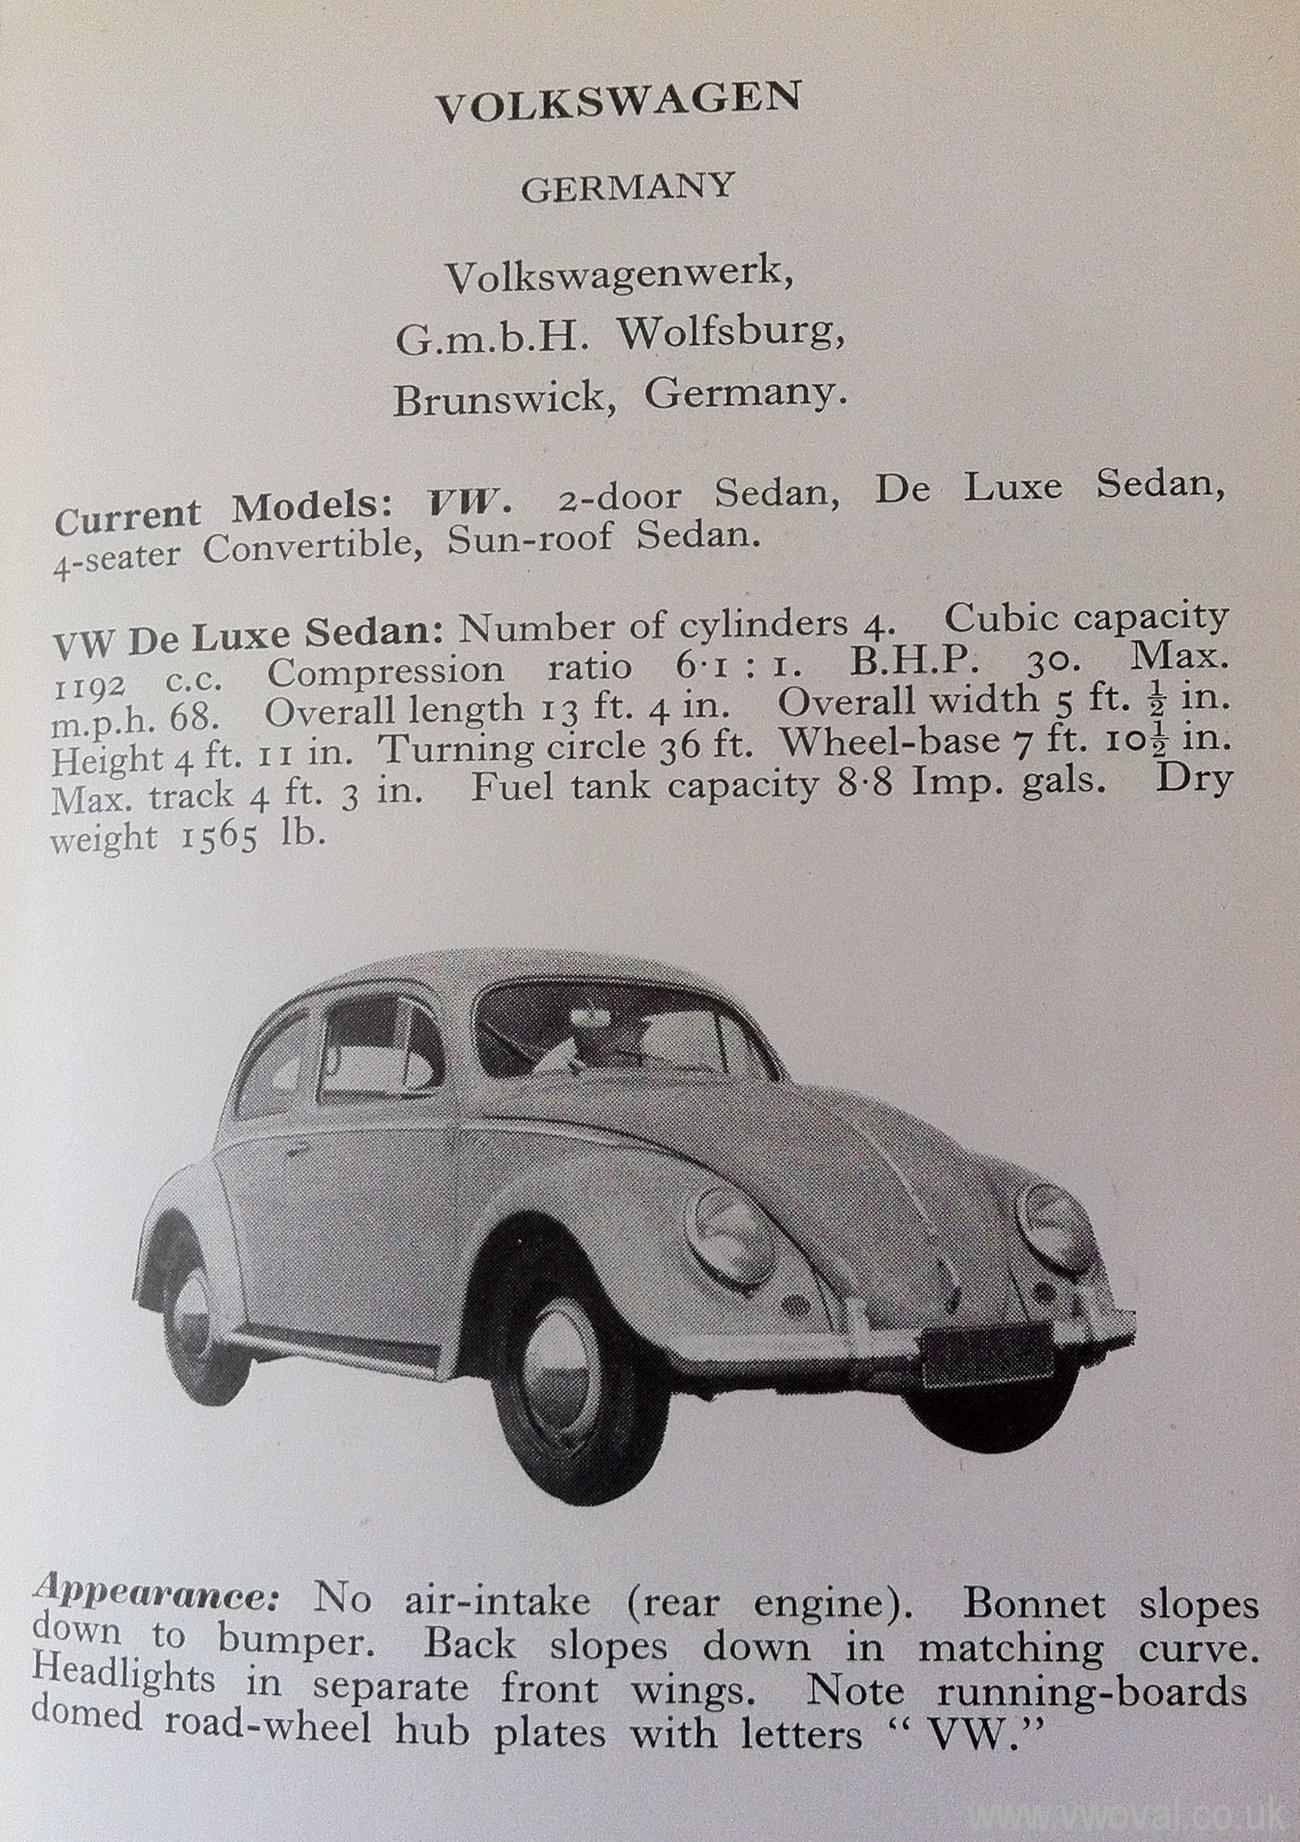
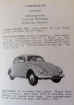
- I was looking through some old books the
other day... there was one with the Specification for all cars available in
1956. Its nice to see...
-
- 4/1/13 - The chrome parts have returned.
- 7/1/13 - I have just collected the
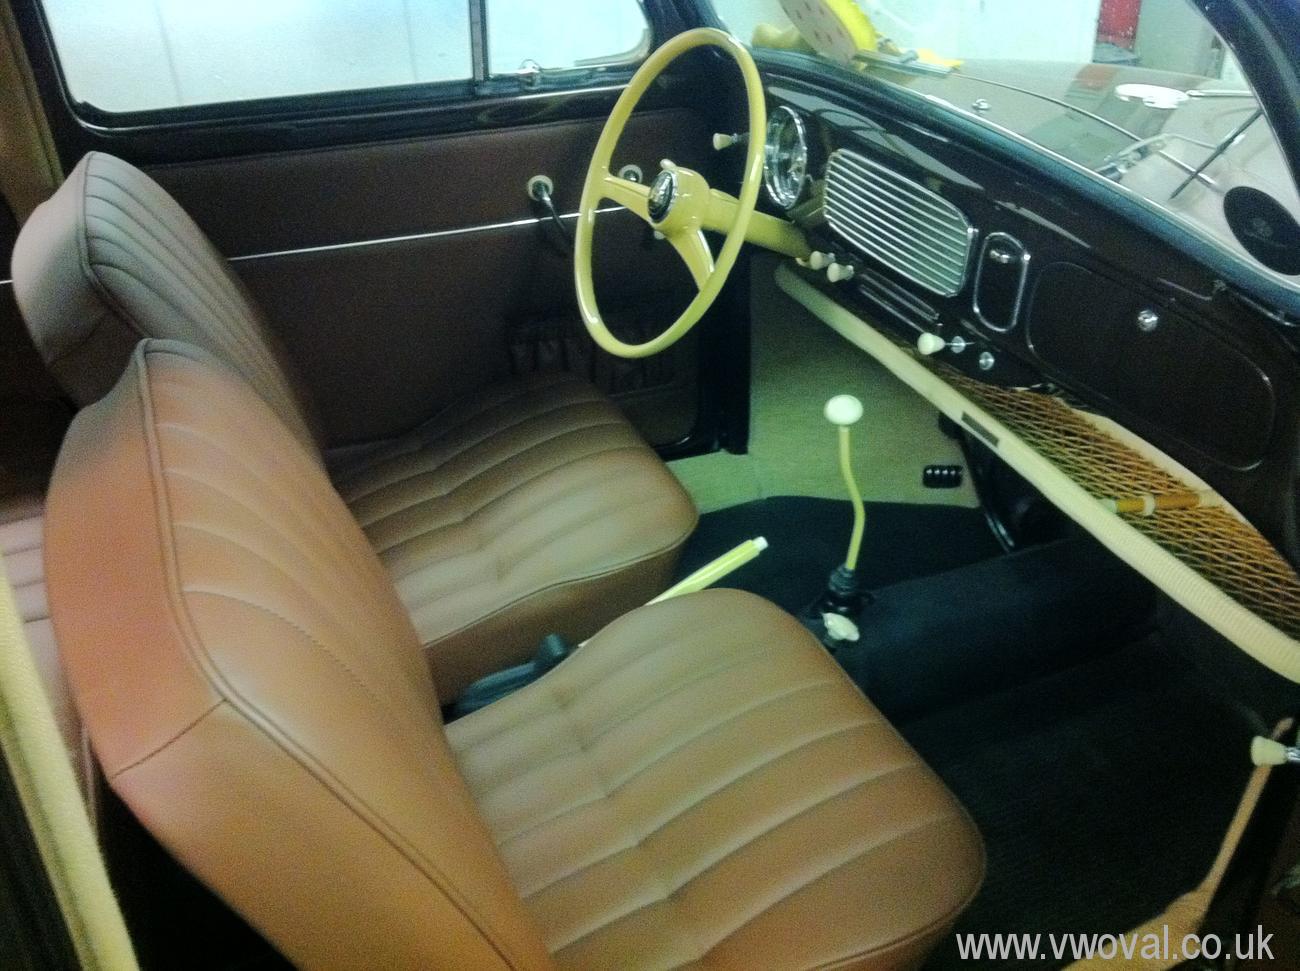
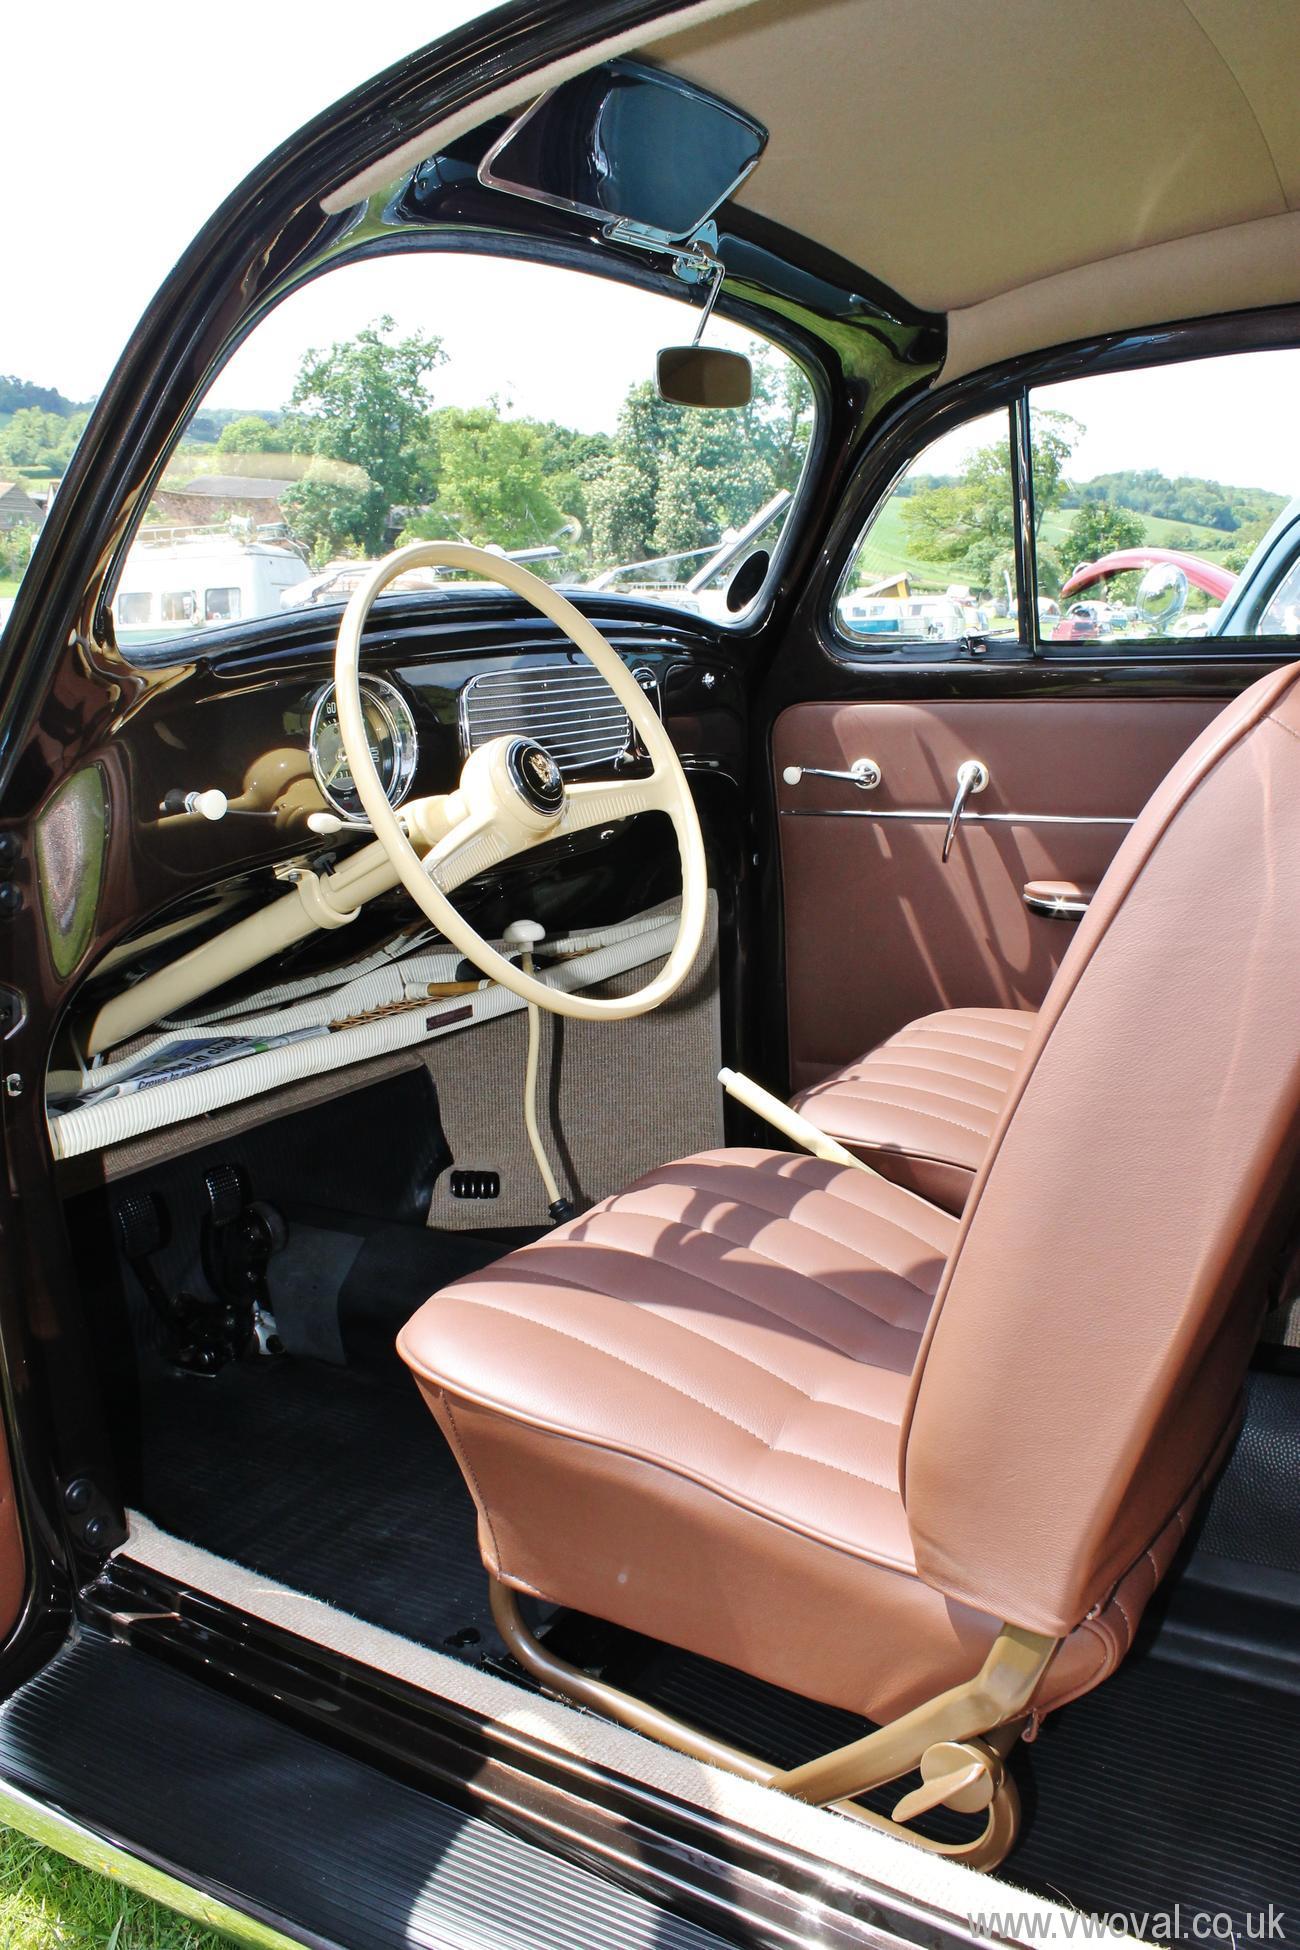
interior parts all shiny in Beige...
- 13th Feb 2013 - I got the call.. The
Headlining and carpets are fitted... I collected the car this afternoon from
Pete @ Delux Interiors in Dunstable - it looks amazing. - Thank You Pete. (
www.deluxvwinteriors.co.uk )
- Here is a sneak peek at the hand made
carpets with the original floor mats.
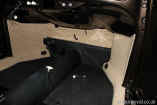
- And here a sneak peek at the hand made
headliner - amazing work.
- It looks very nice. I cant wait to see it
with the seats when they are finished.
-
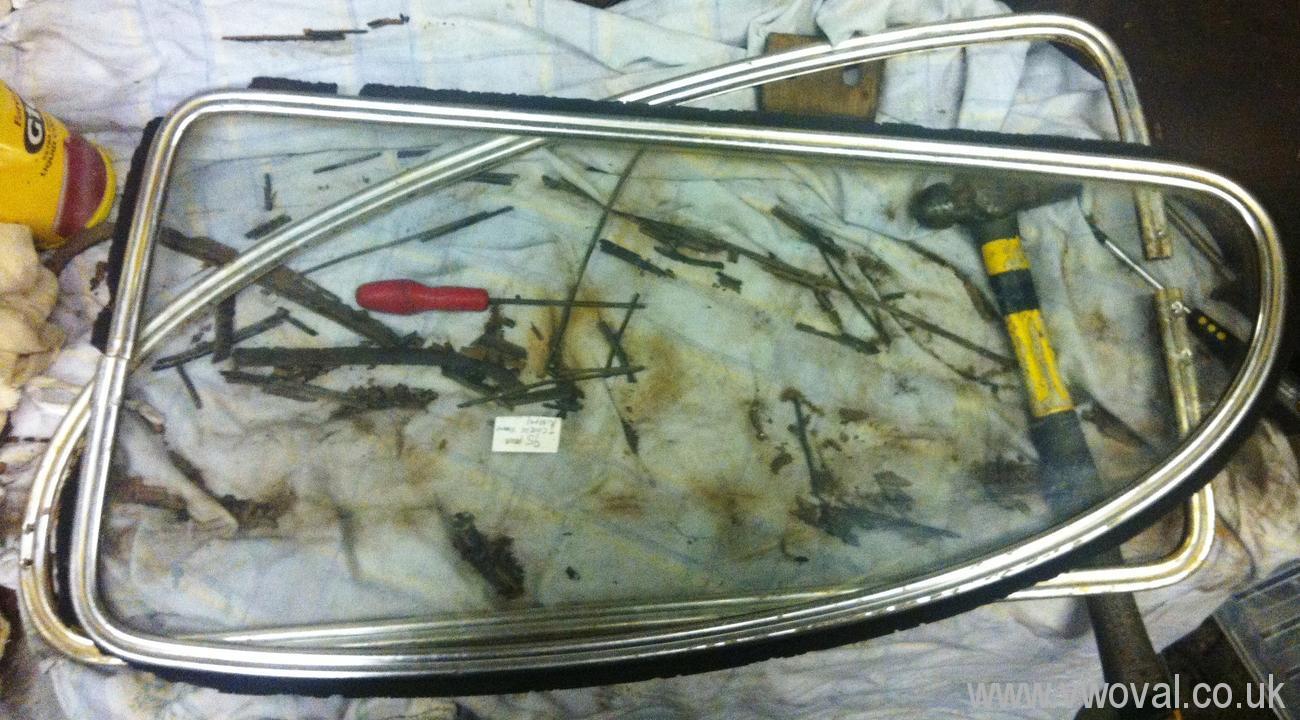
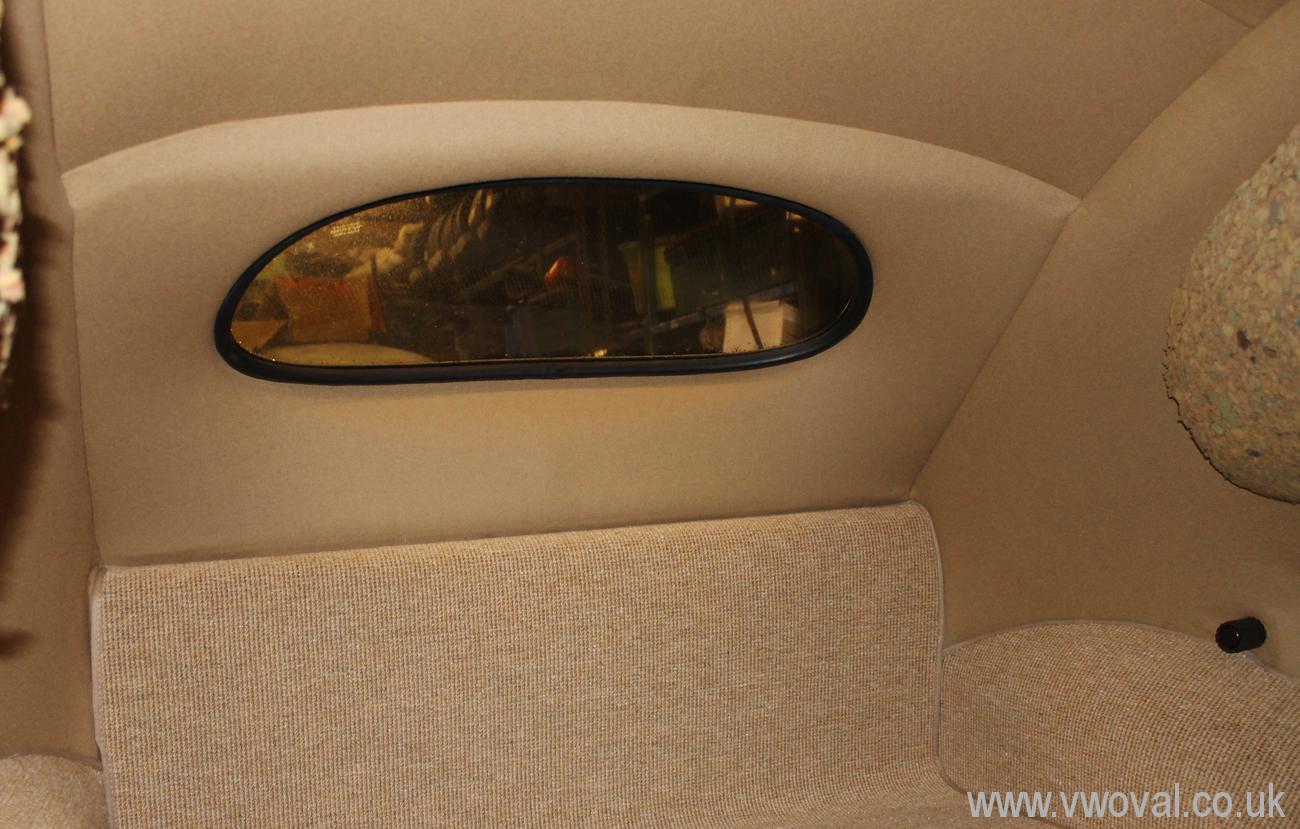
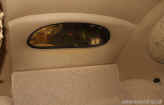
- Pete was also good enough to get a man in
to fit the glass screens front and rear after having finished the headlining
- thanks again Pete.
-
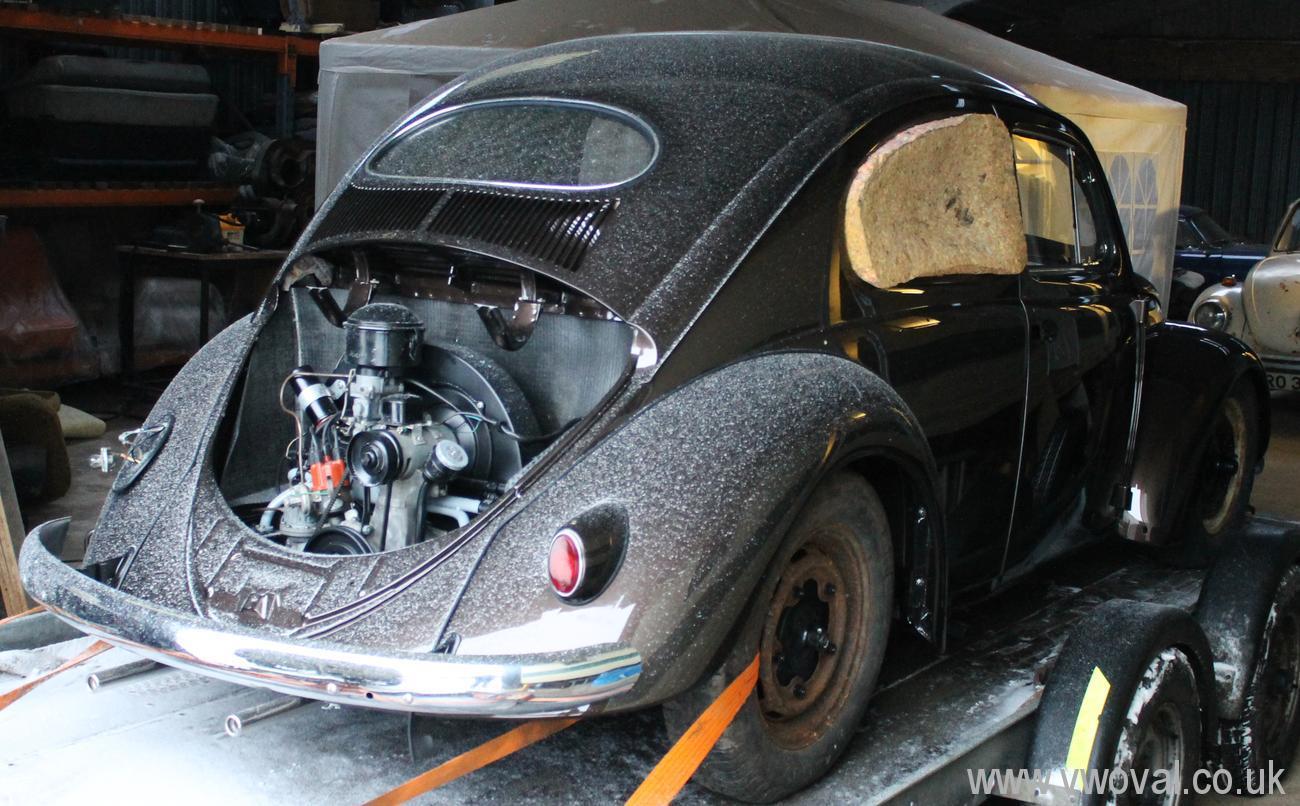
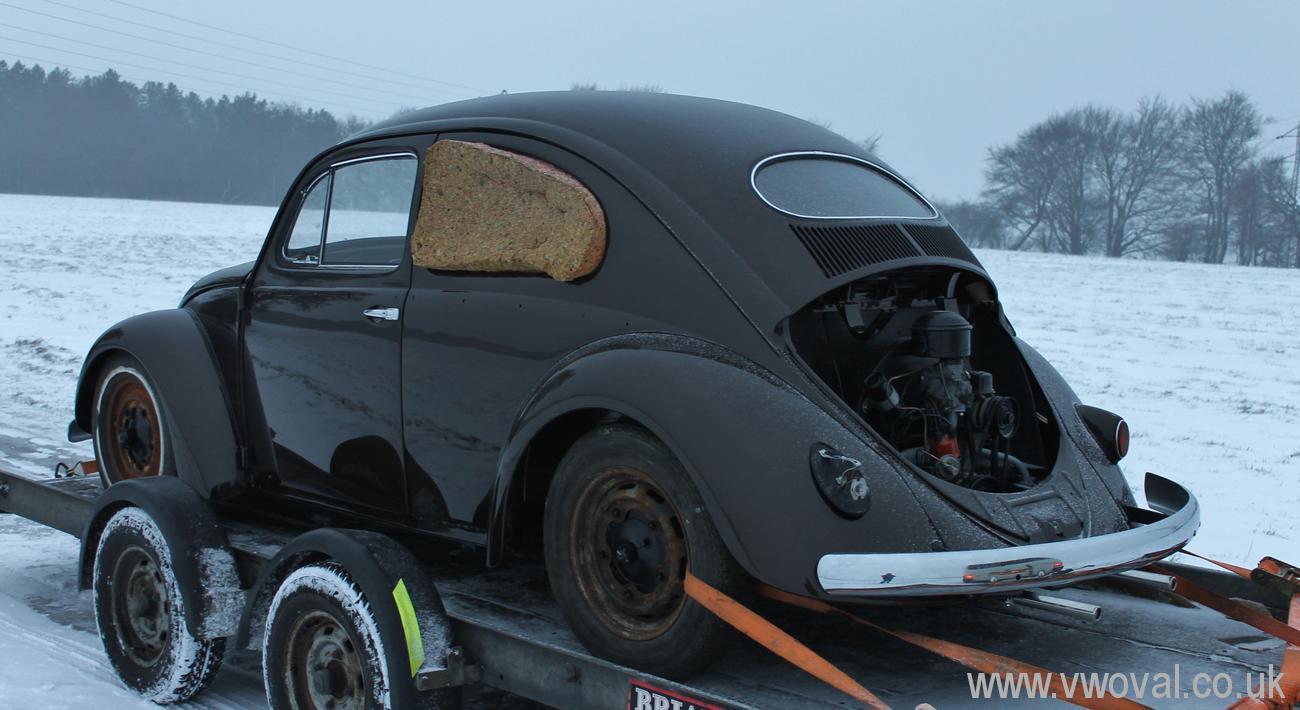
- As luck would have it, it again decided
to snow.. so we invented and made foam windows for the rear 1/4s to keep the
moisture off the new fabrics.

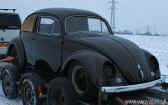
- These photos were taken whilst stuck in
the snow on Dunstable downs.. I got it moving eventually.

- Back home - ready for the final build.

- 14th - I fitted the freshly painted hand
brake lever tonight.
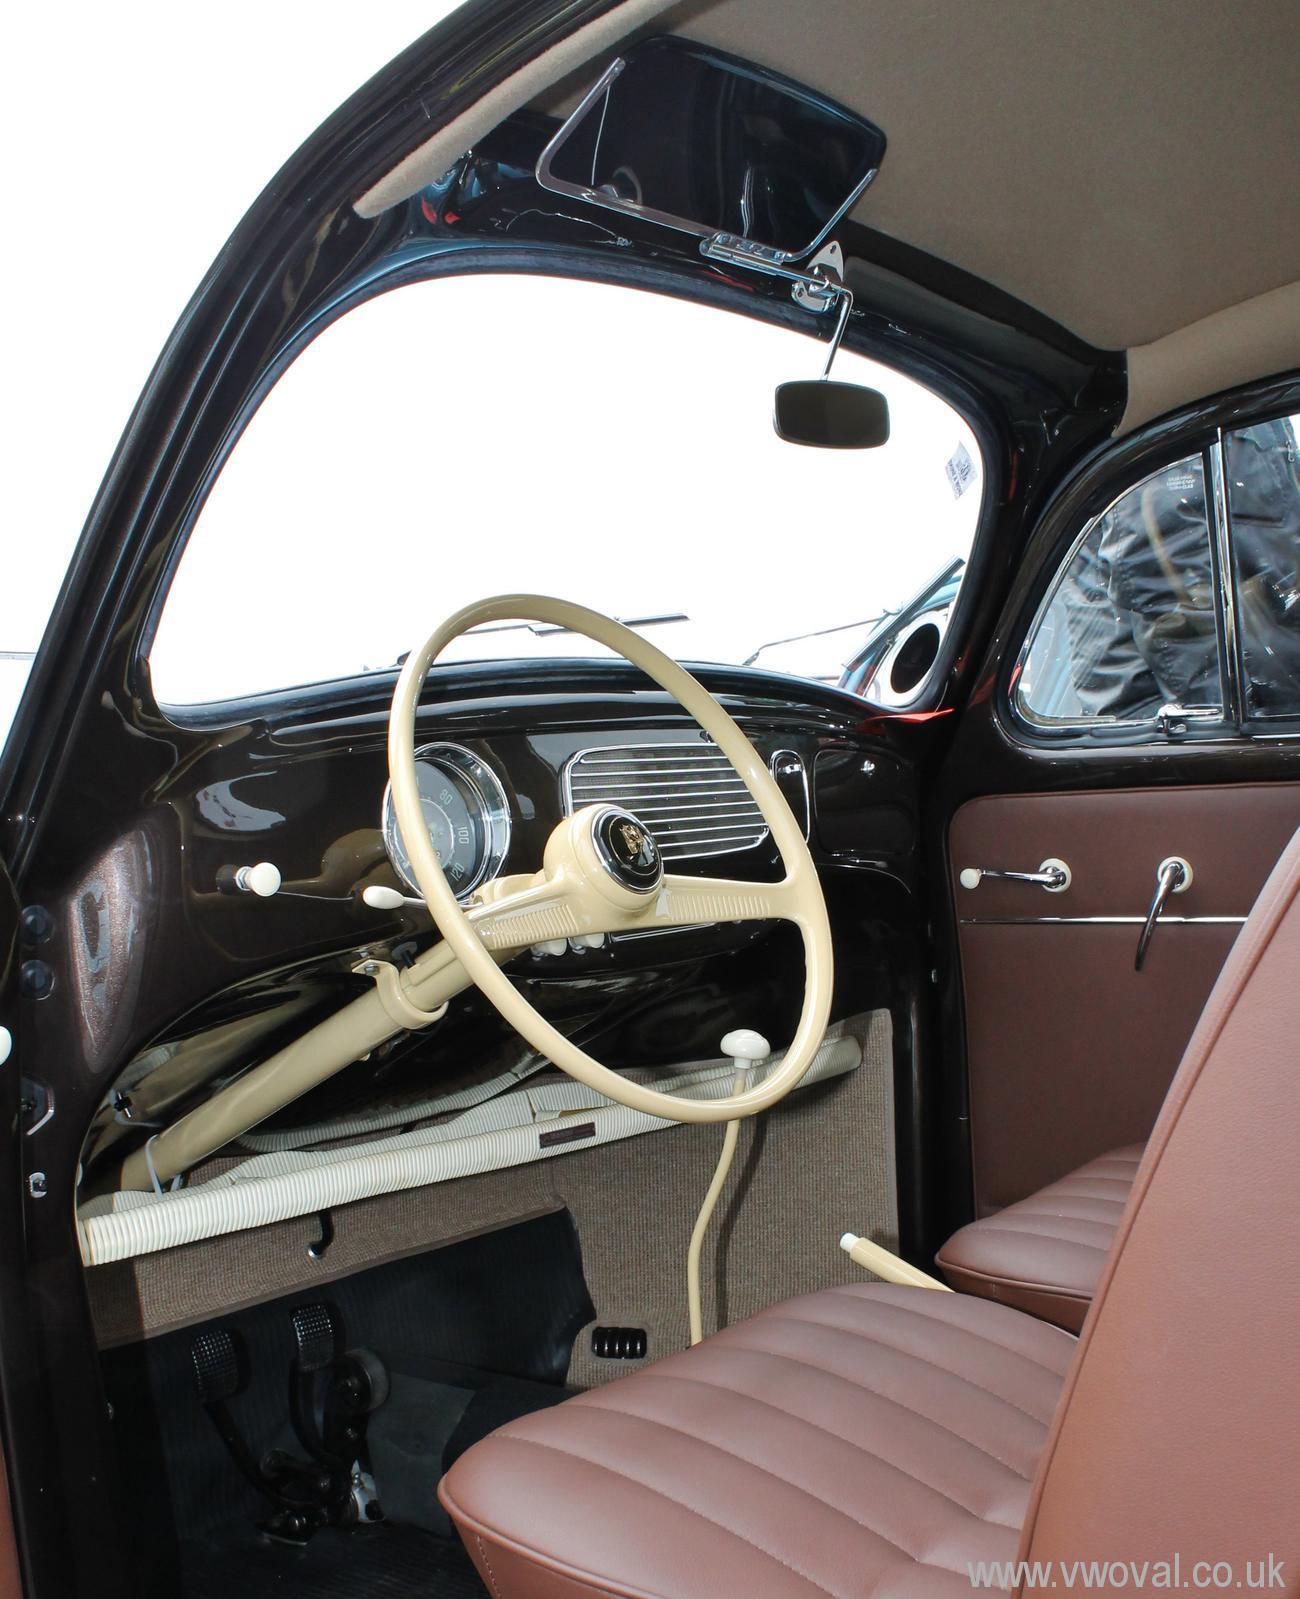
- 16th February - Dave and I spent most of
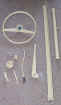
the day fitting up the steering column, trafficator / semaphore
switches and adjusting the tracking with a tape measure! We installed
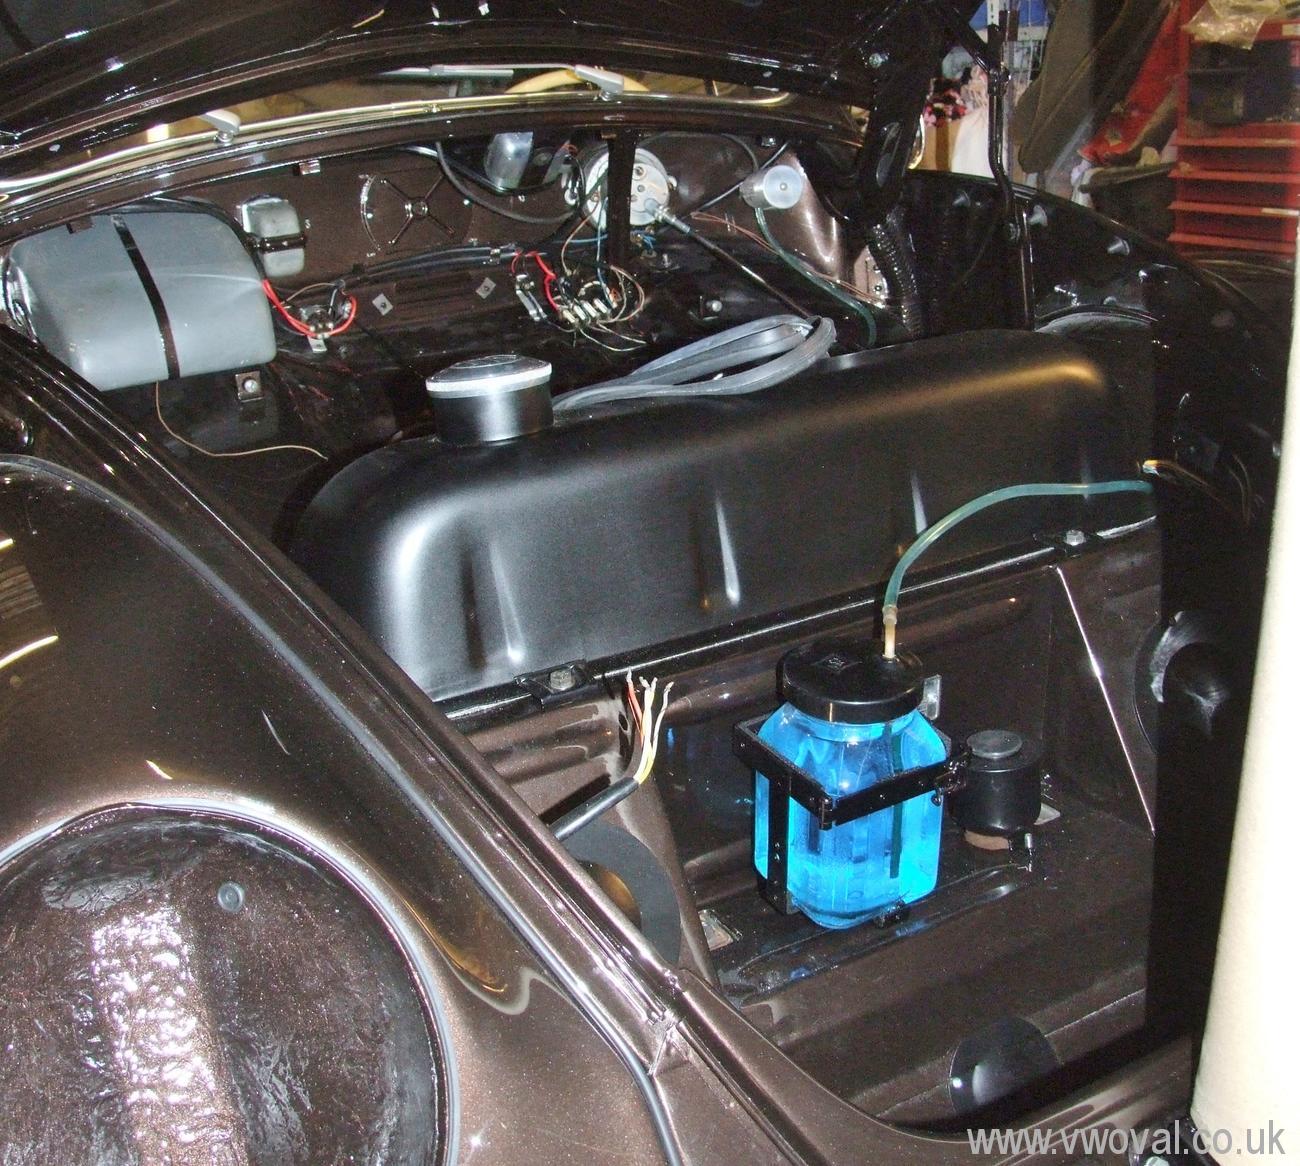
the replacement fuel tank (powder coated) and tinkered with the back
snowflake lights - its amazing how long it takes to build a car when it is
shiny!
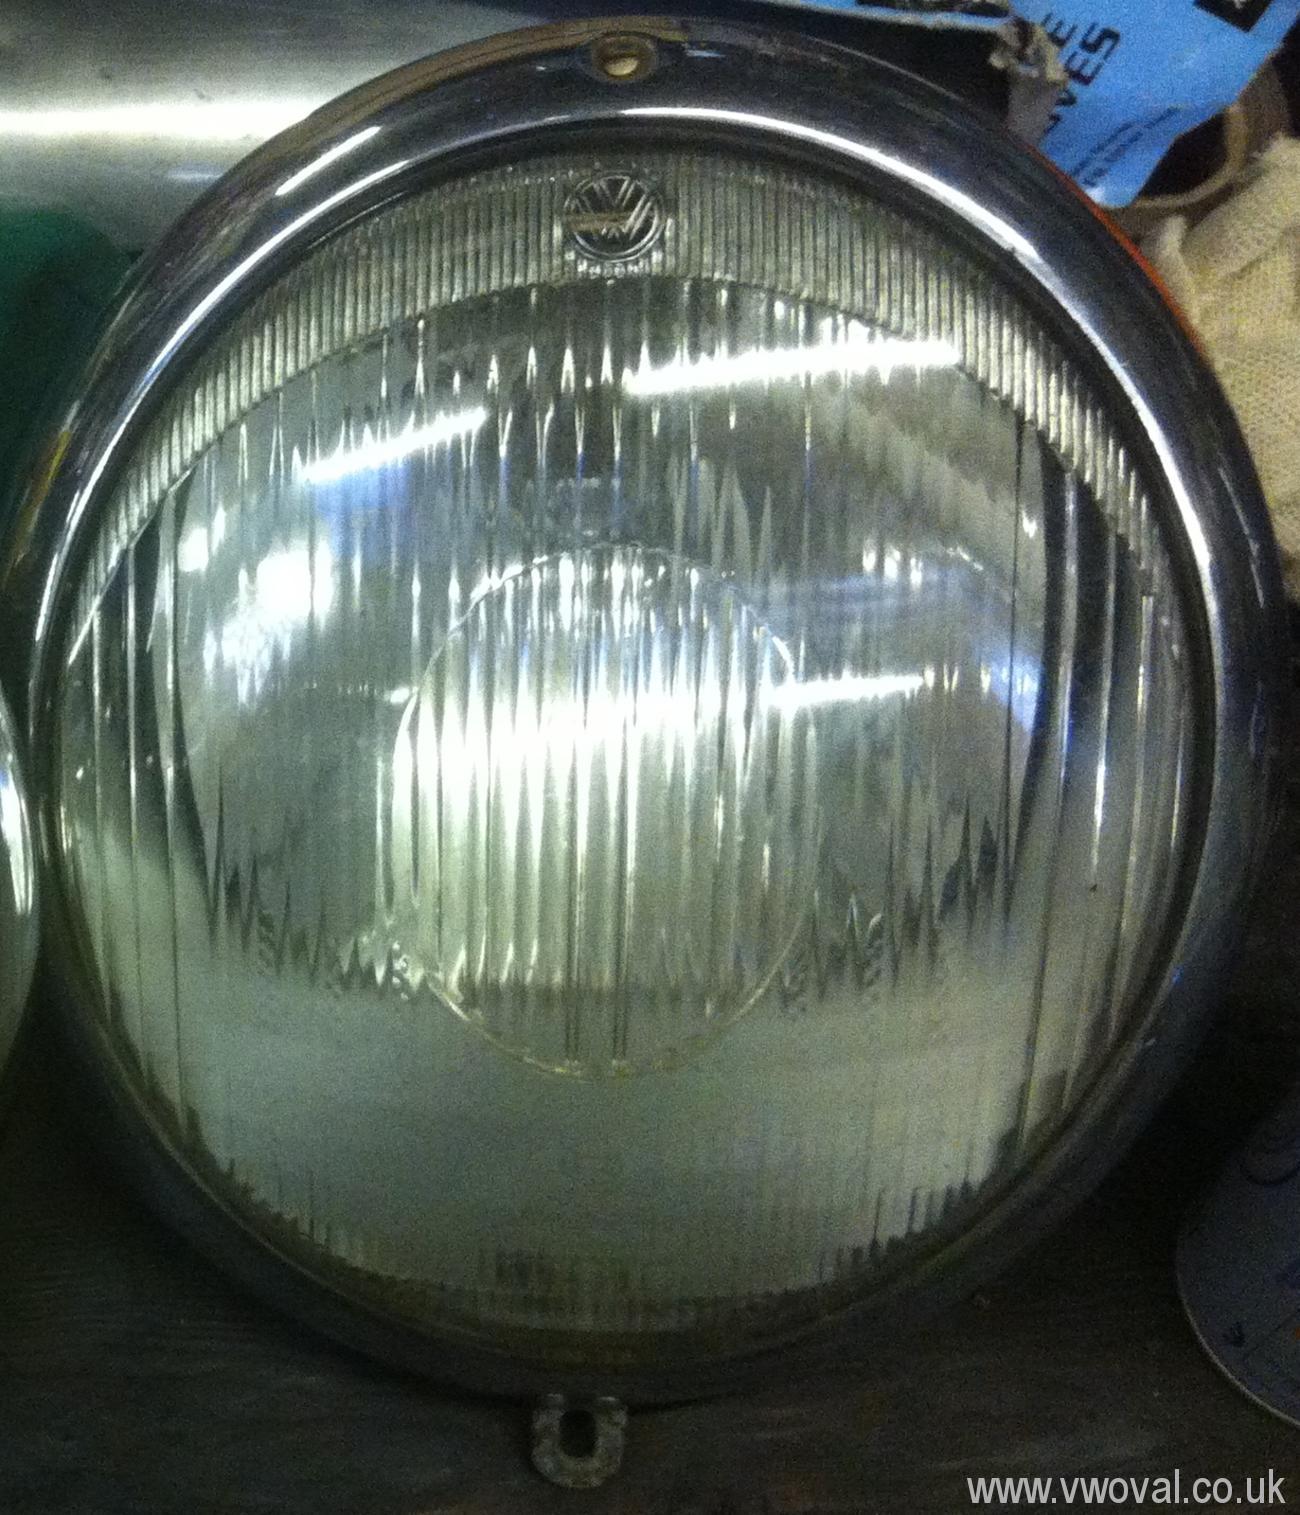
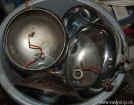
- This week I have Fitted the new stainless
side trim and new wiper arms, Tried out the new spot lights and brackets,
drilled the headlight bowls for the cable tubes, Fitted running boards,
attached over riders - there are lots of battles along the way with repro
parts just not fitting.
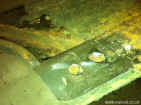
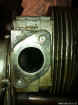
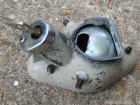
- Thursday 21st Feb - I fitted the newly
chromed door handle, I put half a gallon of petrol in the tank... it
poured out over the floor... The fuel tap appears to have given up on me! Look
inside ad you can see why!

-
- So
I ran the engine to drag some of the new fuel through so as not to completely
waste it... before it all ended up on the floor .. the engine sounds lovely
and is starting nicely....
- Video -
![]()
- however, I now have a huge puddle of oil on the
floor.. the new flywheel oil seal seems to have failed... :(
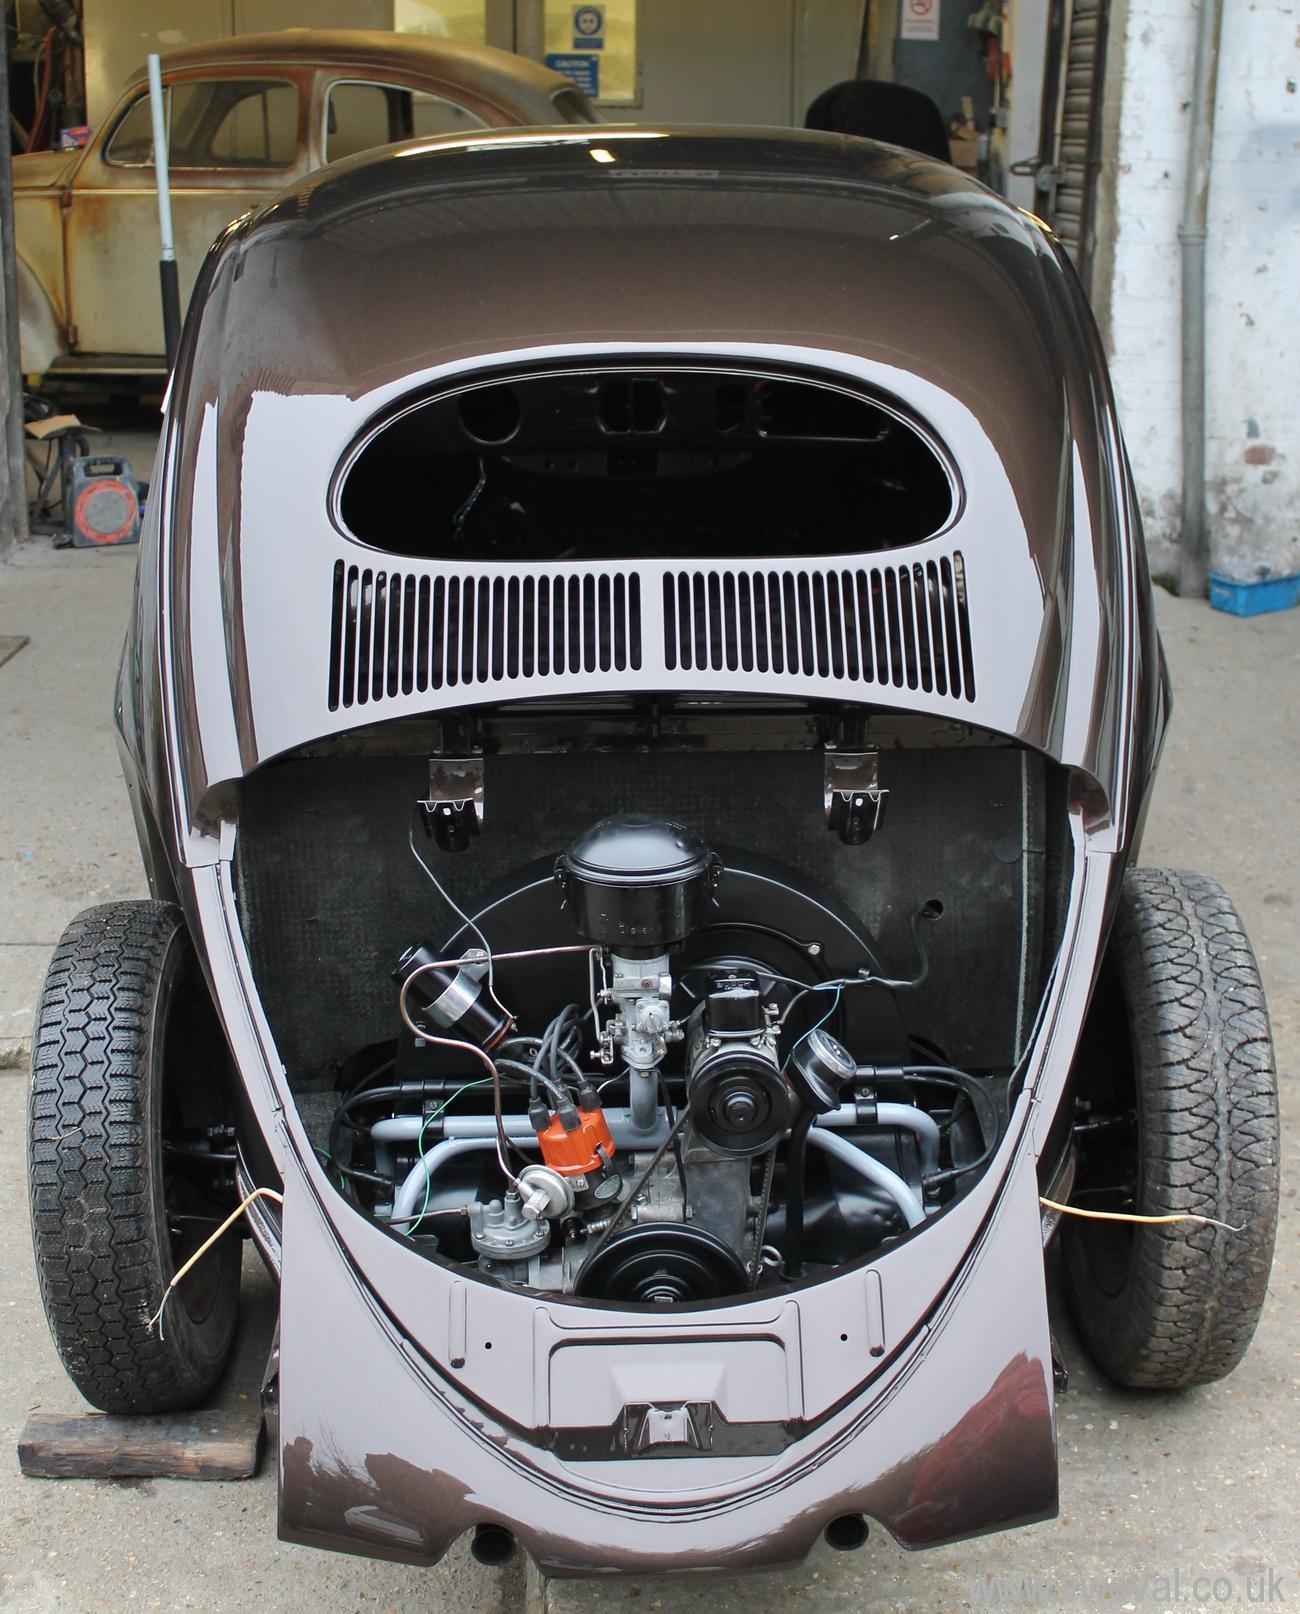
- Whilst the engine was running I checked
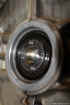
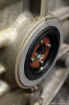
the Venturi ring on the fan shroud -
- I have plumbed in the SWF washer bottle
and dash mounted pump.

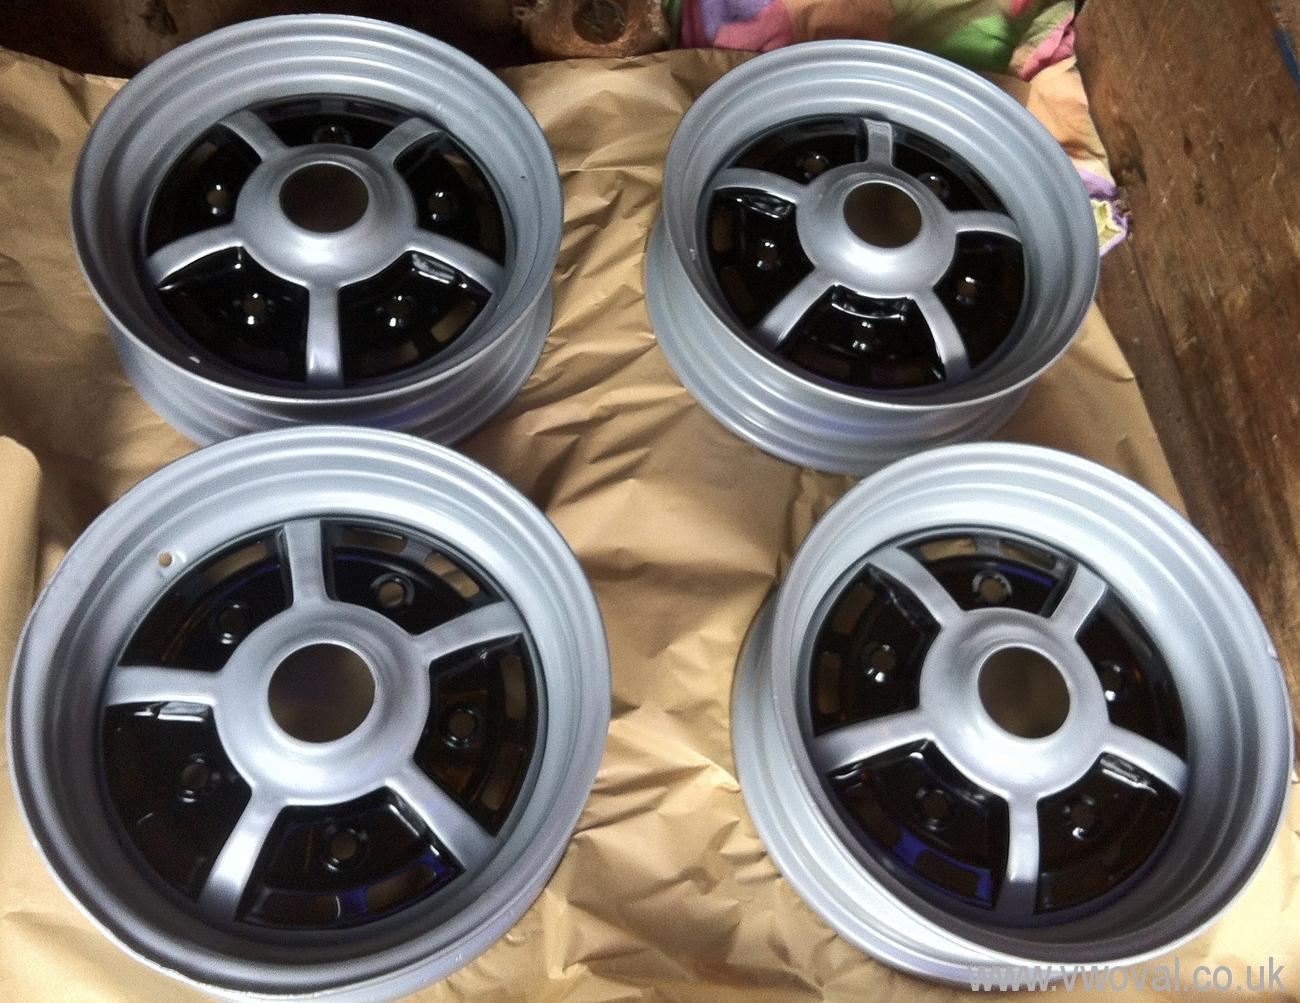
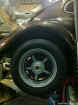
- The wheels are back from Mark the powder coater - lovely... just
need detailing now...
- Friday 22nd February - A trip to Karmann Konnection for a Fuel tap and a
few other bits... and a trip to a local chromer.. a different one to last time... so see if we
can get better results! This time with spot light parts...
- Saturday 23rd I got a little bit done.. new fuel tap installed
- Gear lever installed..
- The car is so dirty, I cant wait to get it out and get it clean! But
I need to finish the pop outs so it is water tight...
- 2 Weeks before Volksworld Show 2013 - Its
raining... time for a wash...

- Still more little jobs going on, but the
one I really didn't want to do... 10 days to go...
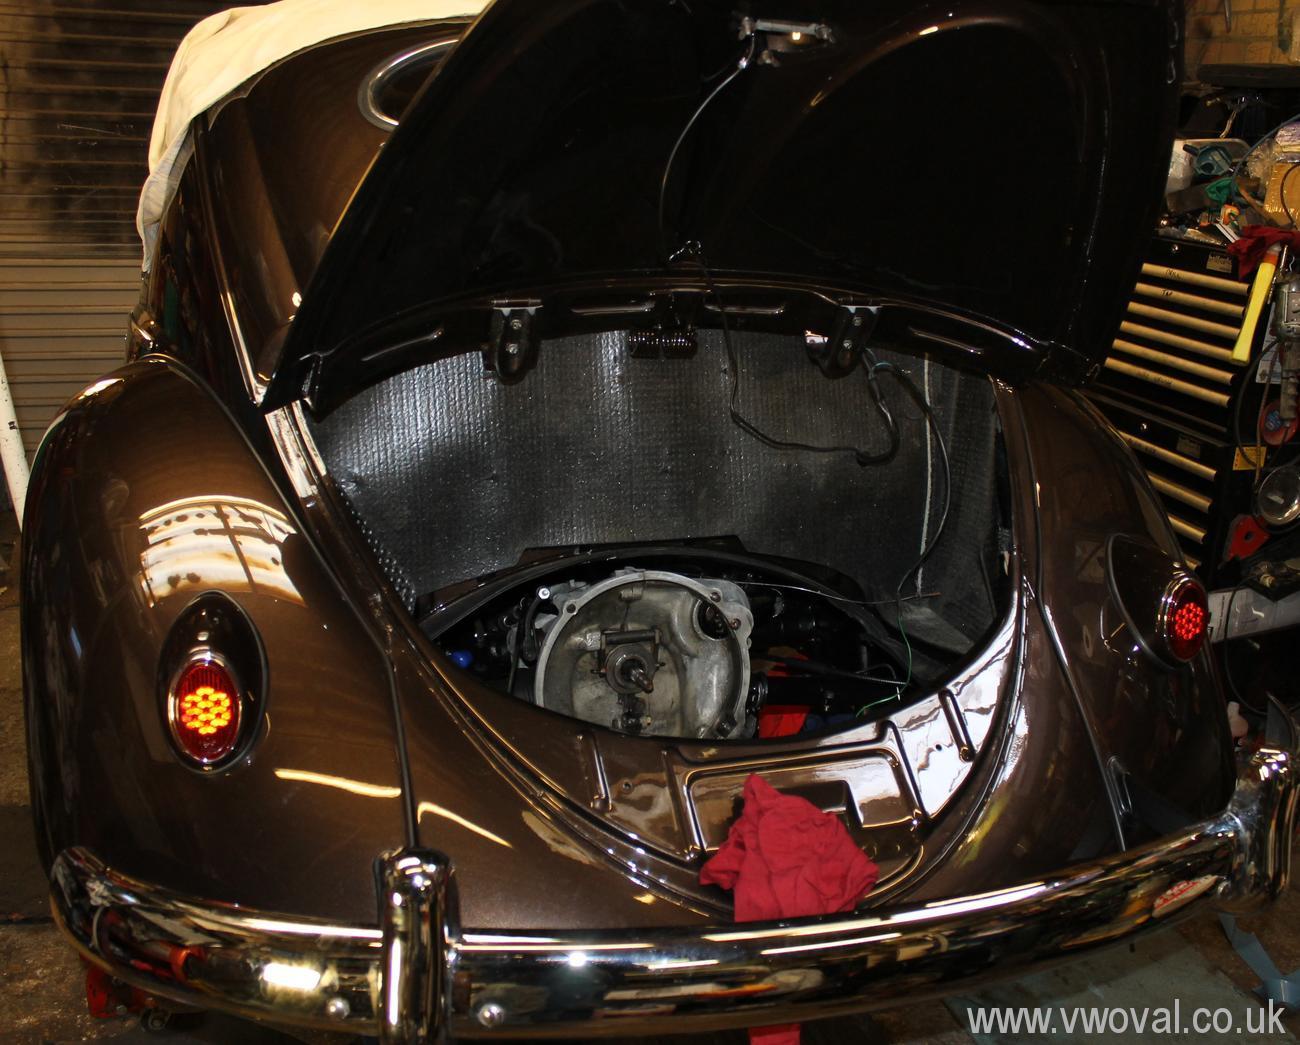
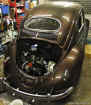
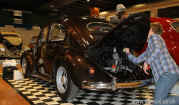
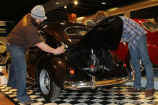
- Engine out time... the new Flywheel oil
seal is pouring out oil...
- We took the engine out (very
gingerly)...
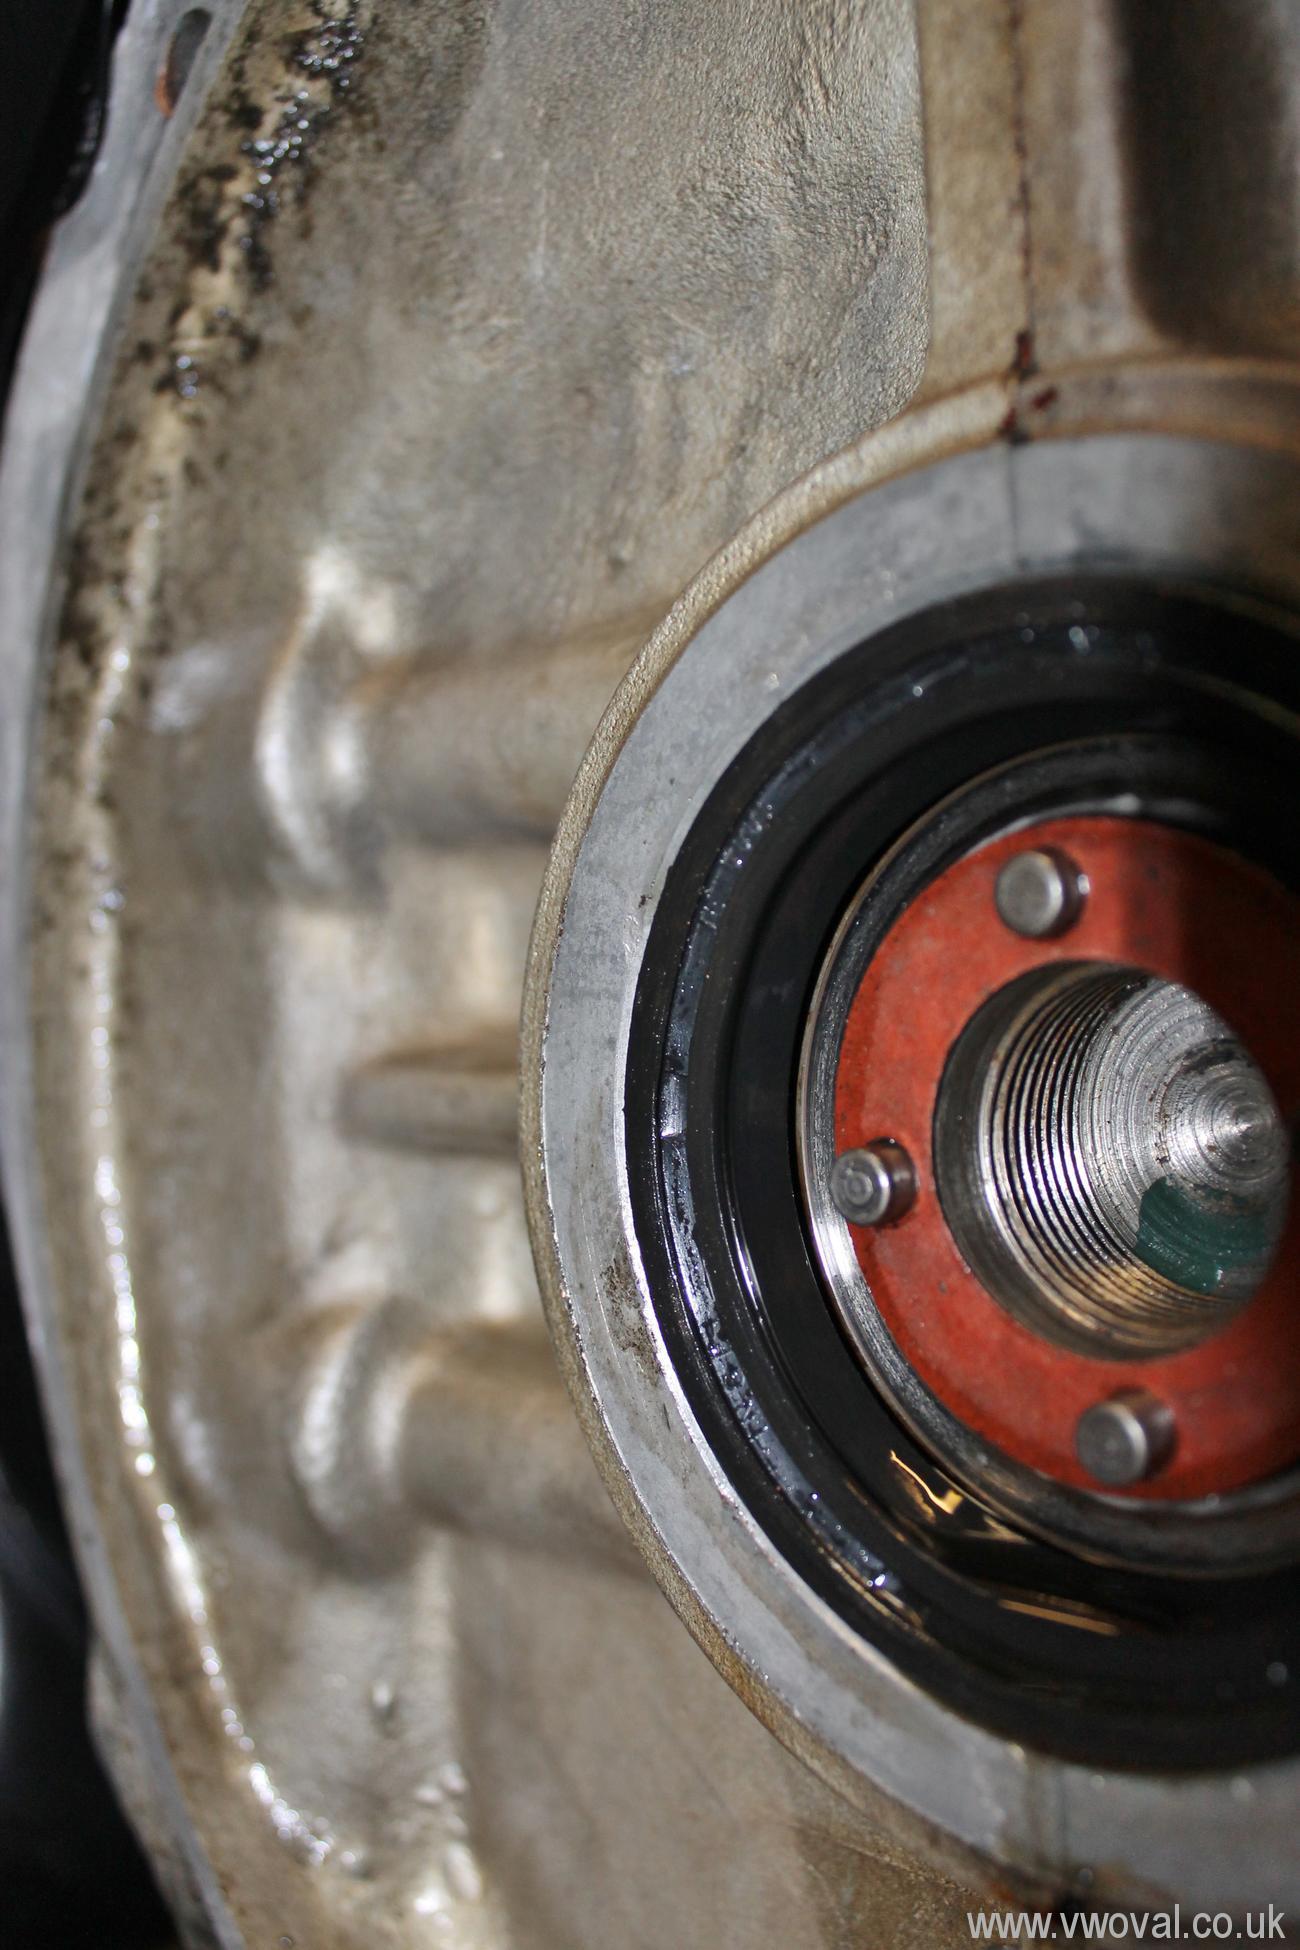
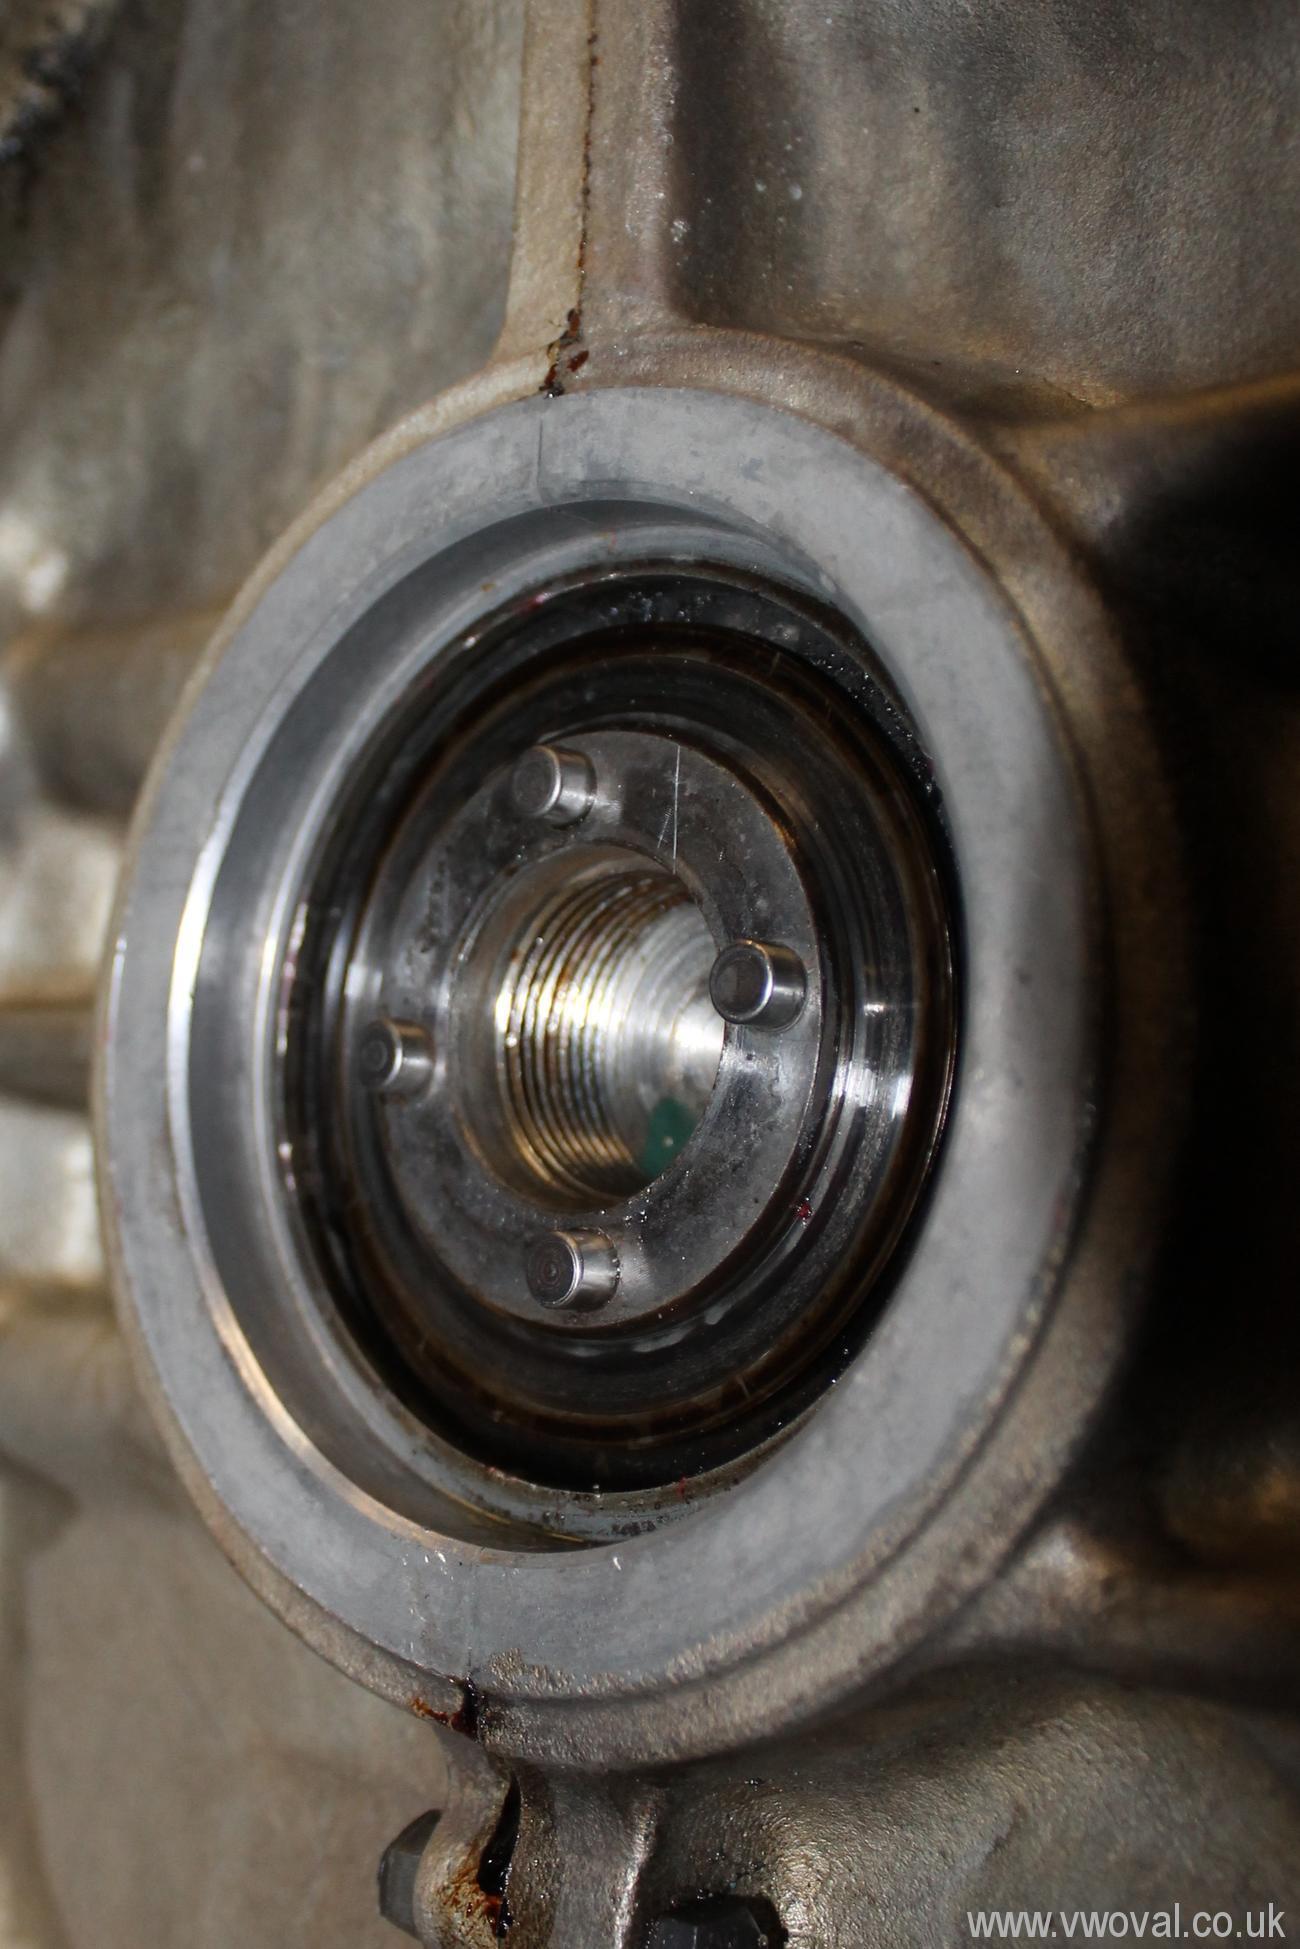
- the only obvious problem is the new seal
itself doesn't appear to be sitting flat... you can see it is sloping
inwards...

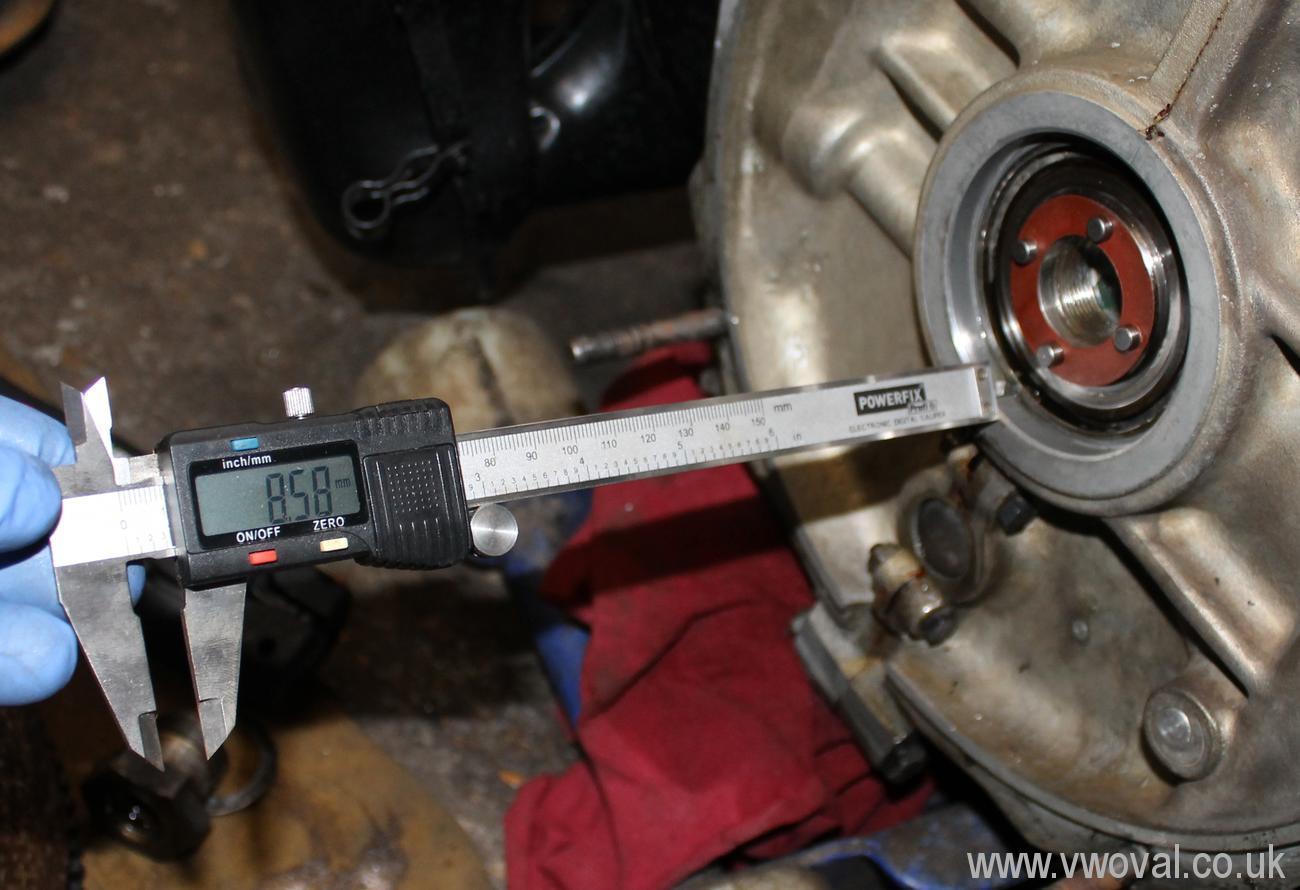
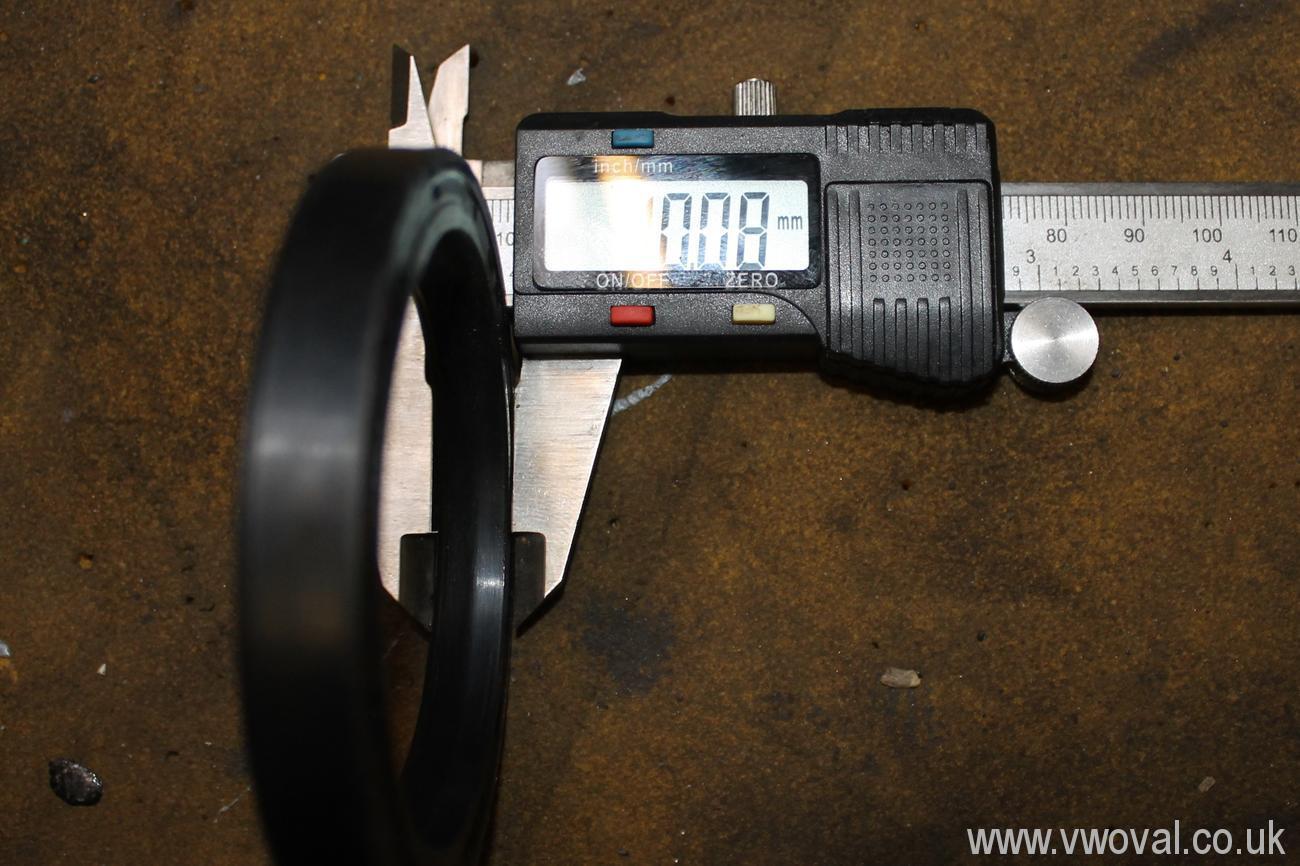
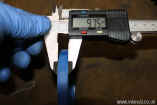
- I had a look and a measure and although
all the books say the seal should sit flush with the case... it seems
impossible.. the gap is 8.5mm

- But the flywheel oil seals are - 9.75 or
10.8 mm deep...
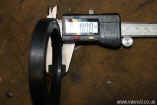
- So it needs to sit proud of the
surface...
- Lets hope this one works ok... I
tried to fit the blue "genuine" seal... but it just puckered
up...
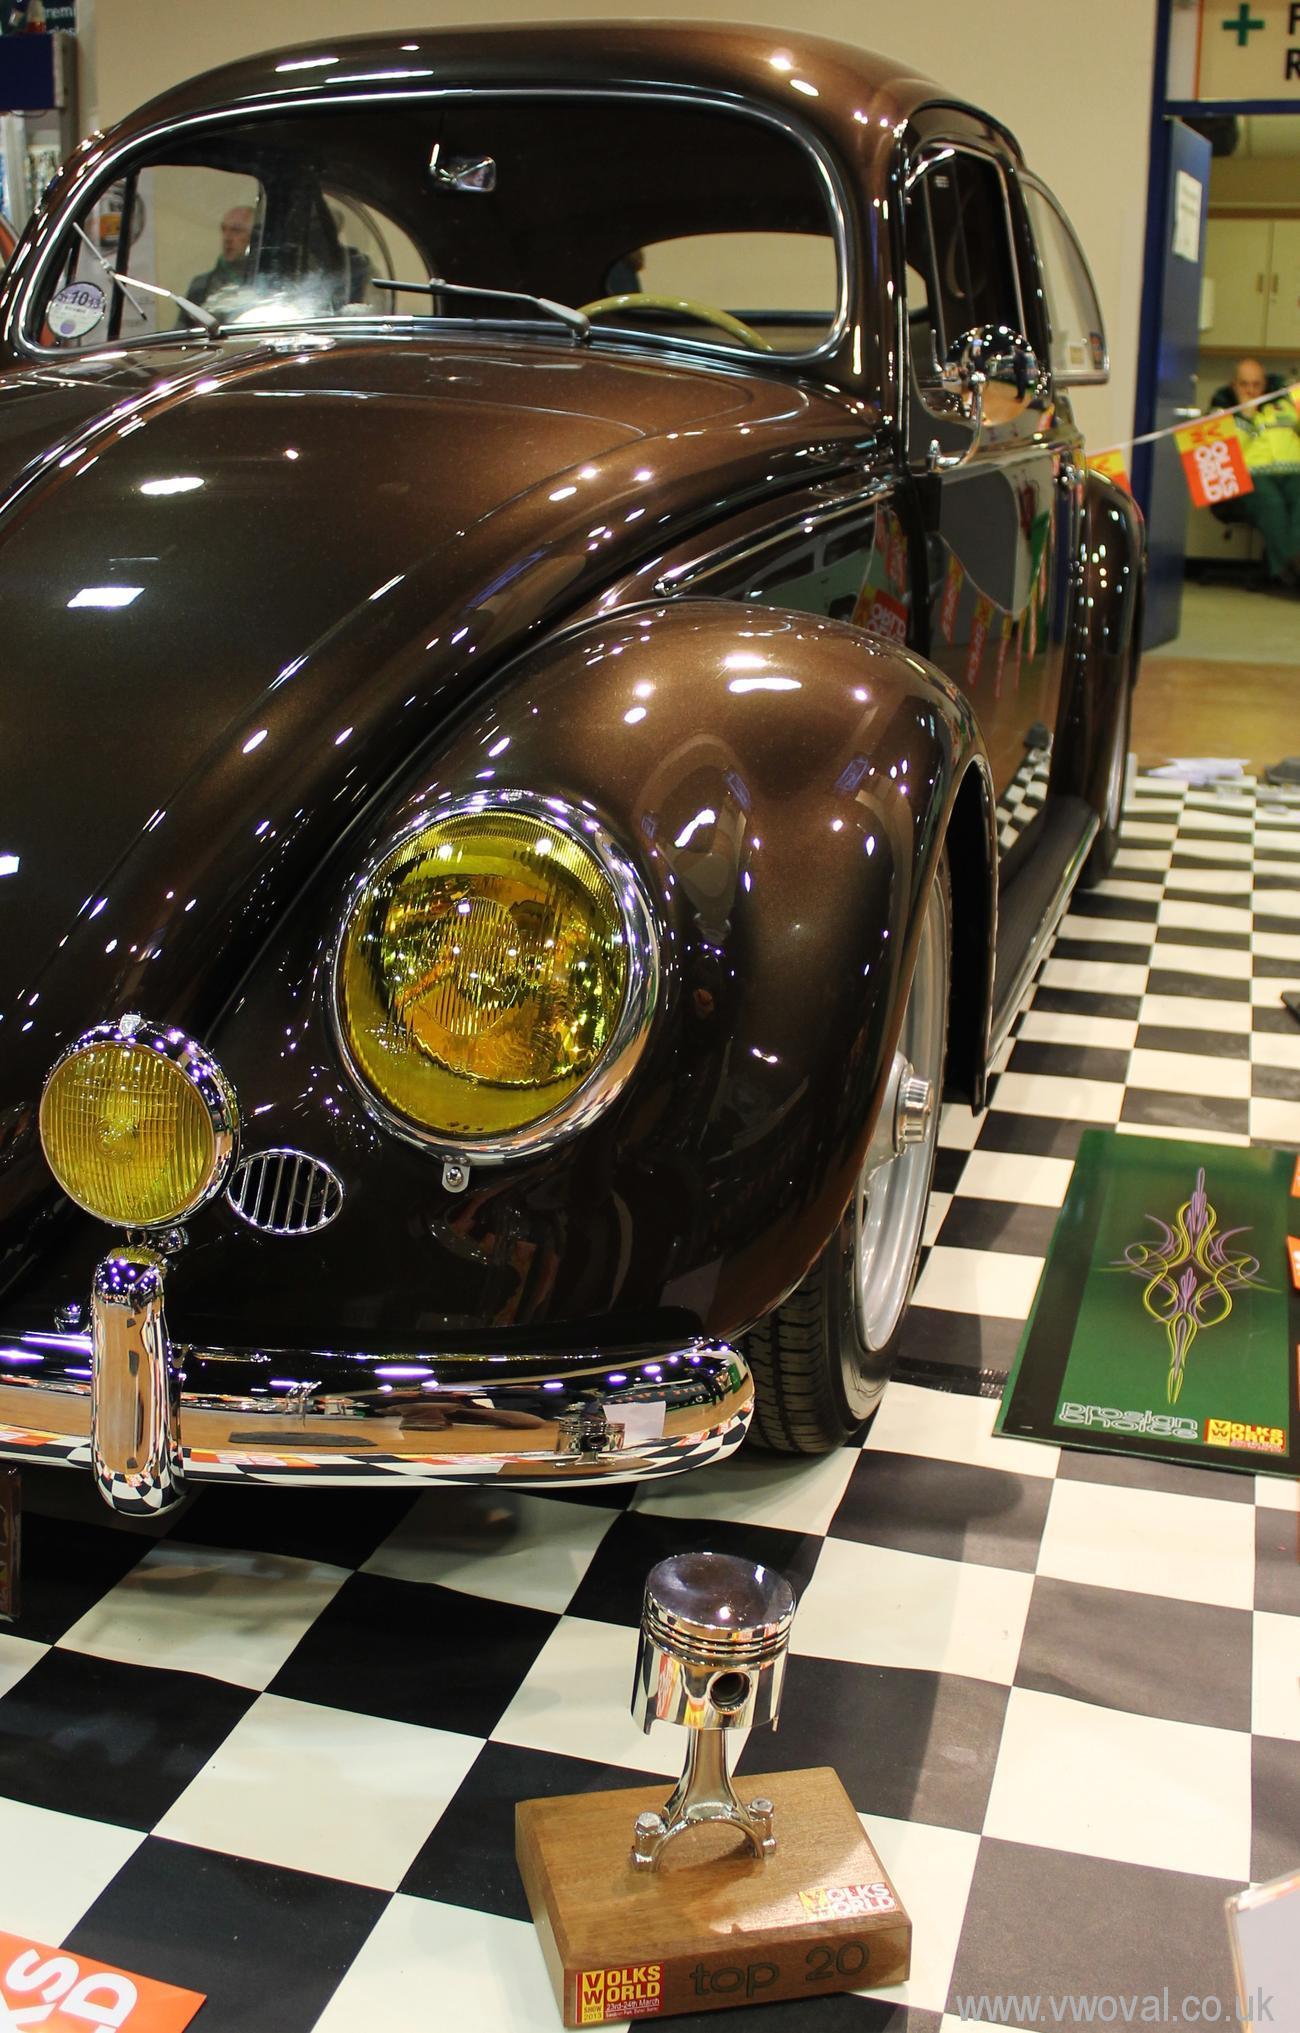
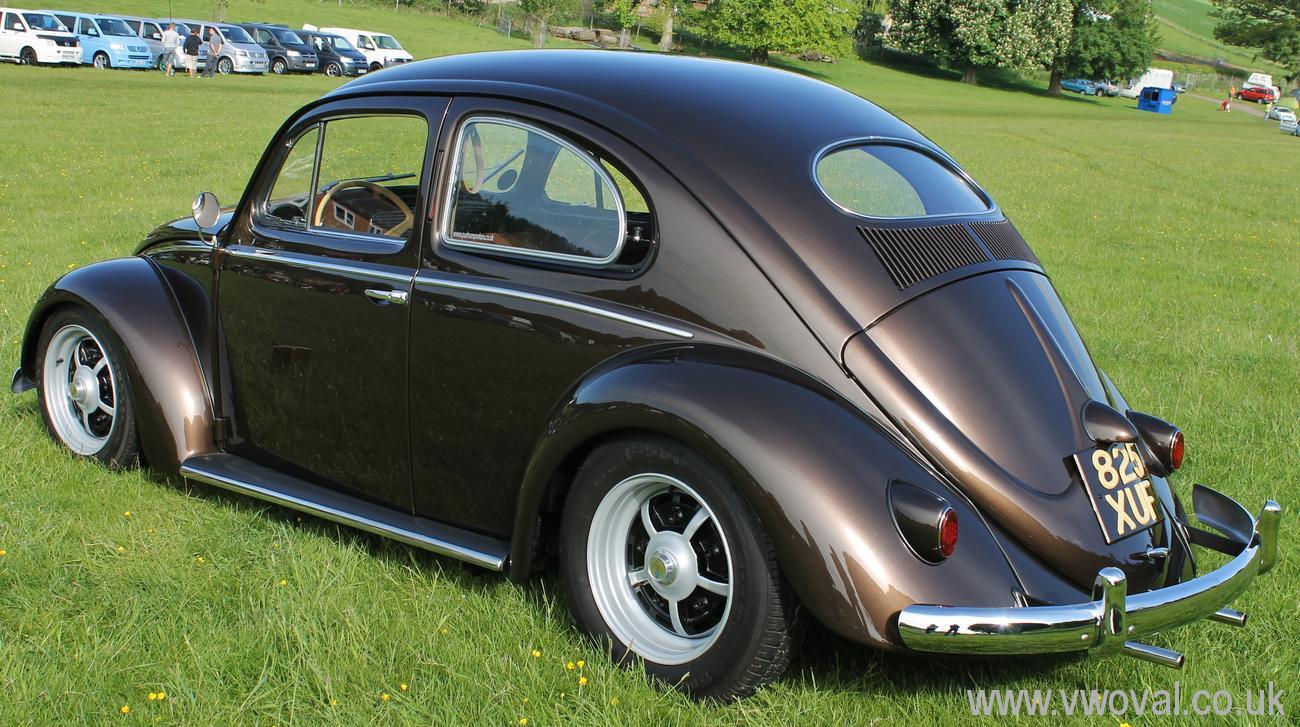
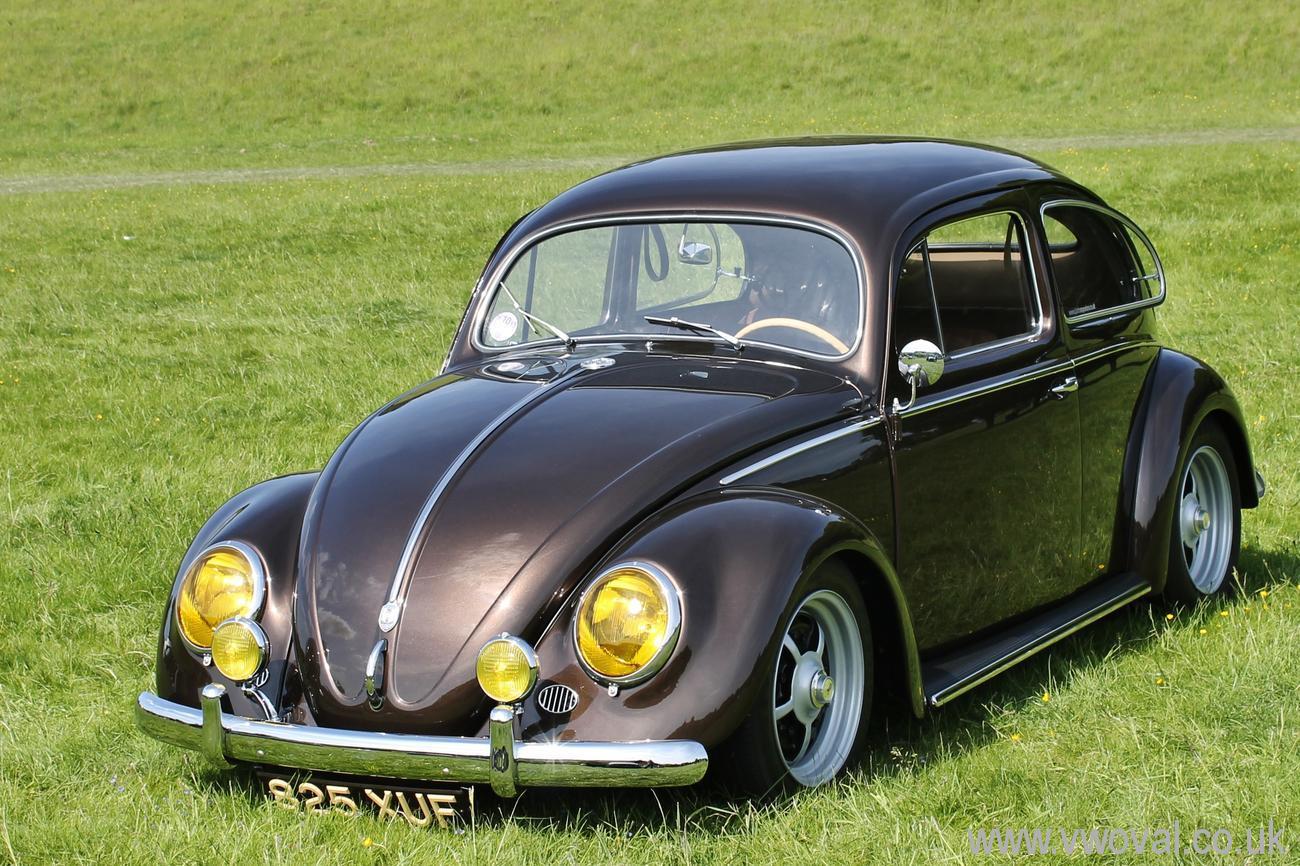
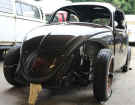
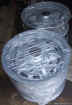
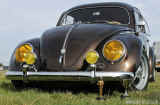
- March 12th... The wheels have been
detailed - Nice!
- A set of 4 Original Steel Lemertz
Sprintstar wheels 4 1/4s and 5 1/2s...
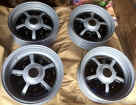
- And fitted with 4 Firestone F560s... what
else?
- 165 rear and 135 Front.
- I am also going to get a set of stock
rims for when its done... in 2 tone paint... 2 different looks.
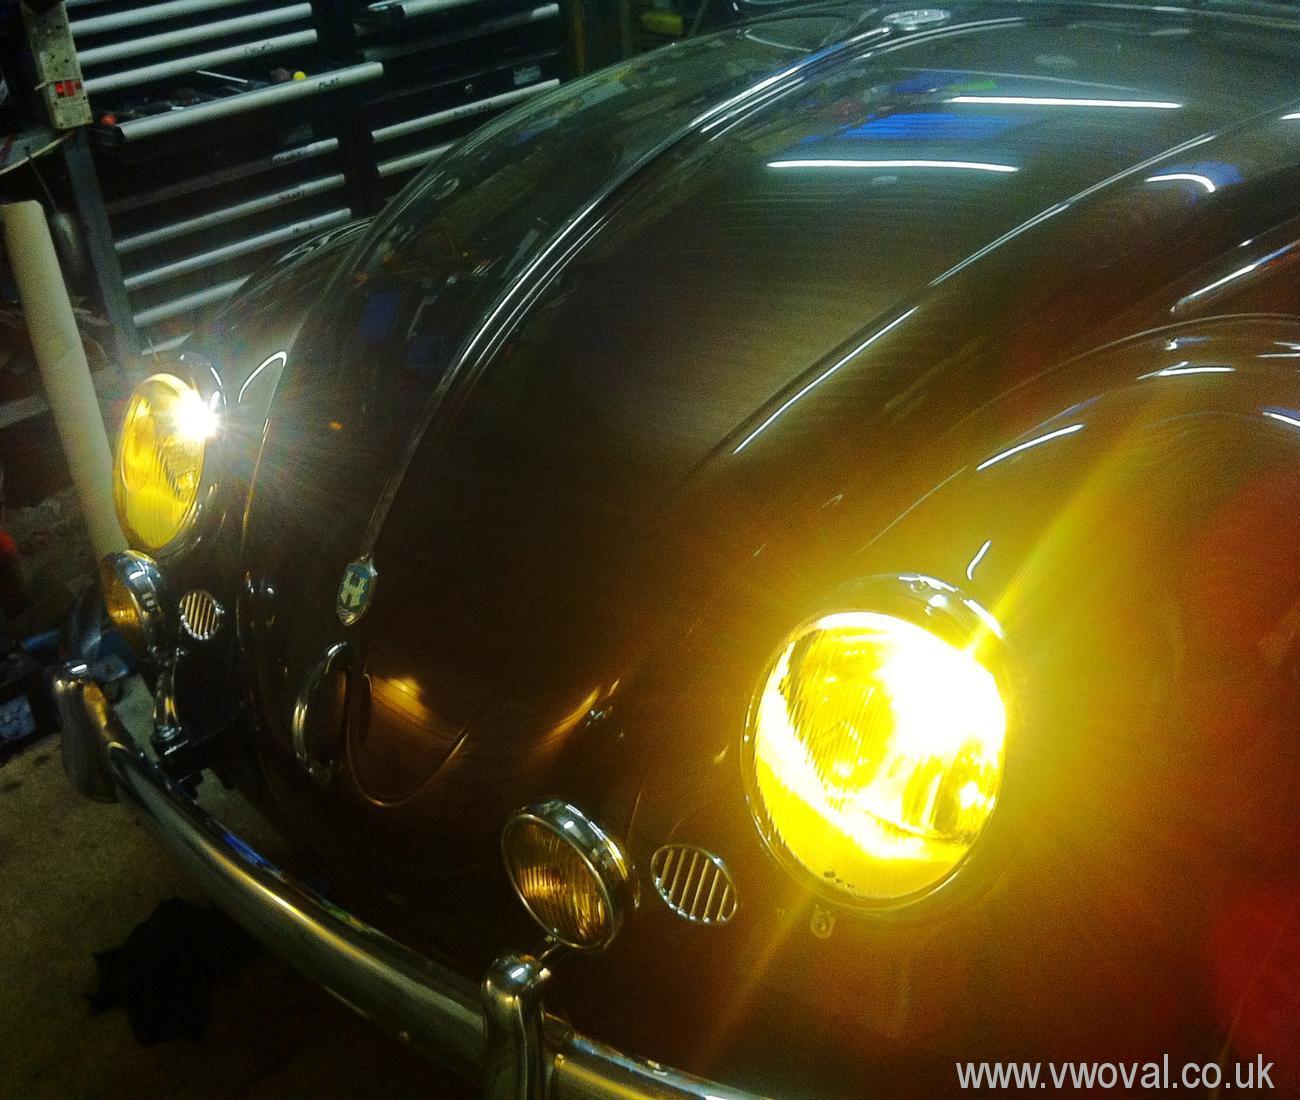
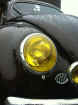
- I've got my spot lights back from the
chromers (still waiting for parts from the first place I used!) So the new
spot lamps are personalised and built up. However, I have realised I only
have 12v Bulbs and the car is 6v... so £18 later and 2 x 6v bulbs
arrive..
- So many other little jobs going on...
I've forgotten them all..


- 17th March... this sticker arrives in the
post.. no pressure..

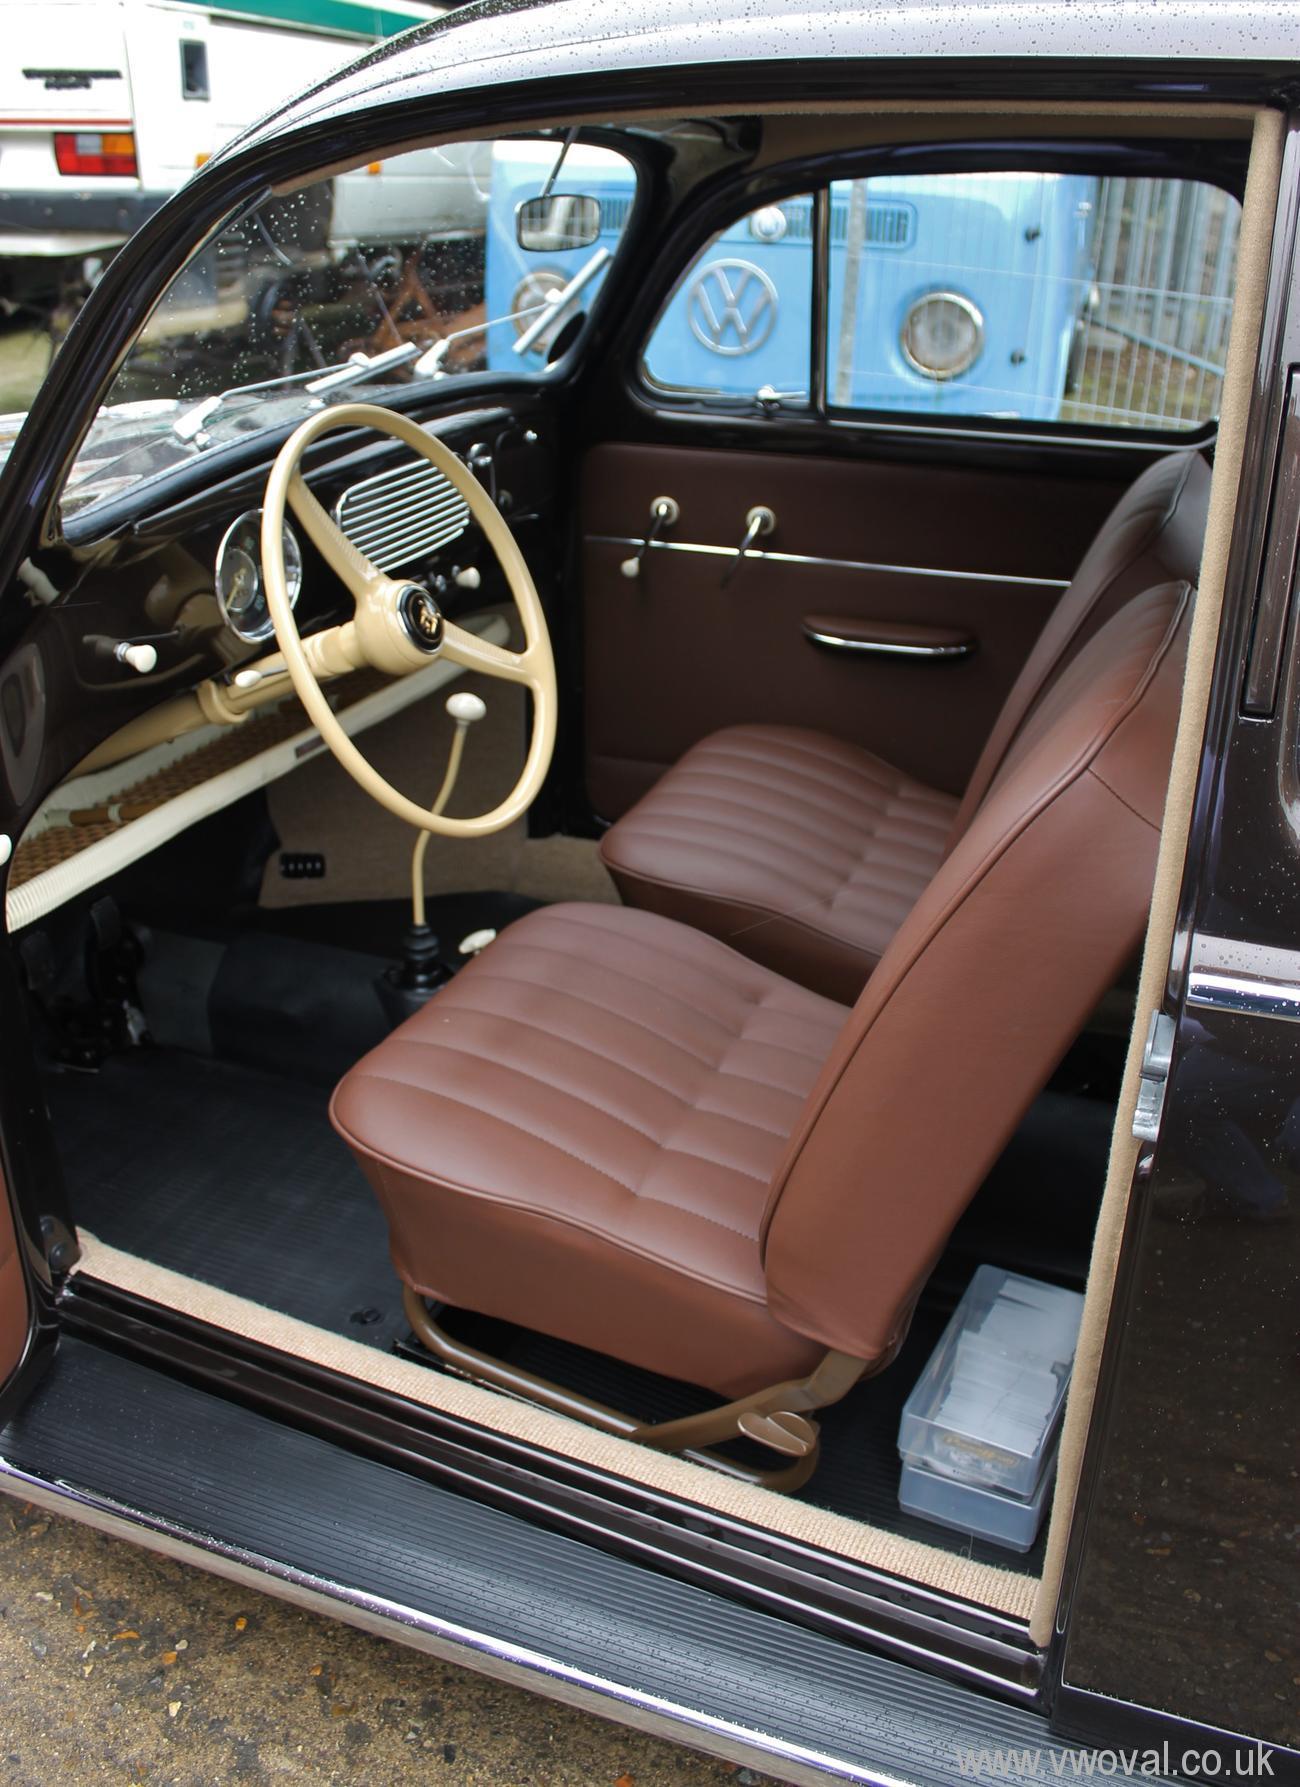
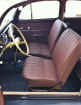
- Weds 20th March - Late into the evening
we fitted the rear door cards and rear seat - when I say we, I mean Pete
from Delux VW Interiors. Pete is a really nice chap and has a huge amount of
patience, if a job is worth doing, he will do it... and in fine detail. The
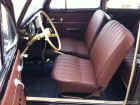
Rear seats look awesome.
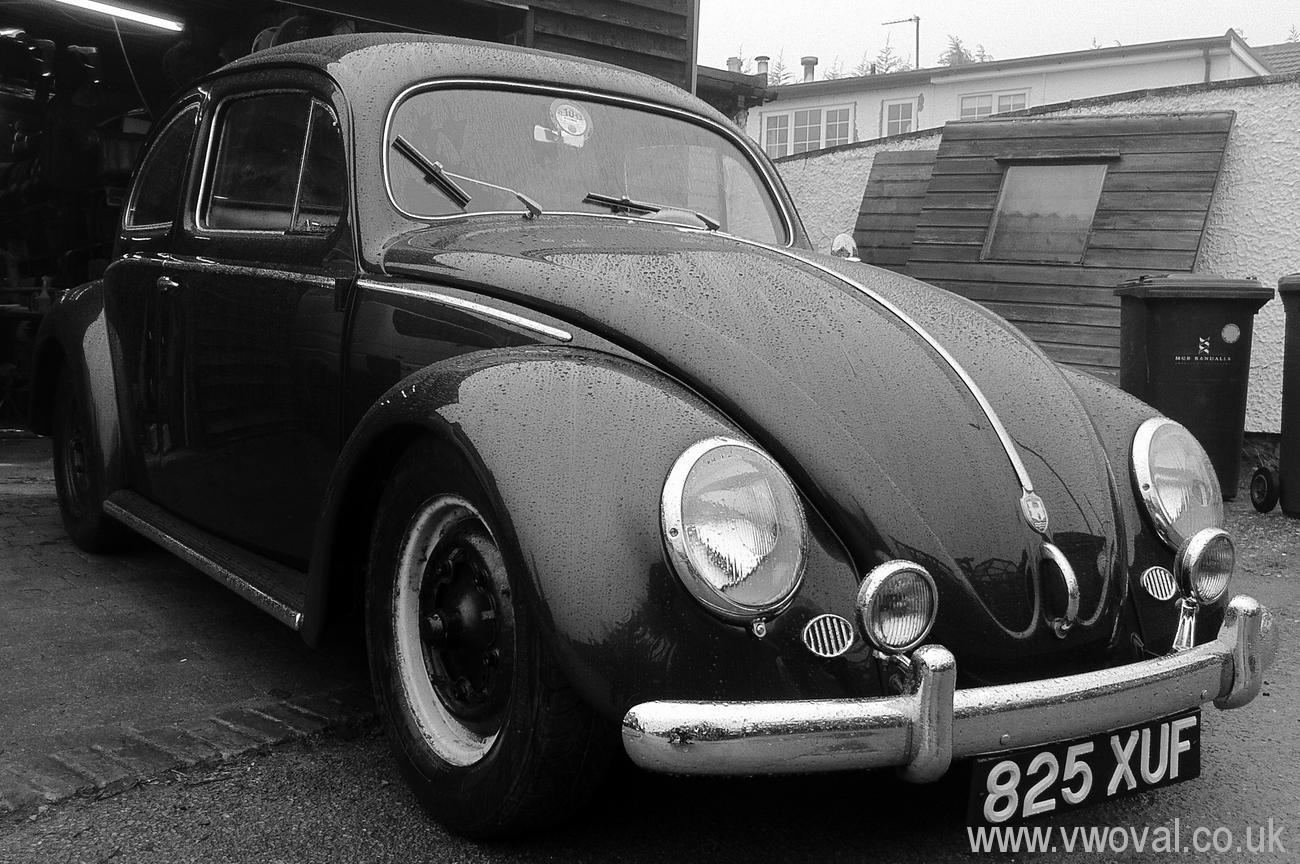
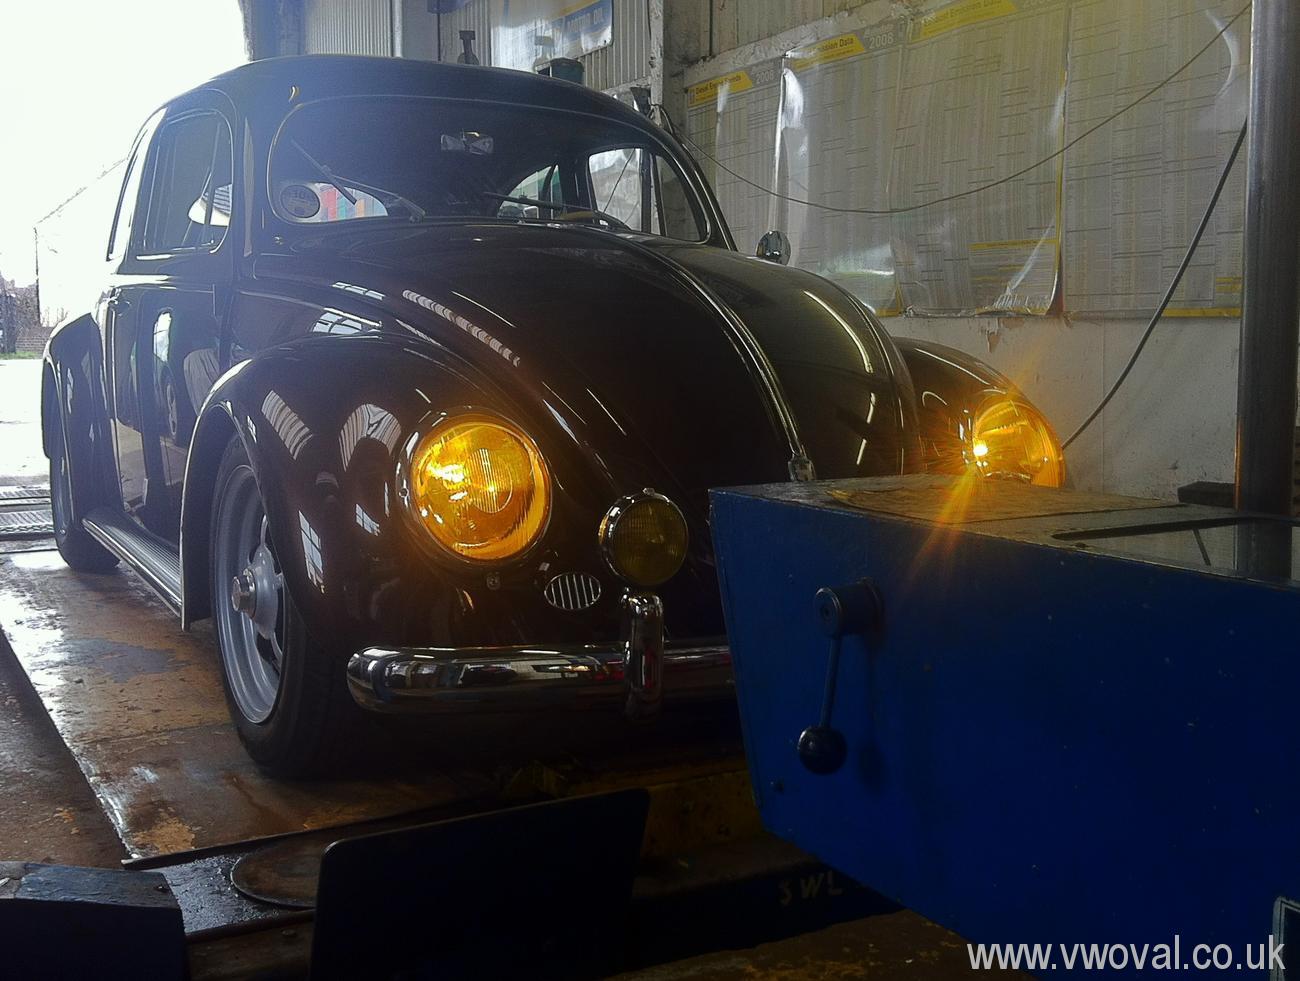
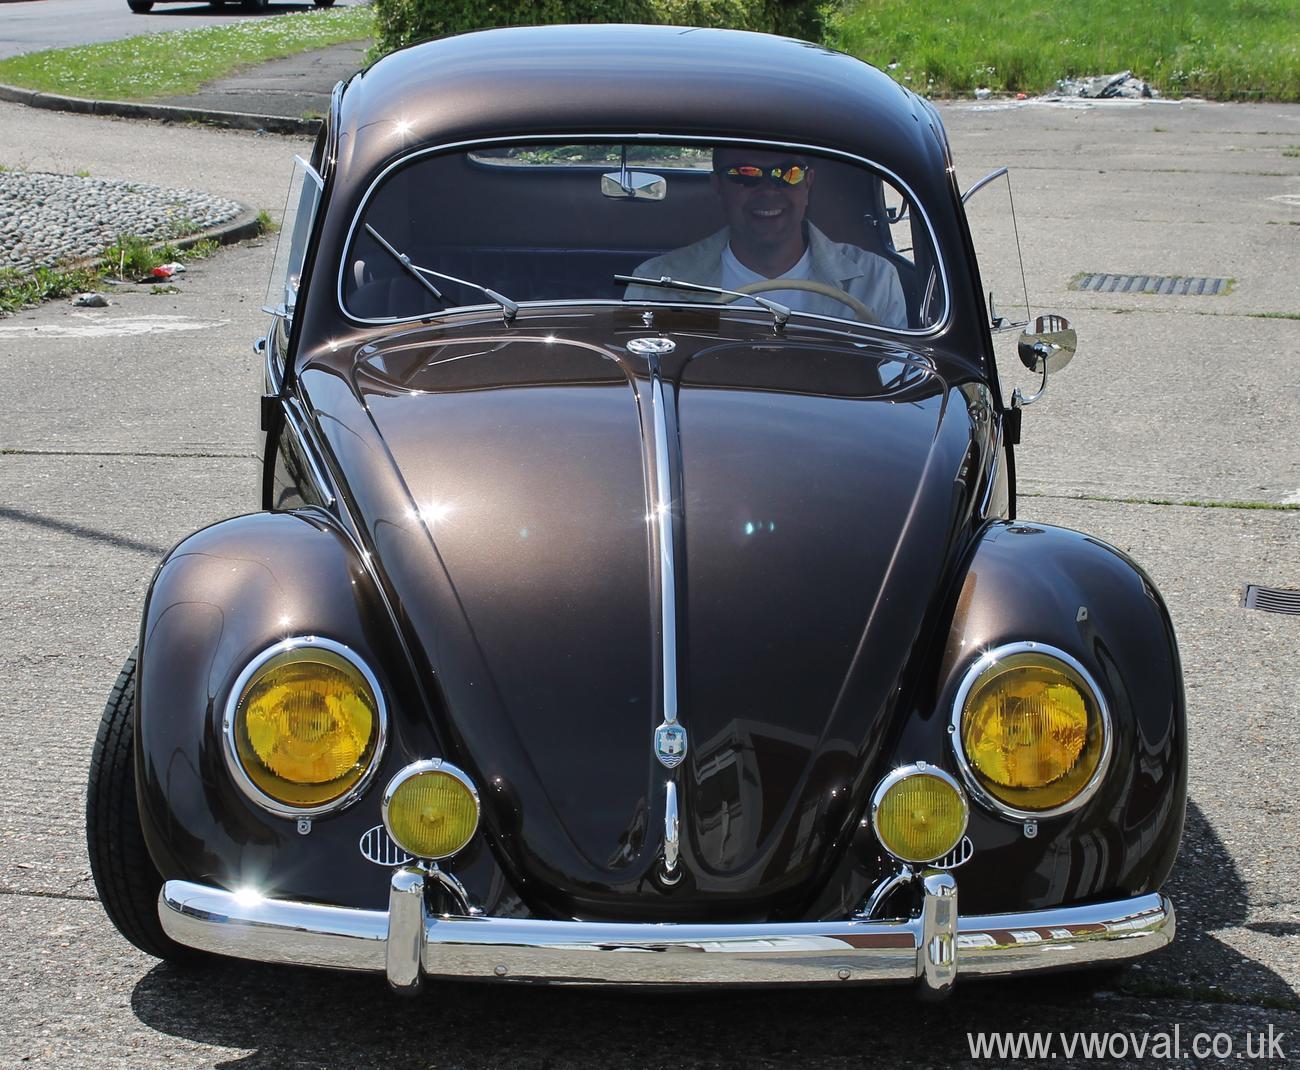
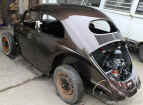
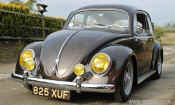
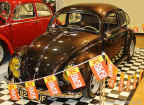
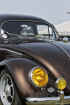
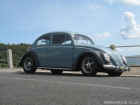
- First Drive - Thursday 21st March -
I put in a front seat (not the finished one), started her up and drove her
down to the Panel Kraft workshops for a final buff... It wasn't a long drive
and the brakes need bedding in, but it all worked.. other than the horn
going off randomly! Its the first time the "finished" car has been
outside properly and I can tell you I am more than pleased with the way it
looks.
-

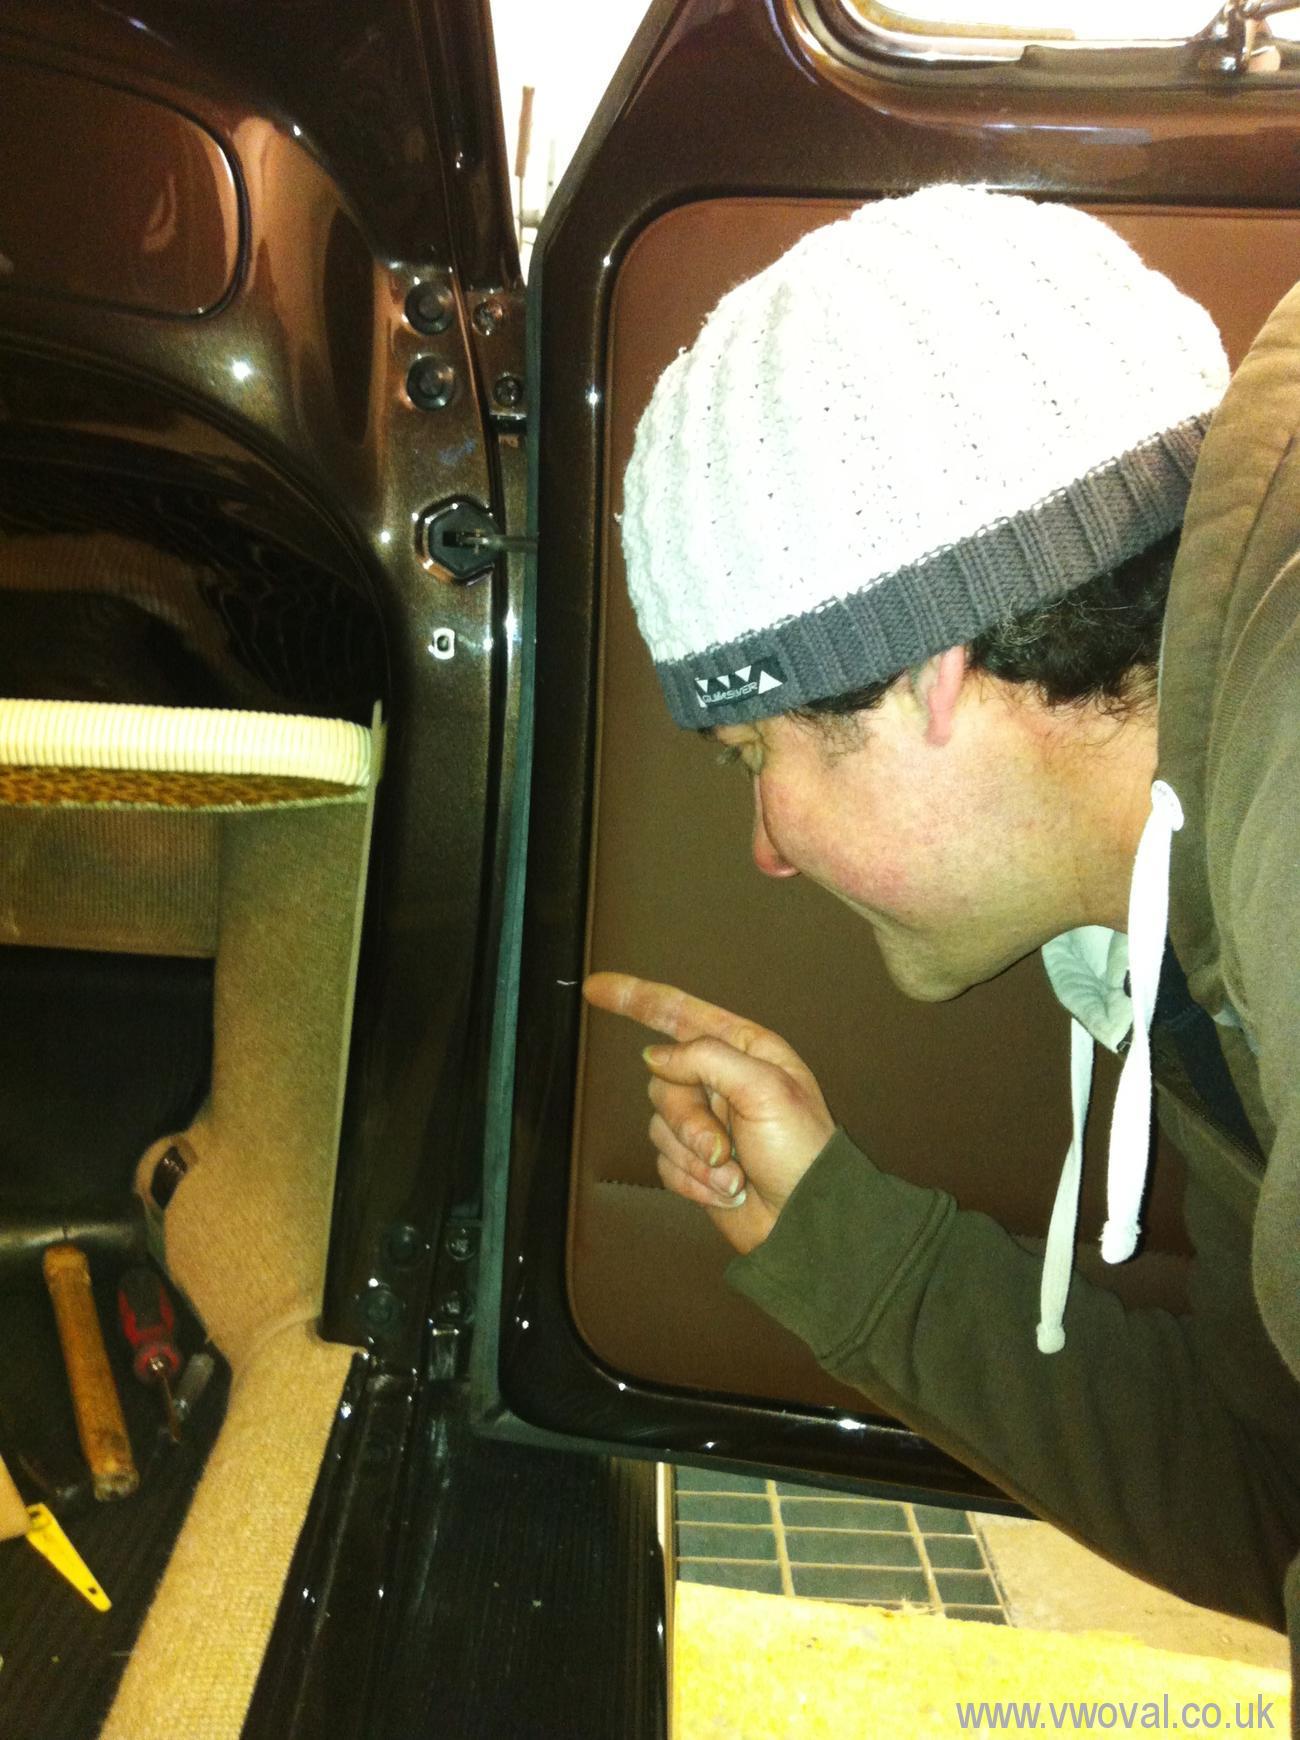
- Craig was looking for scratches I had put
on during the build..
-
- Time for a Final Polish..
- Then late on Thursday... Craig flatted
back some top coat! - so sort out a minor imperfection that they were not
happy with... talk about last minute!

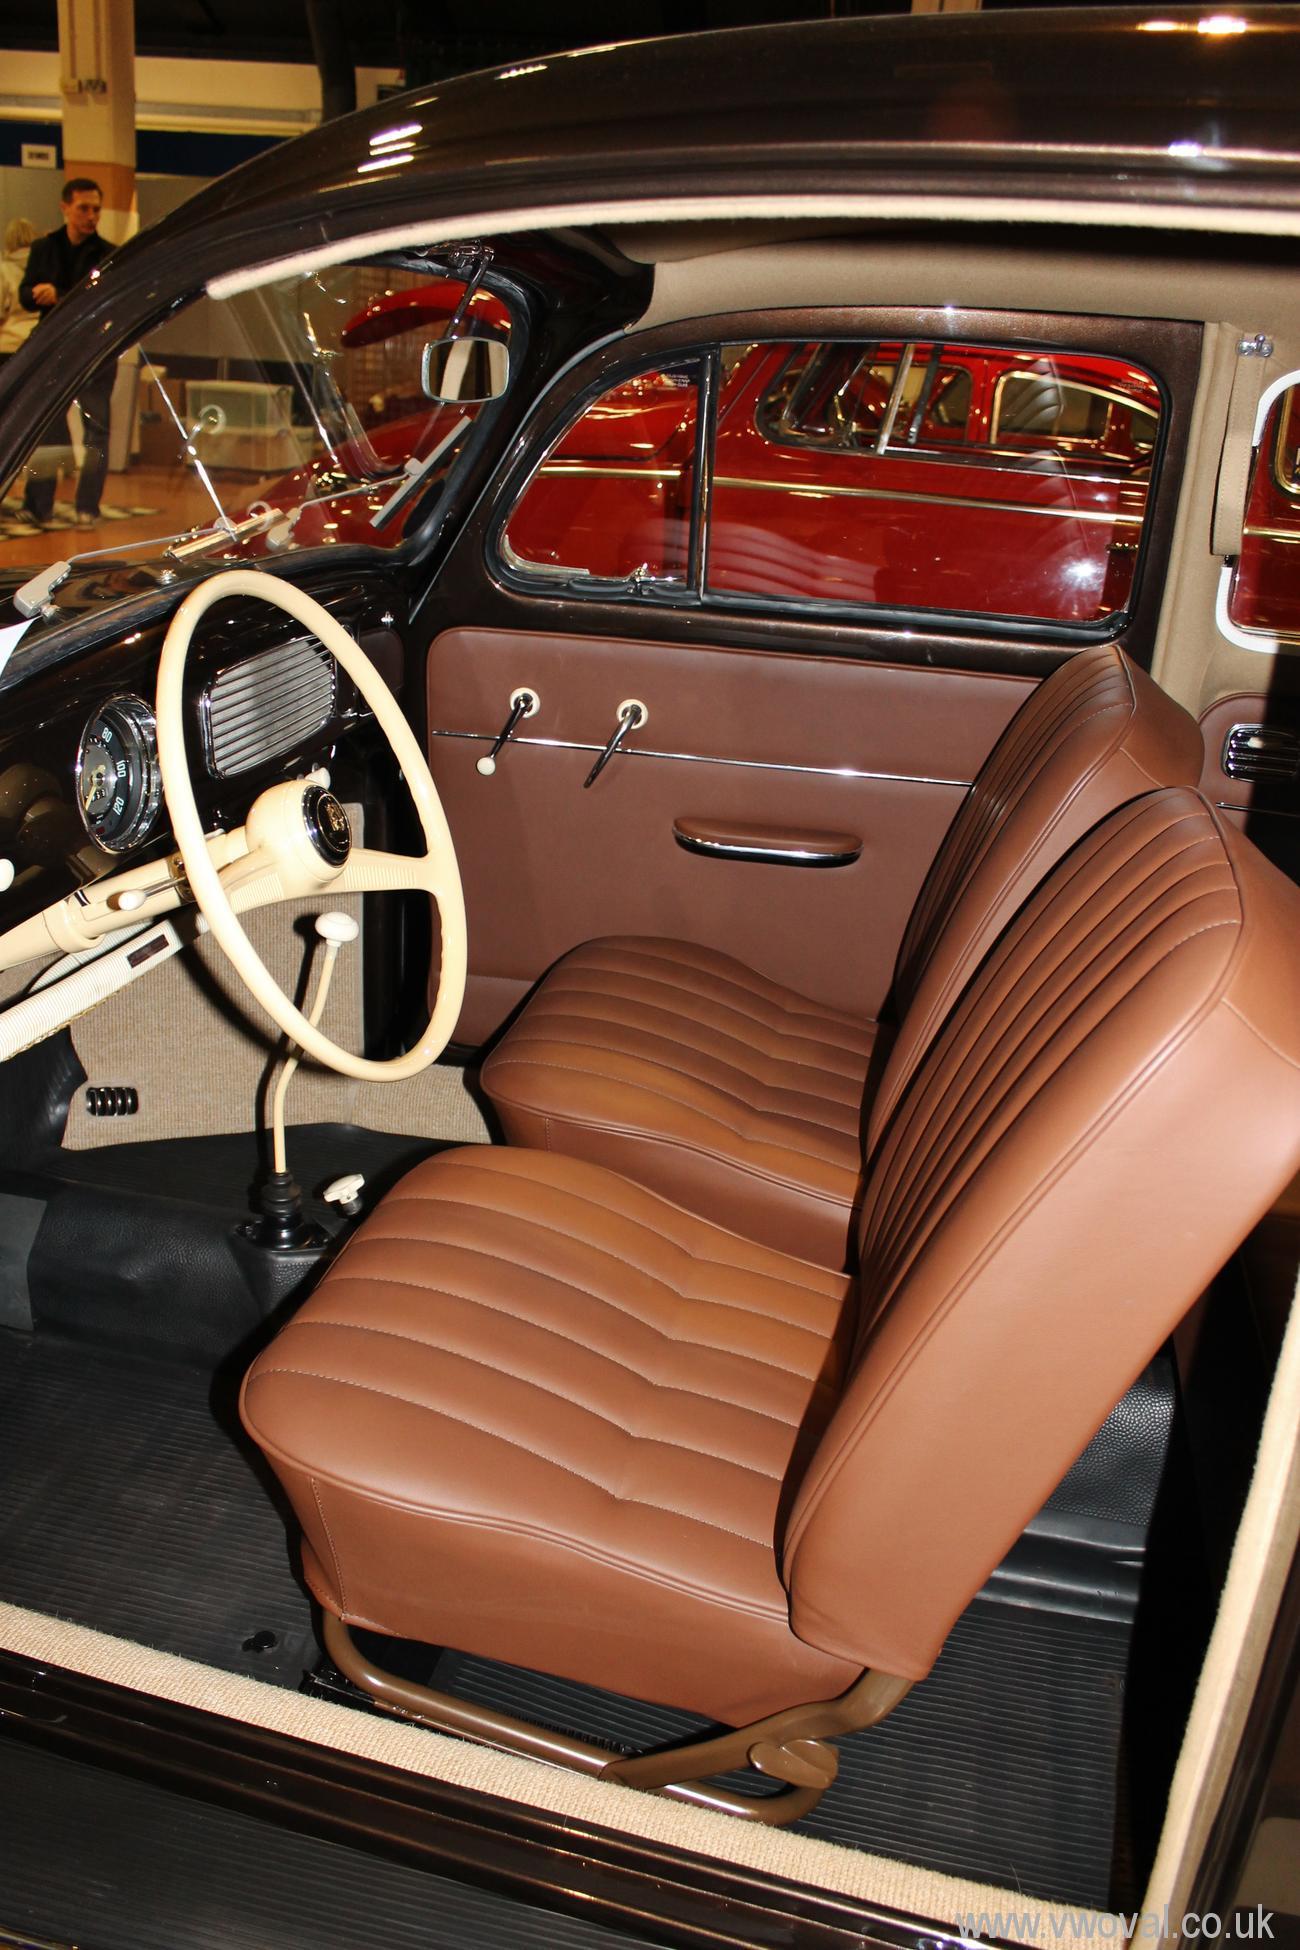
- Thursday afternoon was also time for the
front door cards and front seats - they look amazing. Pete and his brother
Tim fitted them up. I couldn't be happier with the interior.

- Whats that Pete? A scratch? Don't worry,
there is plenty of time...
- Friday Morning... we load up and off we
go to Volksworld Show 2013..

- Because we are so posh, we had ordered in
Scones from Southill Village Tea rooms - we ate them on arrival at the Show
Trailer park... they were lovely!

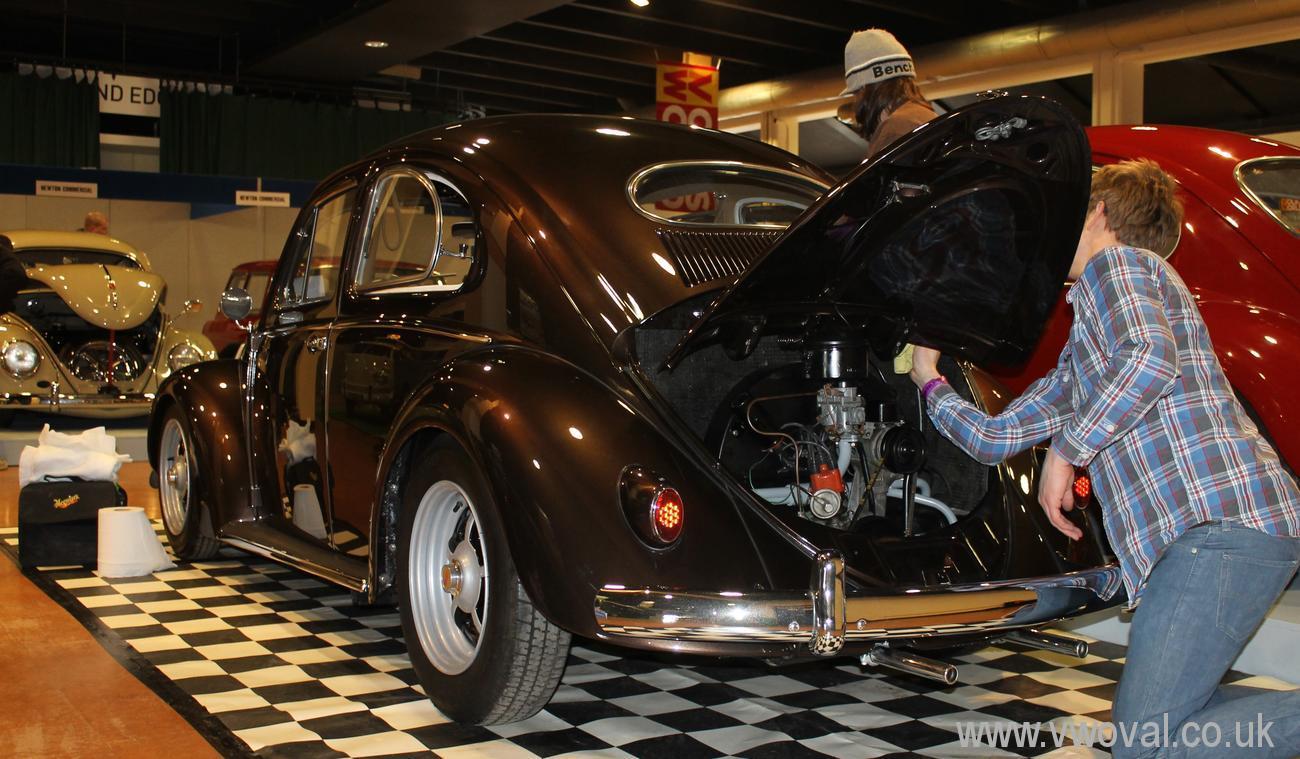
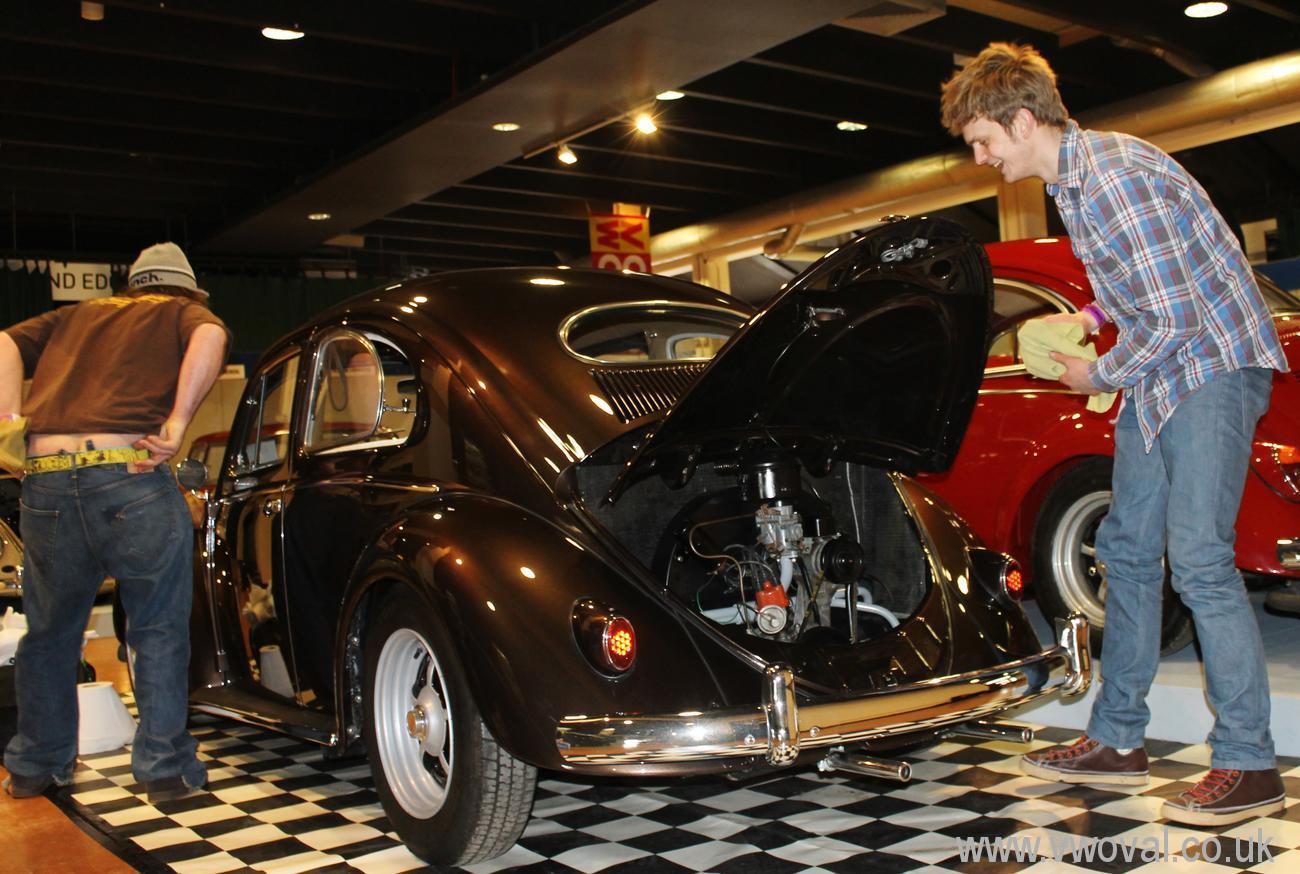
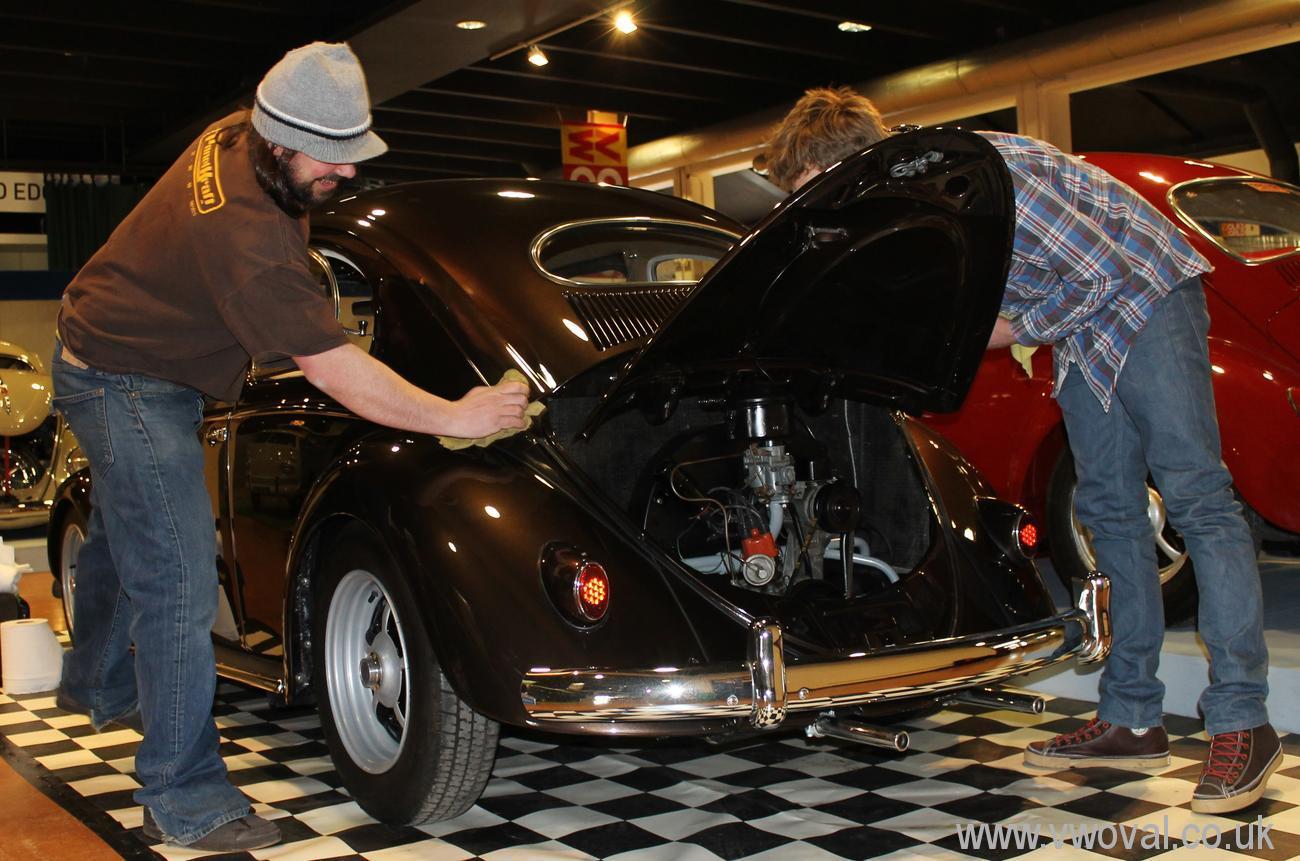
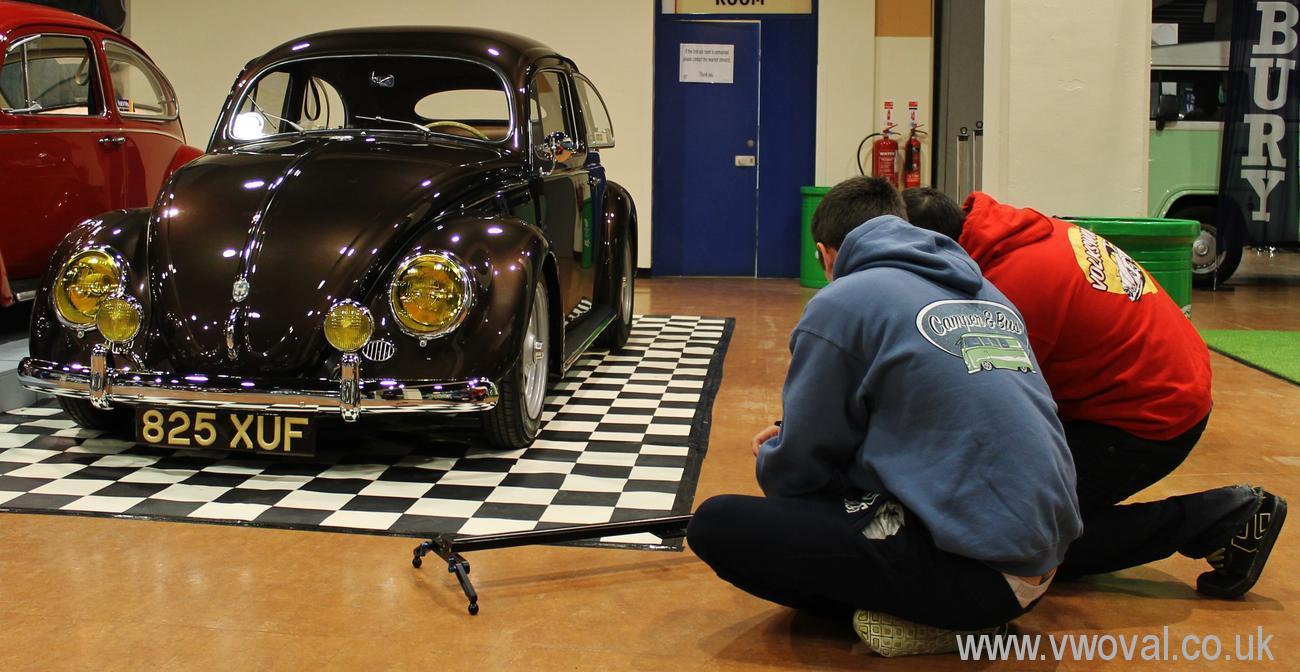
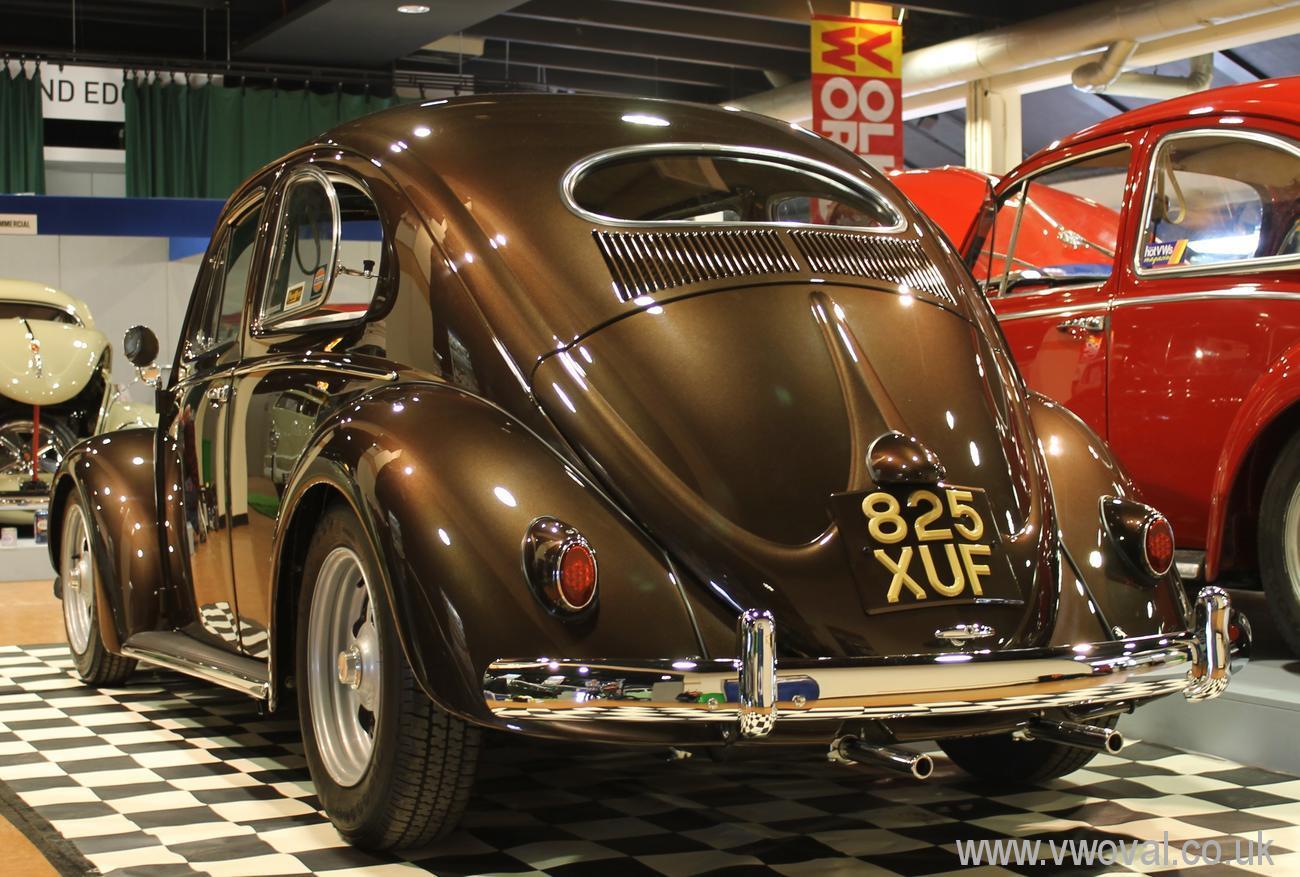
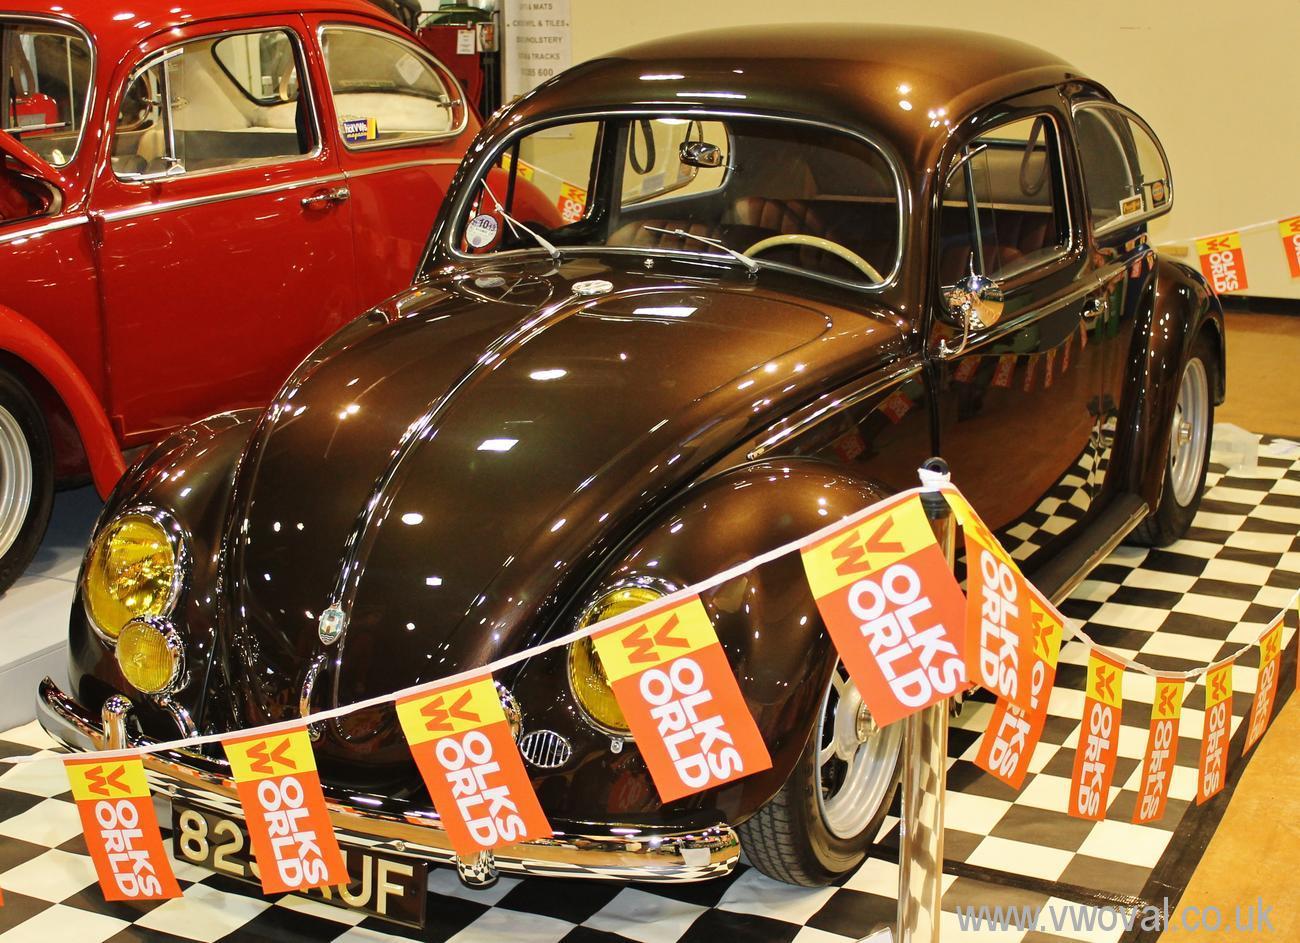
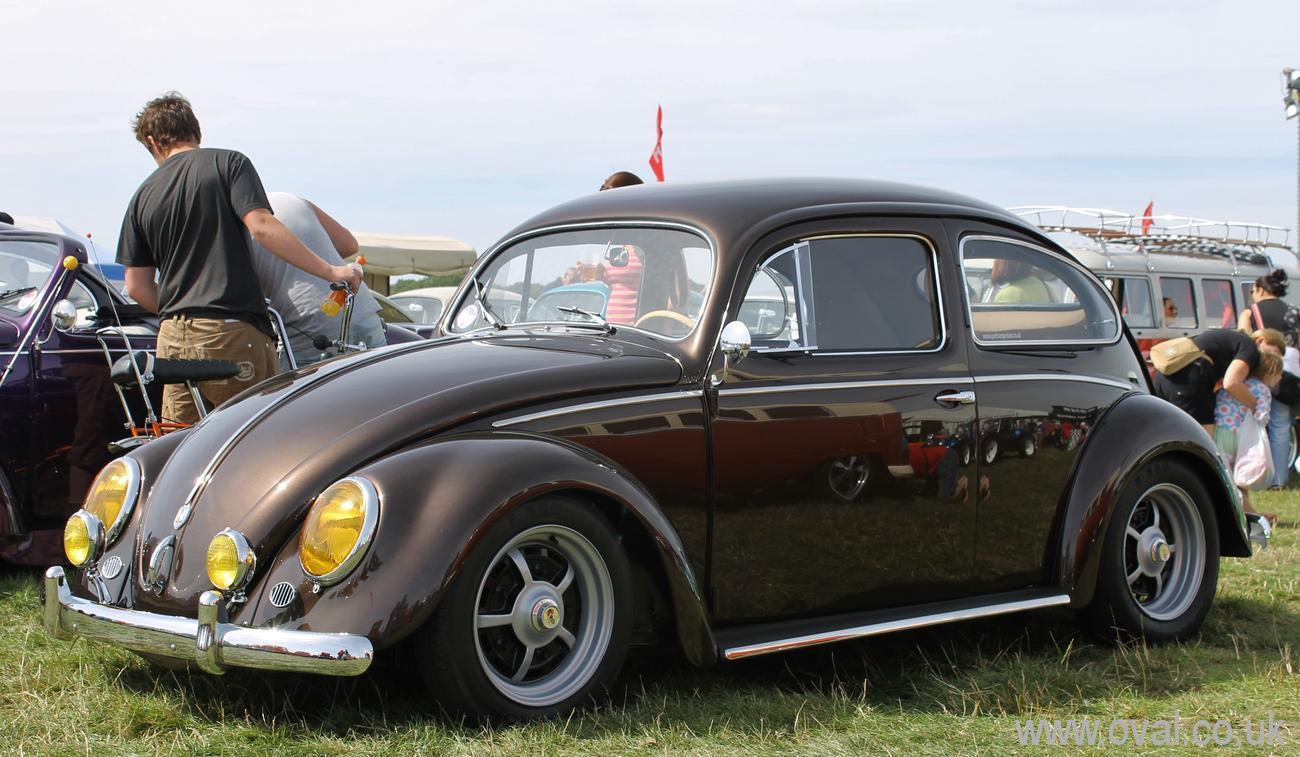
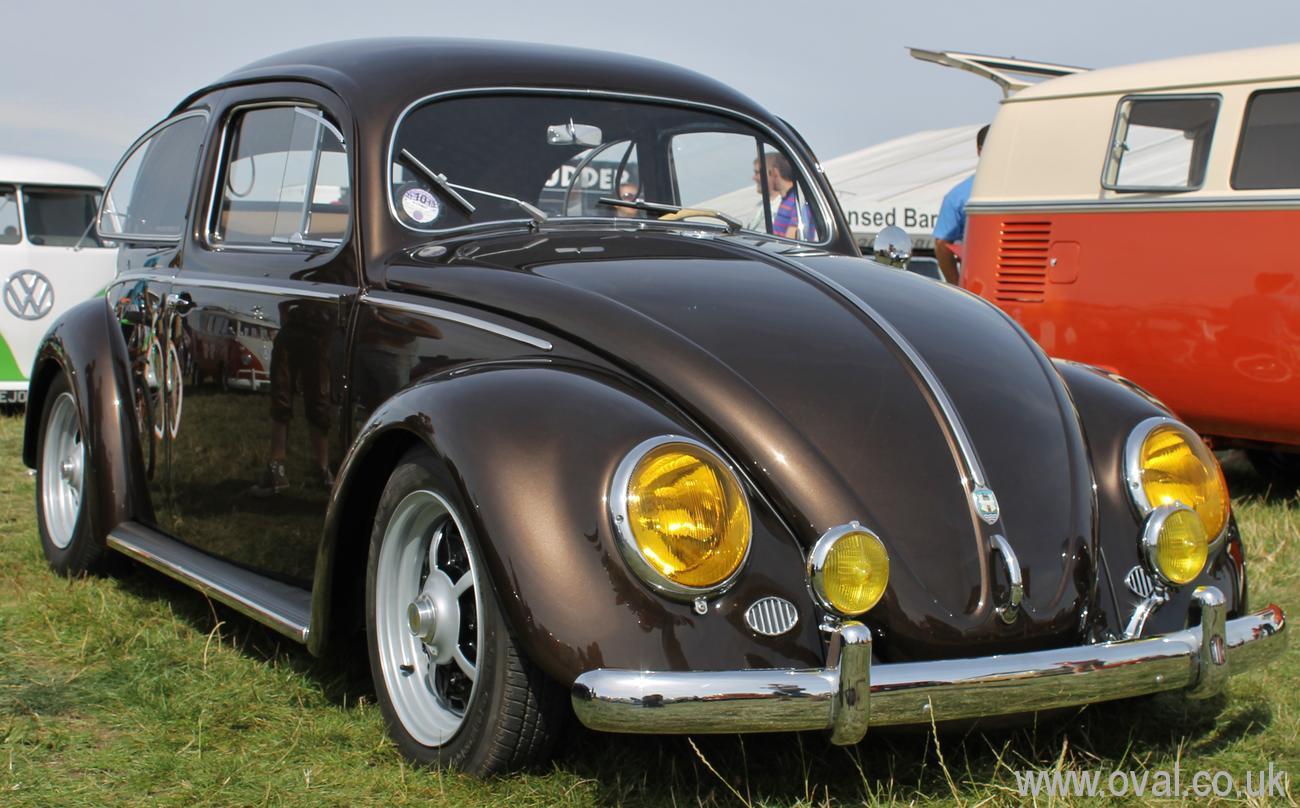
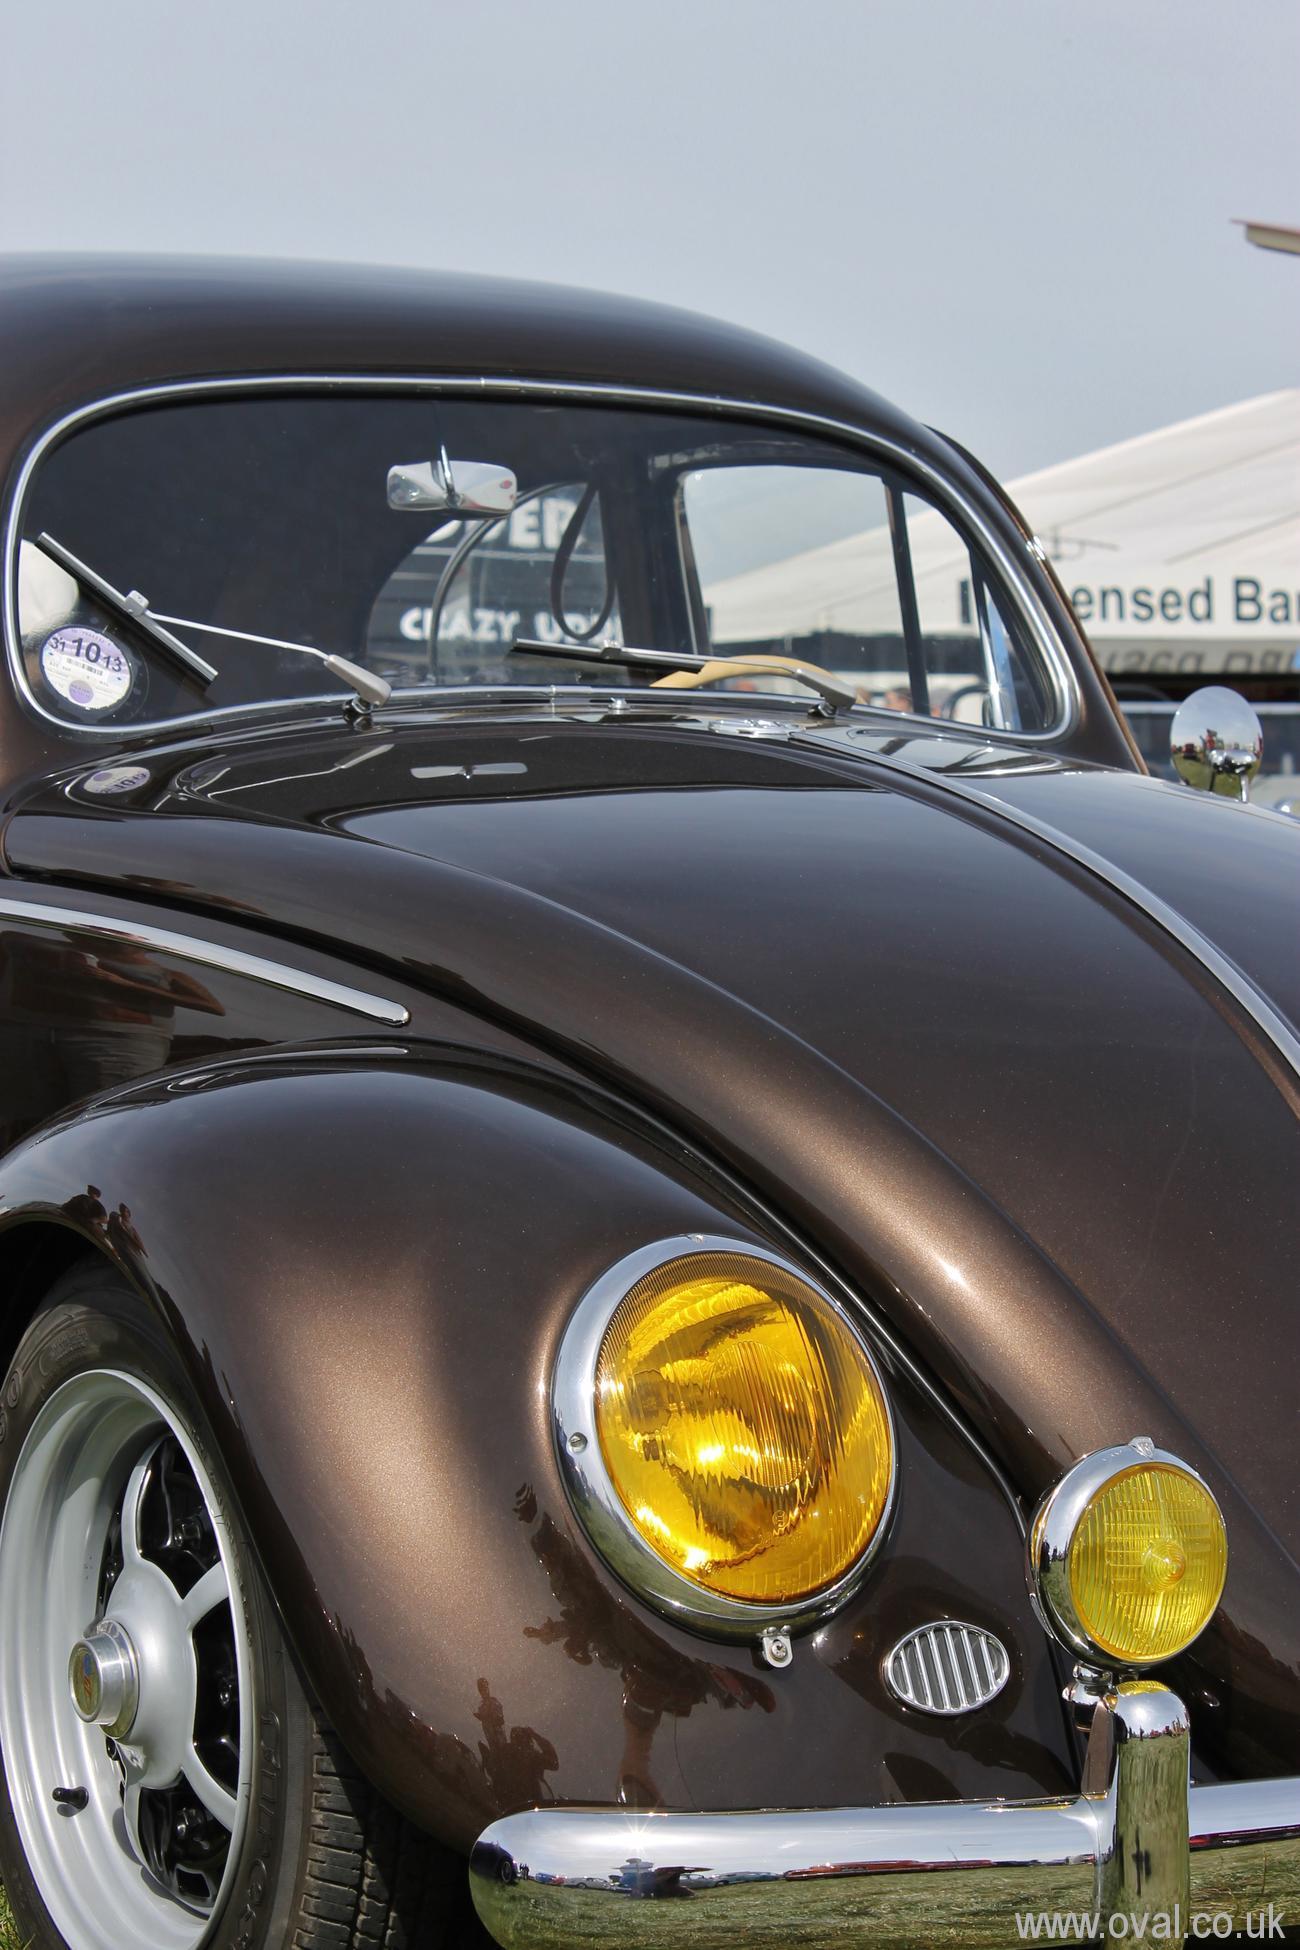
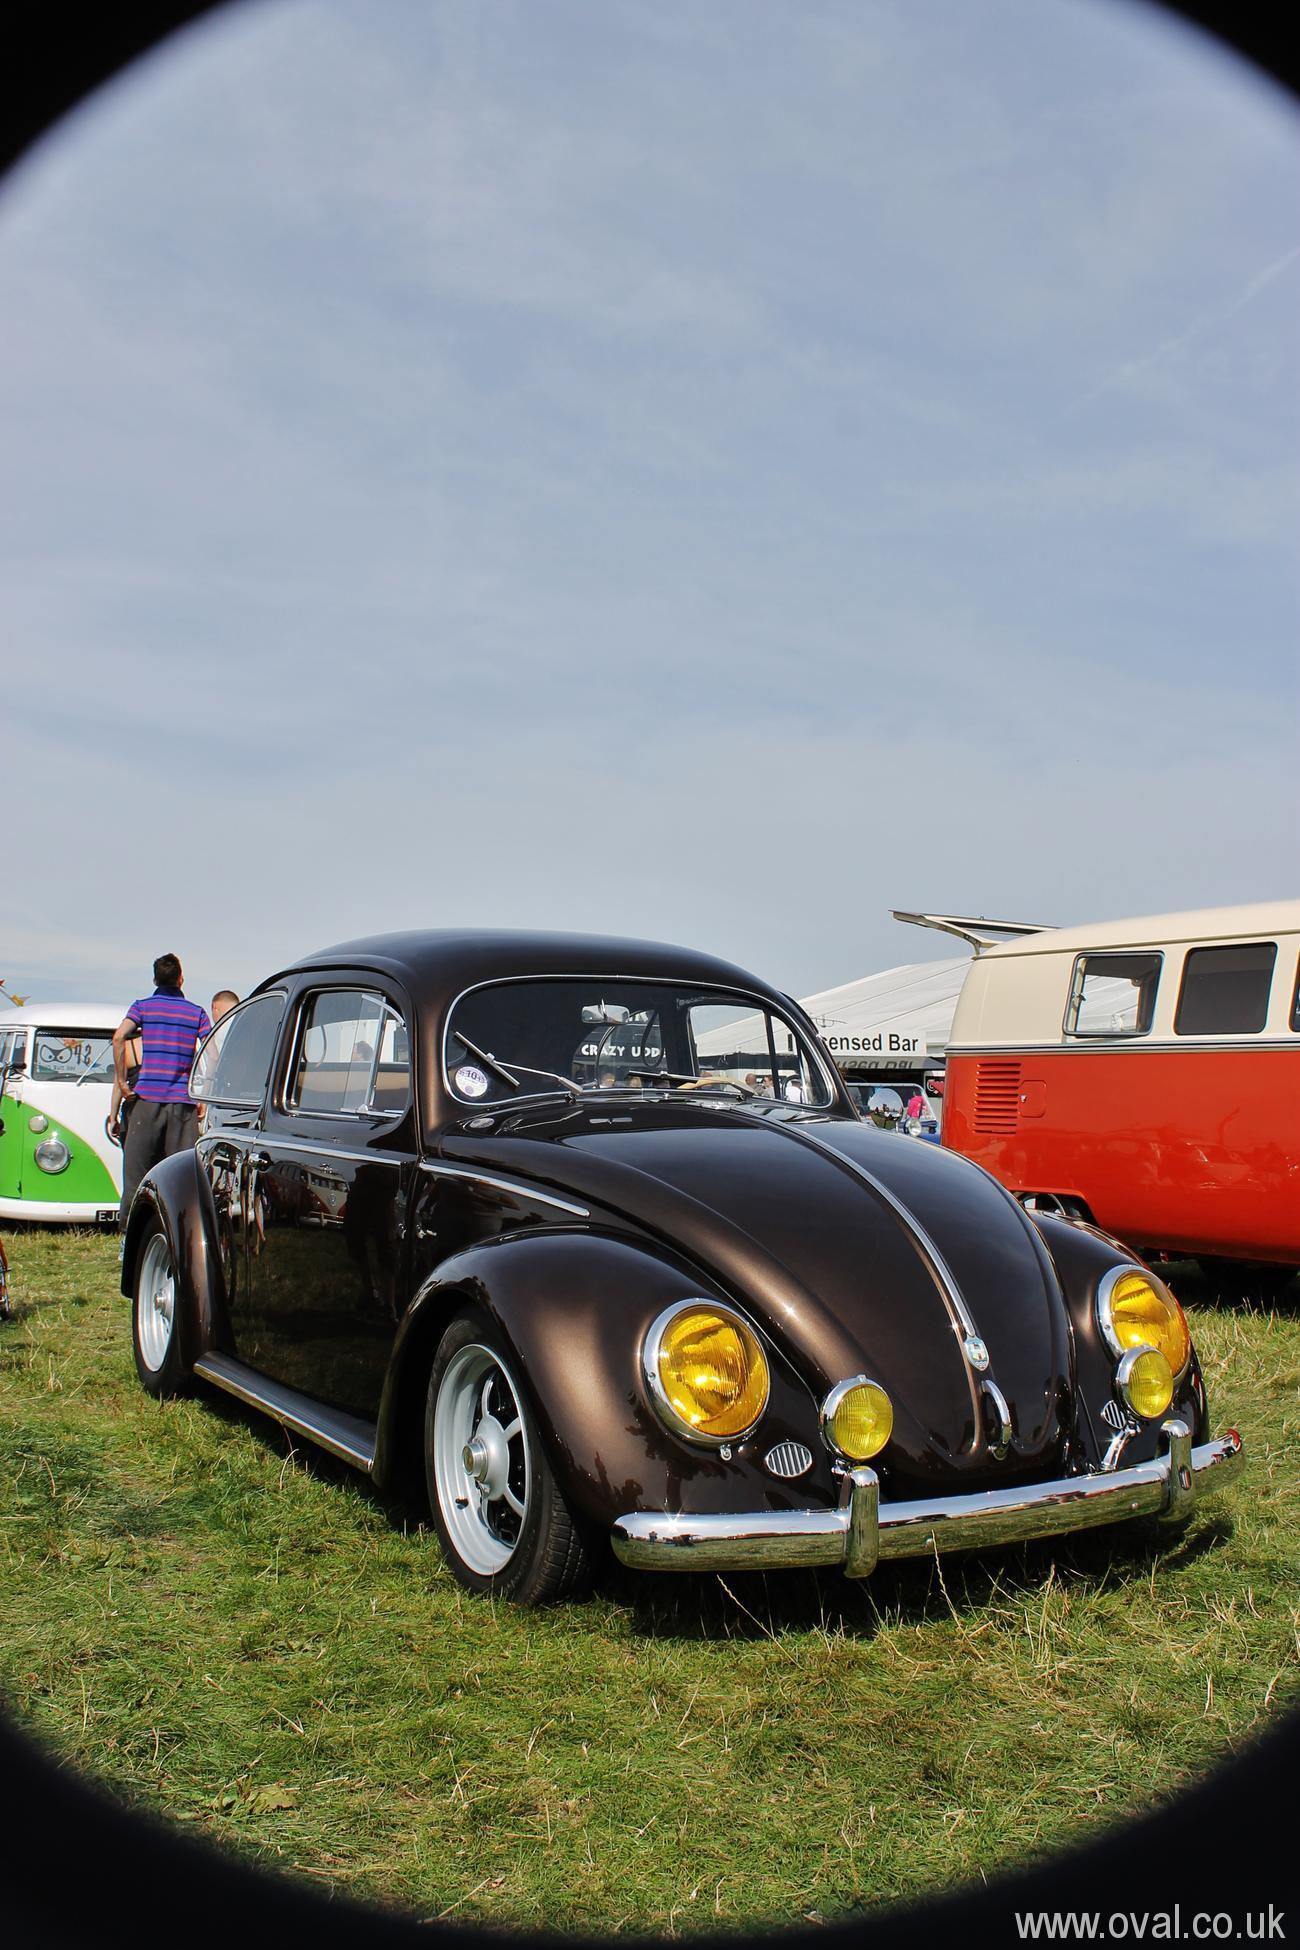
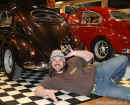
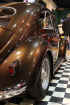
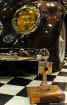
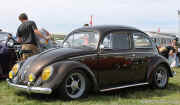
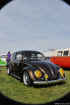
- Volkswold Show 2013
- Setting up - More polishing and a new top
model posed with the car...

- Filming?

- During the show..
-
- I had a great show and chatted to many
nice people. Had a laugh and a giggle too..
- Thank you all for the nice comments about
the car...
- Thank
you toat
Panel Kraft for the amazing Bodywork / Paint
- for
putting up with me in the garage all winter (and in general)
-
for being there... and probably loads others that I cant remember at this
stage of the day... Thank you all ...
- and
again THANK YOU Hayden for all the "extras"
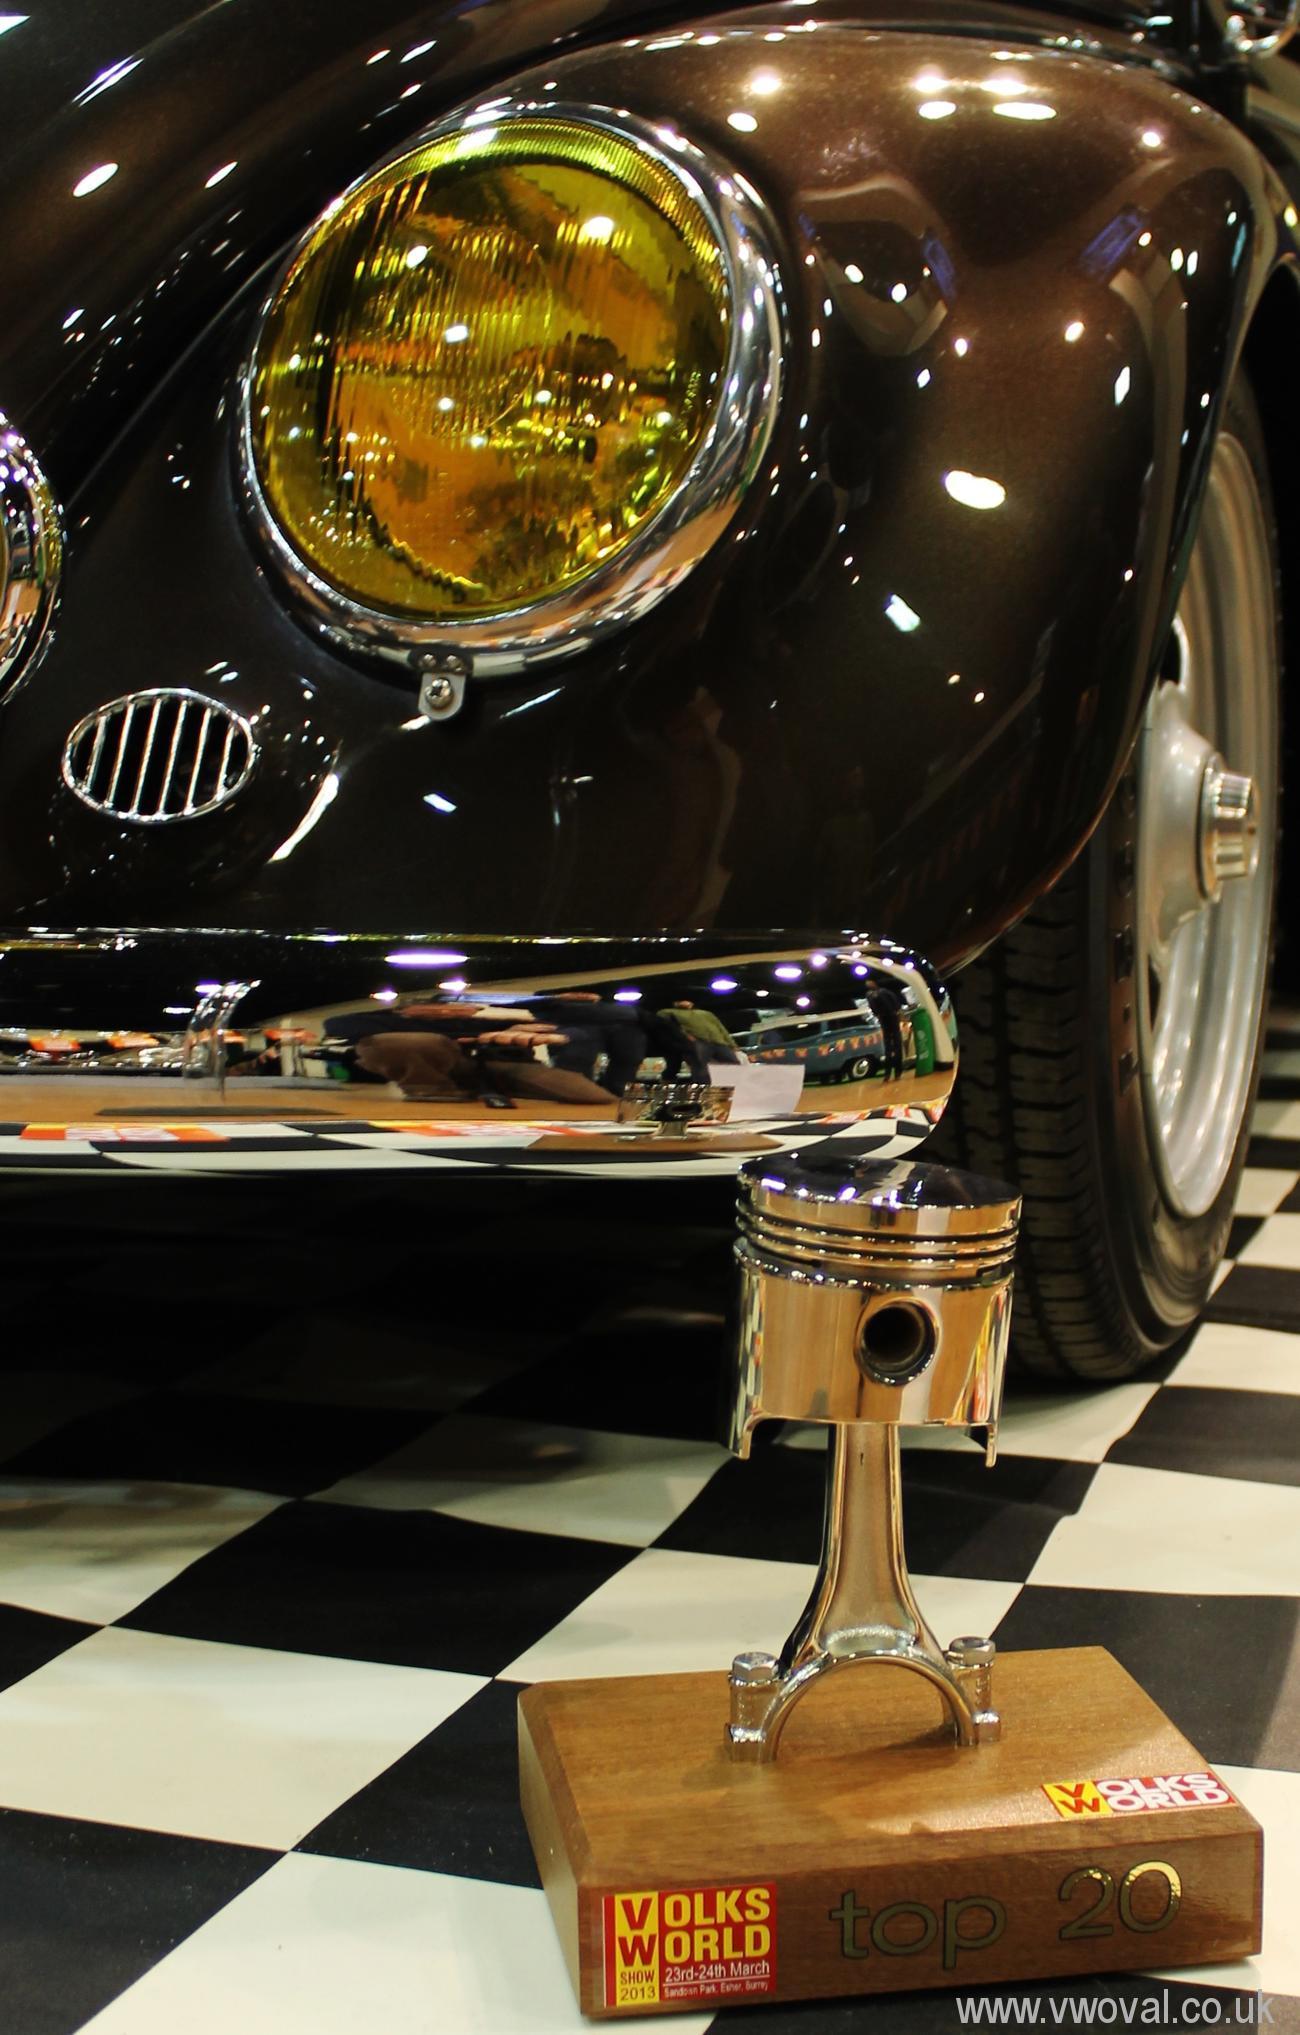
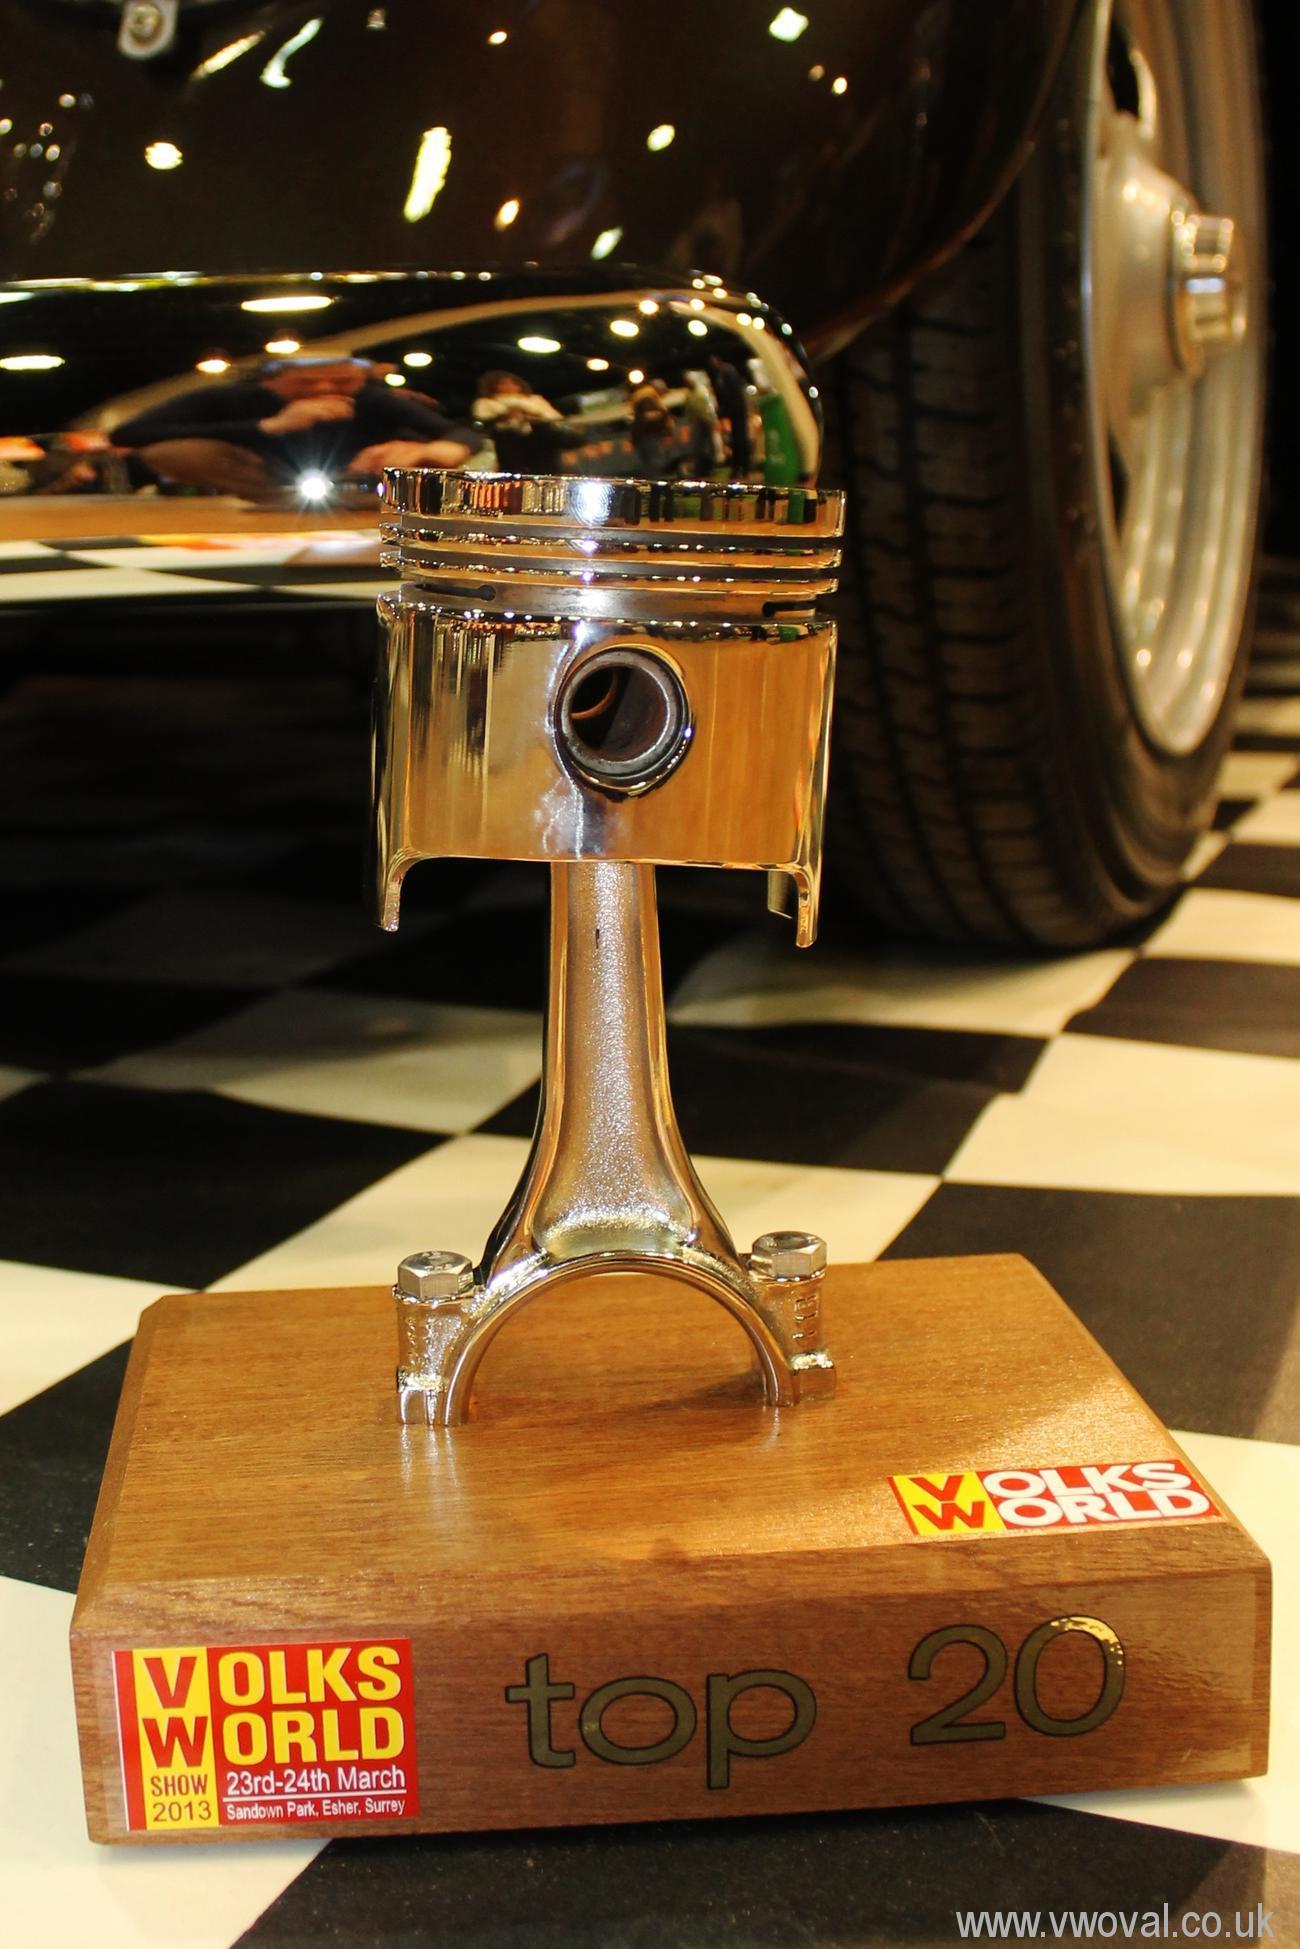
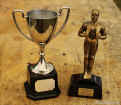
- Gob smacked! - We walked away with both
the Pro sign Choice award and also a Volksworld top 20 Award - Amazing.

- I haven't stopped smiling!
-
- So a while after the Volksworld Show, I get
a moment to fix 2 little jobs, Boot lid lock and Random horn. Both easy jobs to
sort... And off to the MOT... I know it doesn't need one, but it is 57
years old and was built by an idiot. Its always good to have some one look
it over.
- I didn't take my camera - so only rubbish
camera phone pics again..
-


- However, poor Mr Gavin MOT man, had his
worst customer ever! I made him take off his dirty shoes and his oily boiler
suit to get into the car... Fairfield MOT... near naked
MOTs...
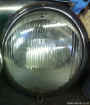
- Headlight adjustment...
-

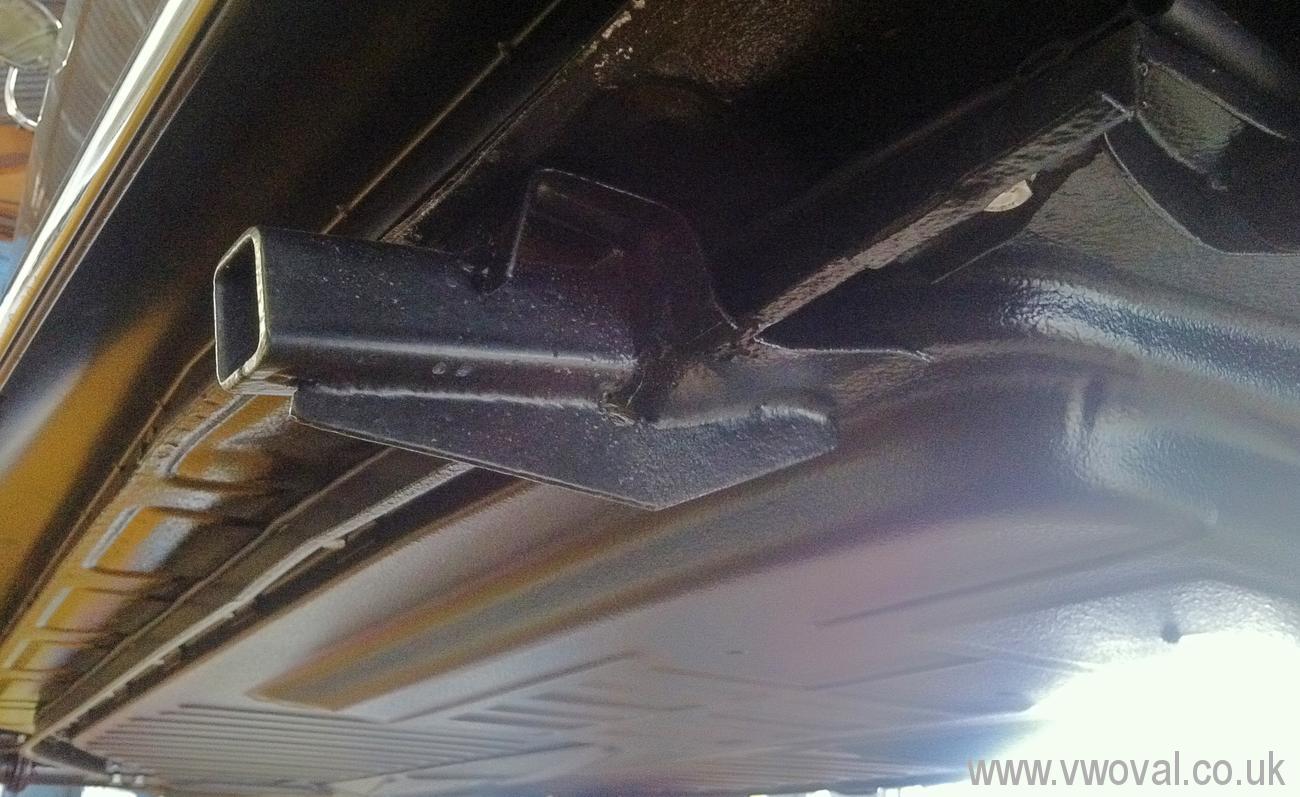
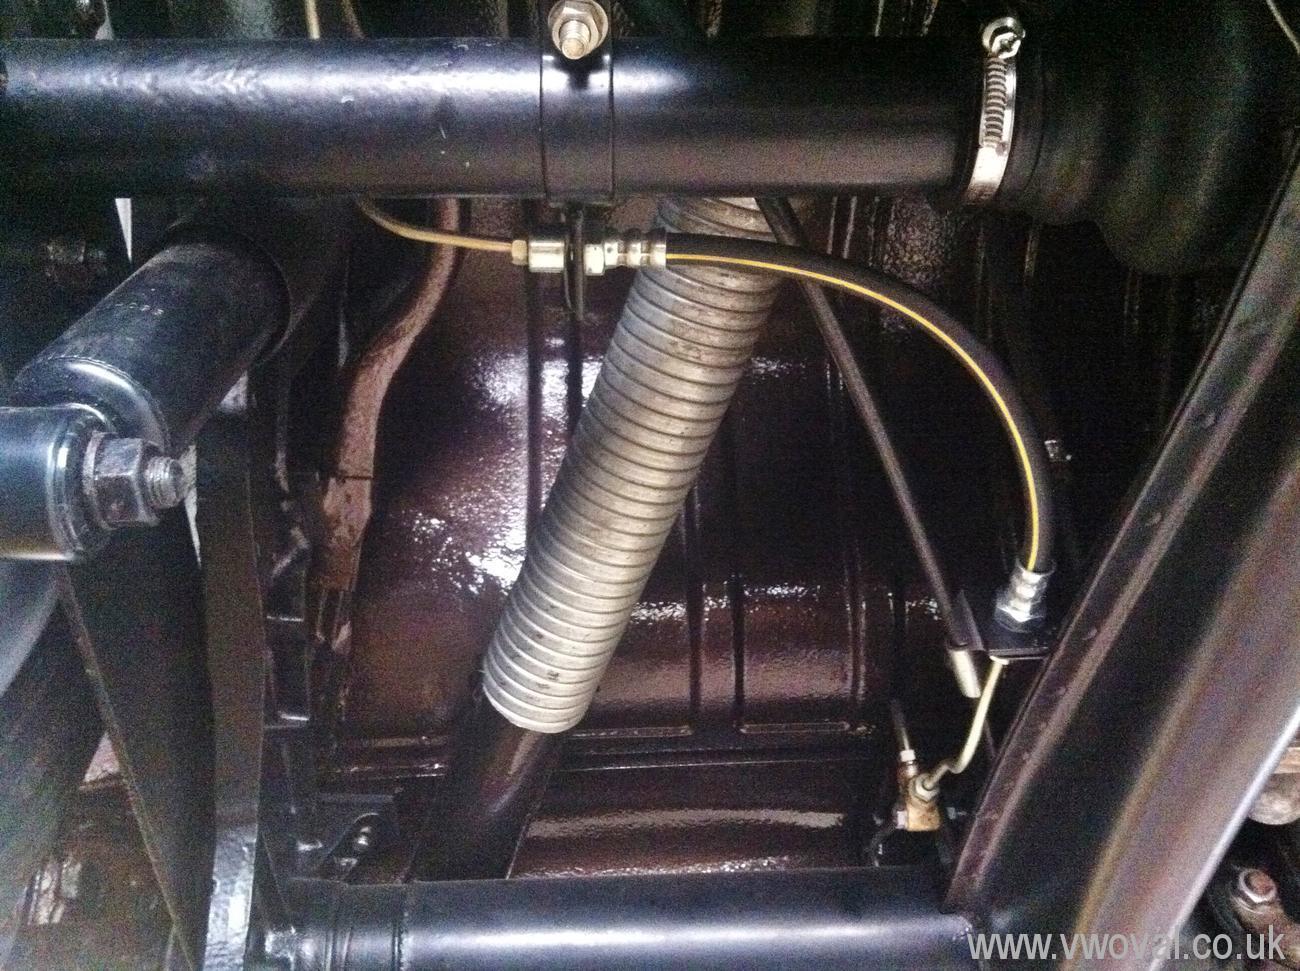
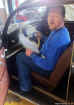
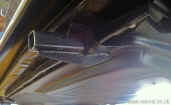
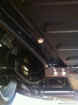
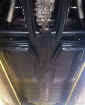
- After he had finished, he let me have a look
underneath...

- After the MOT, I went for a little drive to
get petrol...
- And then a little loop for a few miles to
bed things in..
- Now I need to re-adjust the clutch, the
brakes are firming up and Tyre pressures need to be reduced...
- A few weeks later (work always gets in the
way), I found a moment to Adjust the clutch, set tyre pressures, set the timing,
top up the oil and went for another (longer) test drive.
- On arrival back home I tinkered with the
mixture screw and re-aligned the steering wheel...
- Sunday I was out again... I adjusted the
brakes a little and as the sun was shining..
- I visited a lovely local Vintage Tea Room - www.southillvillagetearoom.co.uk
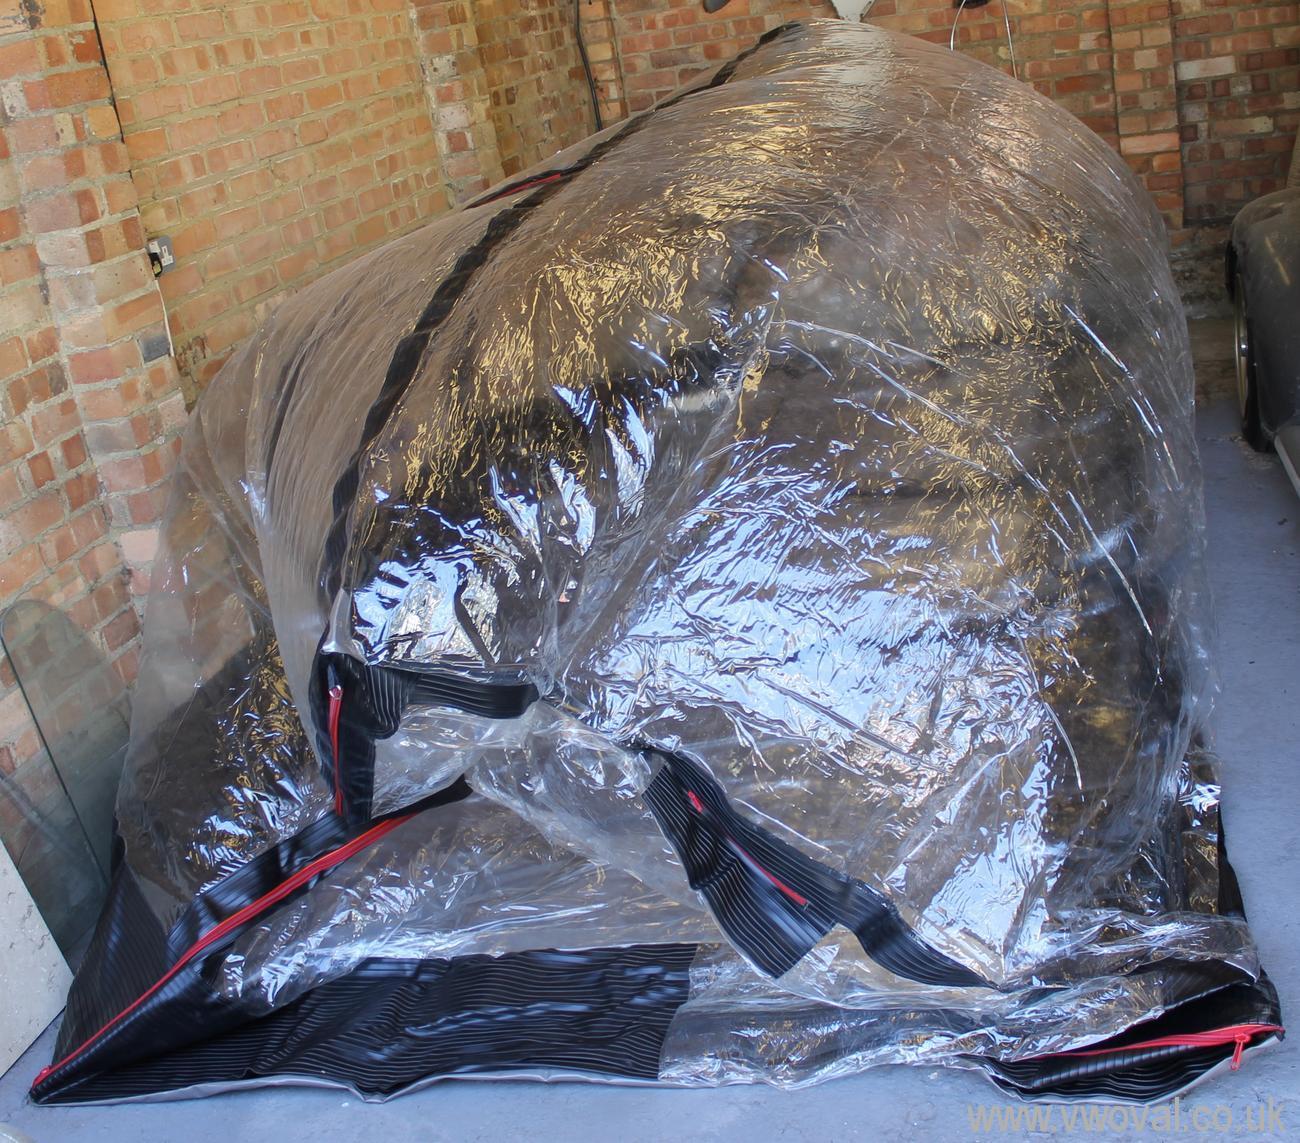
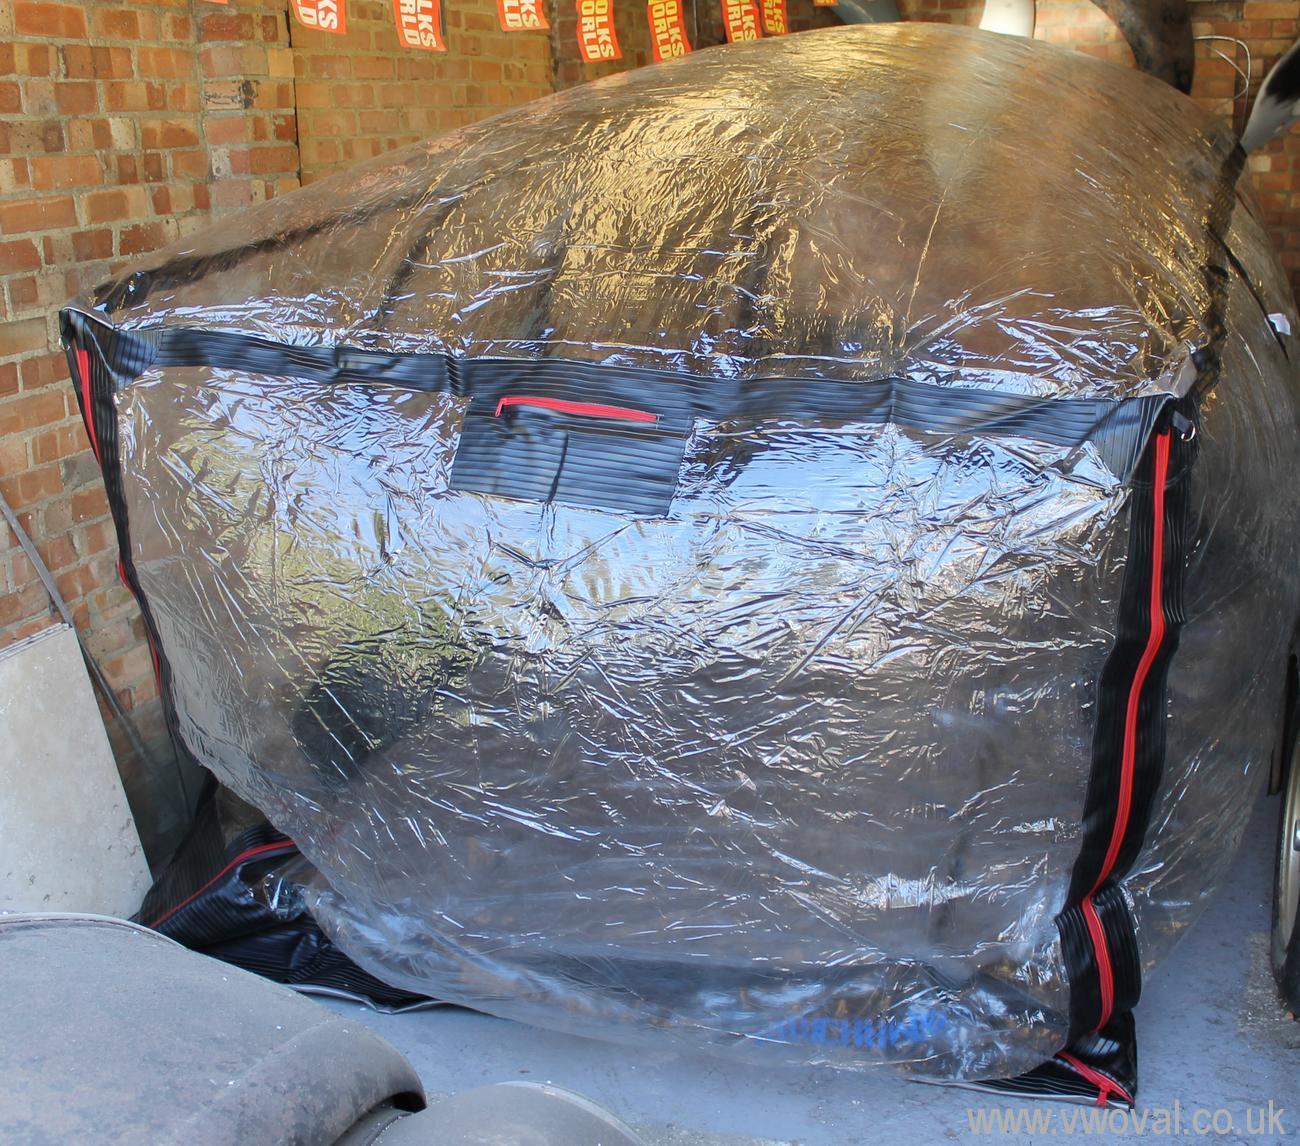
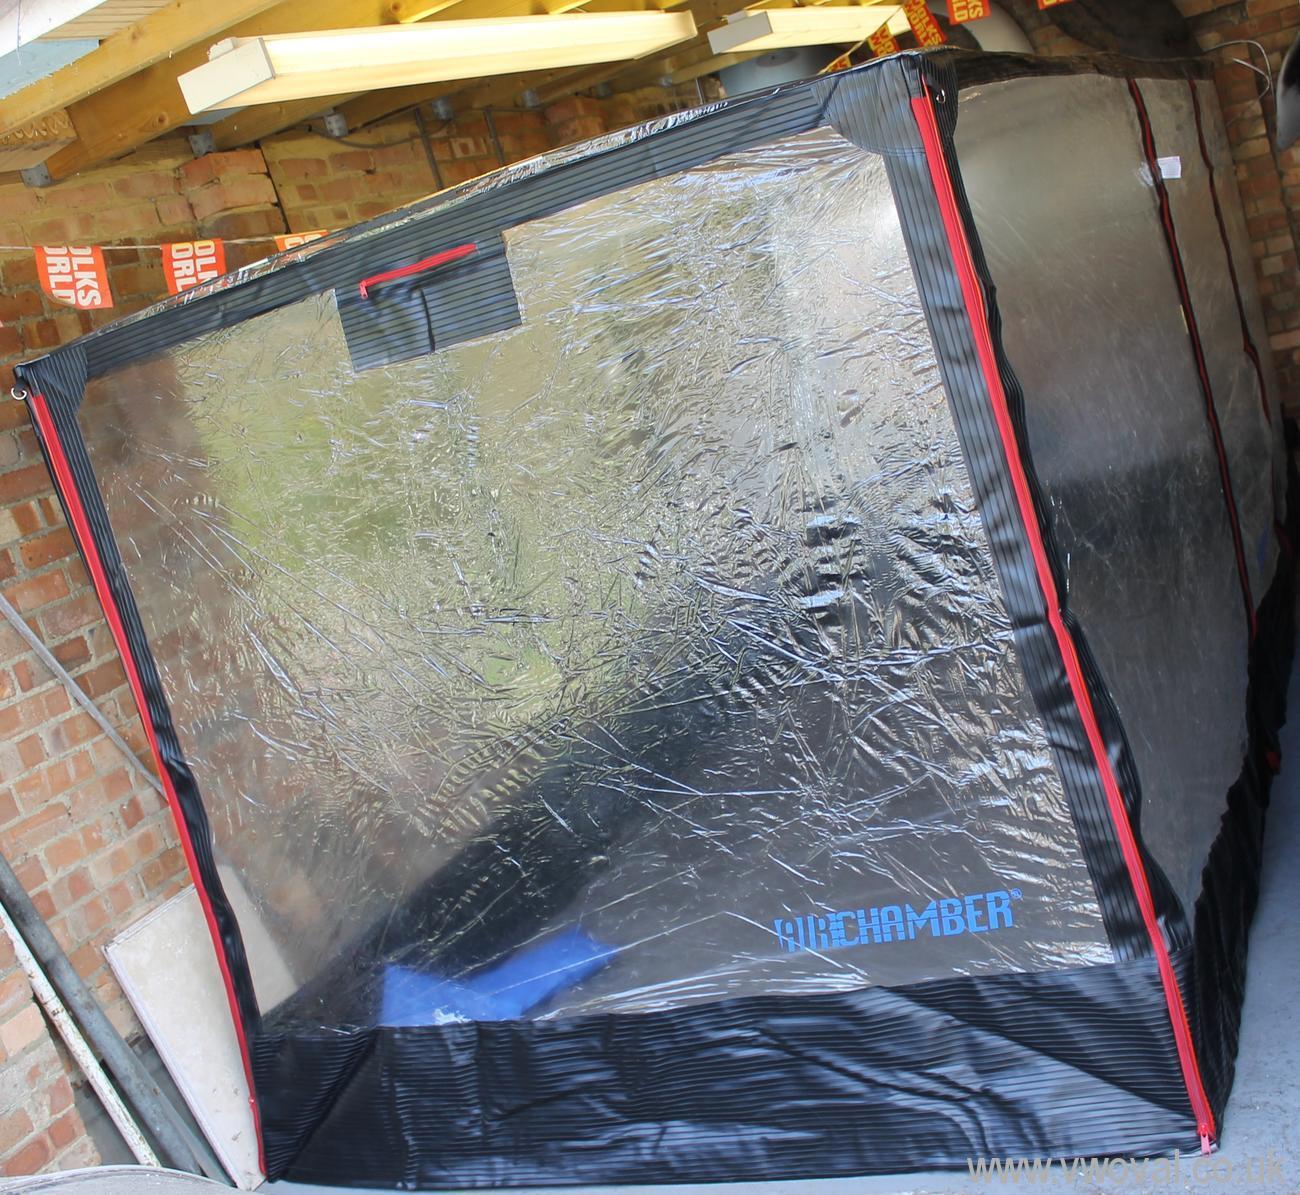
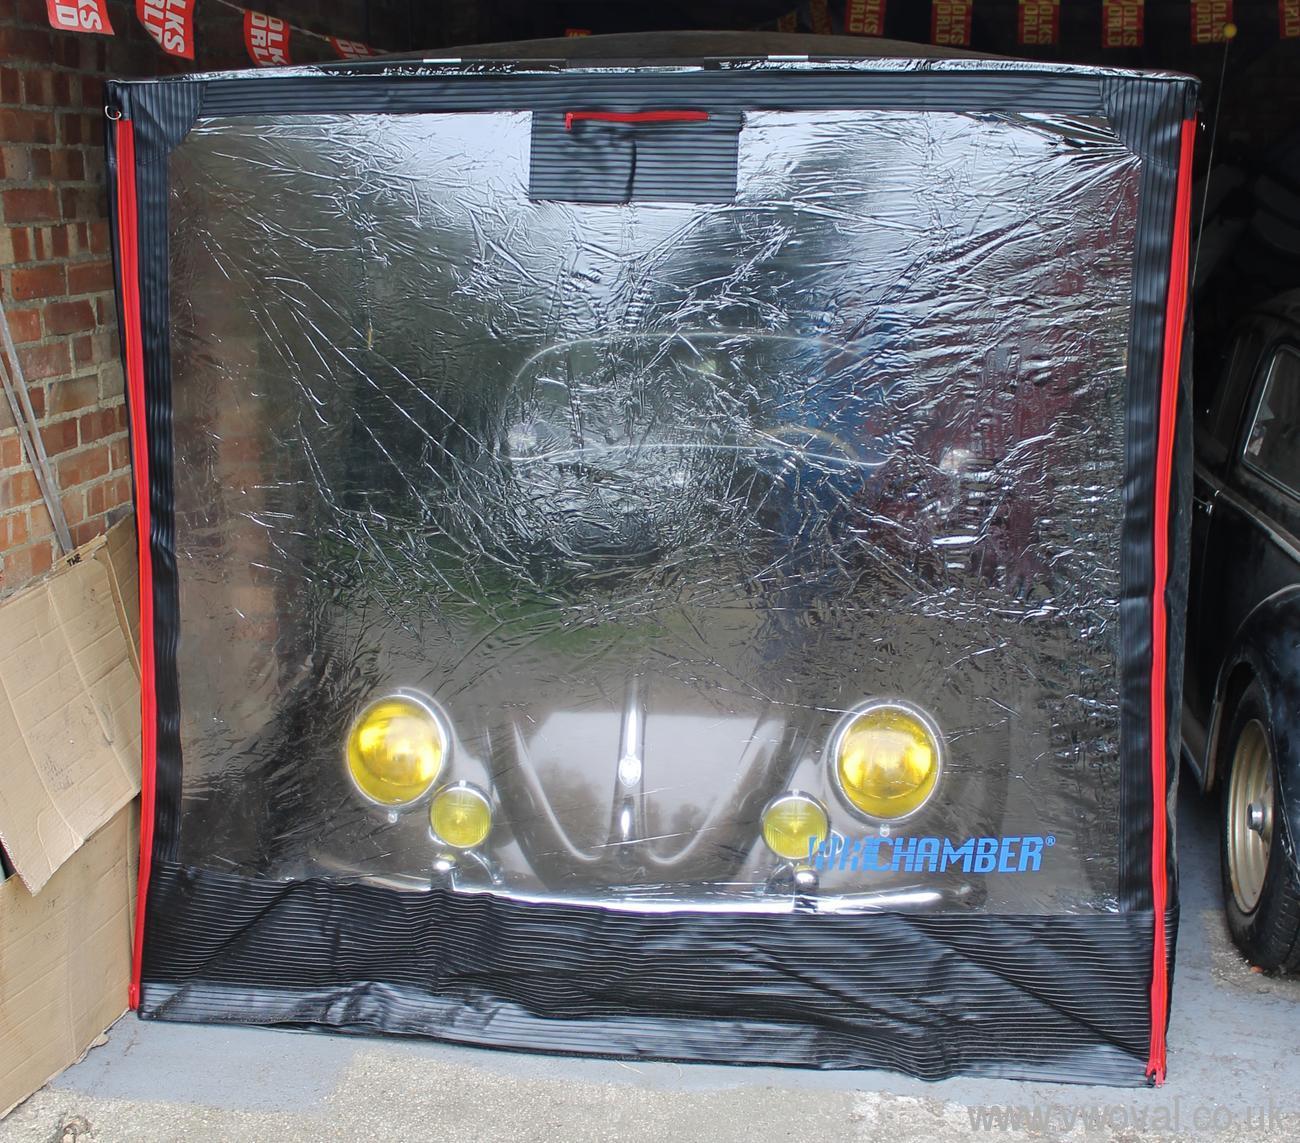
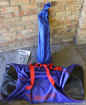
- Tuesday 23rd April saw the erection of my
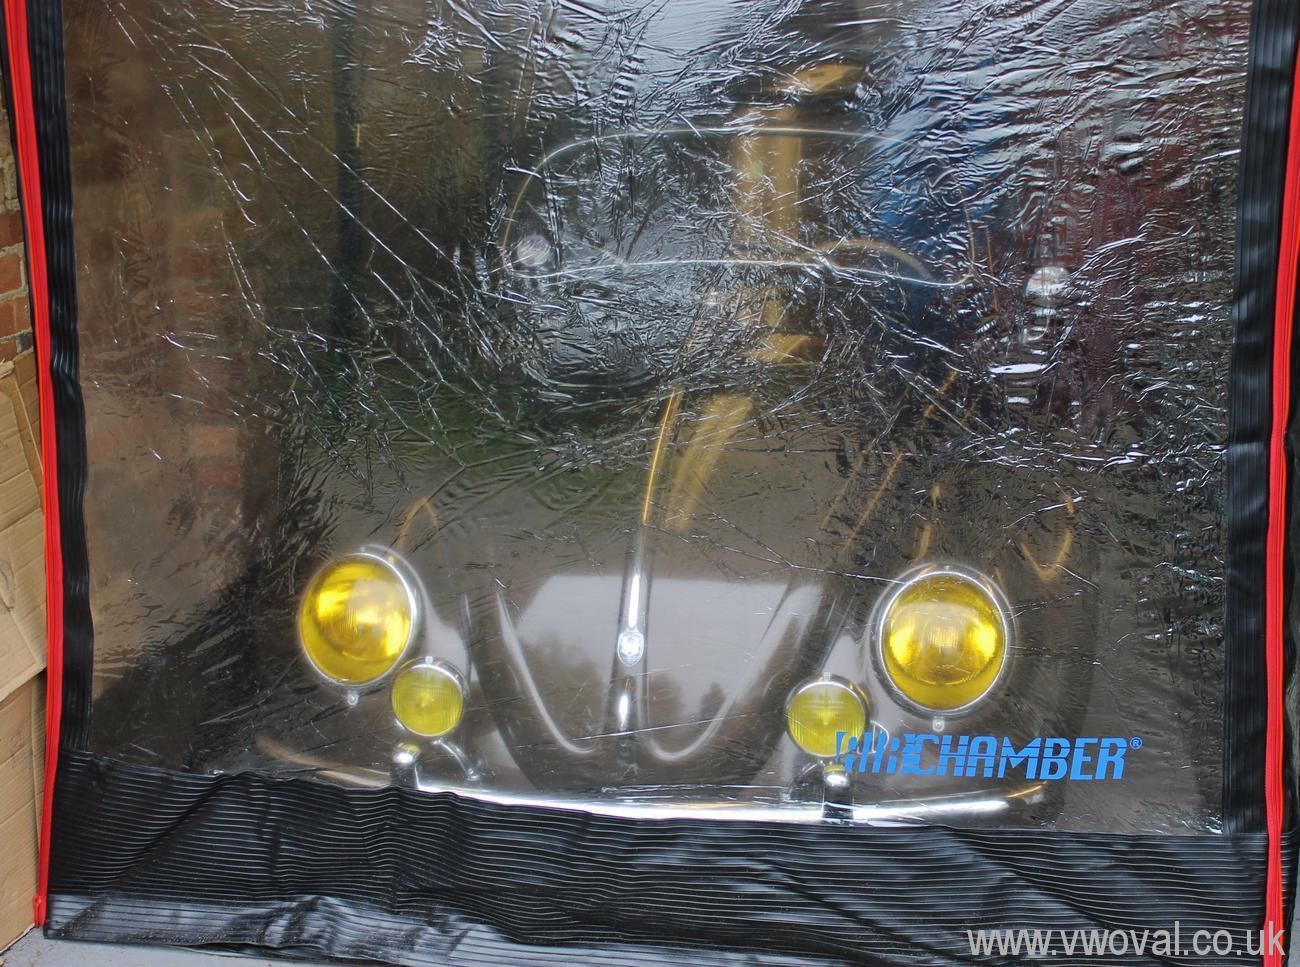
latest purchase.
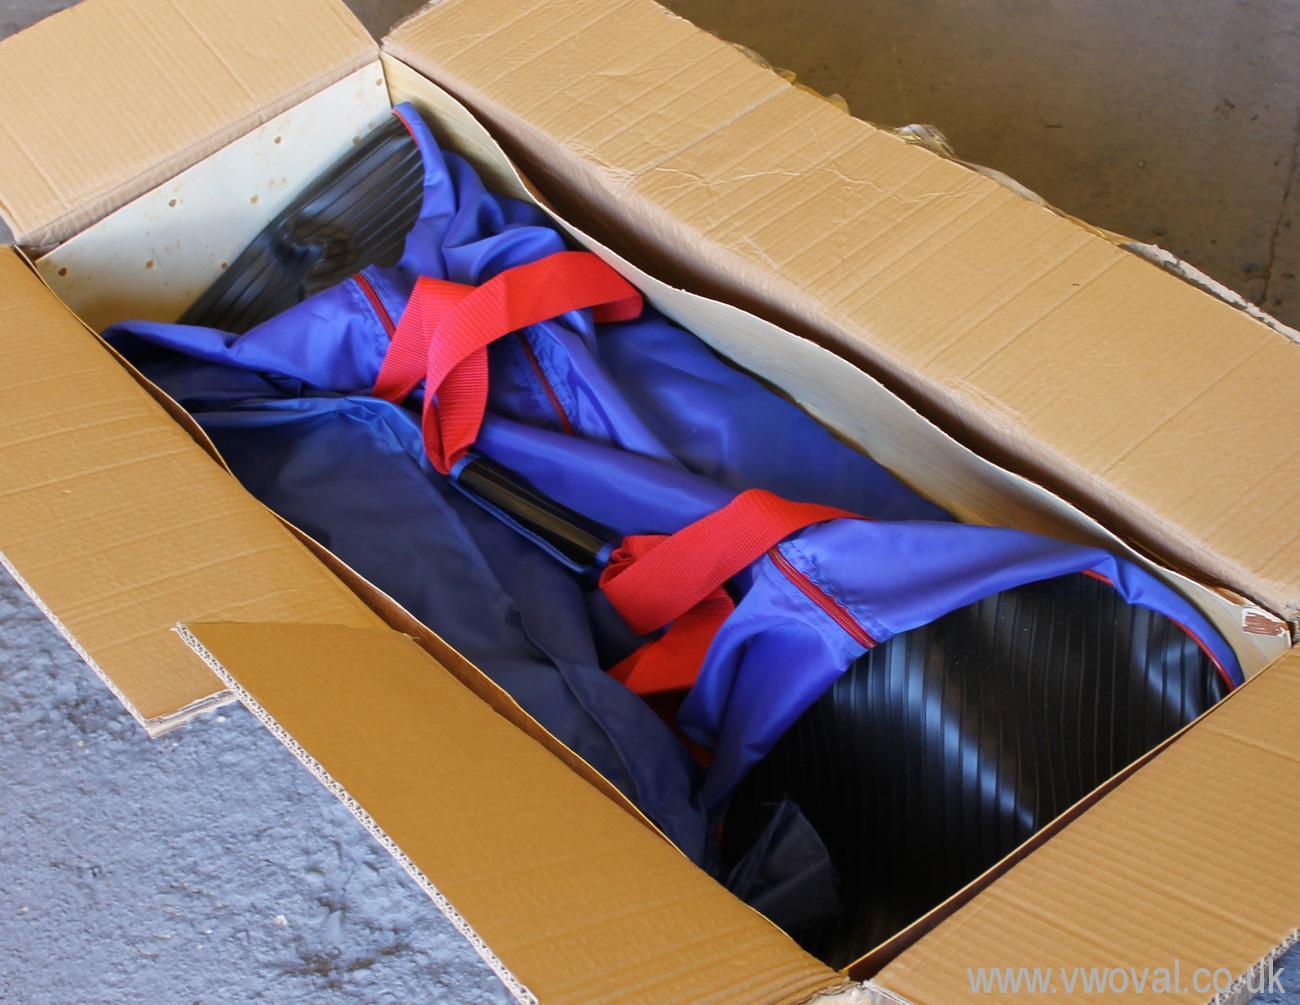
- I've bought it an Air Chamber. I had looked
at the Carcoon Storage systems but decided I wanted something more usable.. and
also didn't like the idea of it touching the paint. So I went for the Air Chamber
system..
- This is the 4.5m long "small"
model (its 2m wide and just over 1.8 m tall)
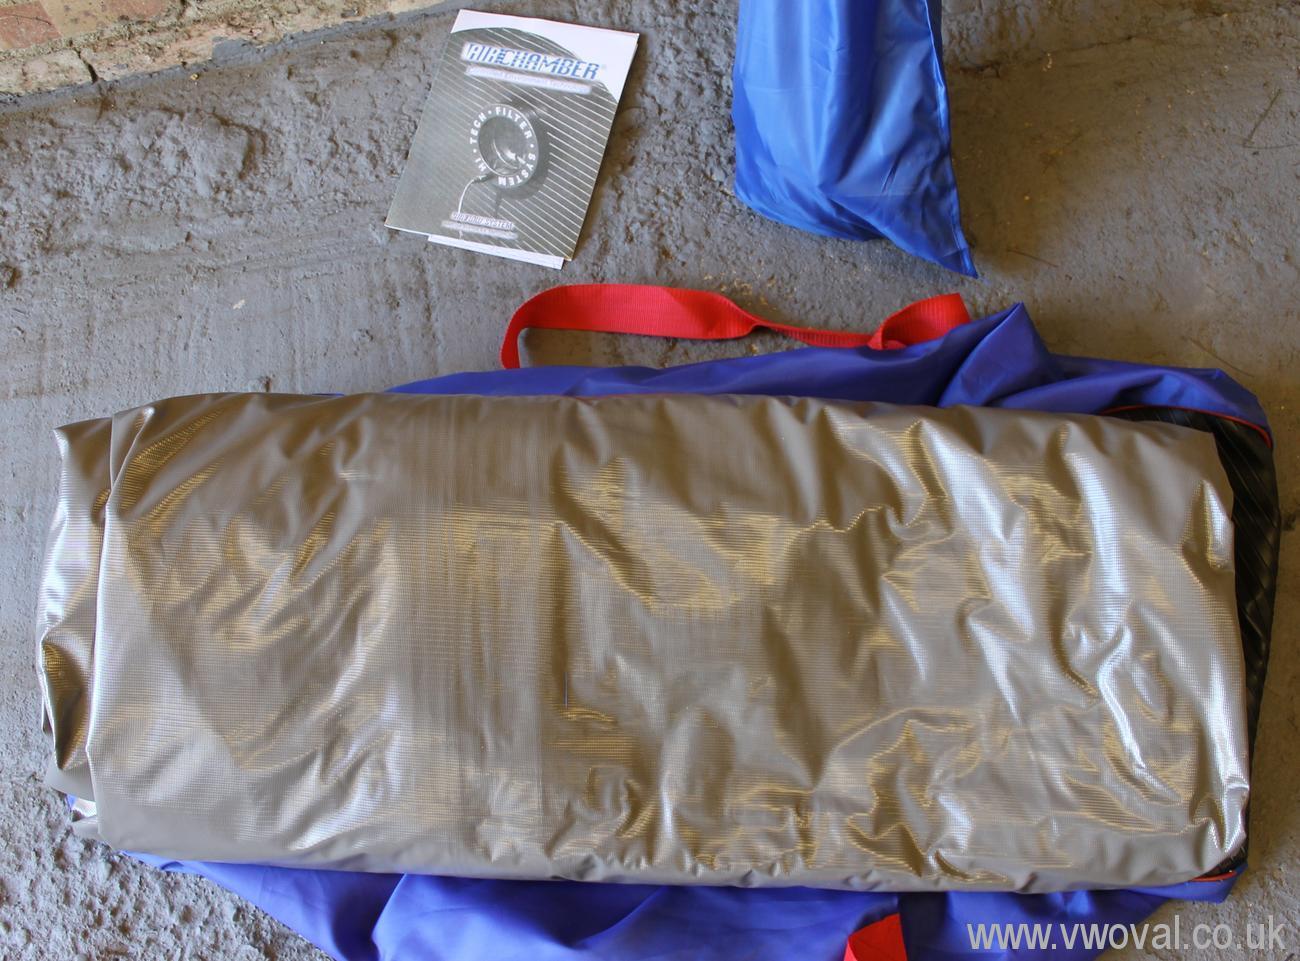
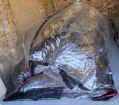
- John and I got it out the box -
- The contents -

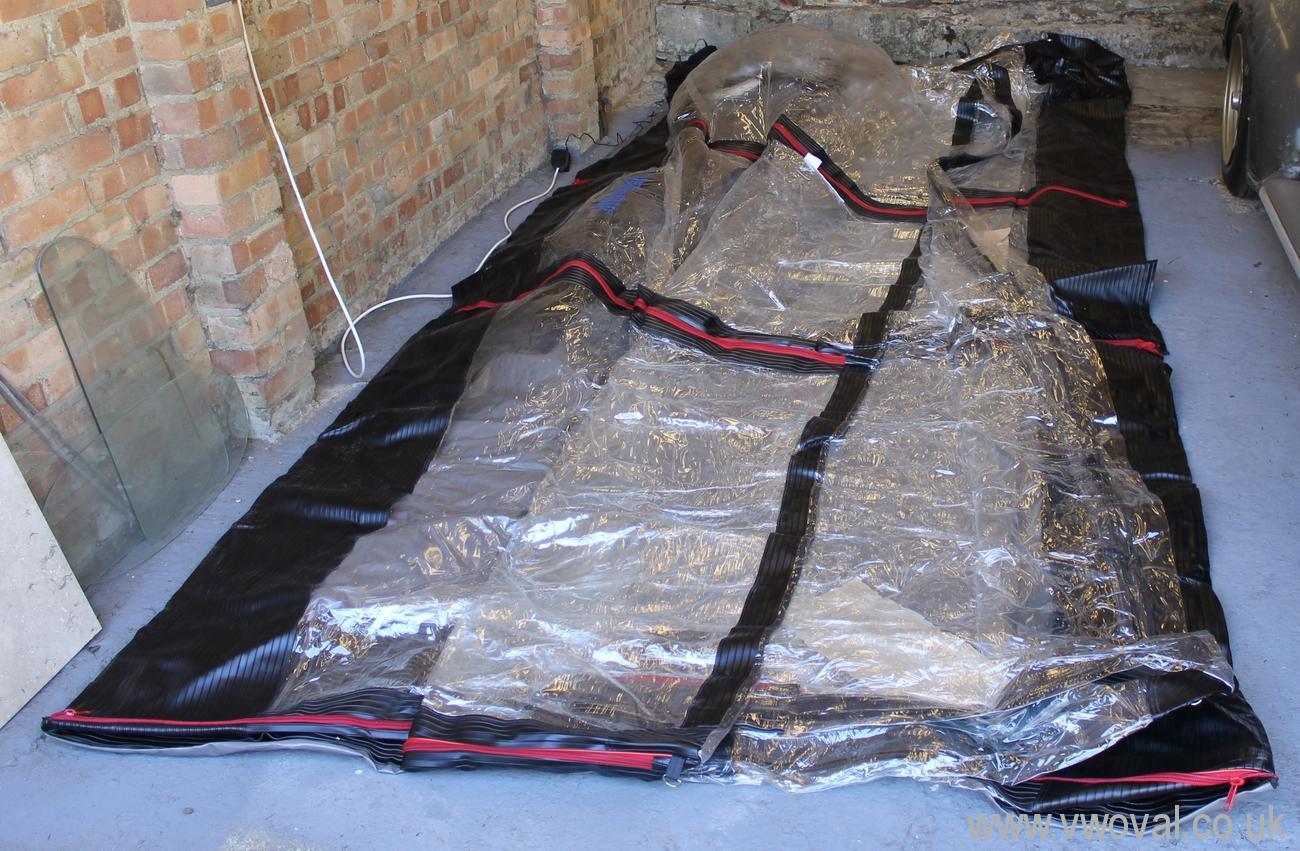
- We laid it out -
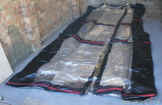
- Then plugged it in -
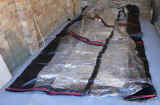
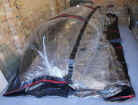

- It took about an hour for it to blow
up.. so we drank tea.
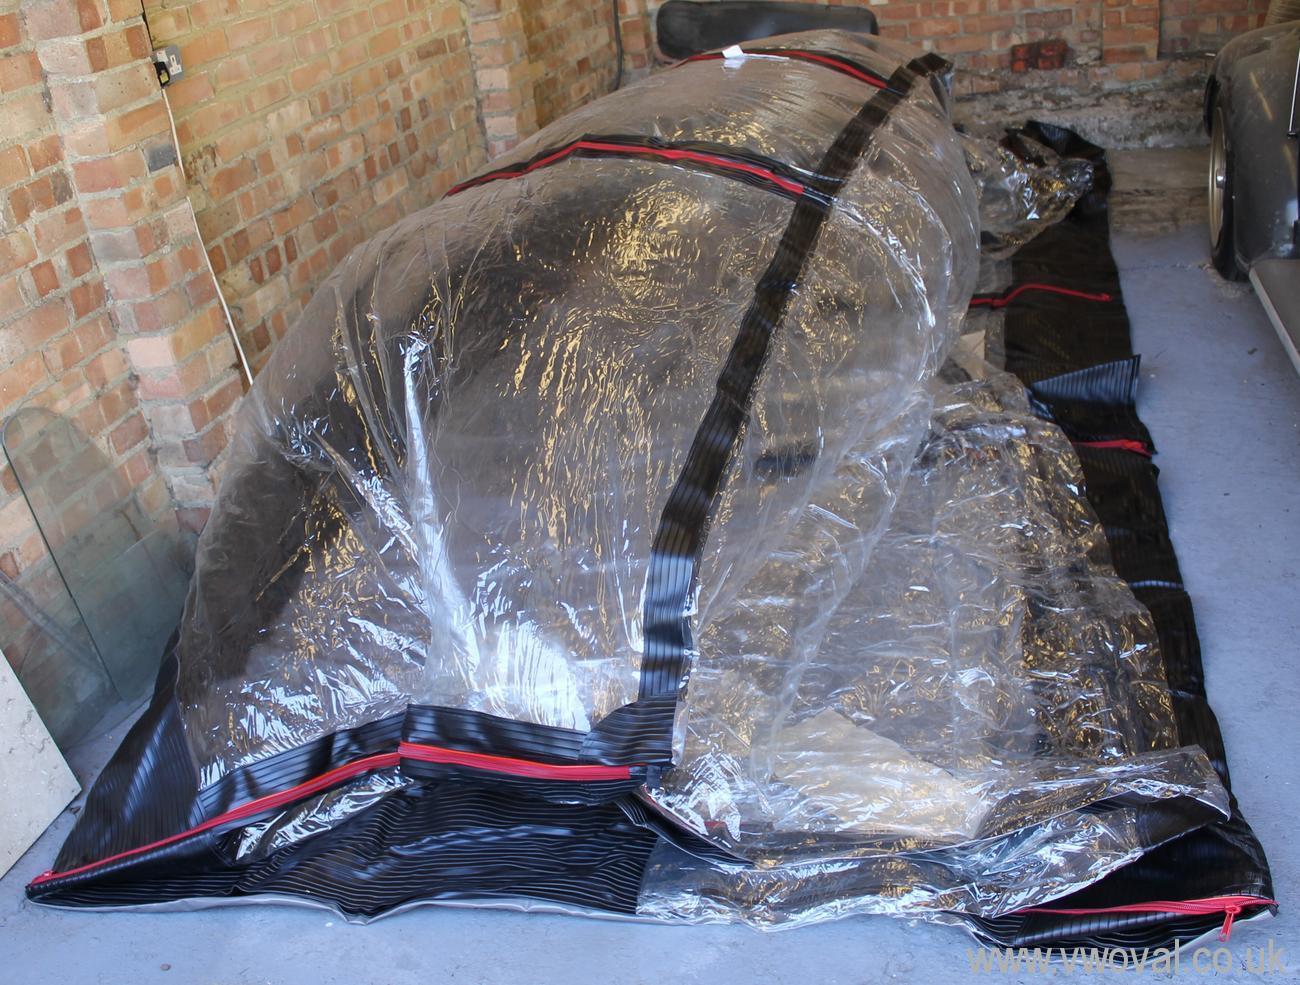
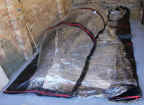
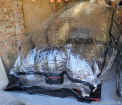
- We then climbed inside and put the poles
together... its like a big camping tent.. with fans.. the poles took about
another 45 mins to put together ... once we had worked out which ones went
where!
- The plan is that it should keep the car dry
and clean / dust free... If I am happy with the results I will start
selling these to VW owners...
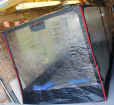
- My first experience was with a different
car. I washed my Irish oval, hosed it down, but it isn't the kind of thing you
can leather off... so I pushed it into the air chamber soaking wet.
- The next morning the car was dry, properly
dry and there was no condensation or puddles... the air flow had dried the car.
-
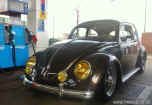
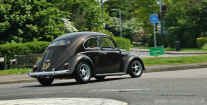
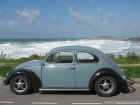
- Big Bang 2013 - I took the Beetle to Big
Bang early on Sunday morning. I parked up and left it in the show and shine. I didn't
polish him nor clean him any more than he already was... I even left the dead
fly on the windscreen - just to prove he is no trailer queen. He drove
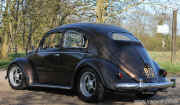
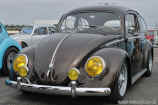
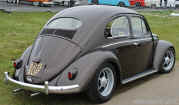
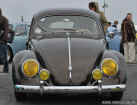
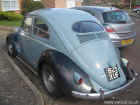
perfectly. Very smooth and quiet. Very nice.


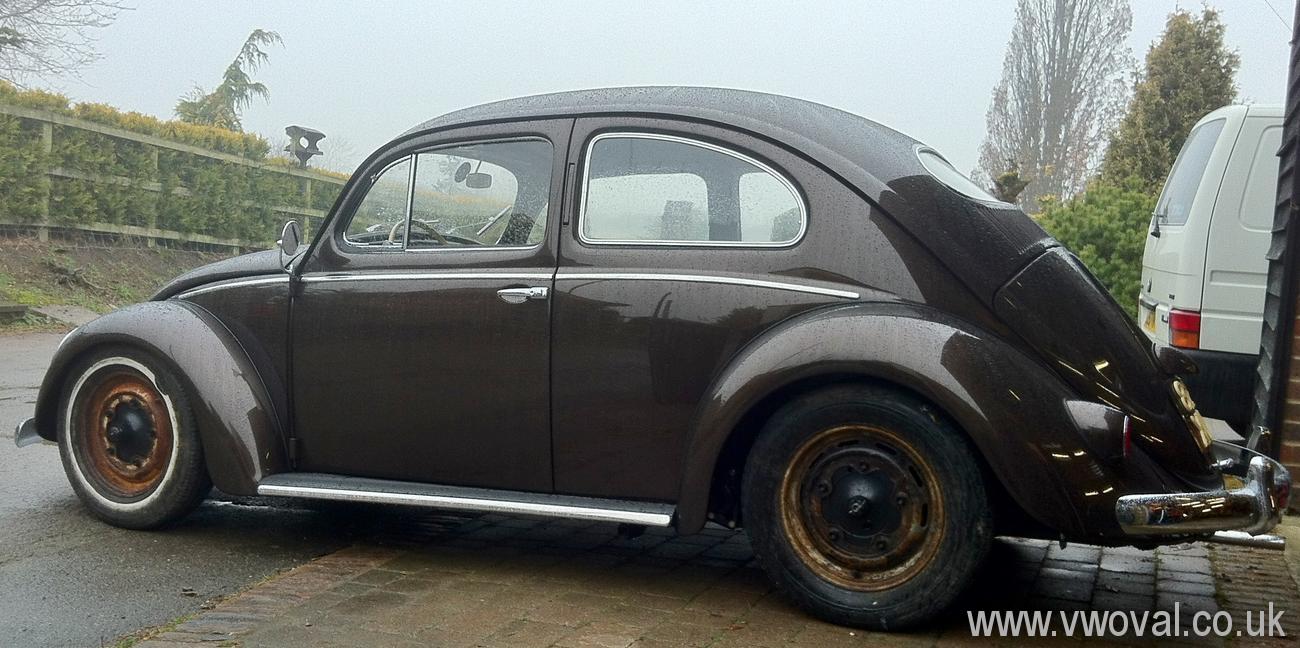
- Then about 2 weeks ago the Brown shiny car
made it into the Air Chamber... he is still there now..
- May 26th 2013 - I've been polishing again!
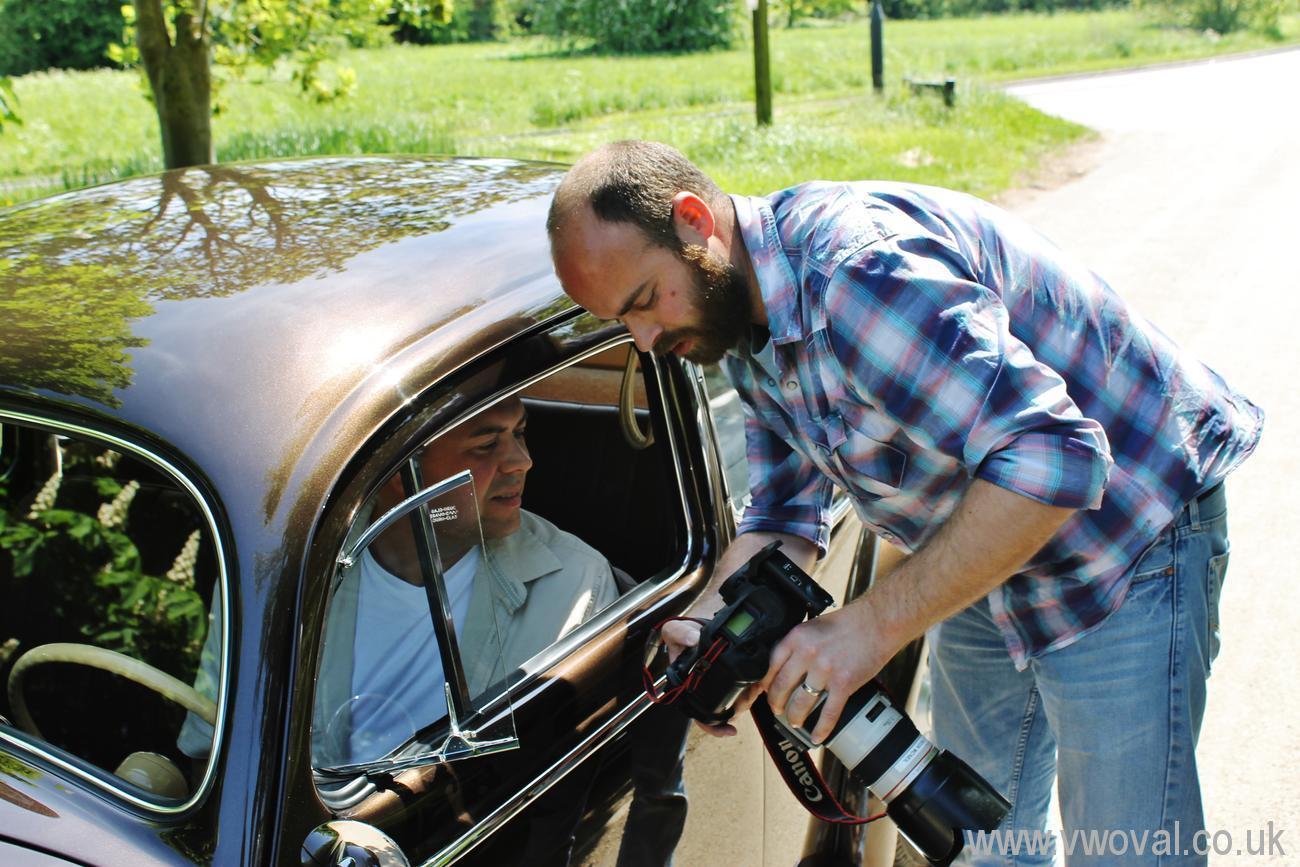
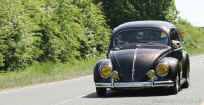
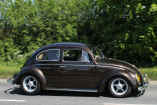
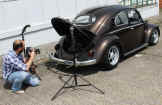
- Its Volksworld Photo shoot day - the sun is
shining and the photographer Lyndon McNeil is here. What a great day.
- I won't ruin the shoot with spoilers /
previews.. But I cant wait to see it in print.
- Lyndon is a top photographer and will make
it look amazing.


-
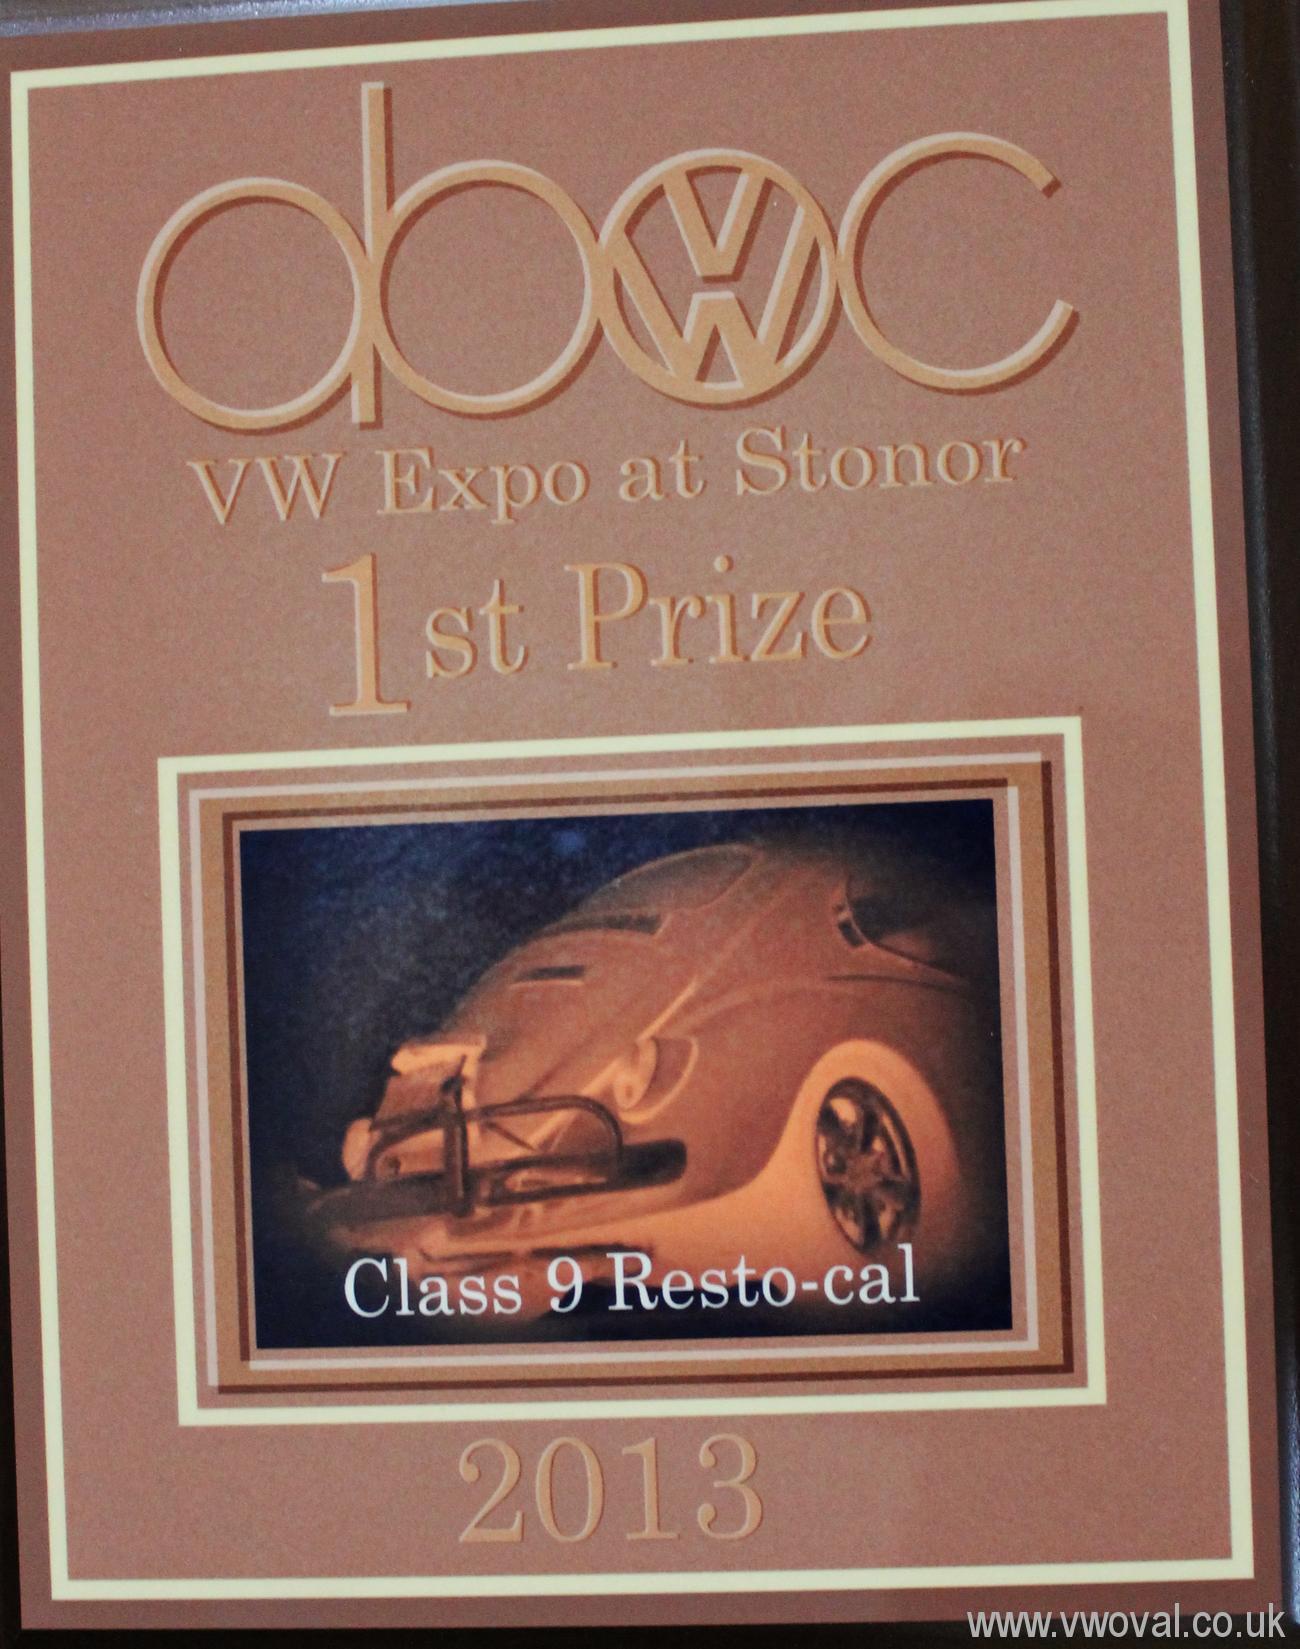
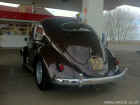
- June 2nd - Stonor Park 2013. We took a run
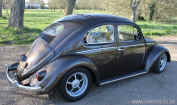
down to Stonor in the Beetle. He behaved really well and coped with the M1, M25
and M40 with ease. We were lucky enough to come away with a "best in
class" award.
-


- July 2013, I've been talking to
Volksworld Magazine. They have quizzed me... Hopefully they have something
interesting to say about the car in the up and coming feature? - Not long
now...
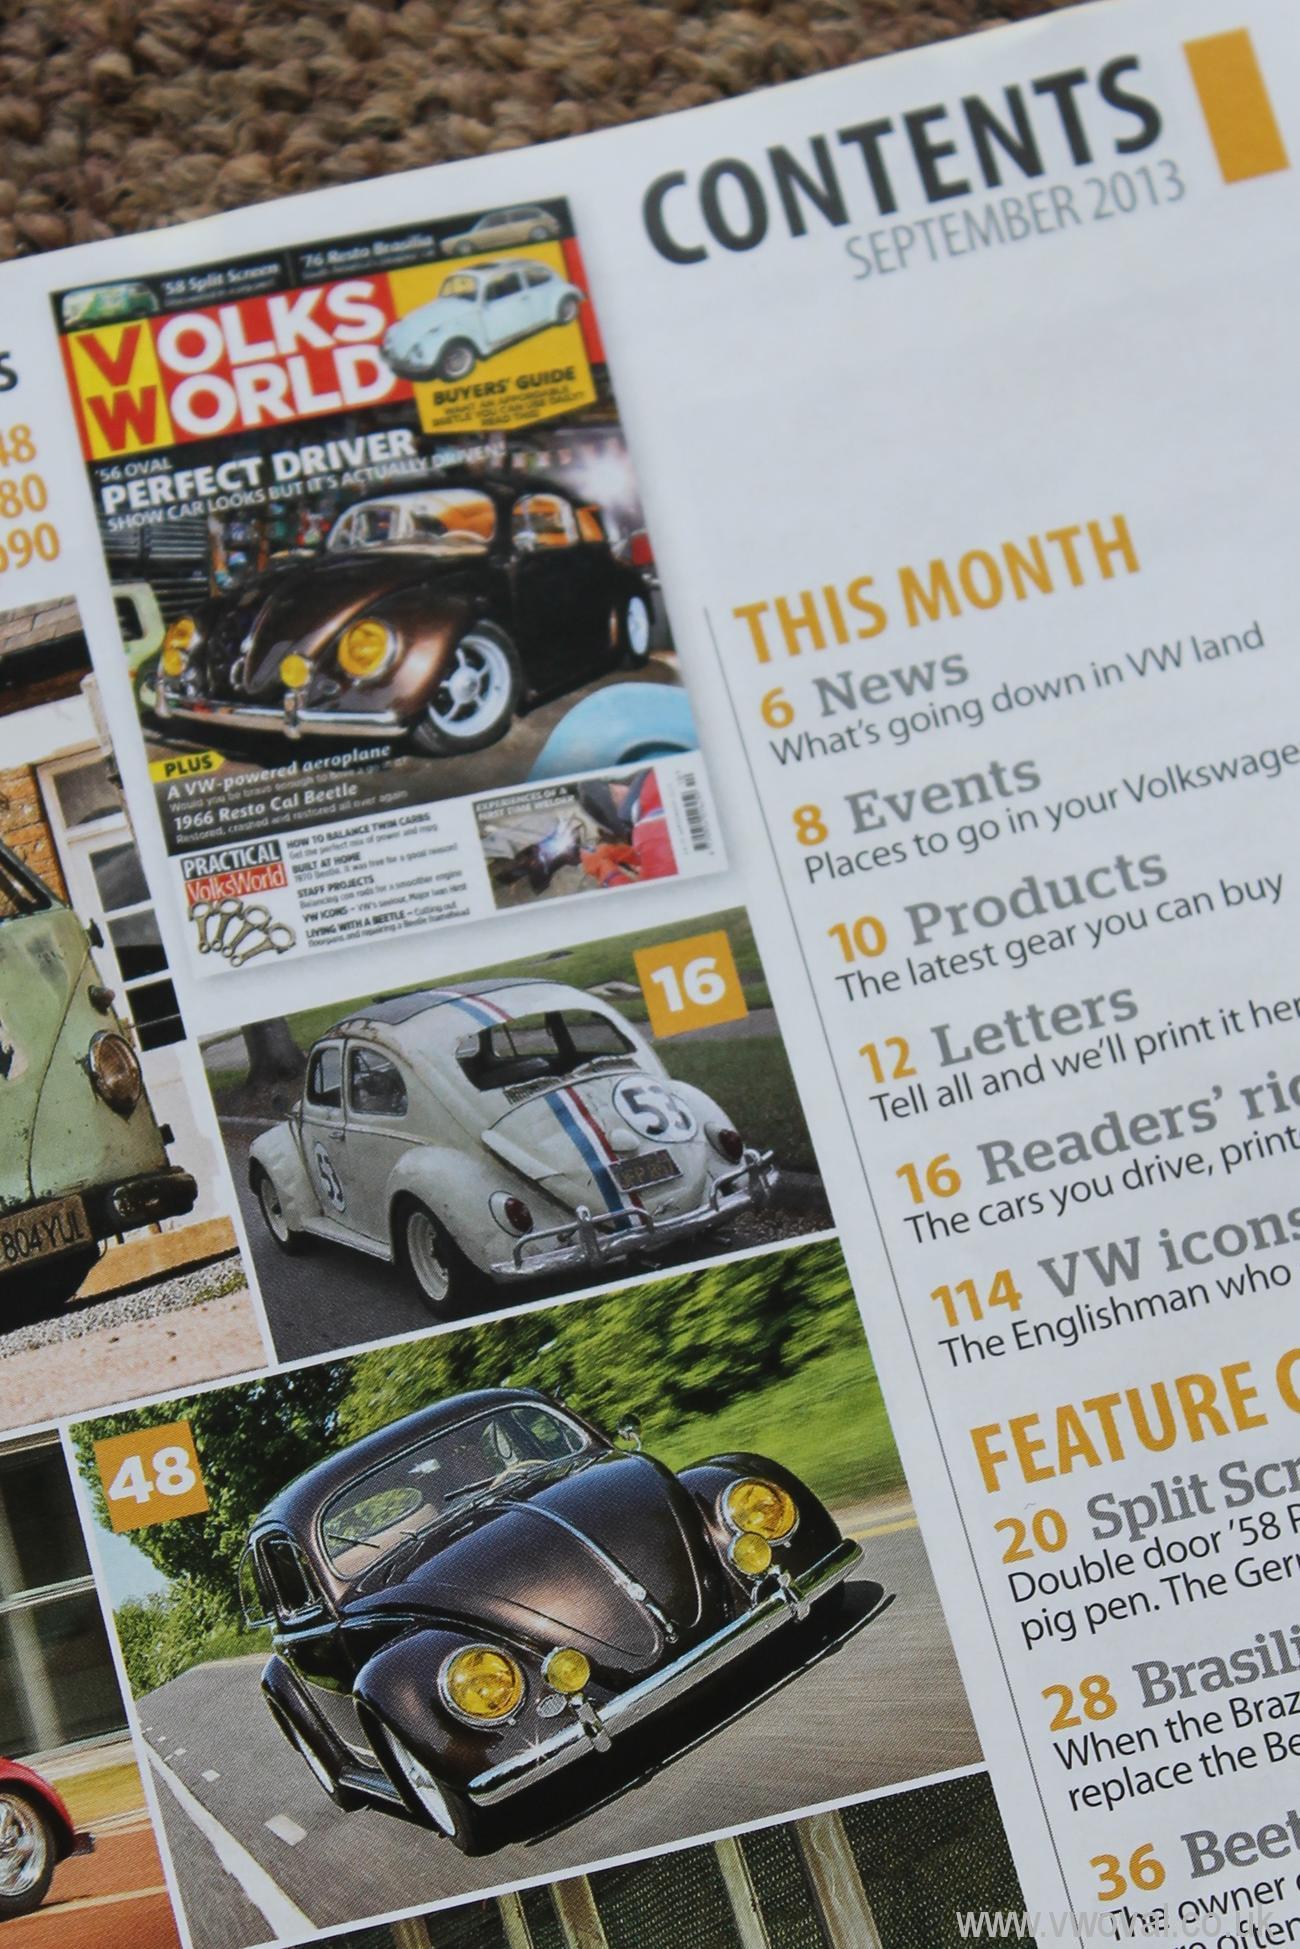
- July 27th 2013 - Its Exciting!
- The September Copy of Volksworld Thuds
onto the door step...
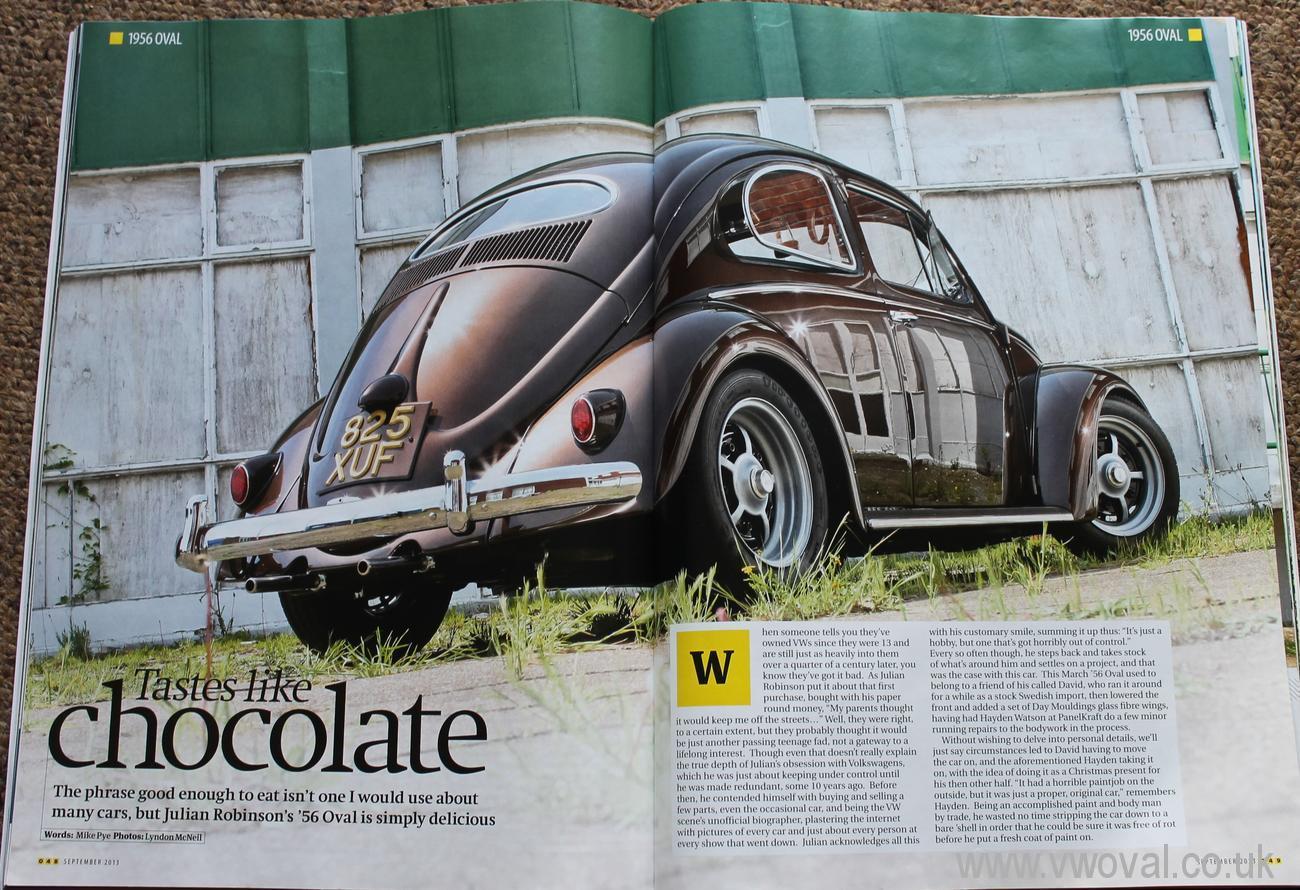
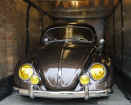
- Feature Tastes like chocolate – 1956
Oval
The phrase ‘good enough to eat’ isn’t one I would use about many cars,
but.....
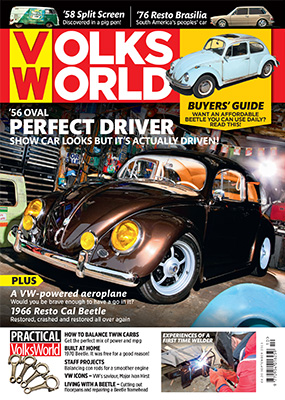
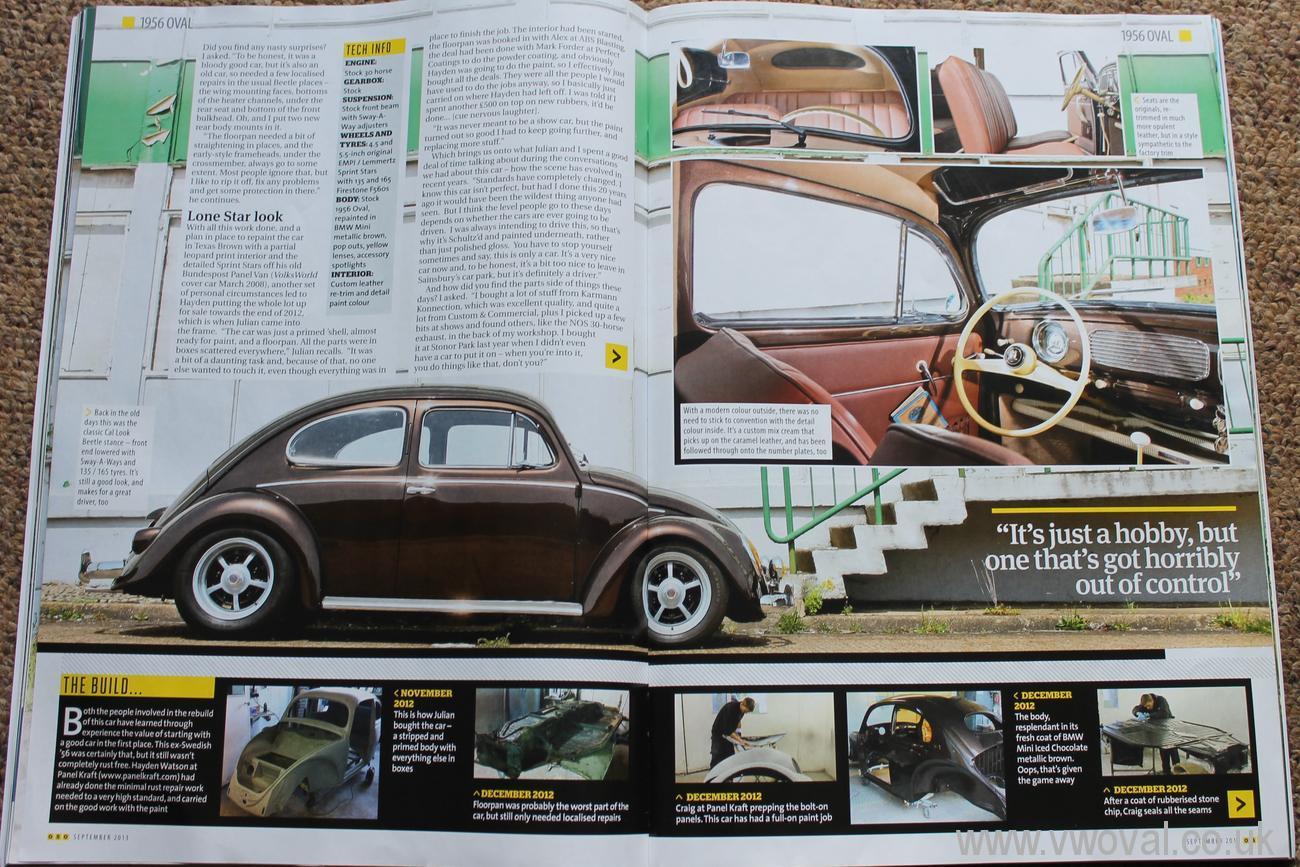
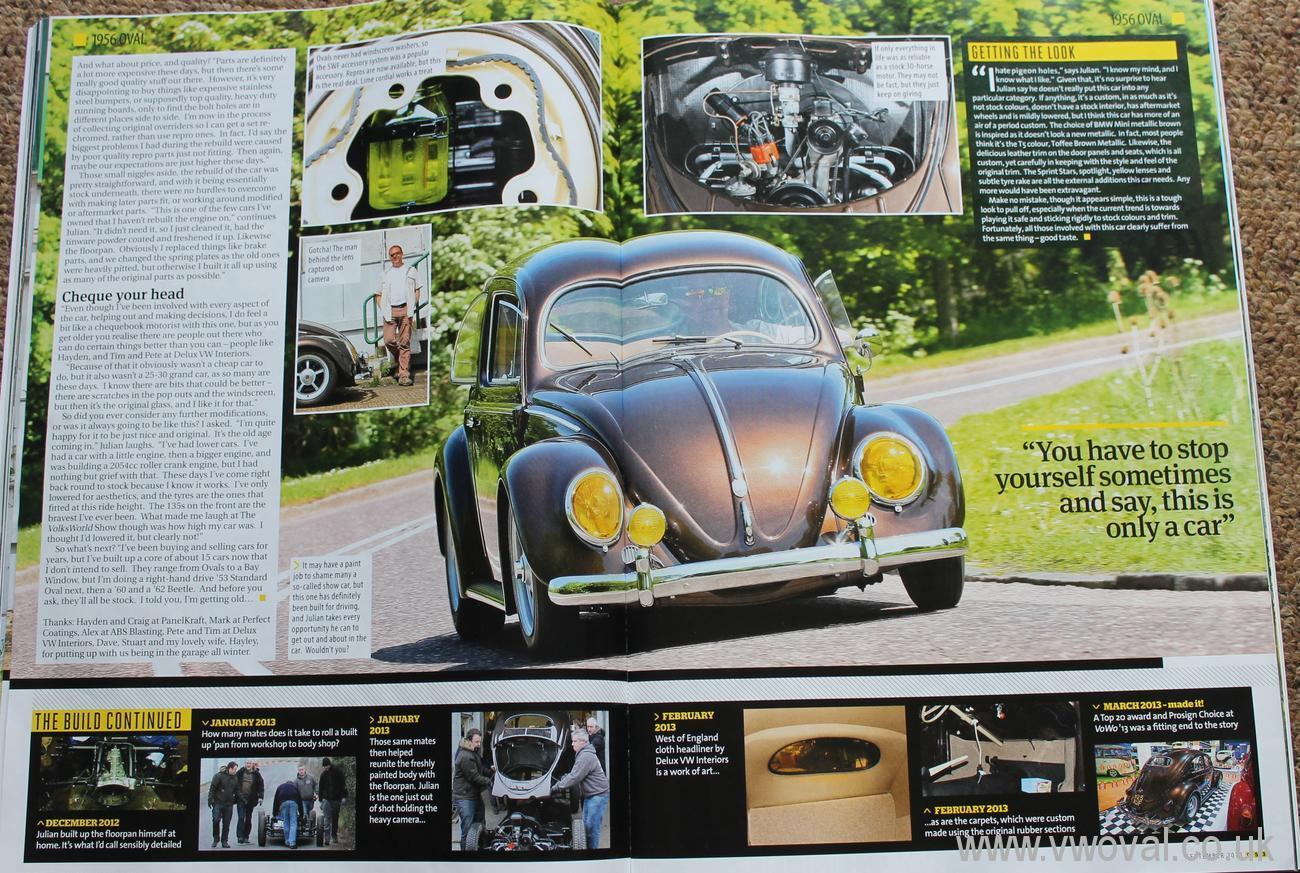
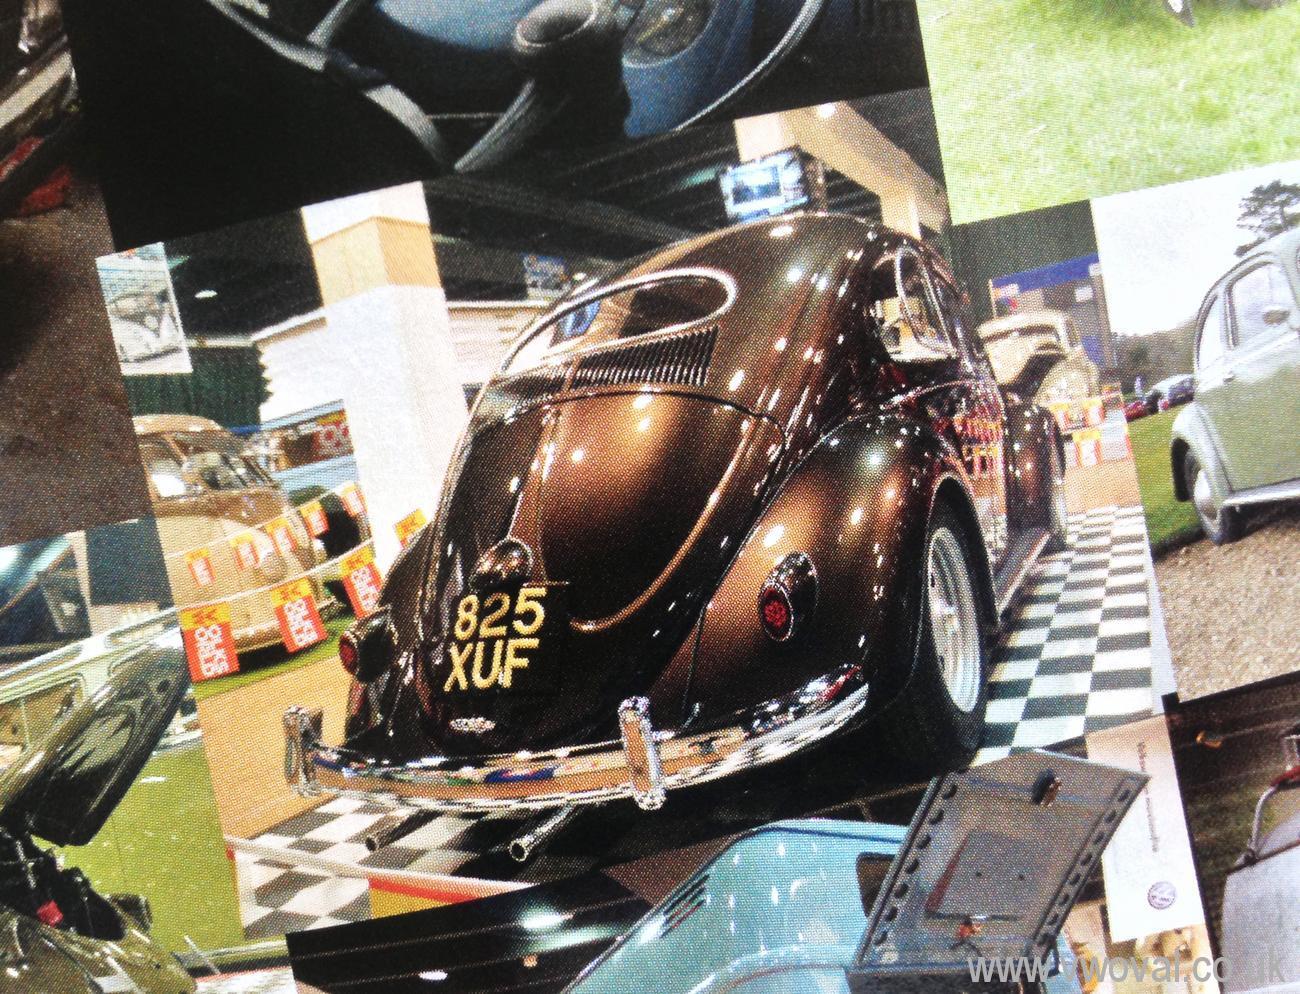
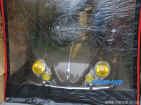
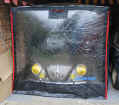
- The feature in the new Volksworld looks
amazing... here are some low res versions - you will have to go buy a copy
to see it properly!

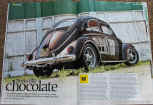
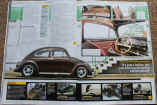

- Thank you to Volksworld for the feature
and Lyndon McNeil for the brilliant pictures.
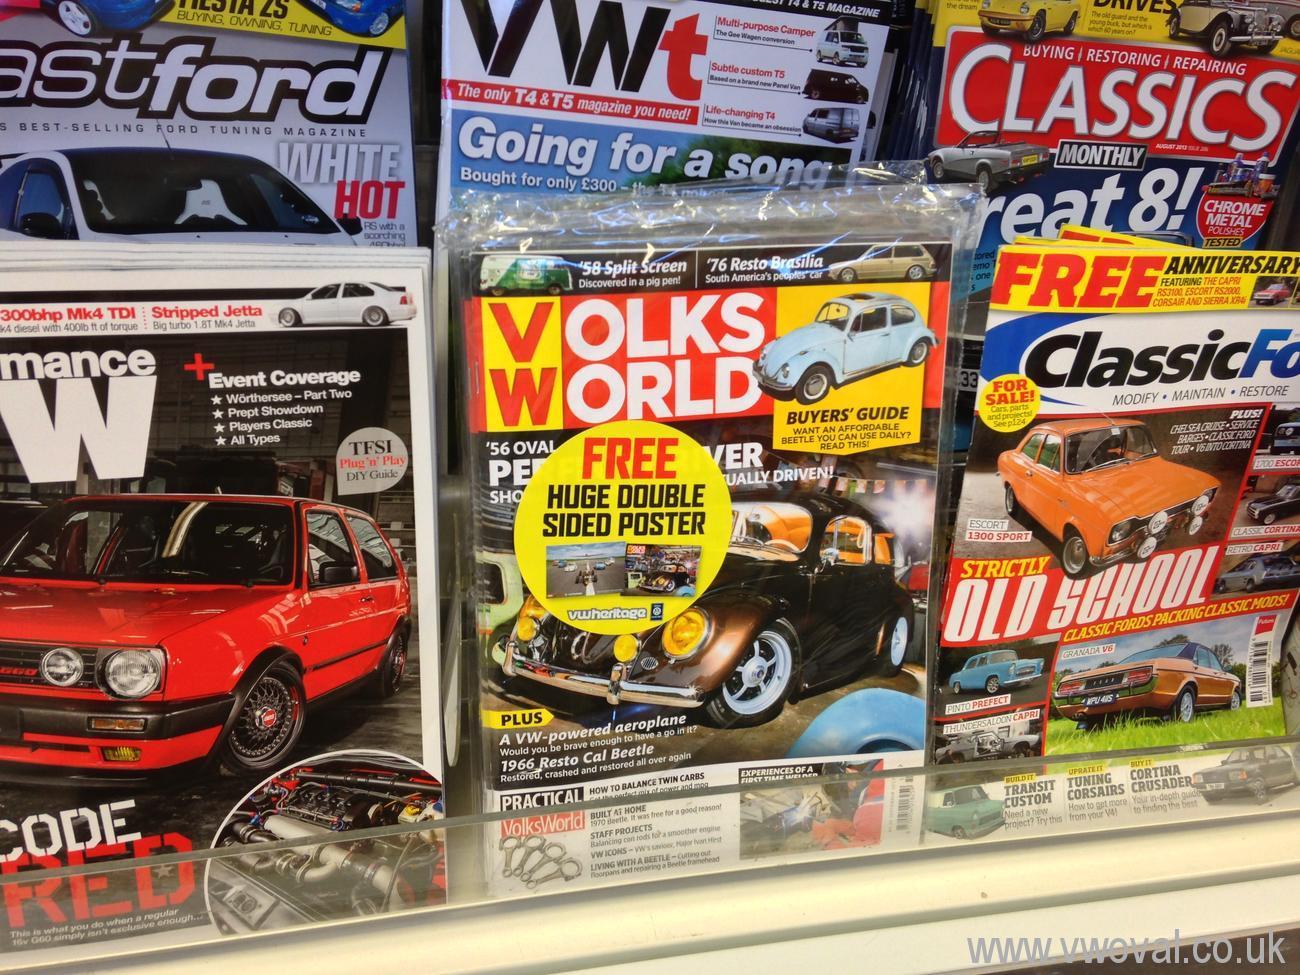
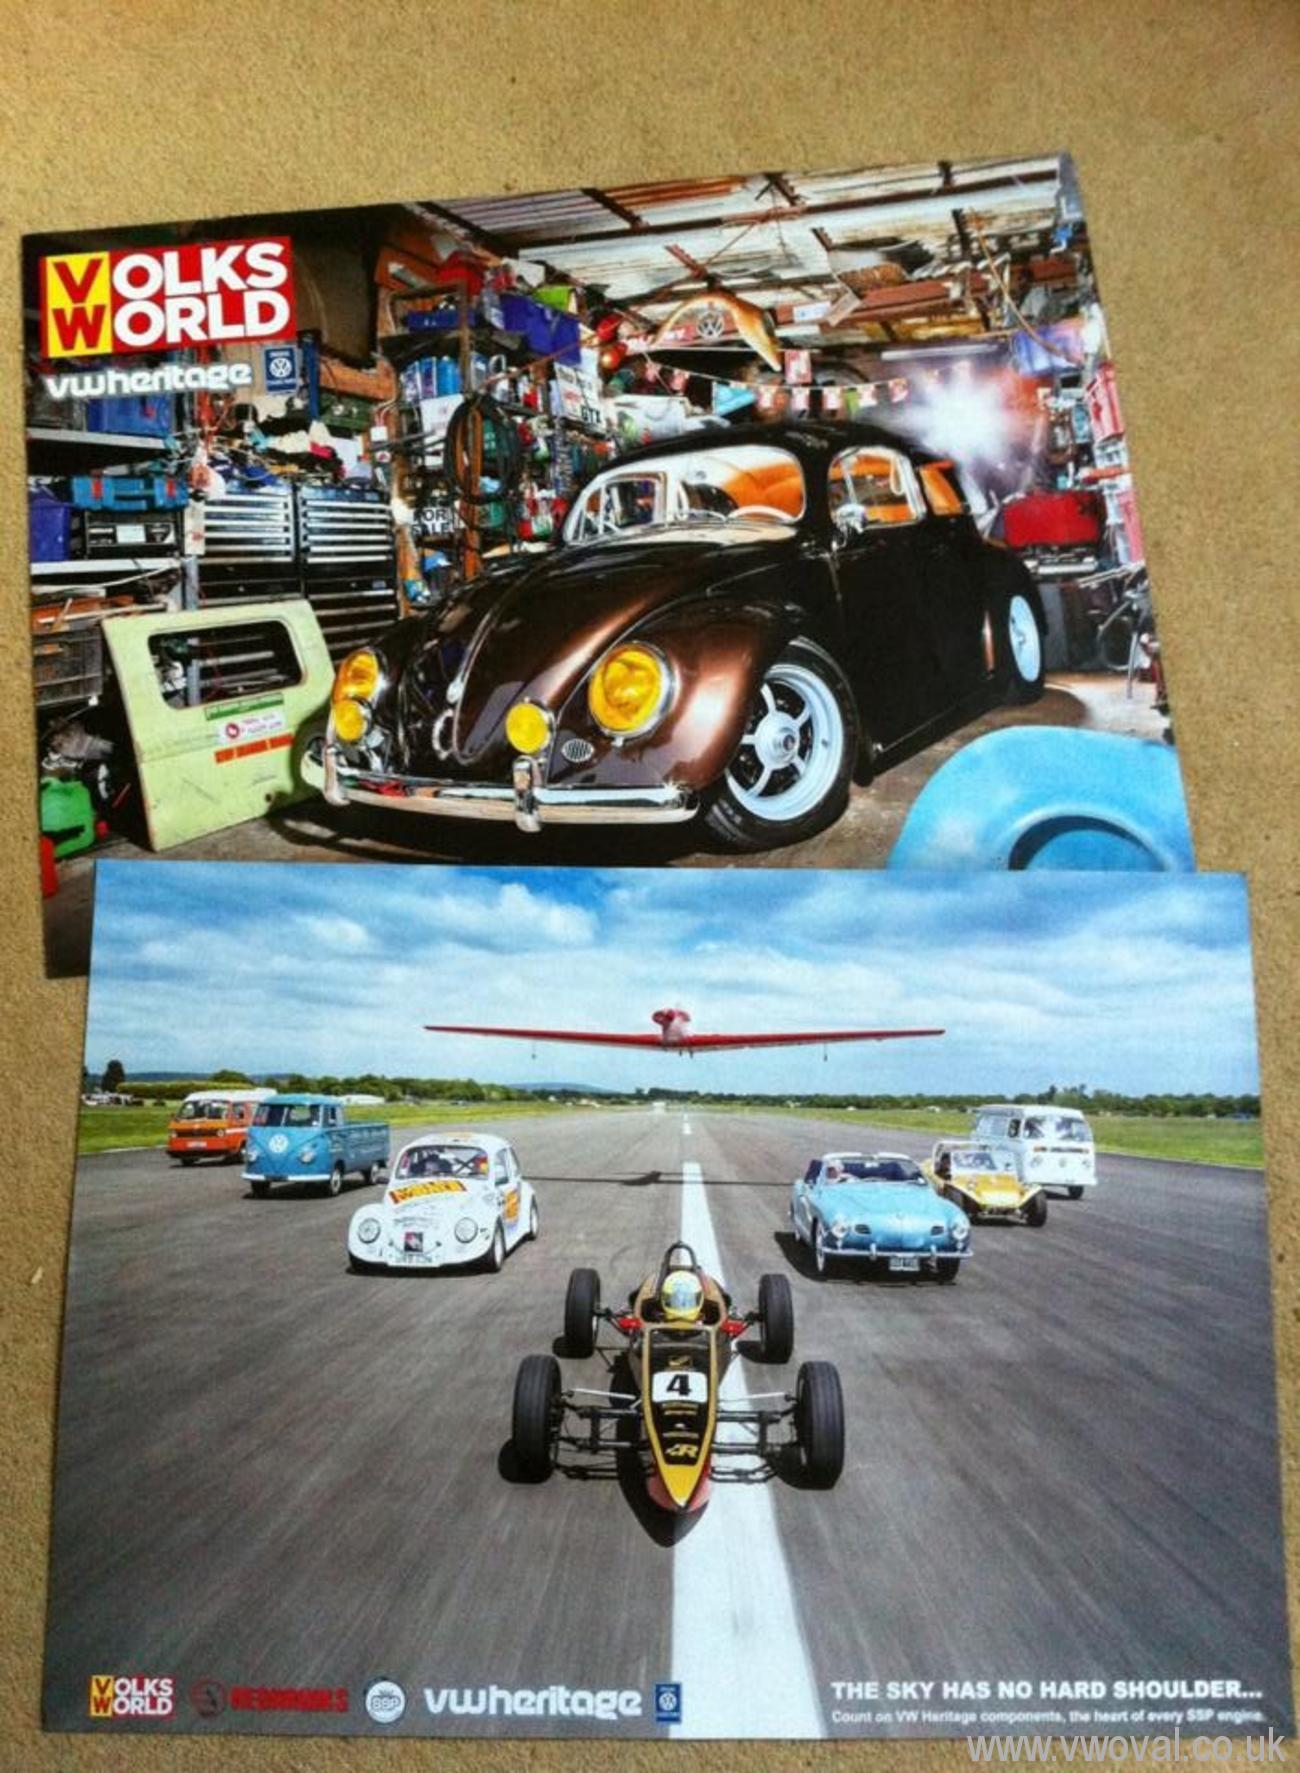
- A week later it is out in the shops...
and with a Poster too!

- 11th August 2013 - I went to VW Sweetcorn
this weekend and met up with the guys from Volksworld Magazine - I got the
chance to say "Thank you" for the feature in person.
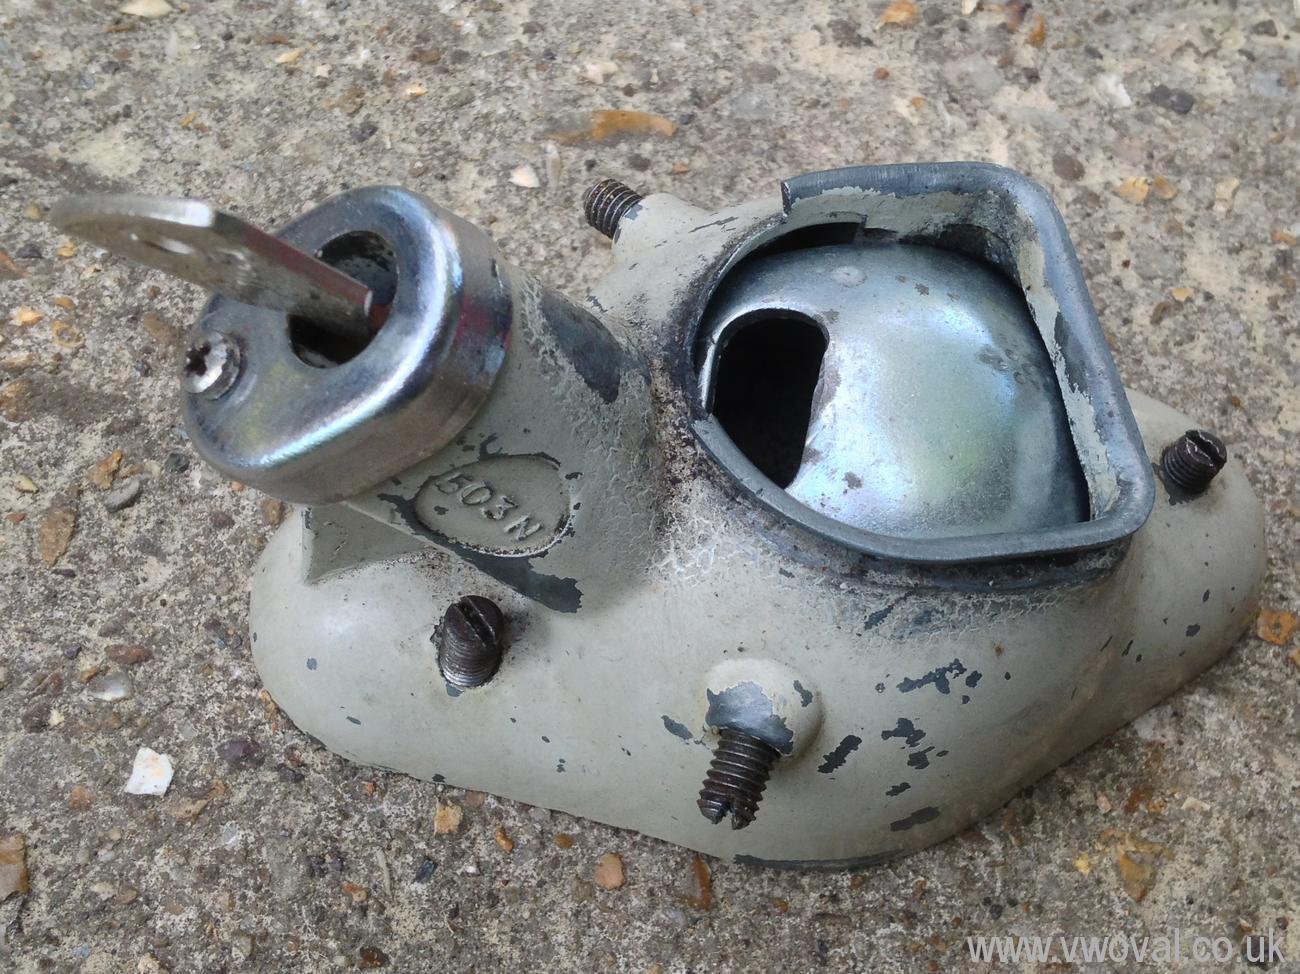
- I also picked up this period Gearlever
lock...
- I picked up a copy of Hayburner magazine
at the weekend... there is a picture in there of the Brown beast
too..

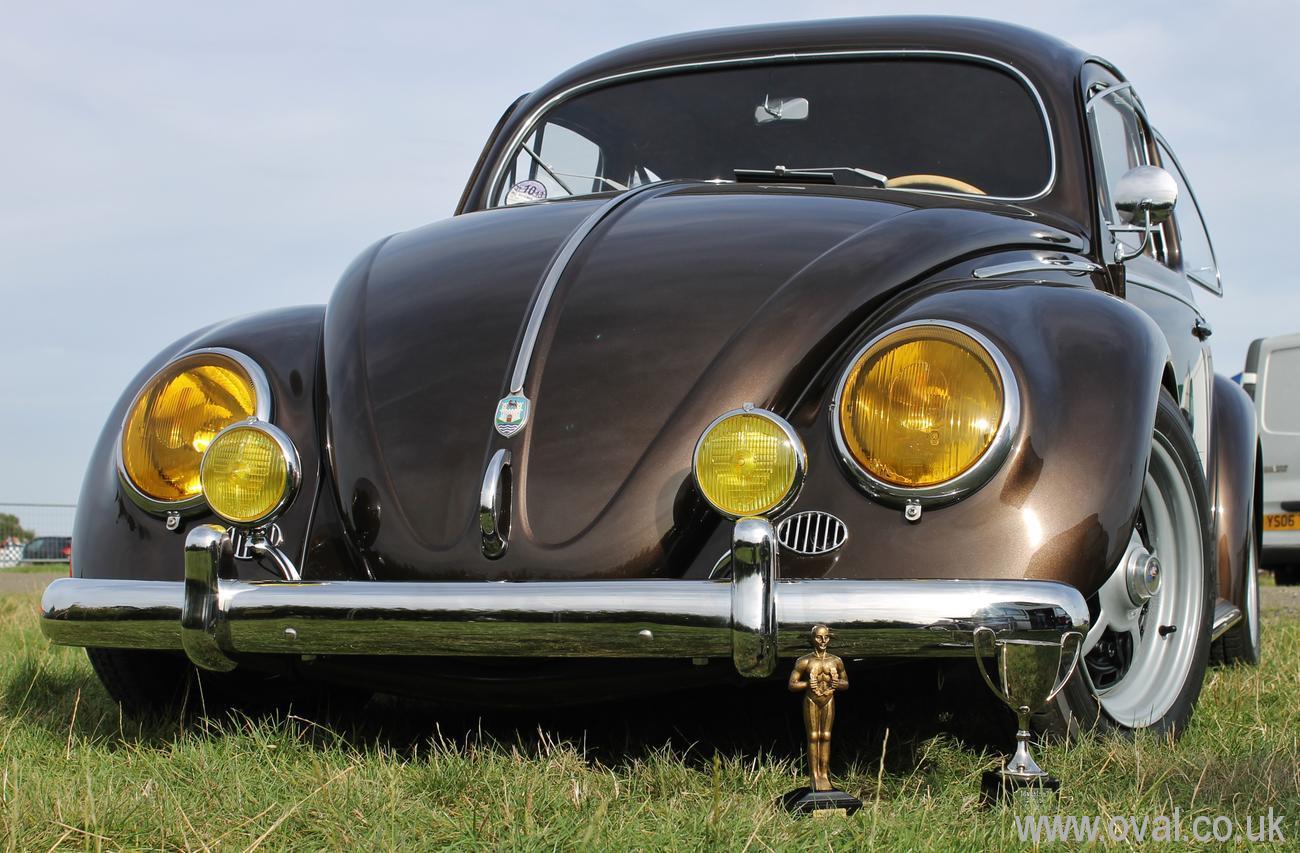
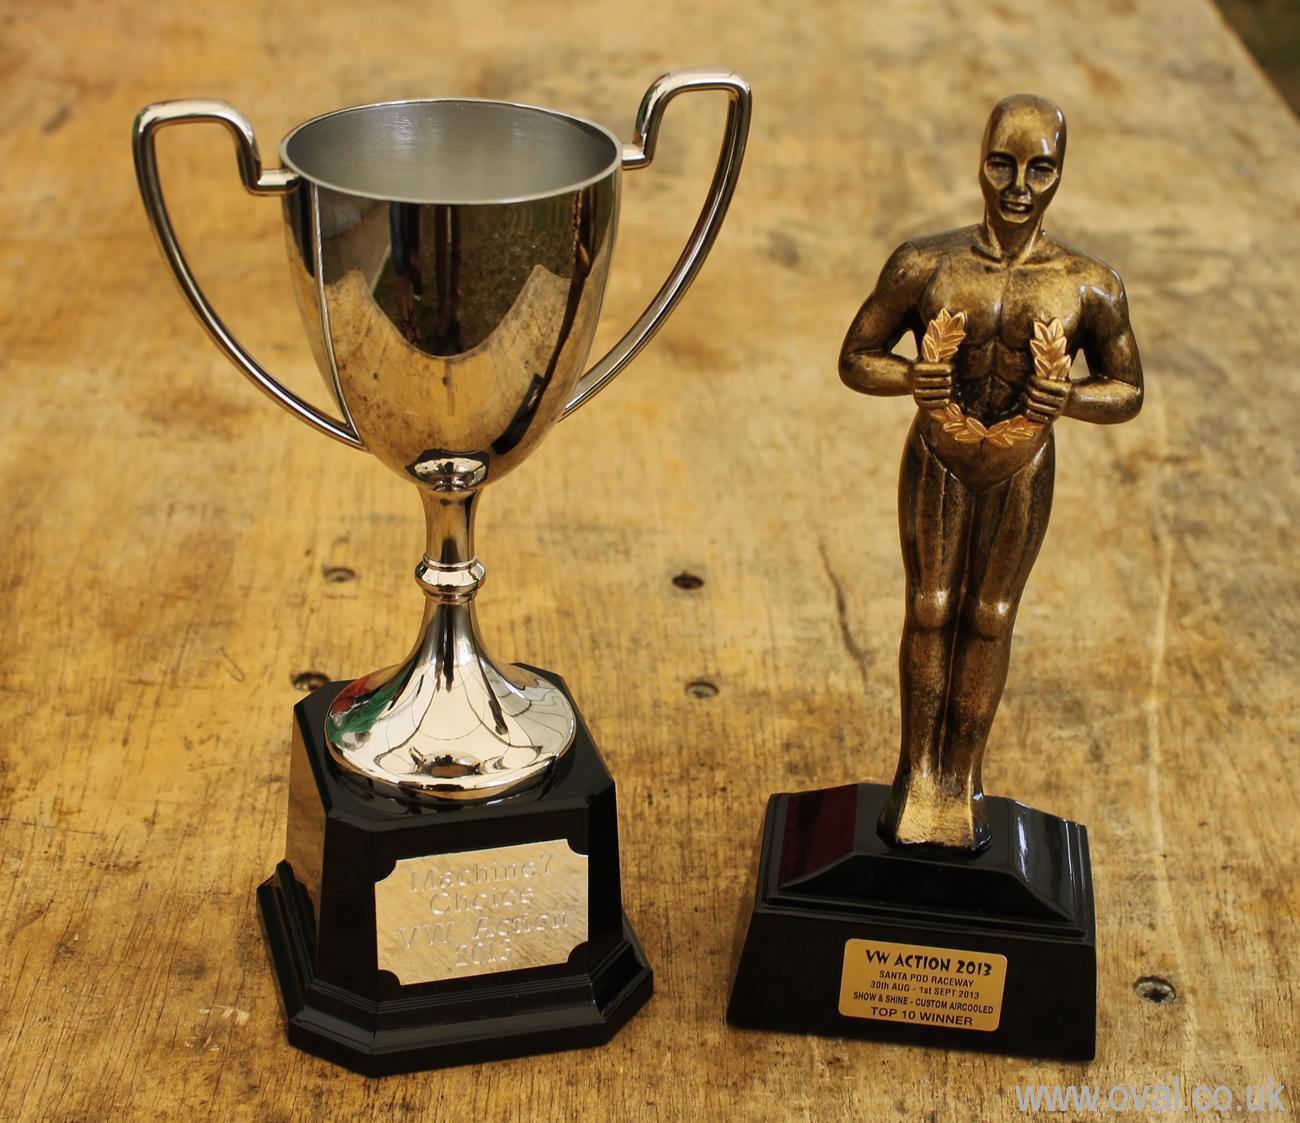
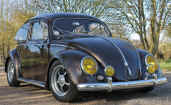
- September 2013 - VW Action. I drove the
car up to VW Action on the Sunday morning. A lovely drive with very little
traffic.

- I put the car on display and was shocked
to come away with 2 Trophies. Machine 7 Choice and also VW Action Top 10 Air
Cooled. Wow!
- November 2013 - Its nice to see that
Yellow headlamps on shiny cars are catching on around the place.. I've
spotted a few now.. even on a 911 ..
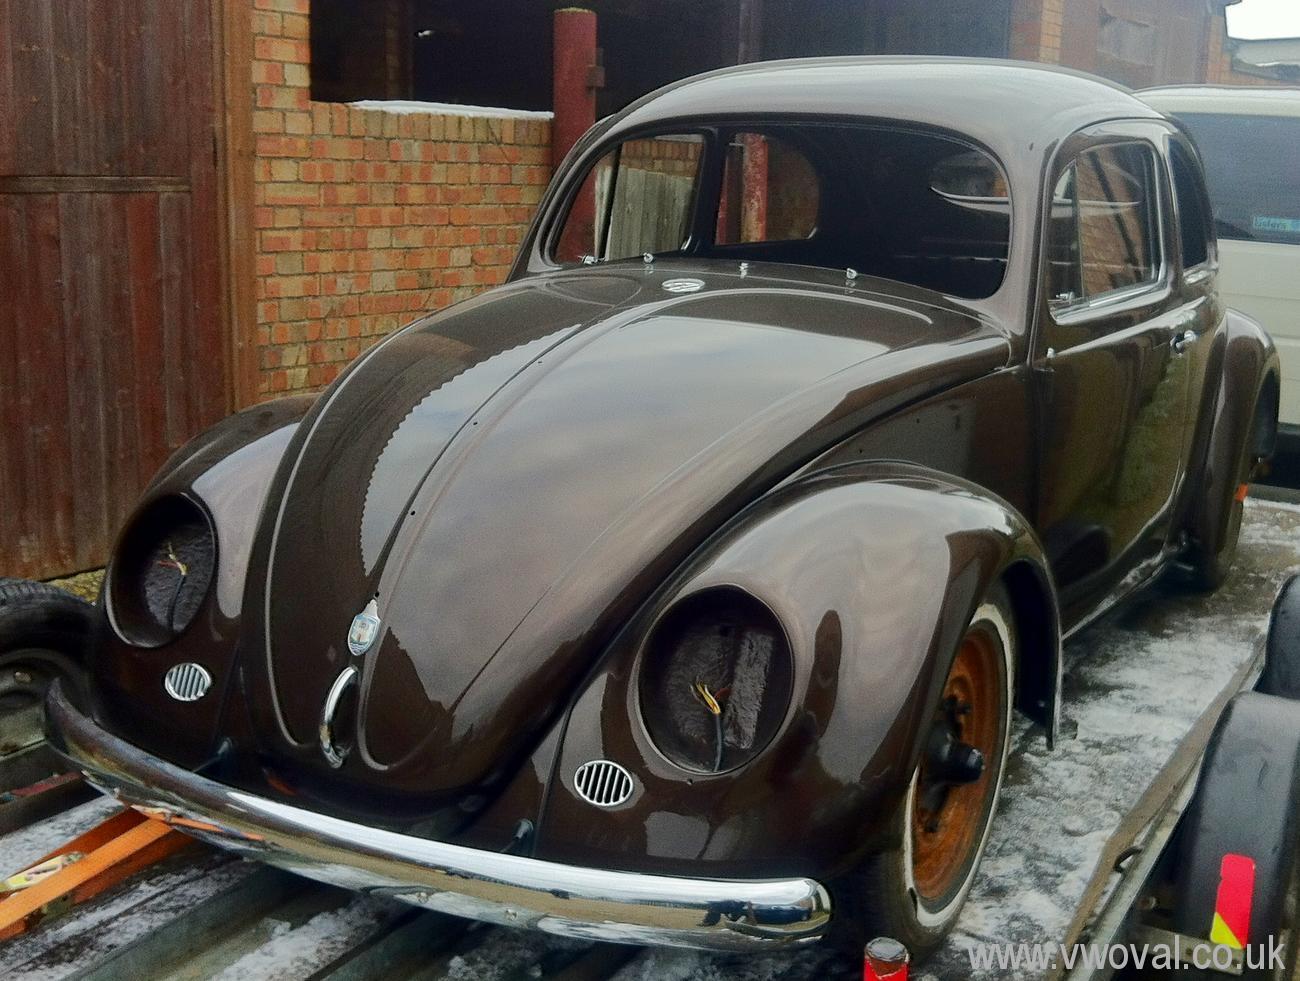
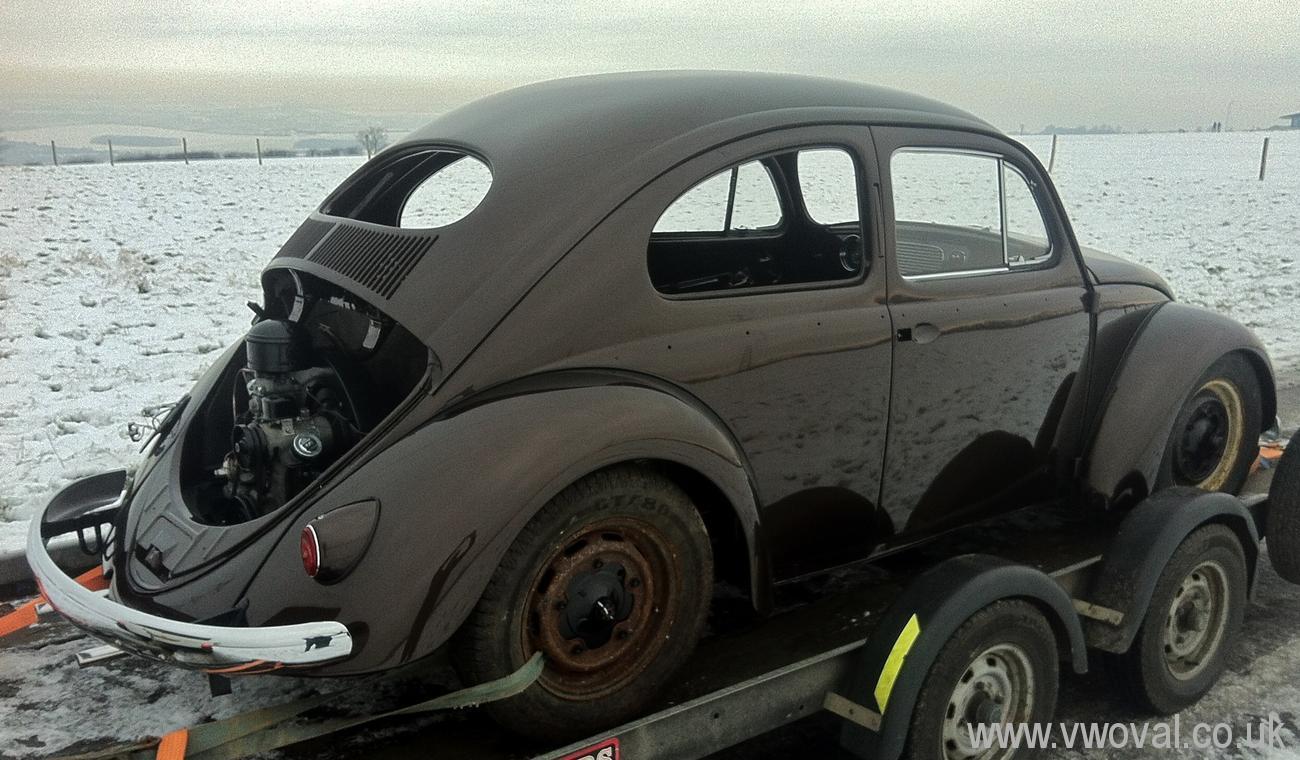
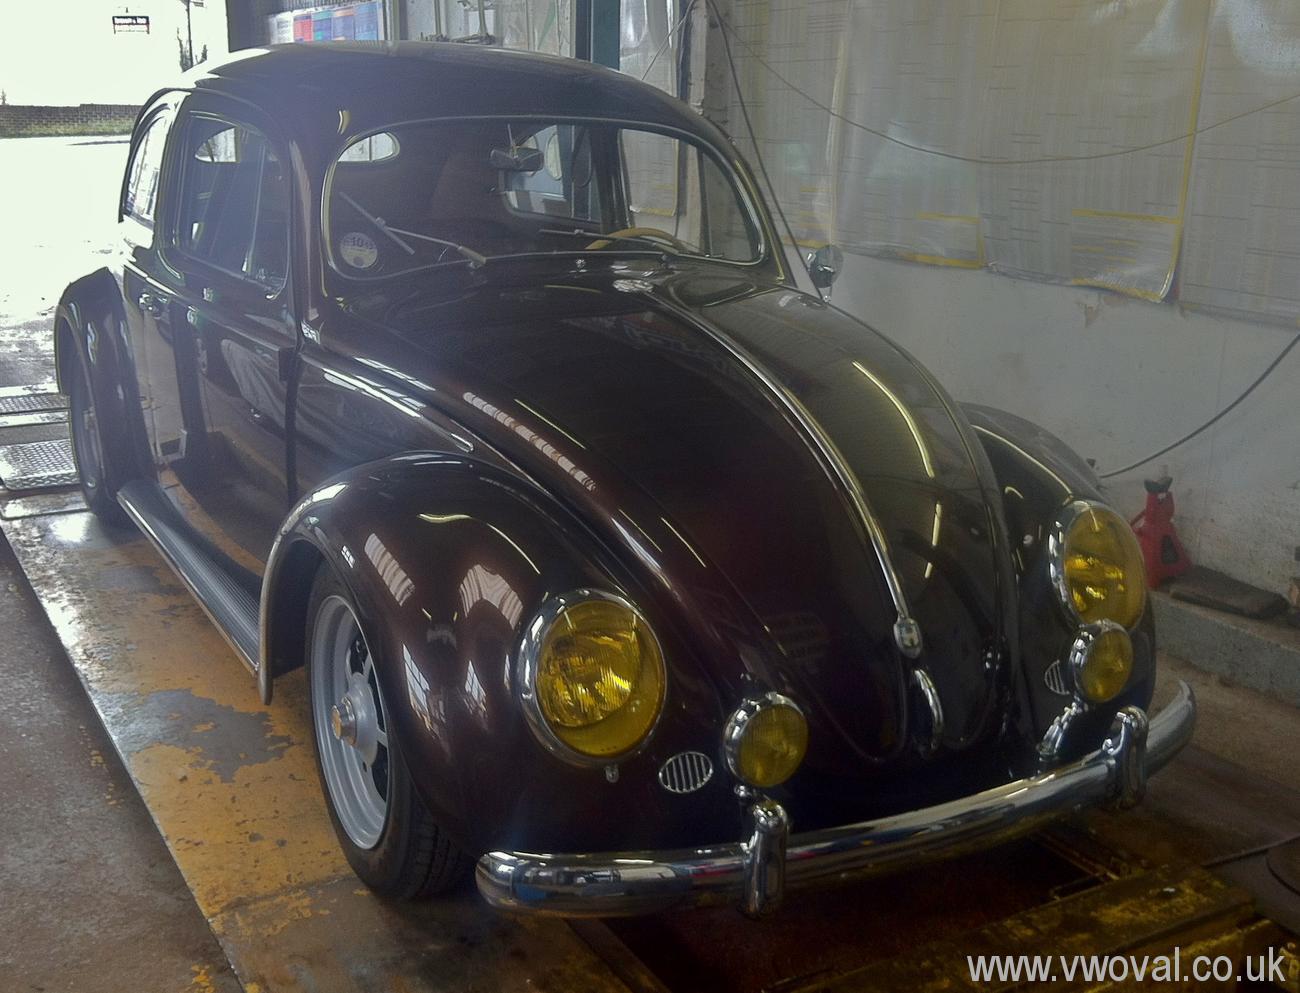
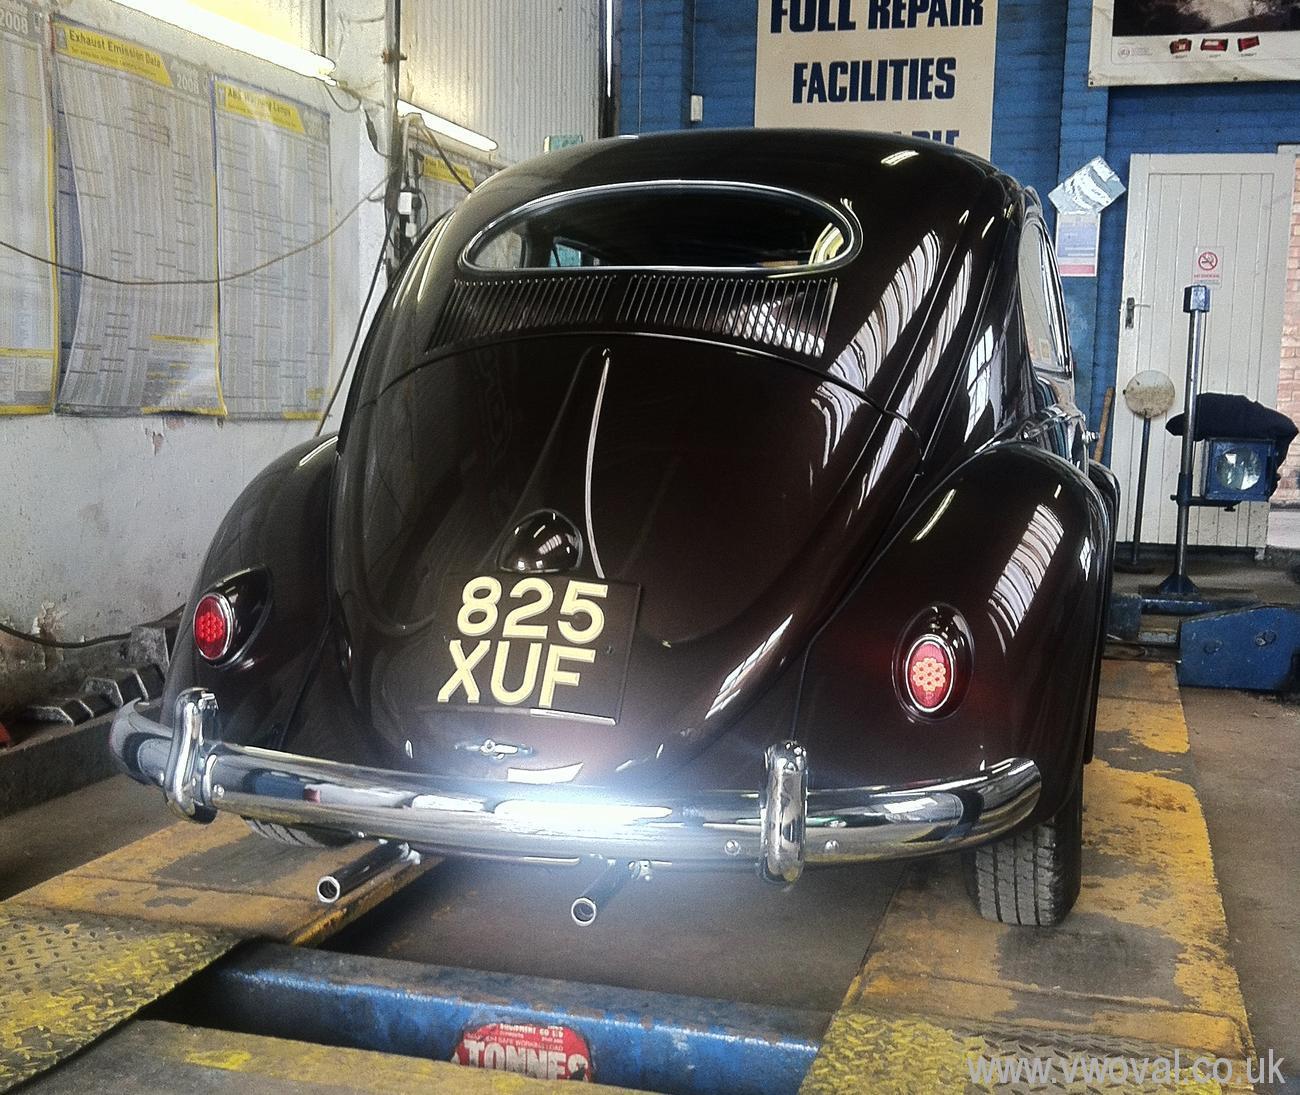
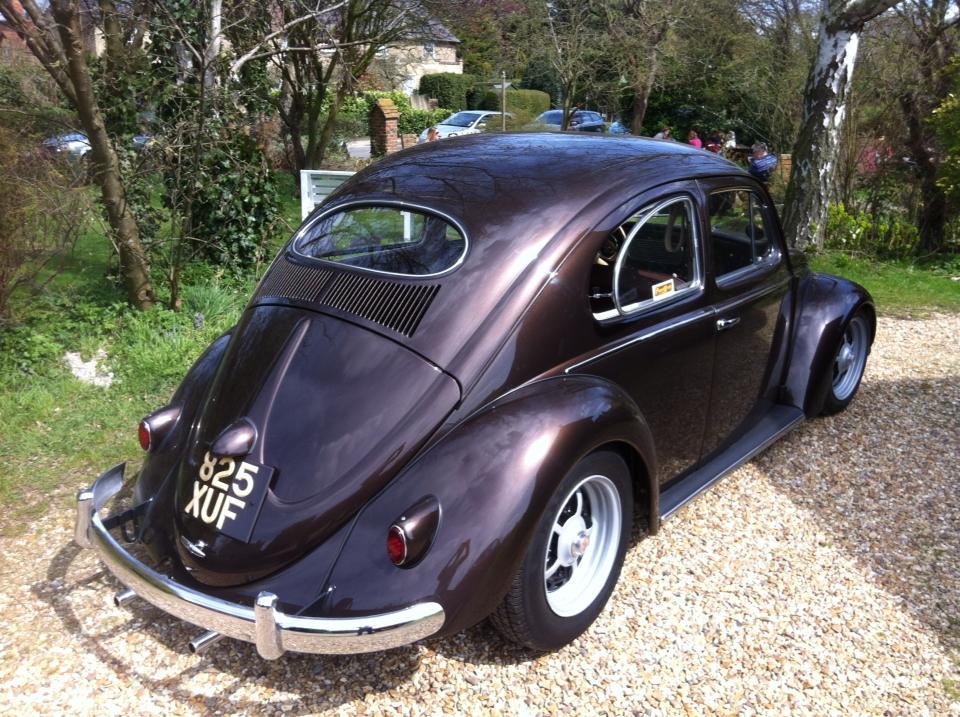
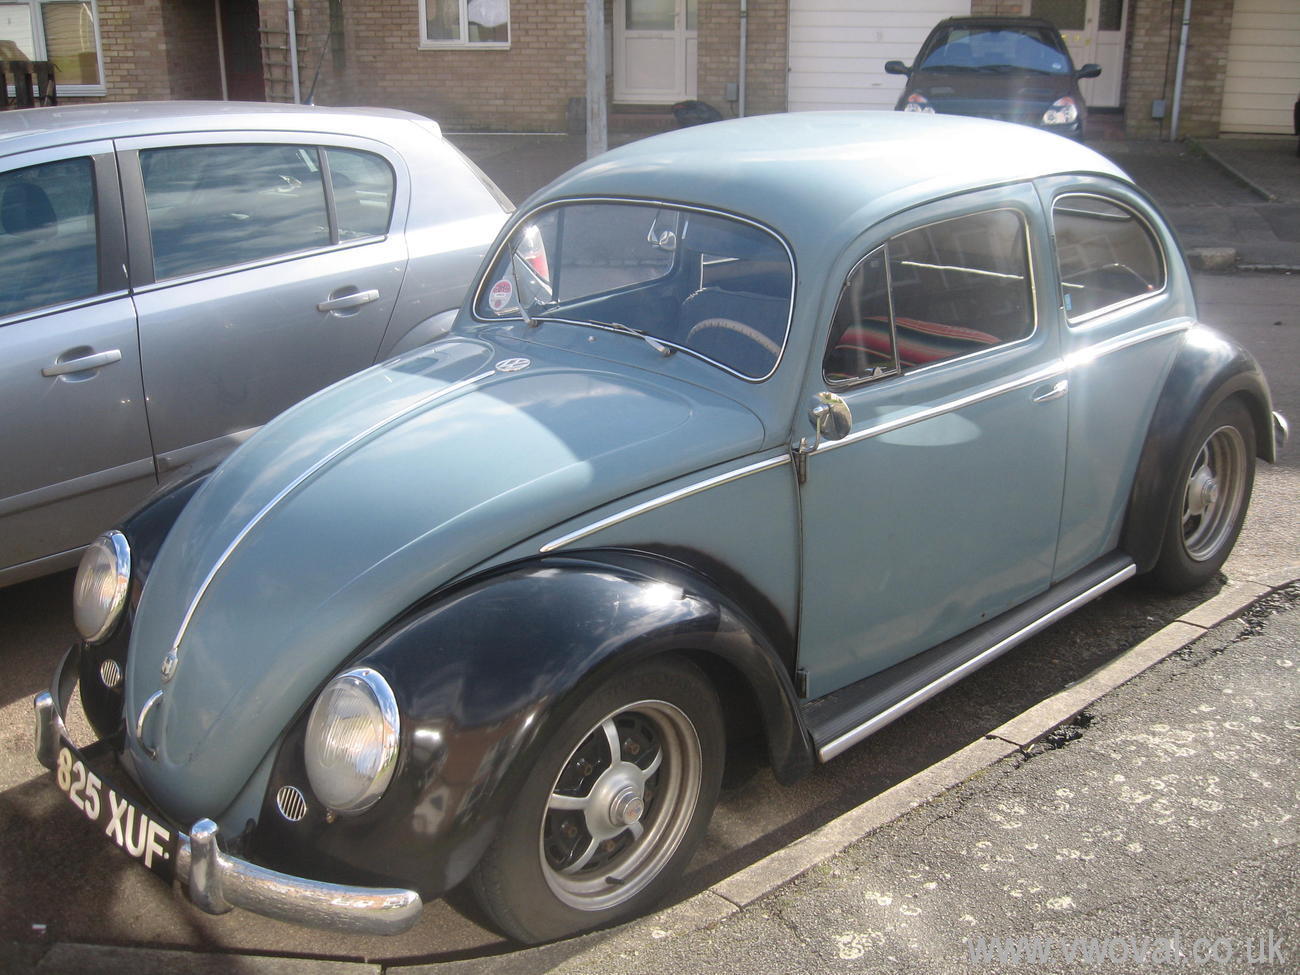
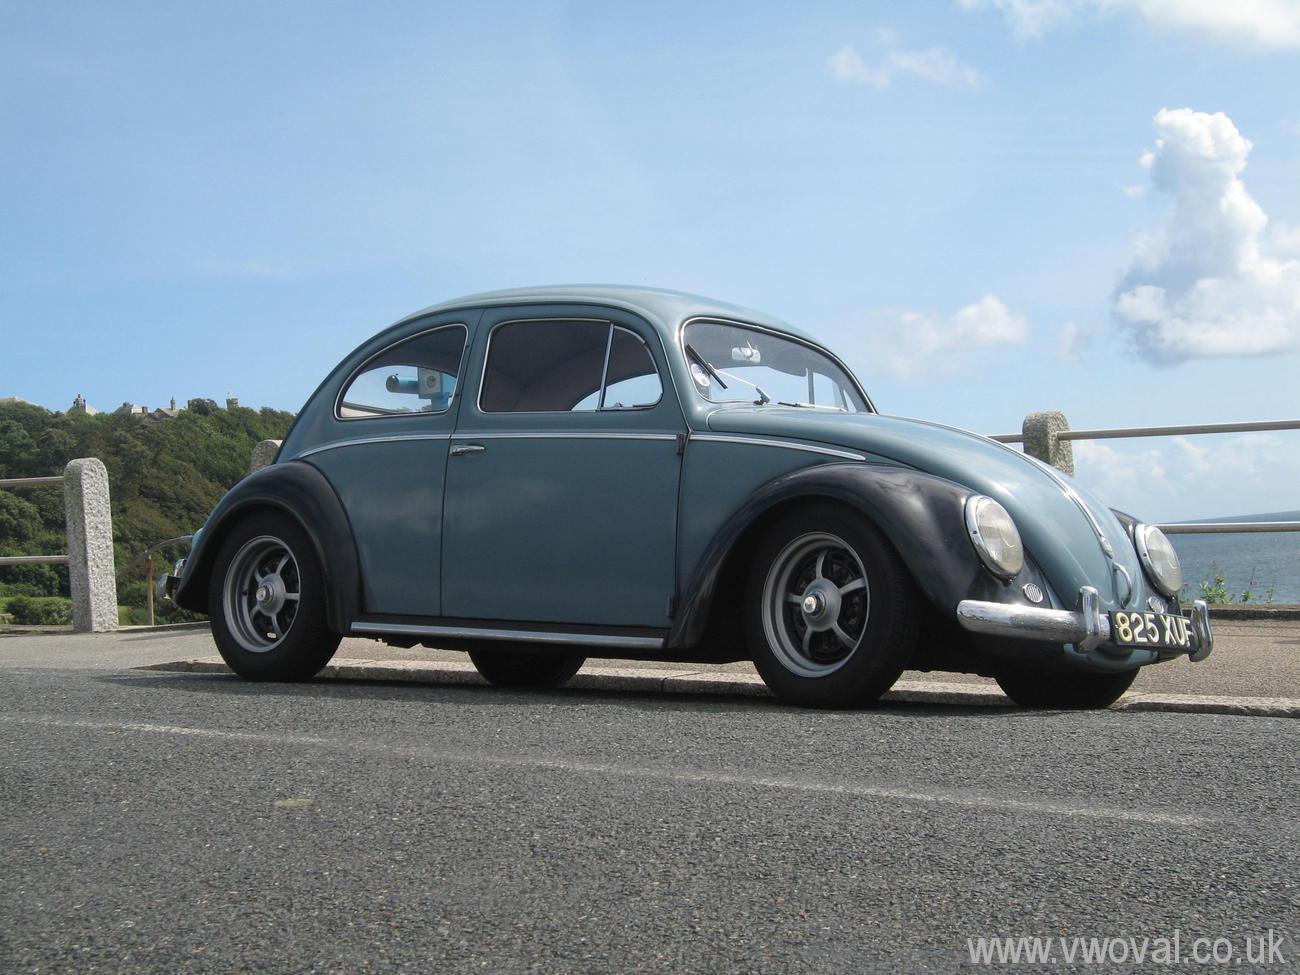
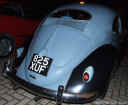
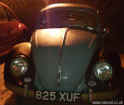
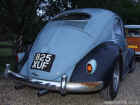
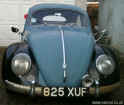
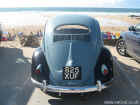
- December 2013 - Just Had an email from
David who is the Cars first UK Owner... He got it stock height on cross ply
tyres and all dusty from Pete Morley as an Un-registered car... Here are
some photos that David took whilst he owned and used the car... Thank
You David for sharing them.

-
- Last used 2016 .. Now needs - Engine oil leak,
brakes, full service needed and replacement 6v battery,
time and effort needed for re-commissioning ... Leaving these things
standing does them no good...
-
Website Sponsor -